Needlepoint 101: How to Sew Up Your Needlepoint Cushion
Since the launch of our new Schumacher range, we’ve had an influx of new needlepoint customers - hello! So we thought it was about time we asked our expert in-house seamstress Natalie to put together a guide for sewing your needlepoint canvas into a cushion once you’ve finished the all important stitching.
If you’ve used our cushion making up service in the past, you’ll have heard of Natalie as she is the one that sews all of our cushions up (she’s also the same Natalie that is working on the tents with Eppie!)
This guide is full of Natalie's (and our) top tips to make sure you get the best finished results, especially after all of your hard work stitching up your needlepoint kit.
Alternatively, if you prefer to watch instructions visually rather than read them, we also have a video tutorial that Eppie made a few years ago here:
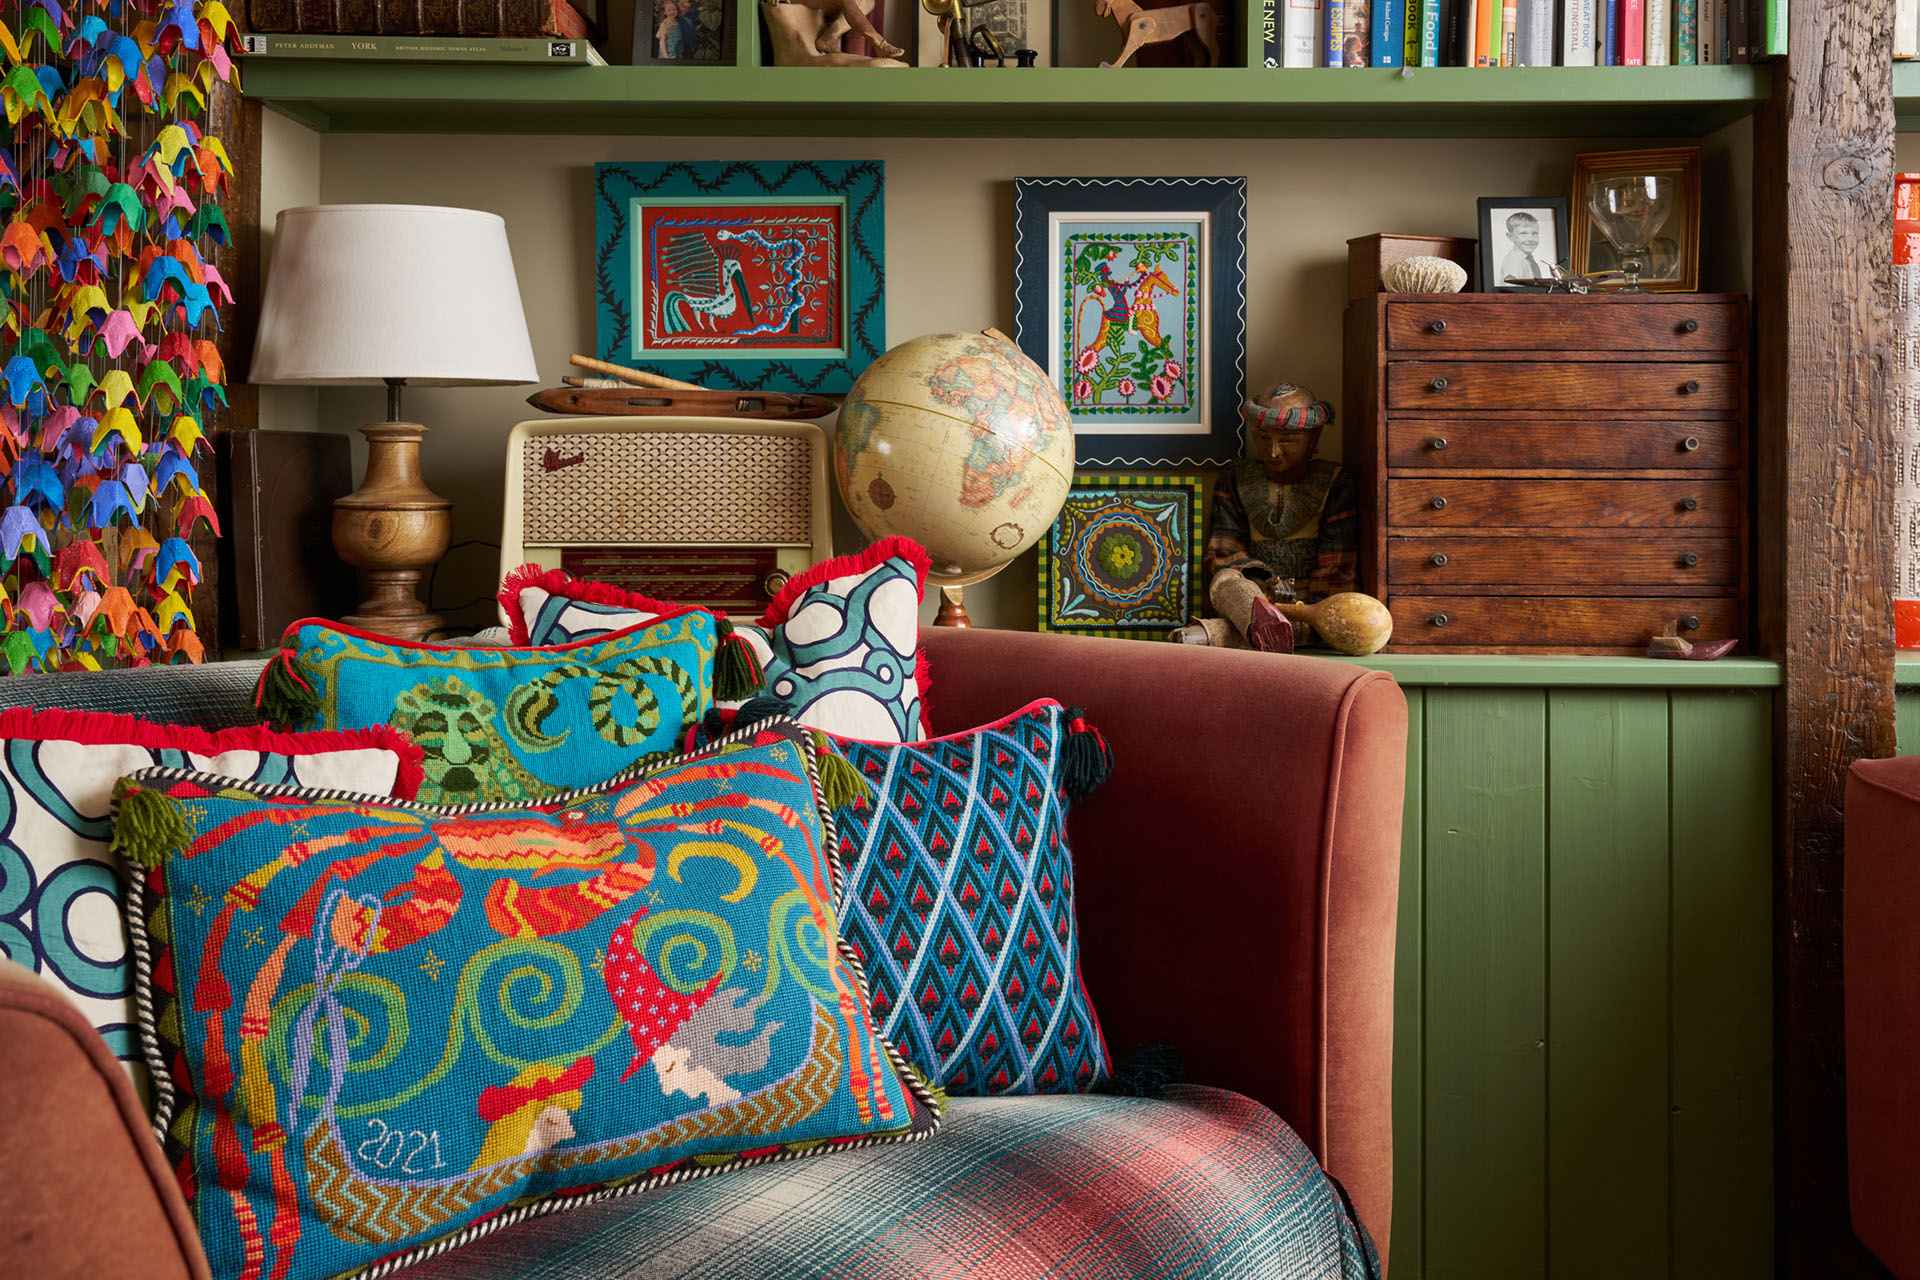
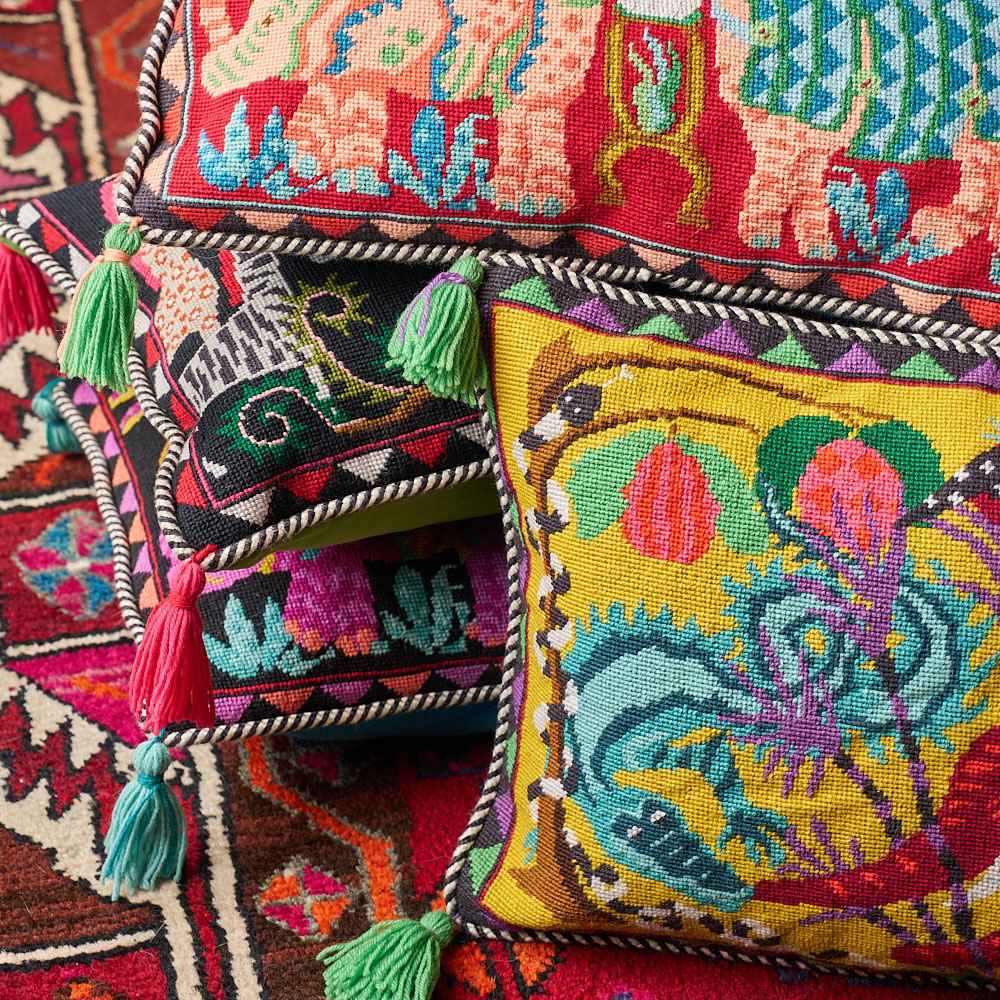
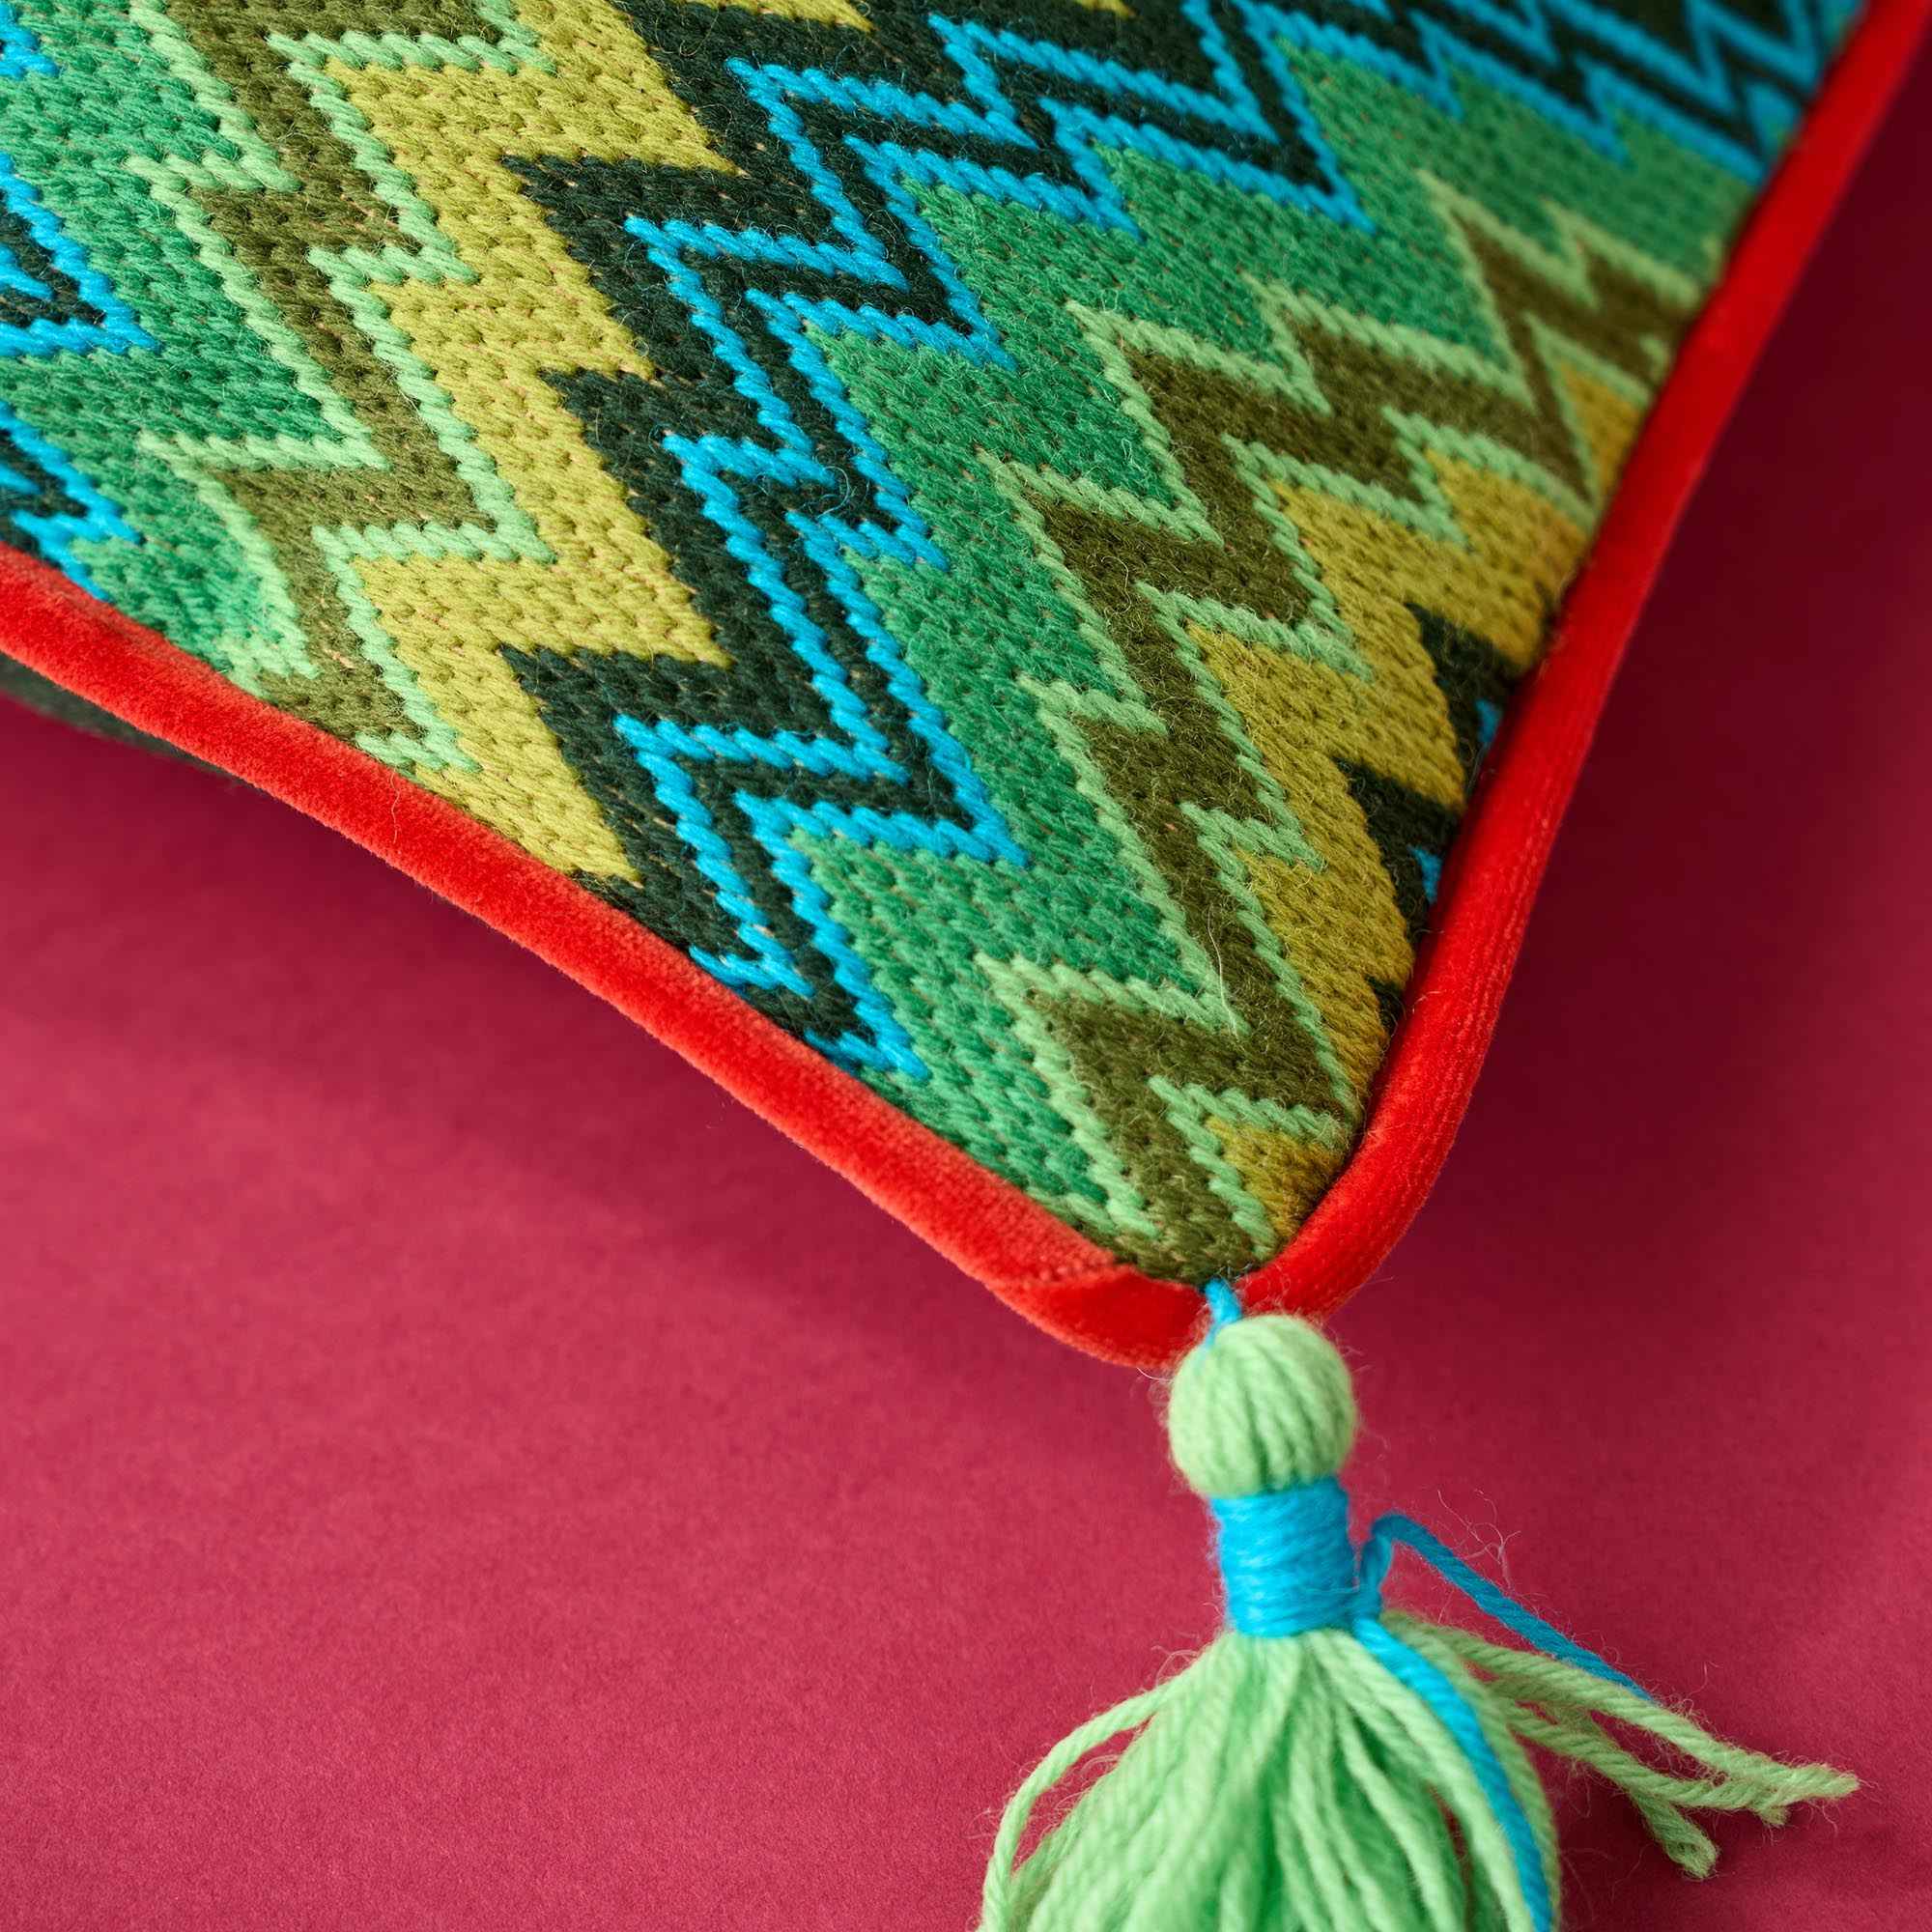
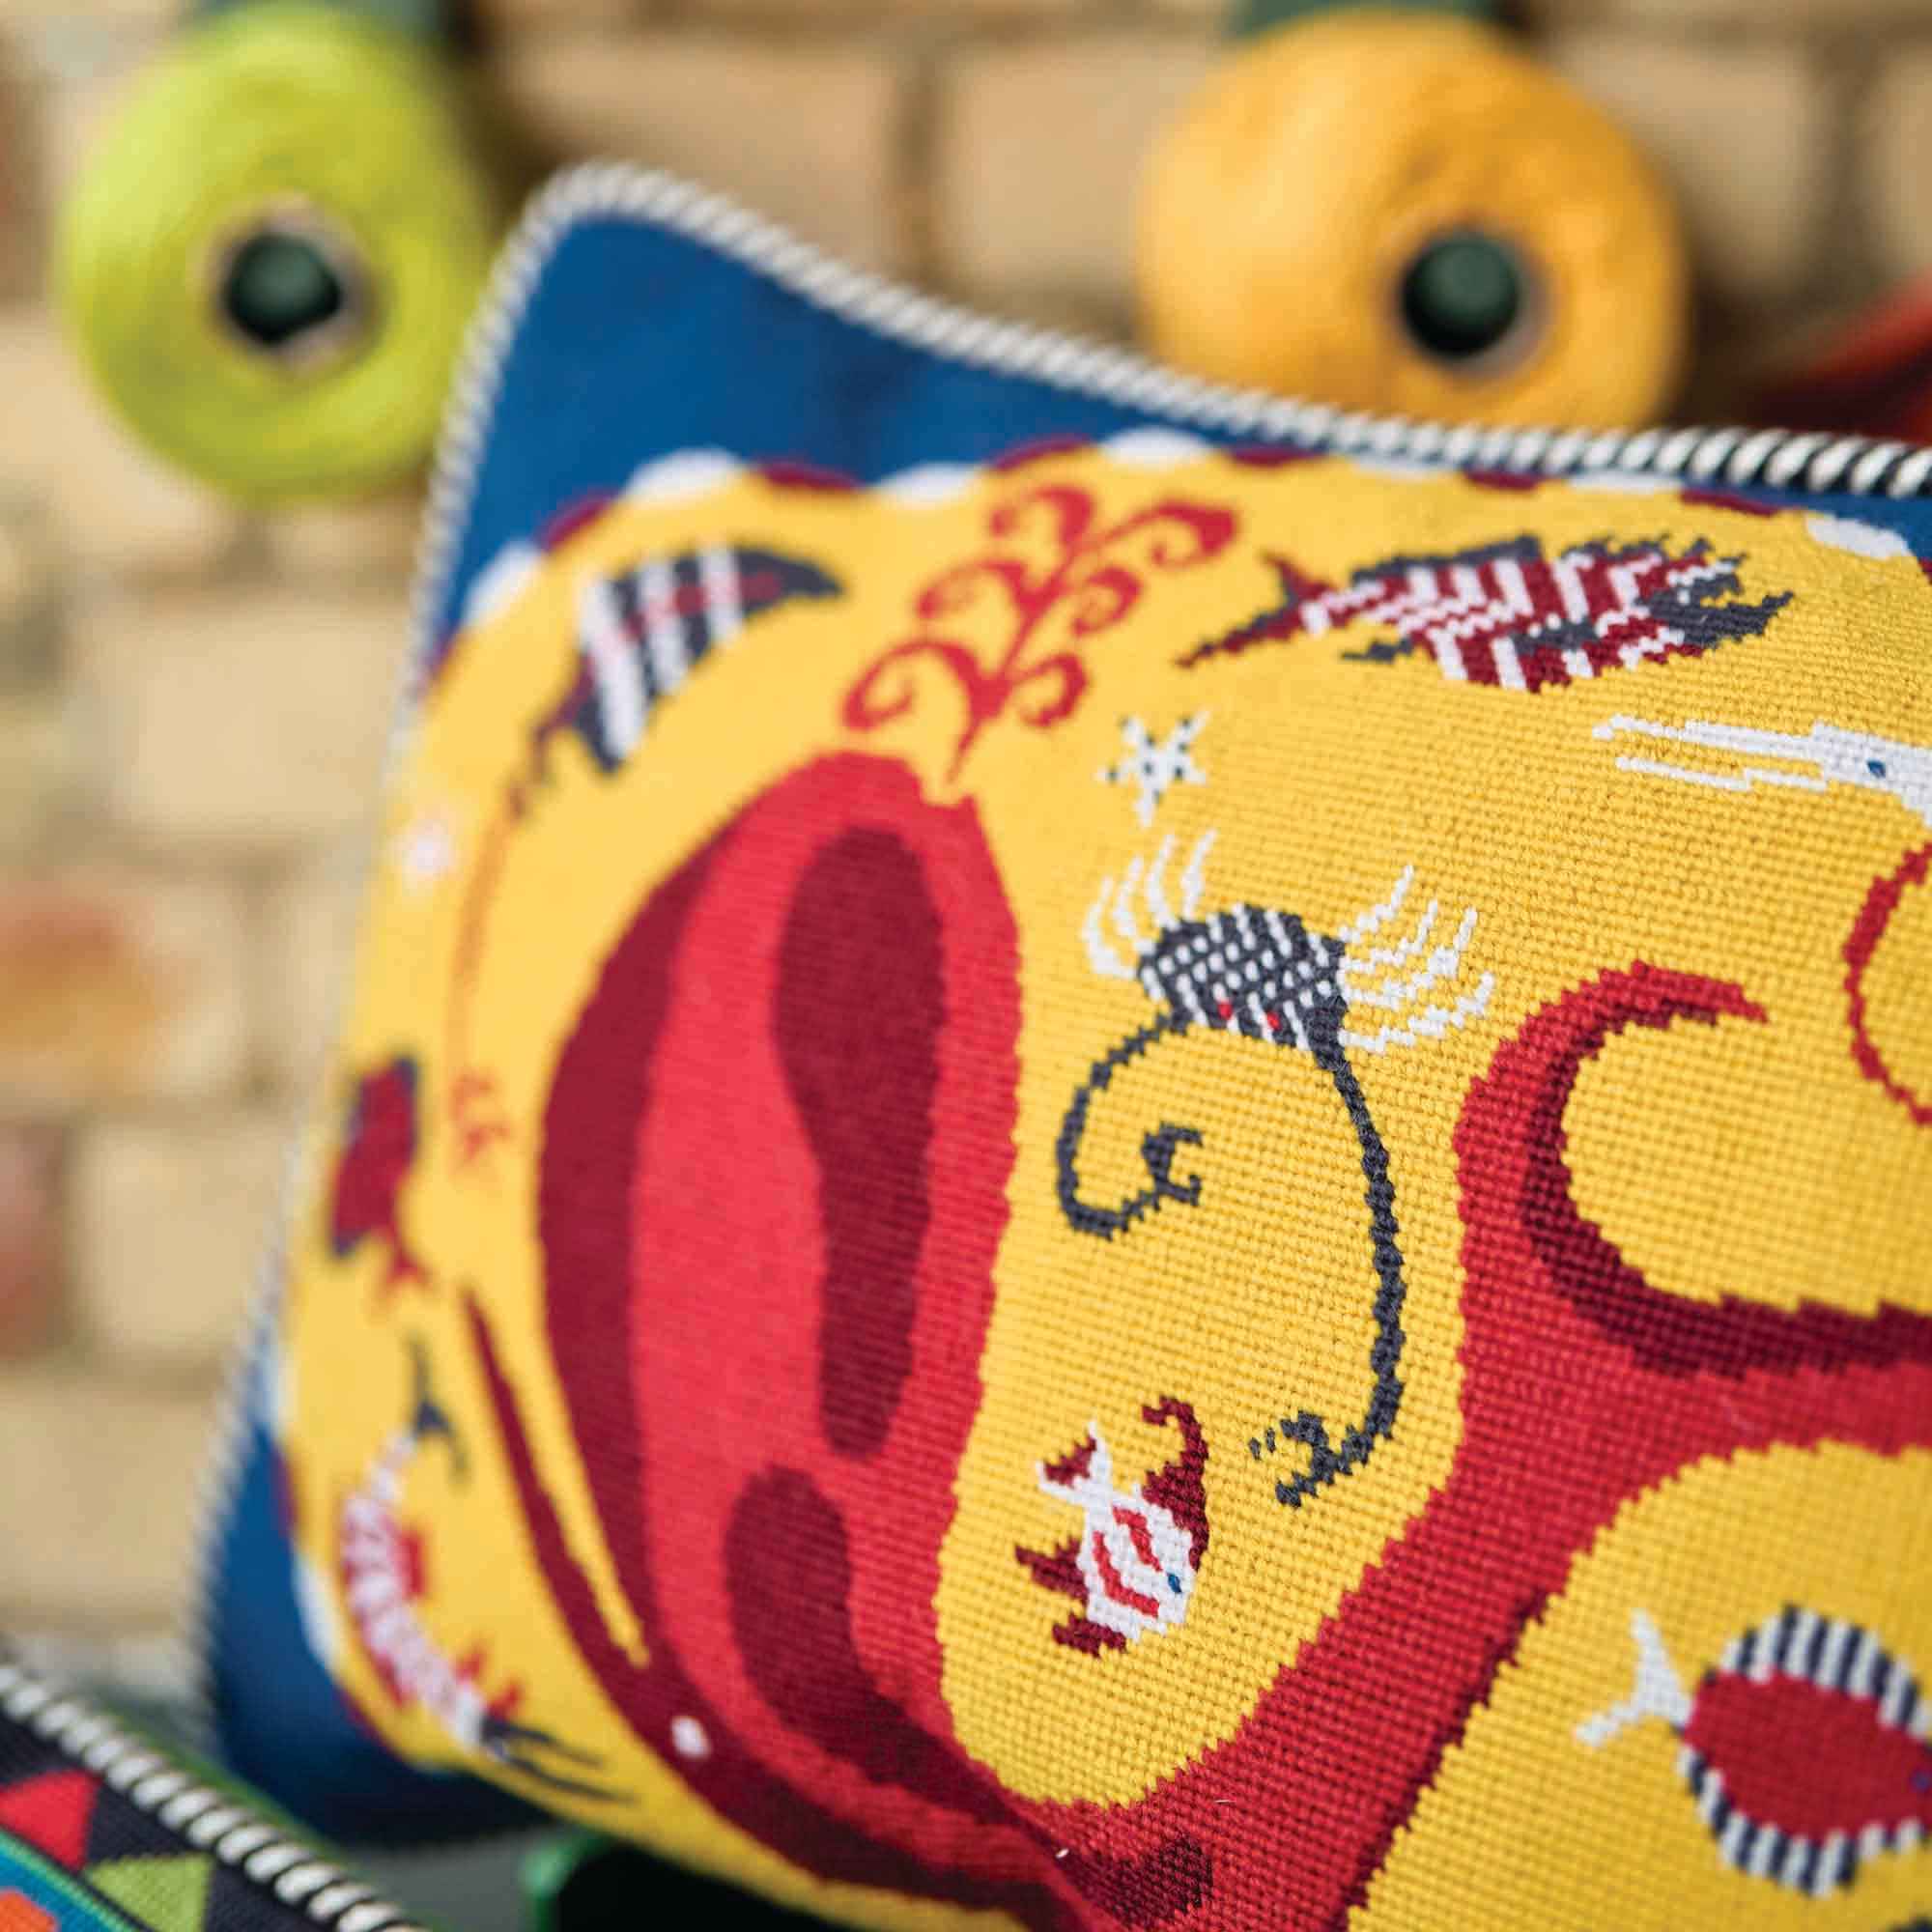
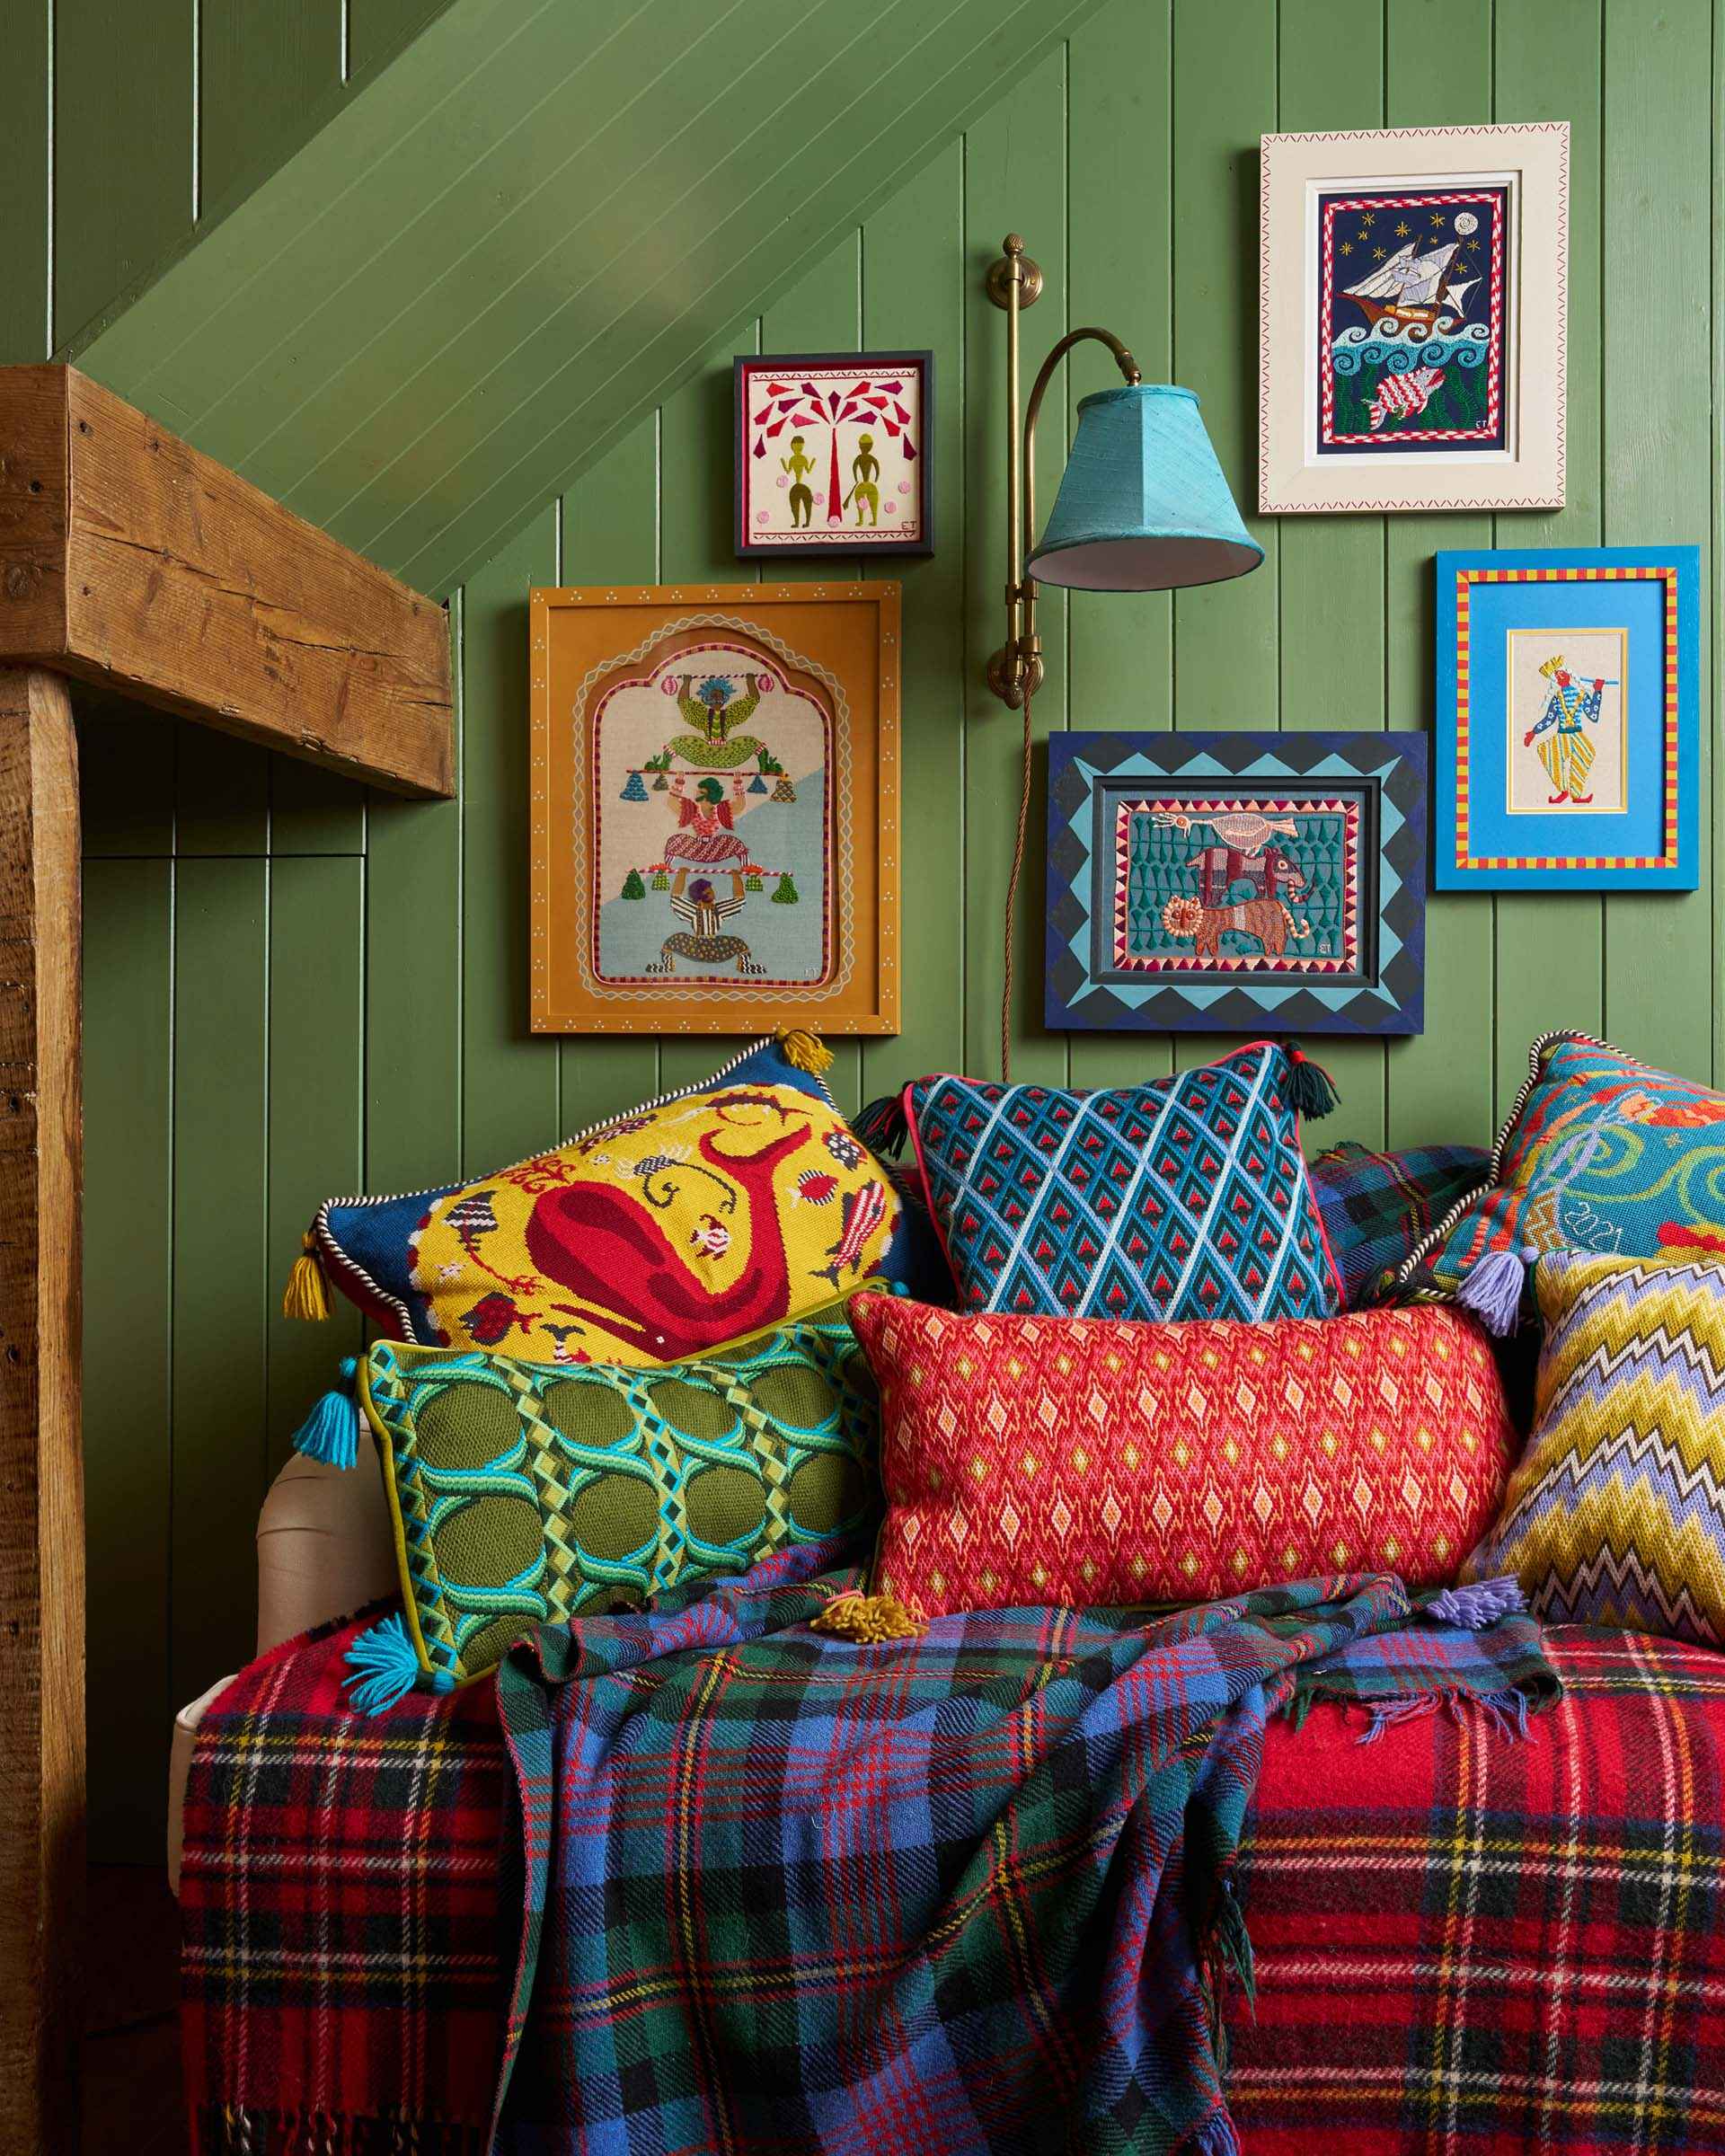
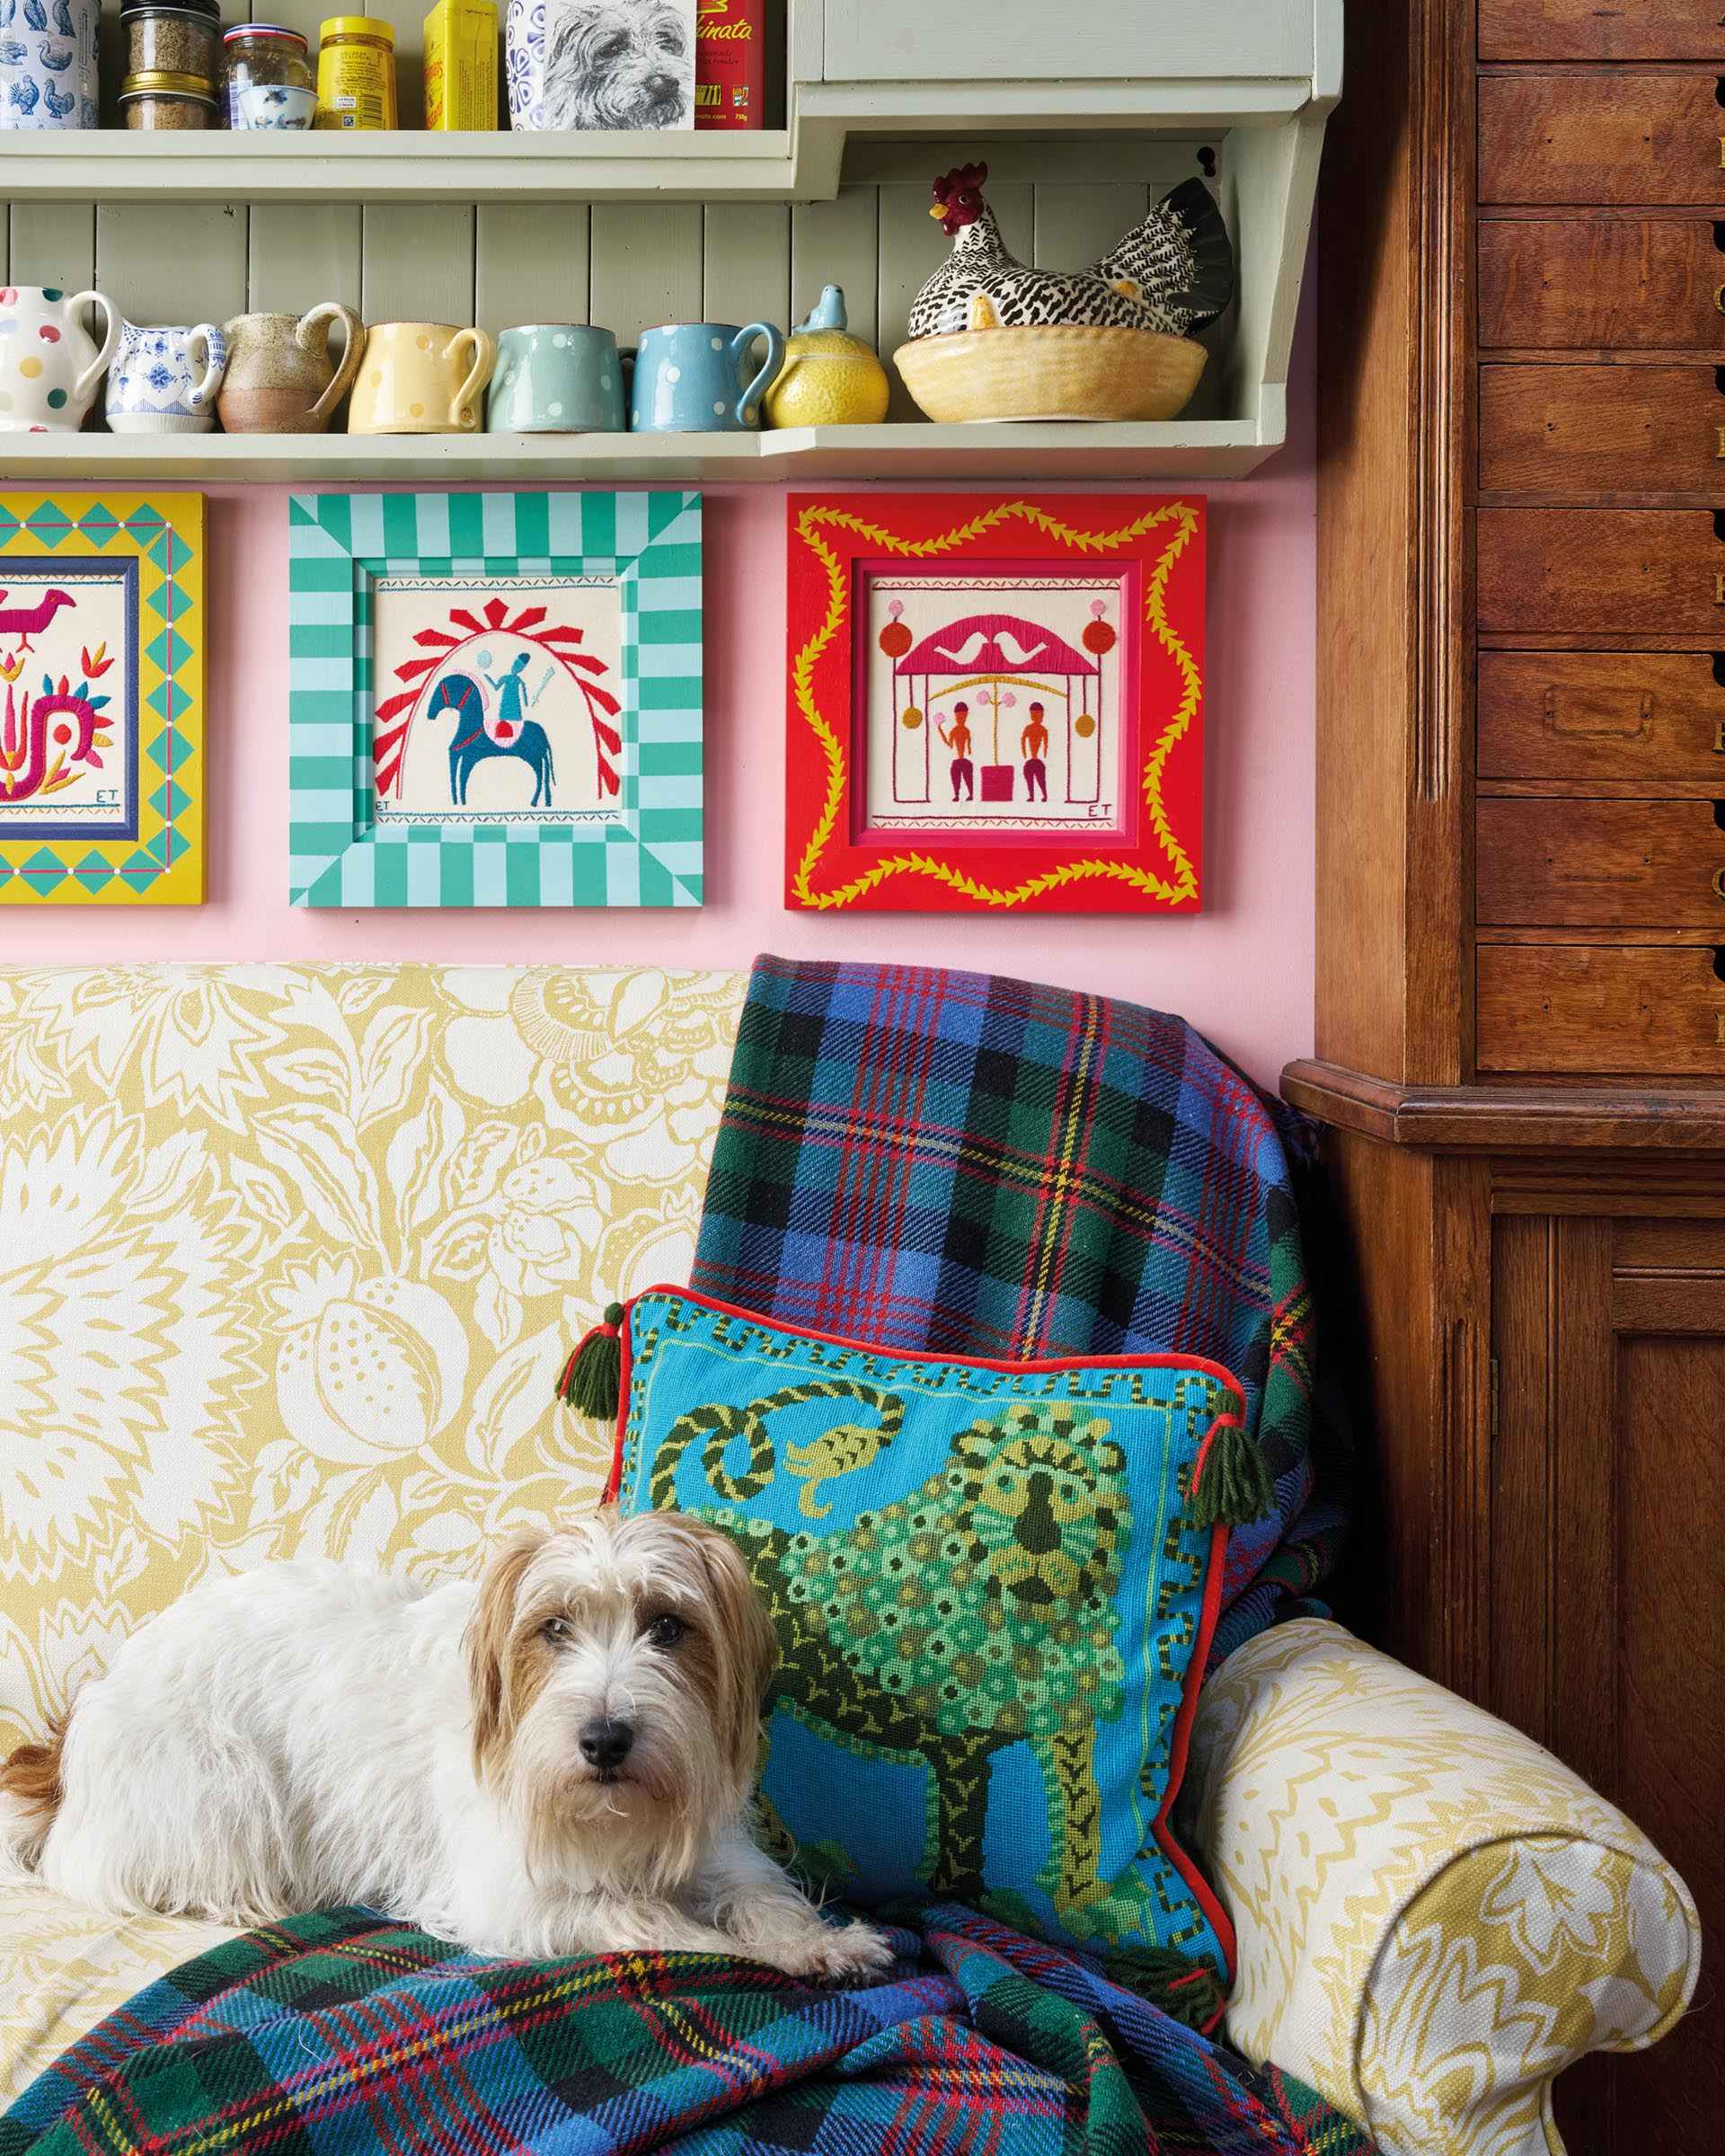
There are lots of wonderful options for finishing your cushion. In our cushion finishing section on the website, we stock materials if you'd like to finish your cushion in the same ways we have - from velvets and wool fabrics to striped or velvet piping and tassels, you can choose any combination to make it truly your own.
Here are some combinations we've created over the years...
Now on to the guide!
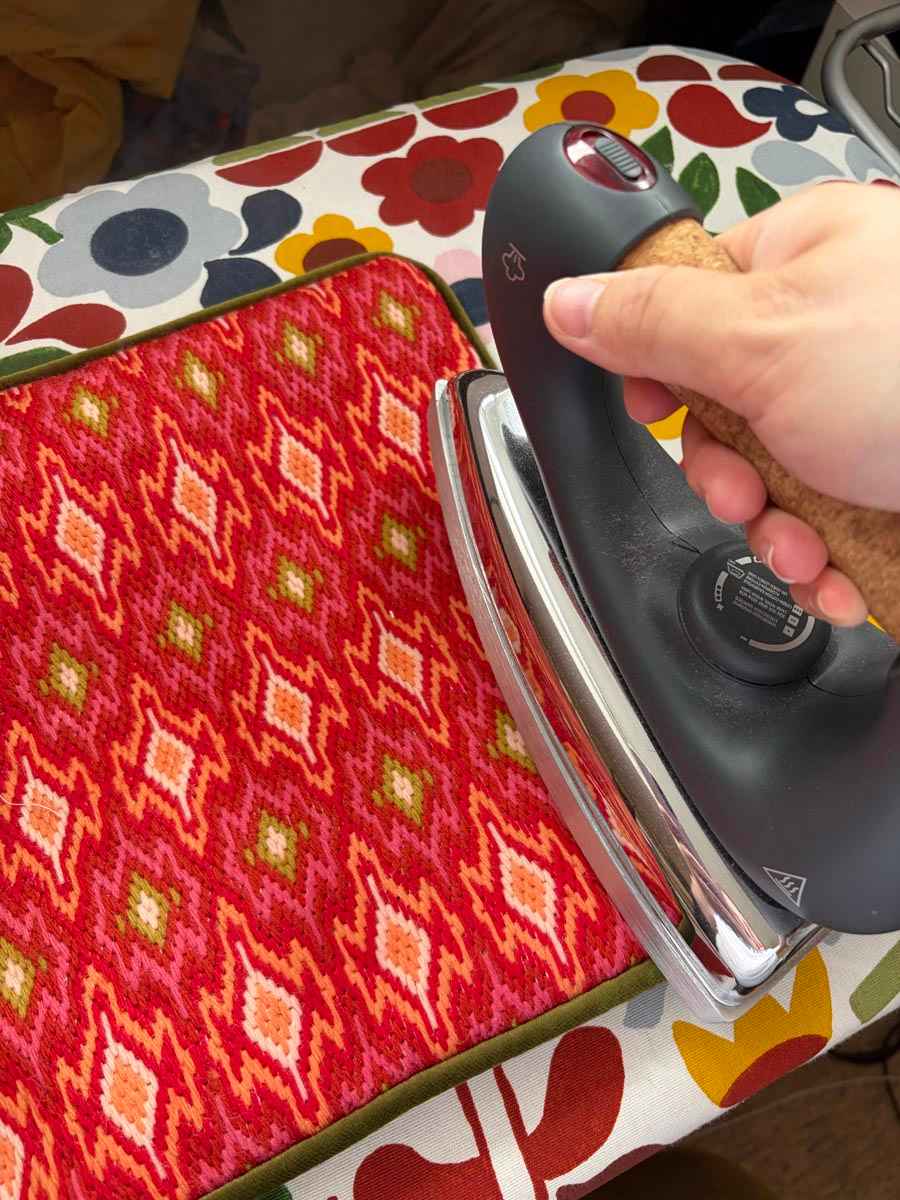
Give your needlepoint a good press, ensuring it is lying flat. If you have used a tapestry frame when stitching your needlepoint, this part will be easier as it has been kept taut during the stitching, but if you haven't used one, you may need to add a spritz of water to help block your canvas straight.
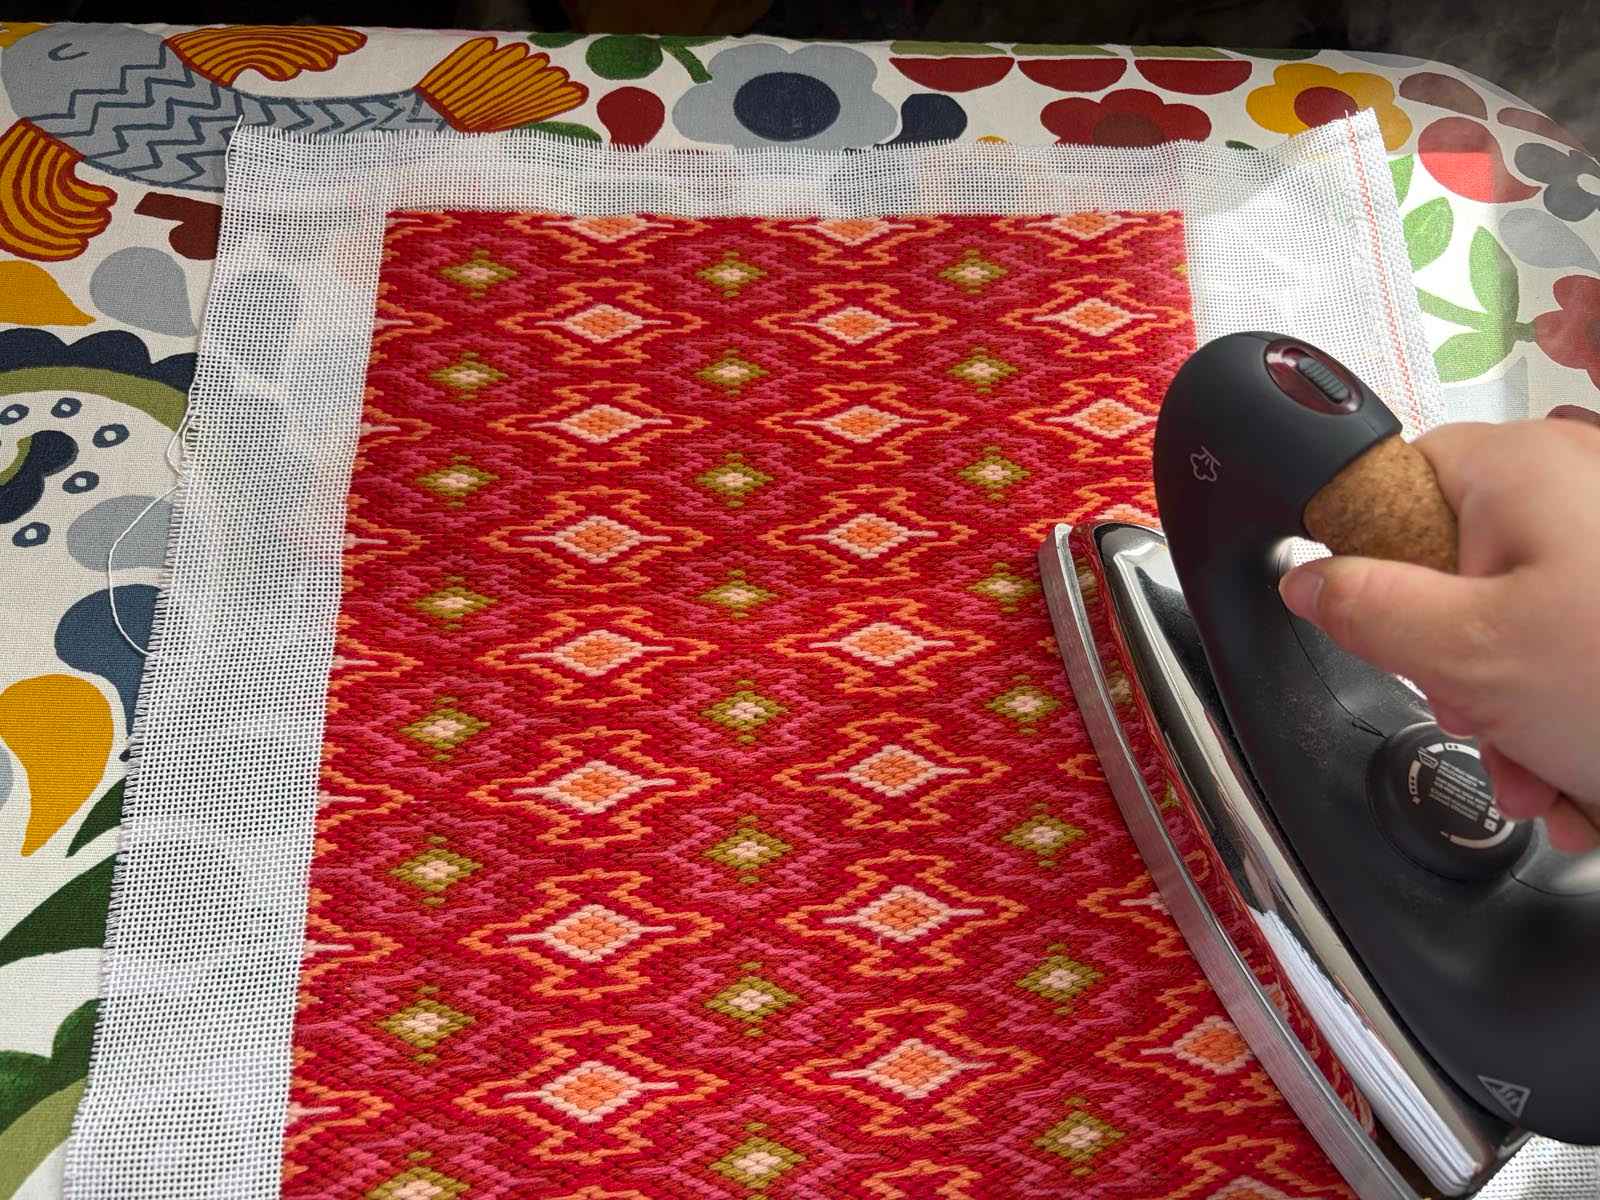
Trim the excess needlepoint canvas away, leaving approximately 1.5 cm of canvas around the edge of the stitching. This will mean you won't have bulky seams on the inside of your tapestry cushion.
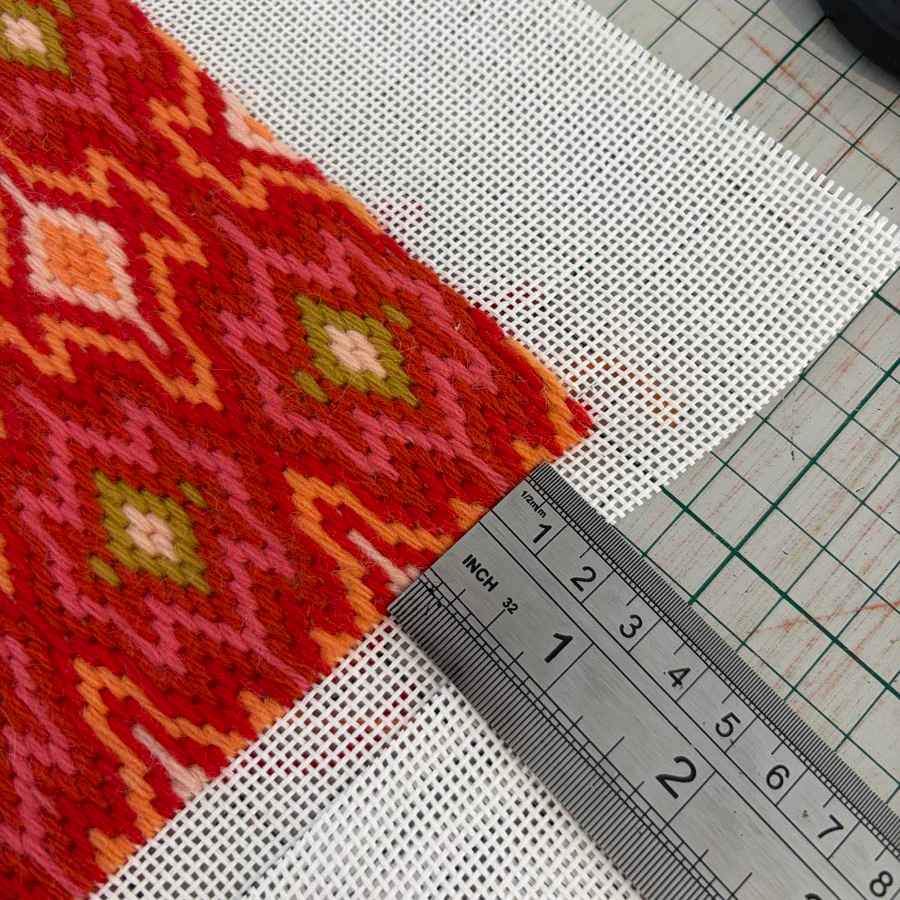
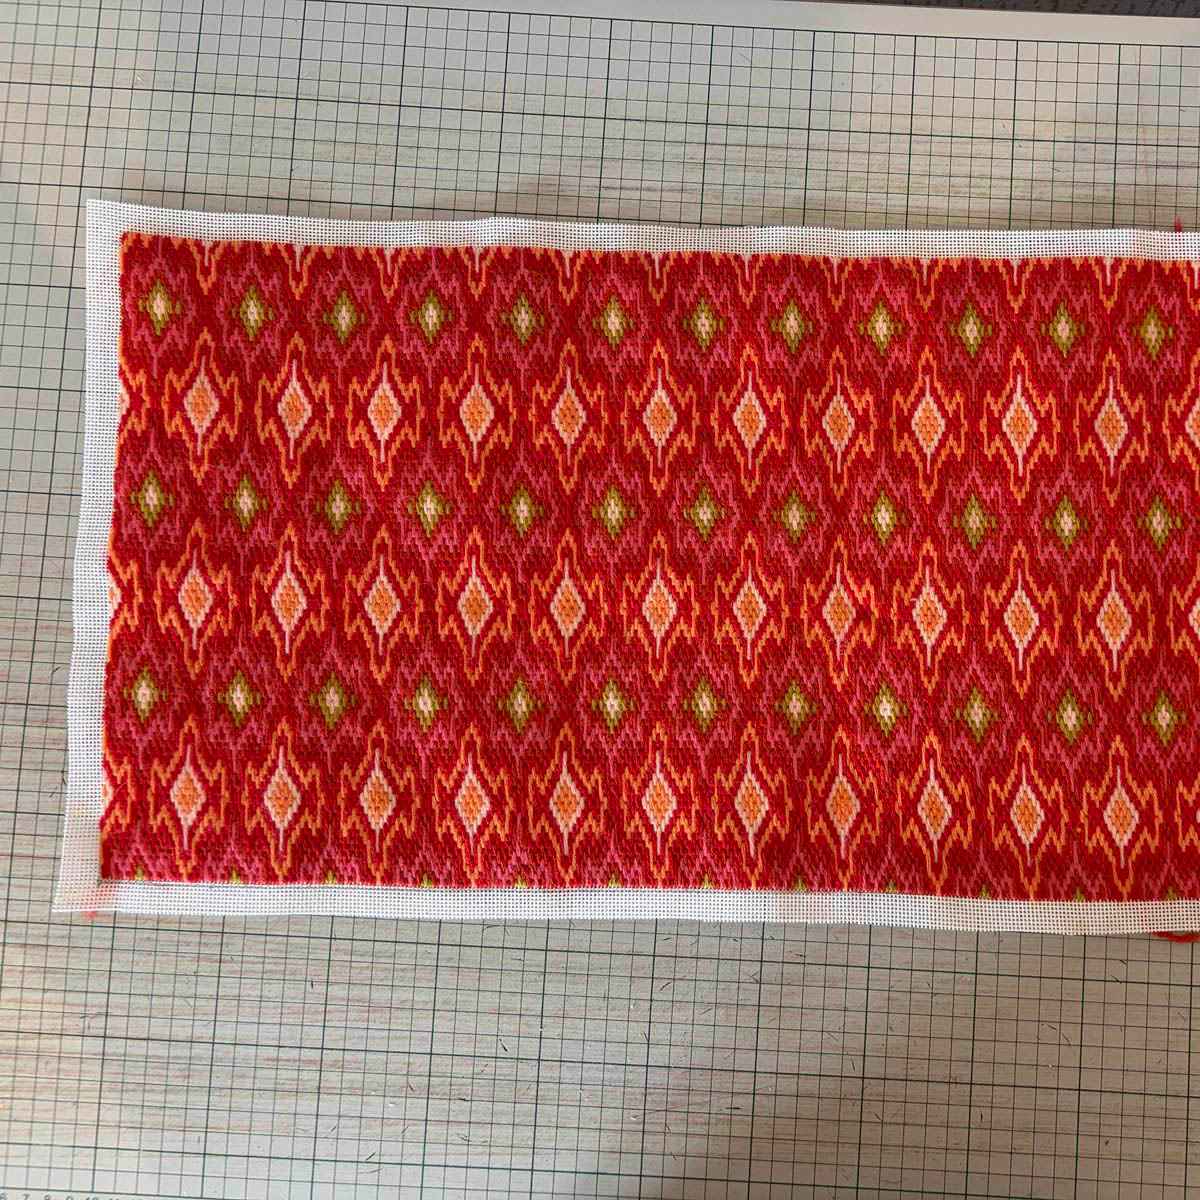
It's time to begin sewing!
Find the bottom right corner of your needlepoint canvas - this is where we recommend you begin sewing the piping on.
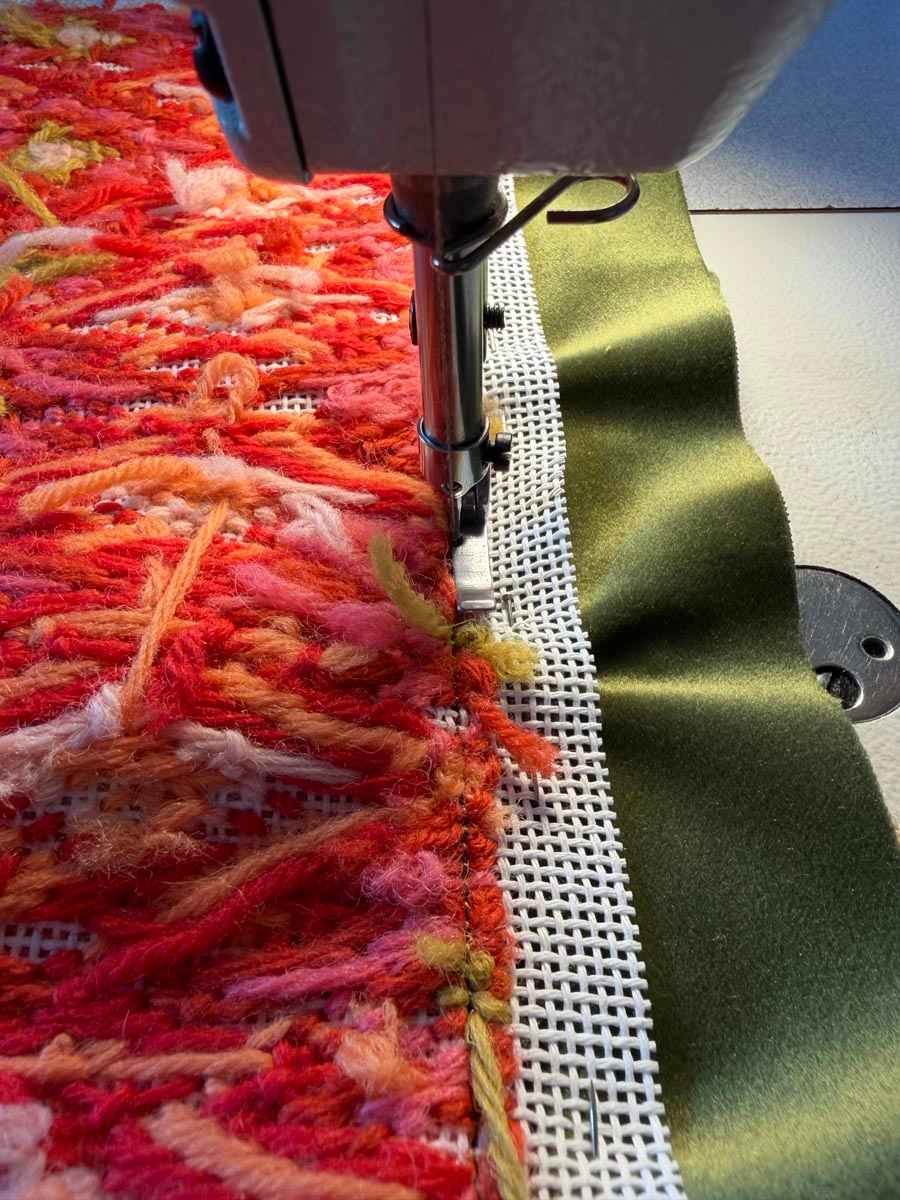
Using a half foot on a sewing machine, line up the piping stitching with the edge of the needlepoint stitching. If the piping type doesn’t have stitching (e.g braided piping) then line up where the piping meets the tape. If you’re less confident I recommend using the velvet piping vs other braided piping.
If you don't have a half foot on your sewing machine, you can use a regular foot and move the machine needle to the left until it is over the piping stitching.
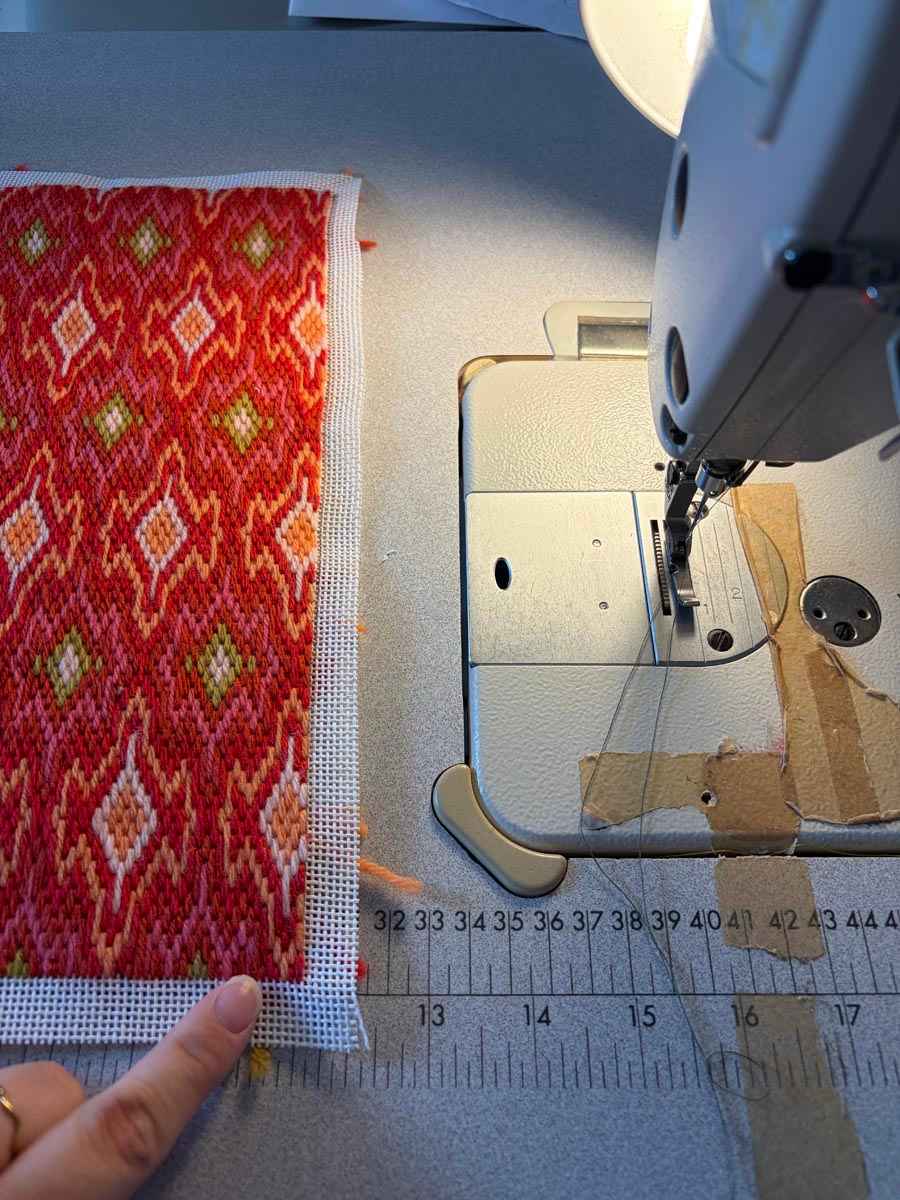
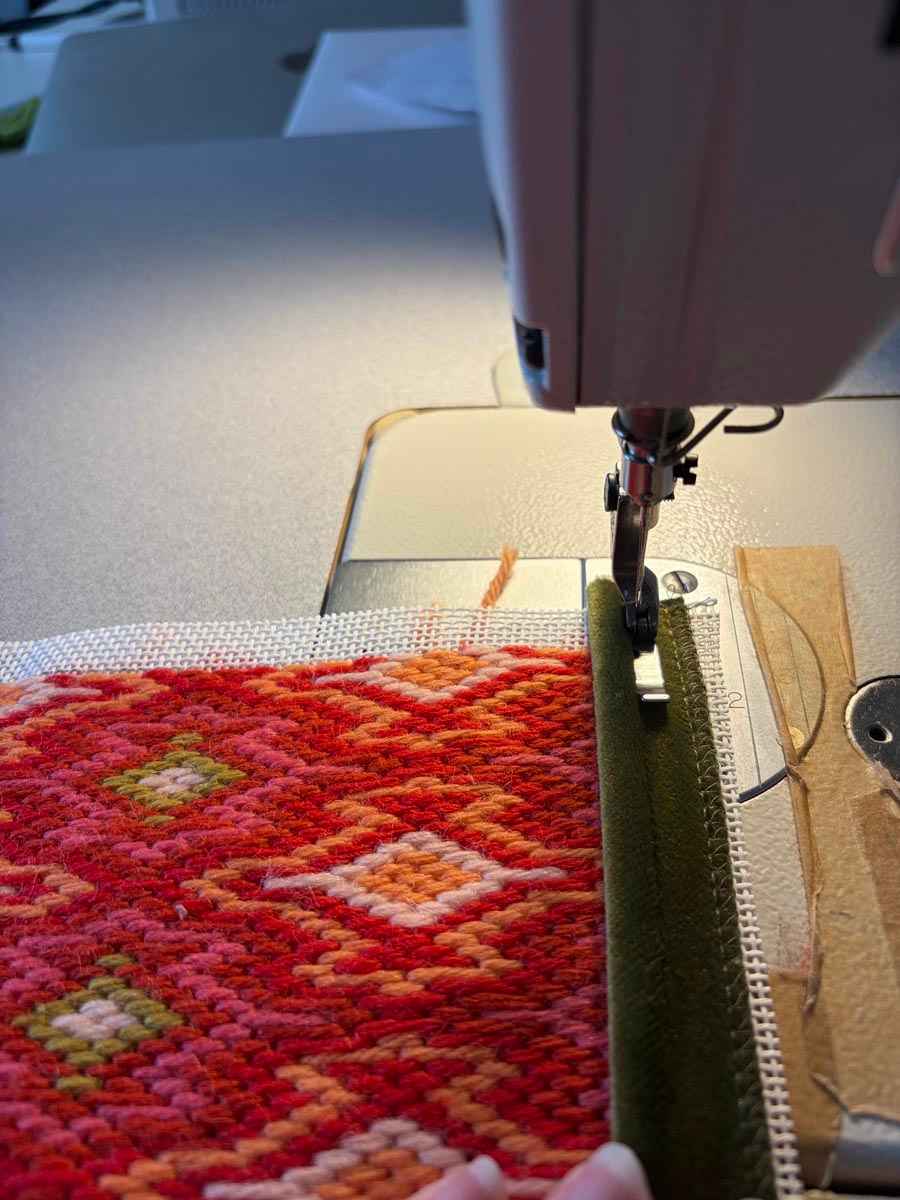
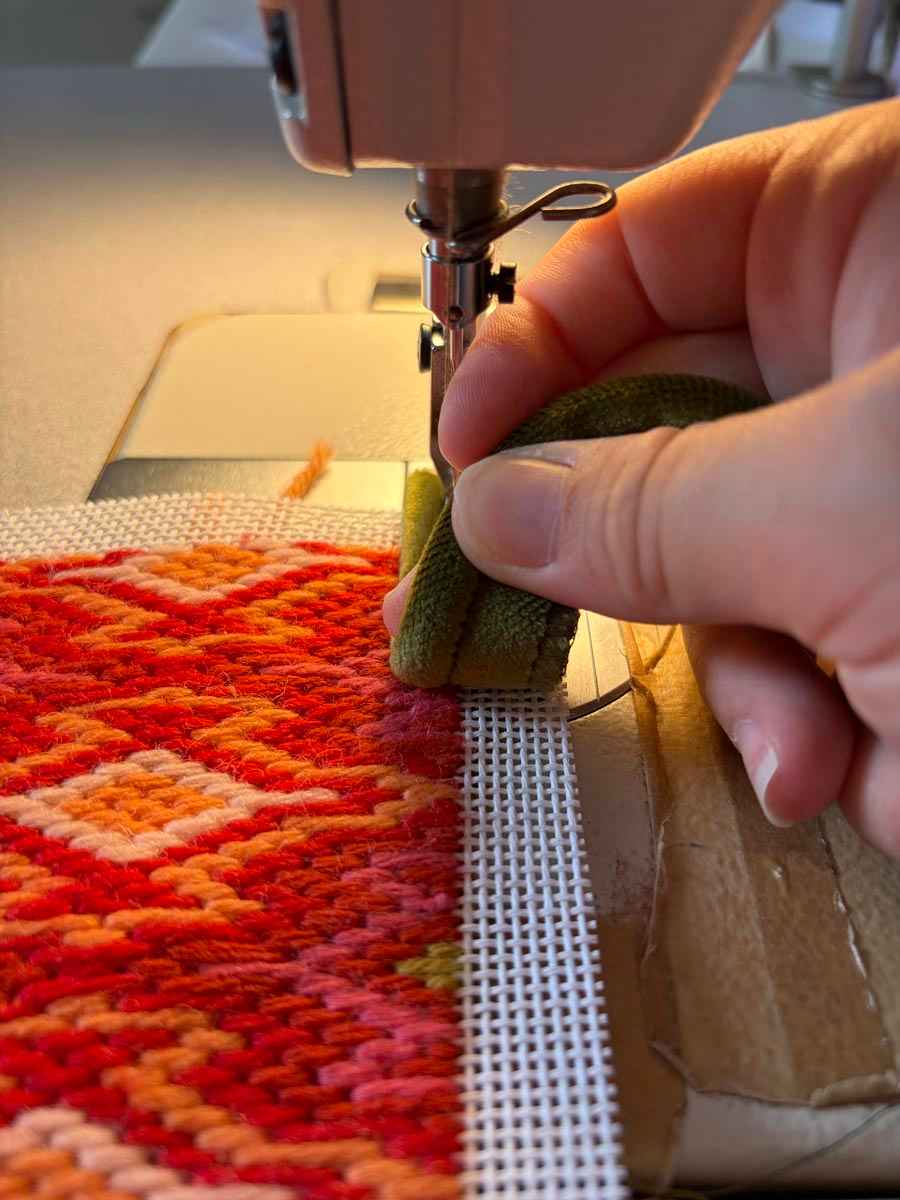
Every couple inches, pause stitching to check the positioning of the piping is correct to ensure it's as close to the edge as possible.
Pause when nearing each corner on your needlepoint canvas.
Stopping before the stitch line, use a small pair of sharp scissors to snip into the piping edge.
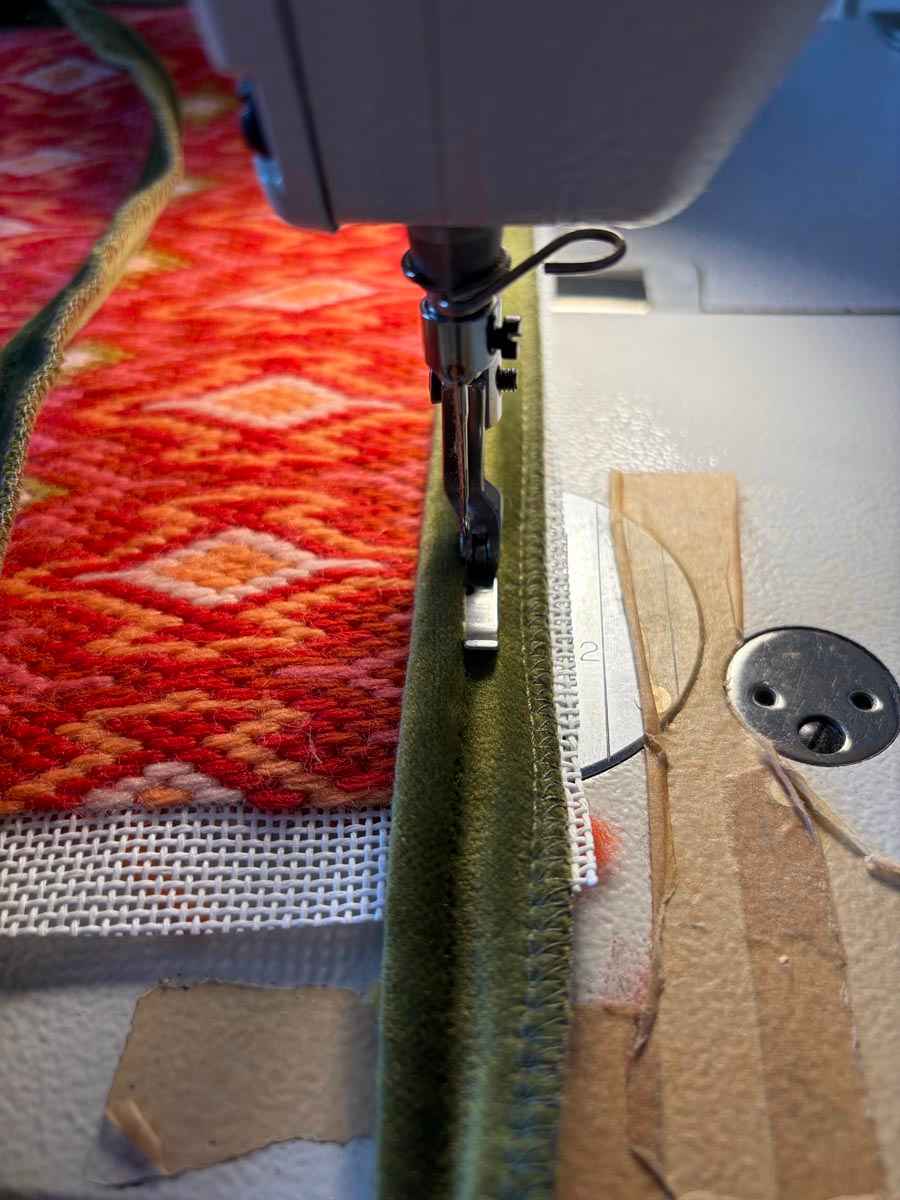
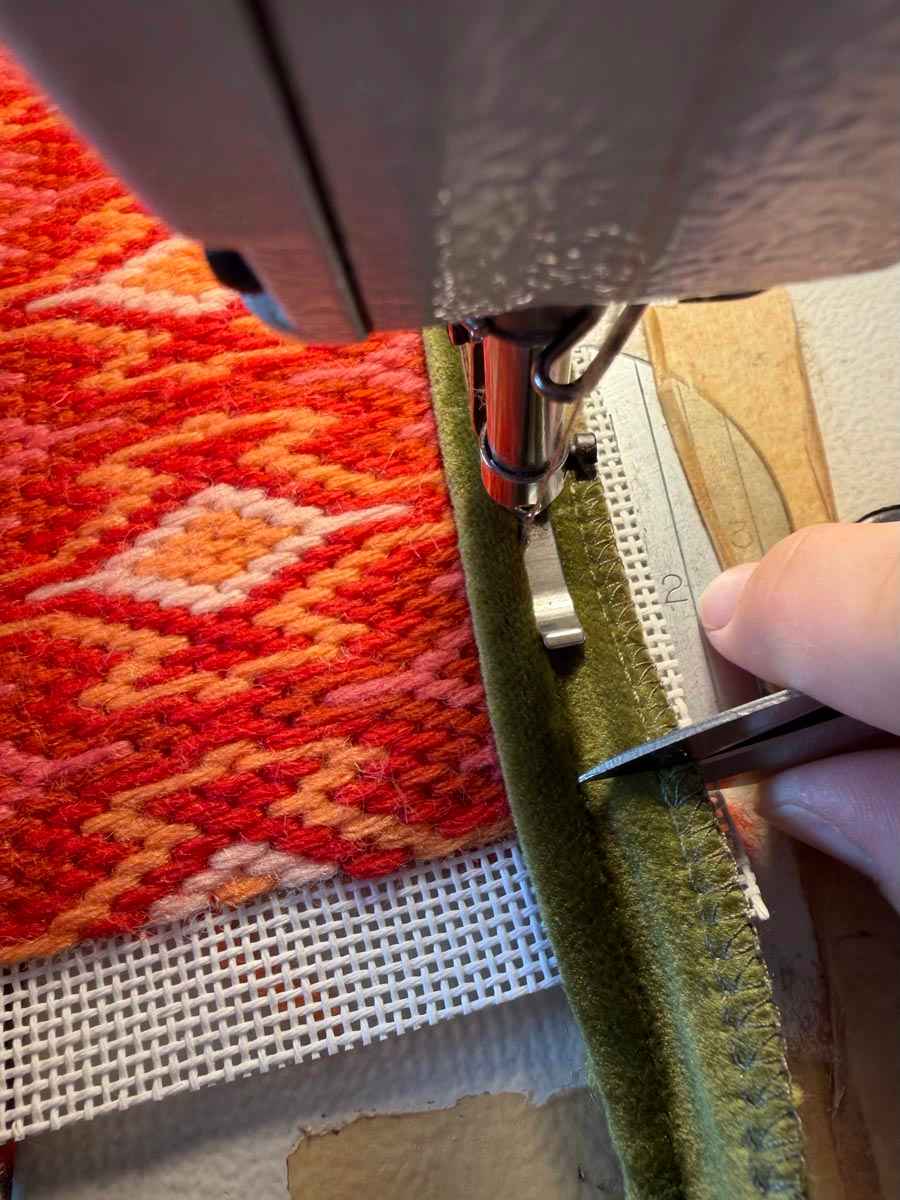
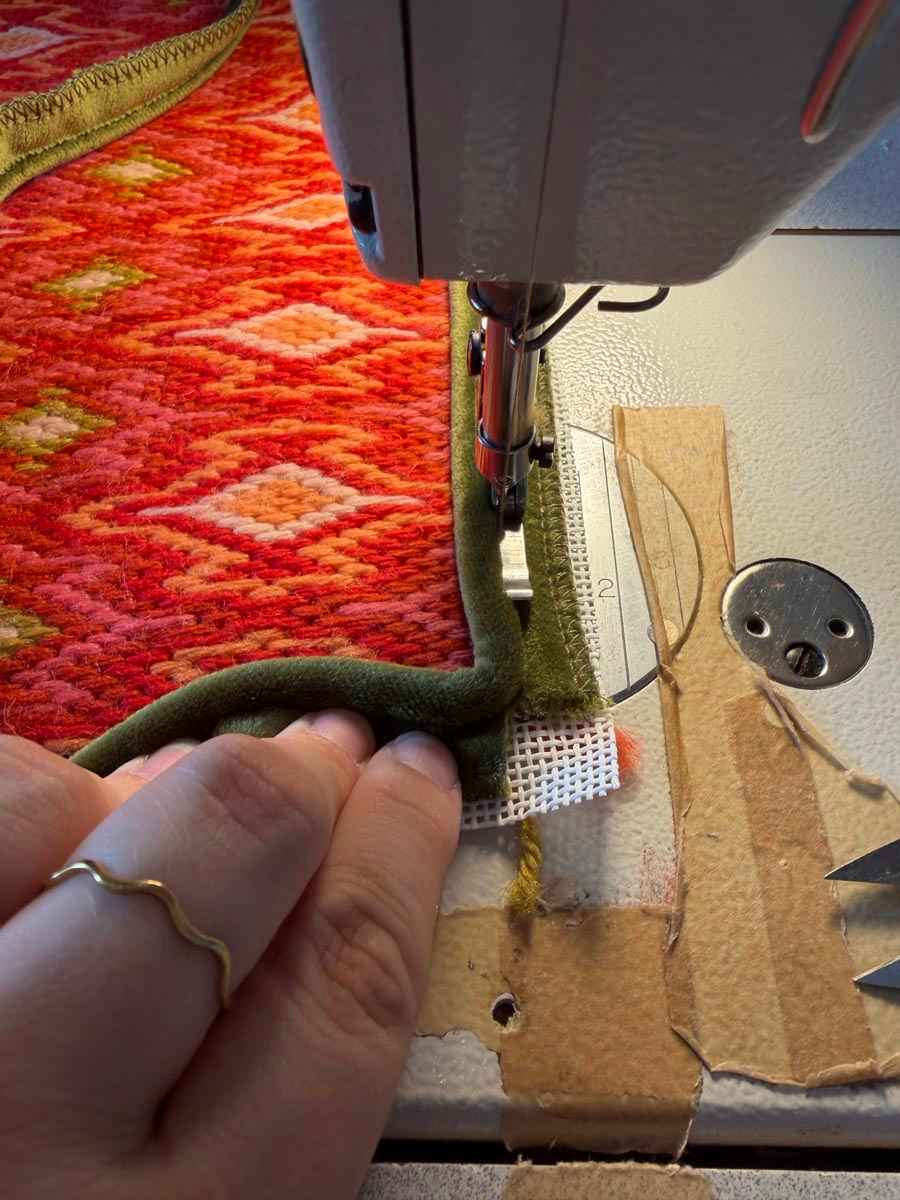
Bend the piping around the corner and keep slowly stitching as you pivot around the corner.
Once you've finished stitching on your piping, check the underside to ensure that the stitching is where you would like it to be.
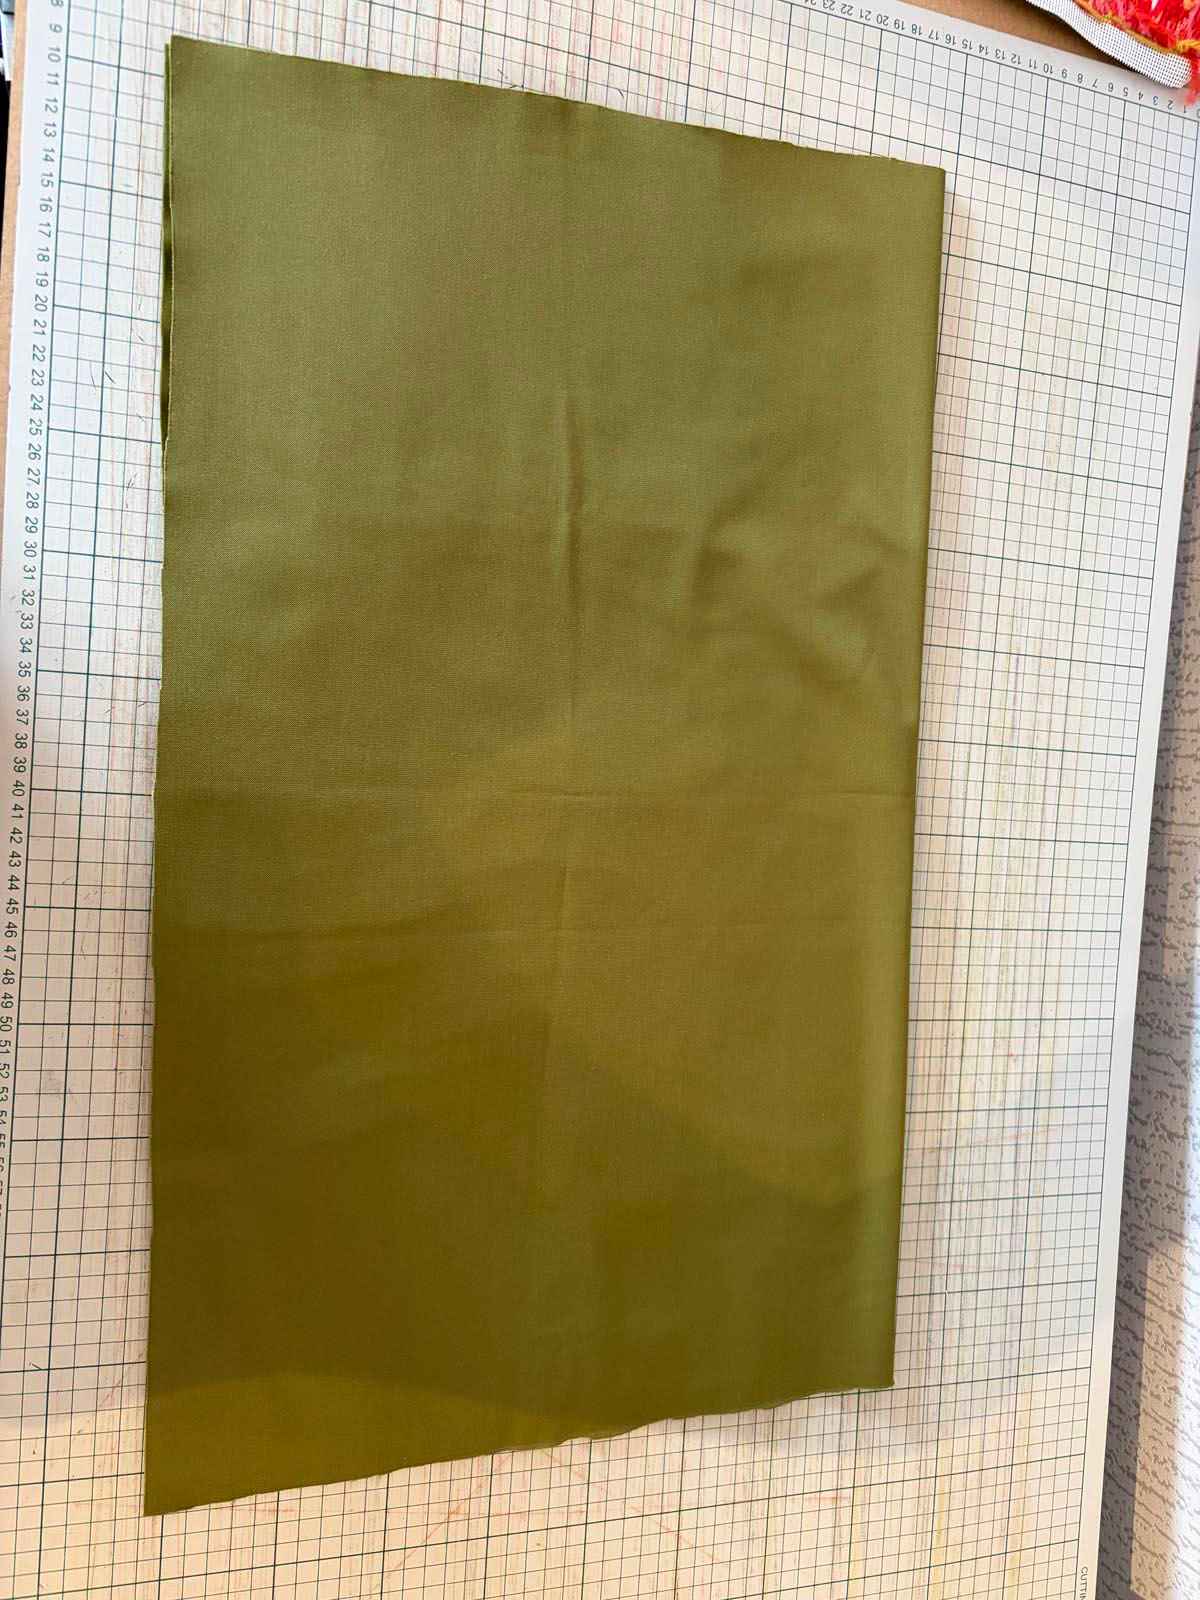
To have a comfortable amount of fabric to sew the backing, begin with a piece of fabric that is 55cm x 75cm, this works for all Fabled Thread designs.
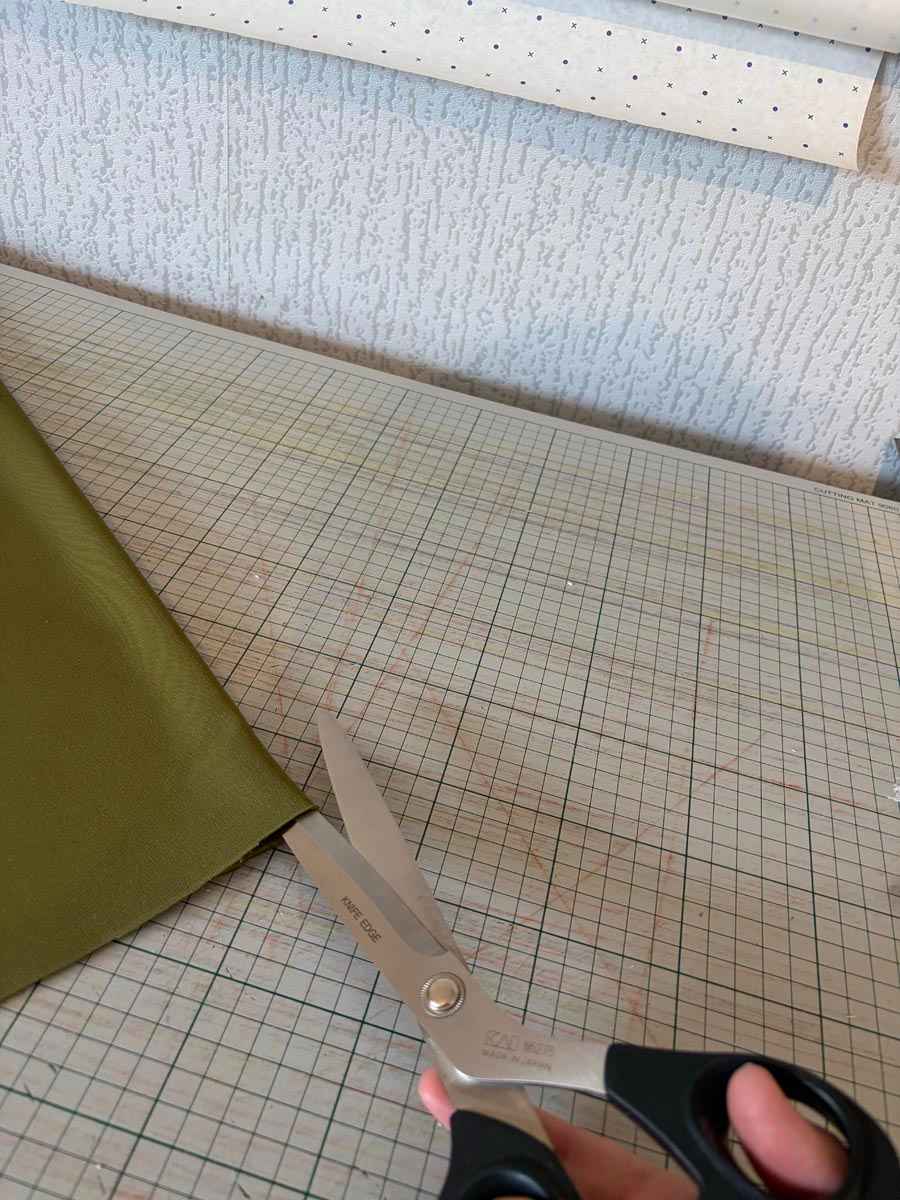
Fold the fabric in half along the longer edge and cut along the fold. You will then have two pieces that are 55cm x 37cm.
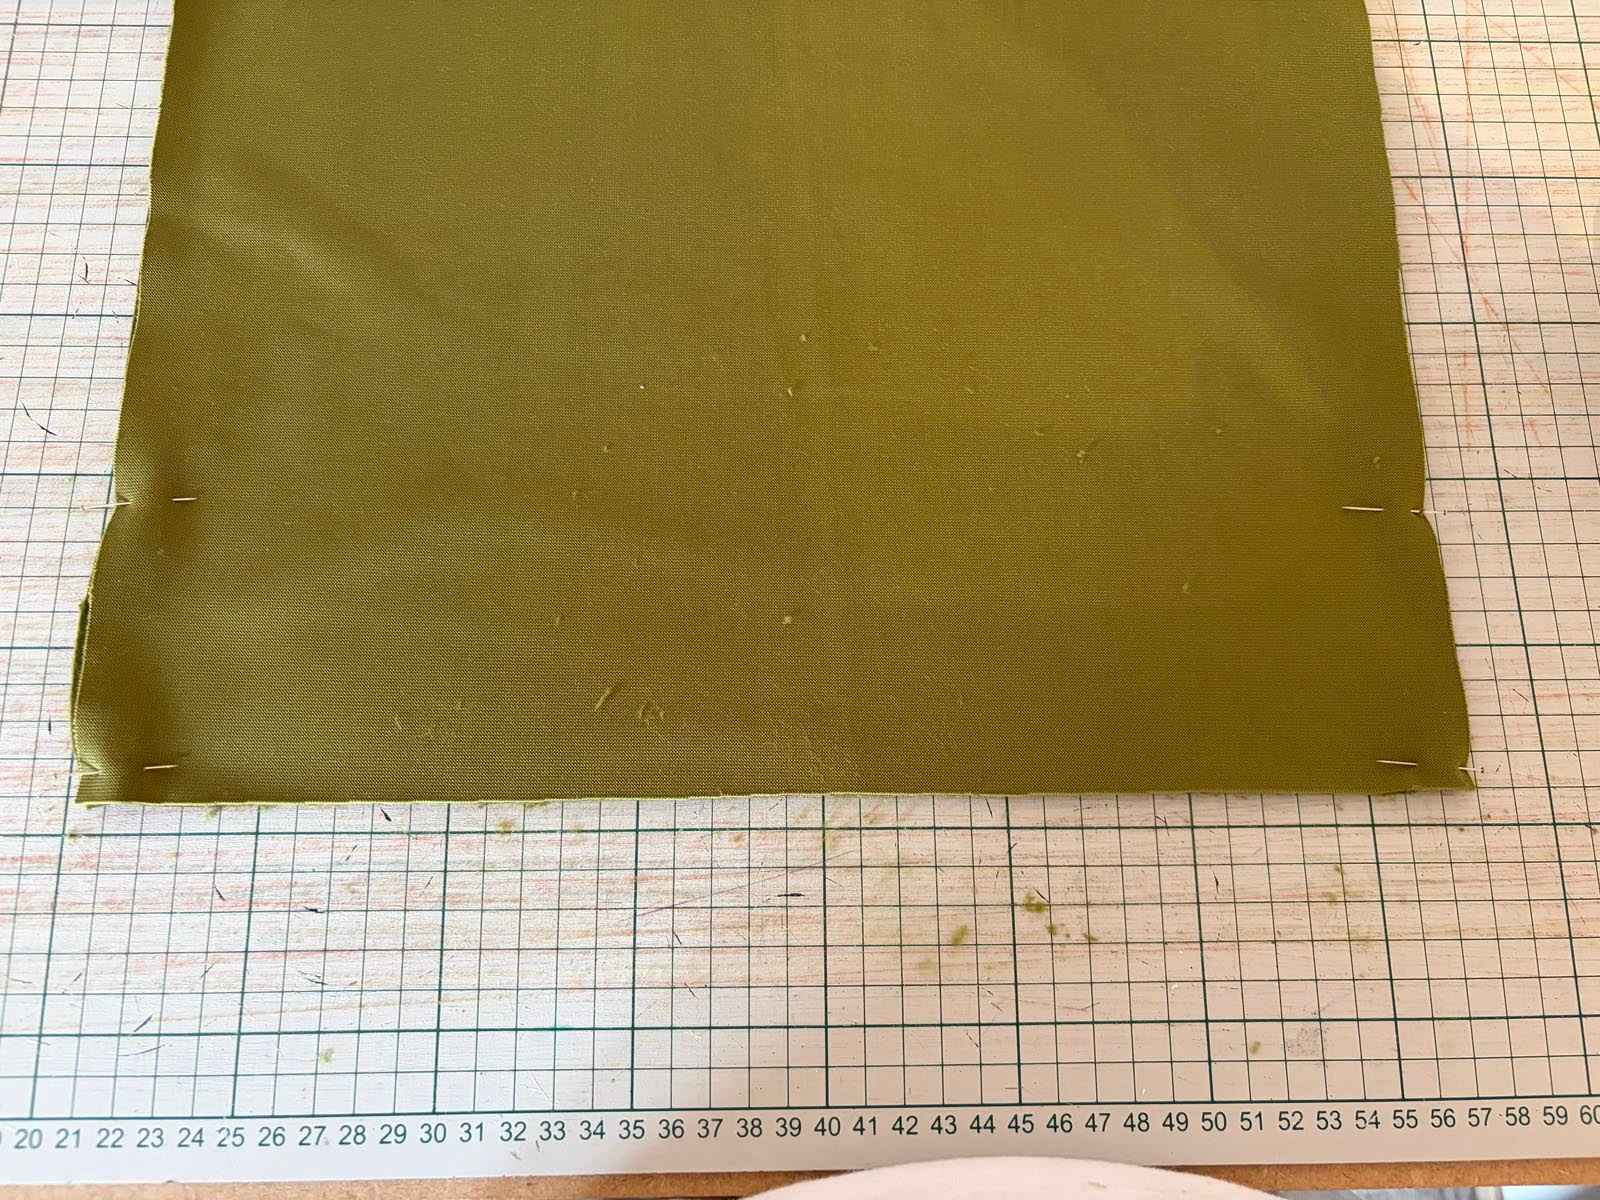
Lay the two fabric pieces right sides together and pin starting from each edge, stopping 8cm up from each side. Then open out the panels right side up - this creates the opening on the back of the cushion.
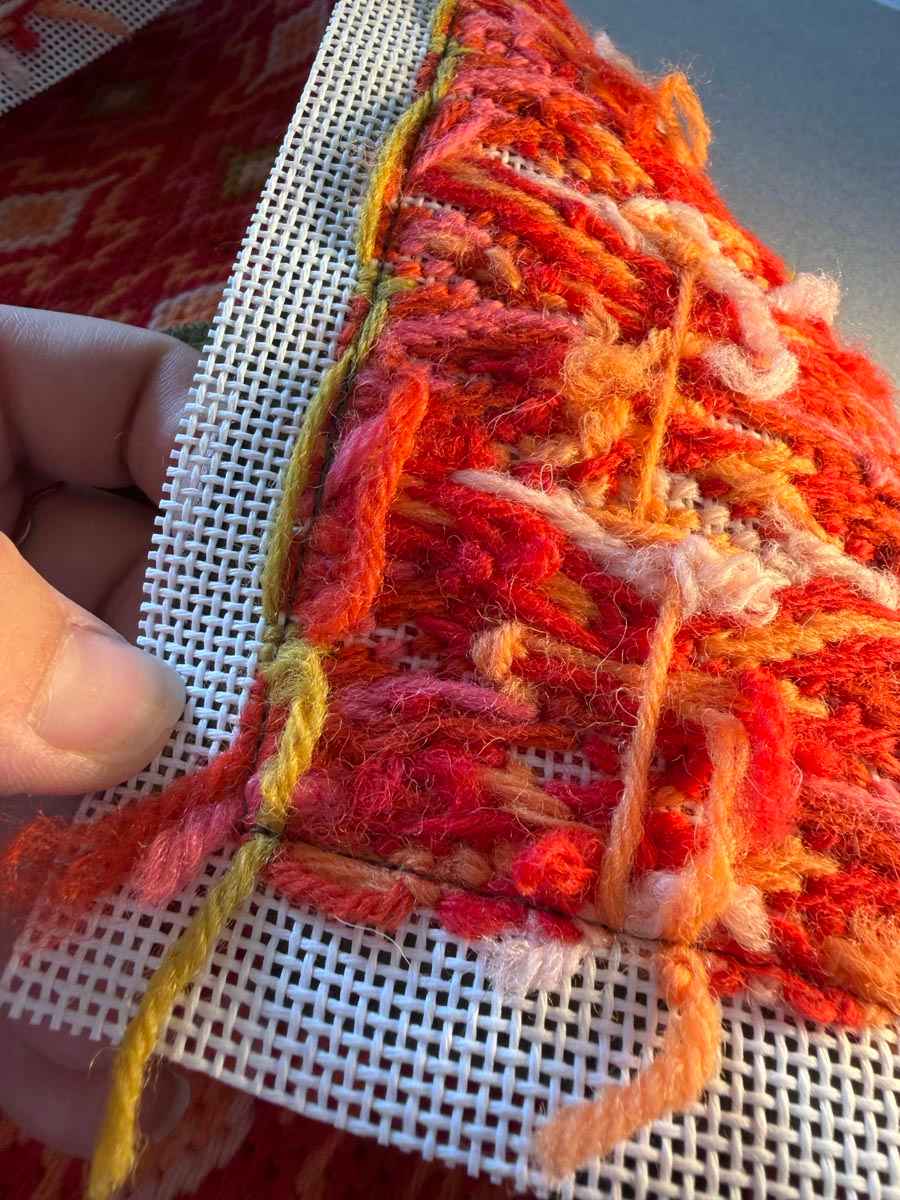
If you would like to add tassels, I recommend adding them at this point.
Thread one end of the wool through a needle. Position the needle to go between the piping and the needlepoint through the seam. For the corner where the piping begins, sew through the excess canvas.
Knot the two pieces of wool together twice to secure.
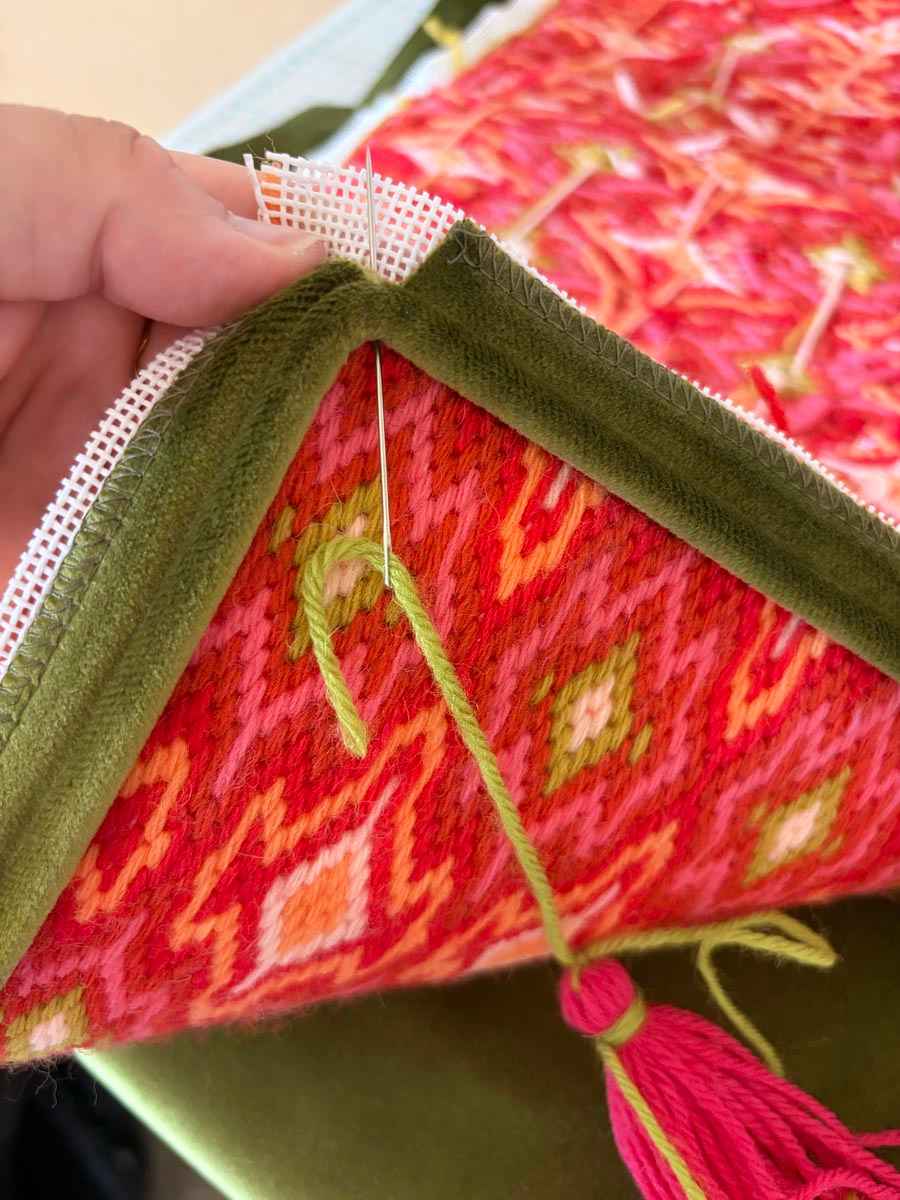
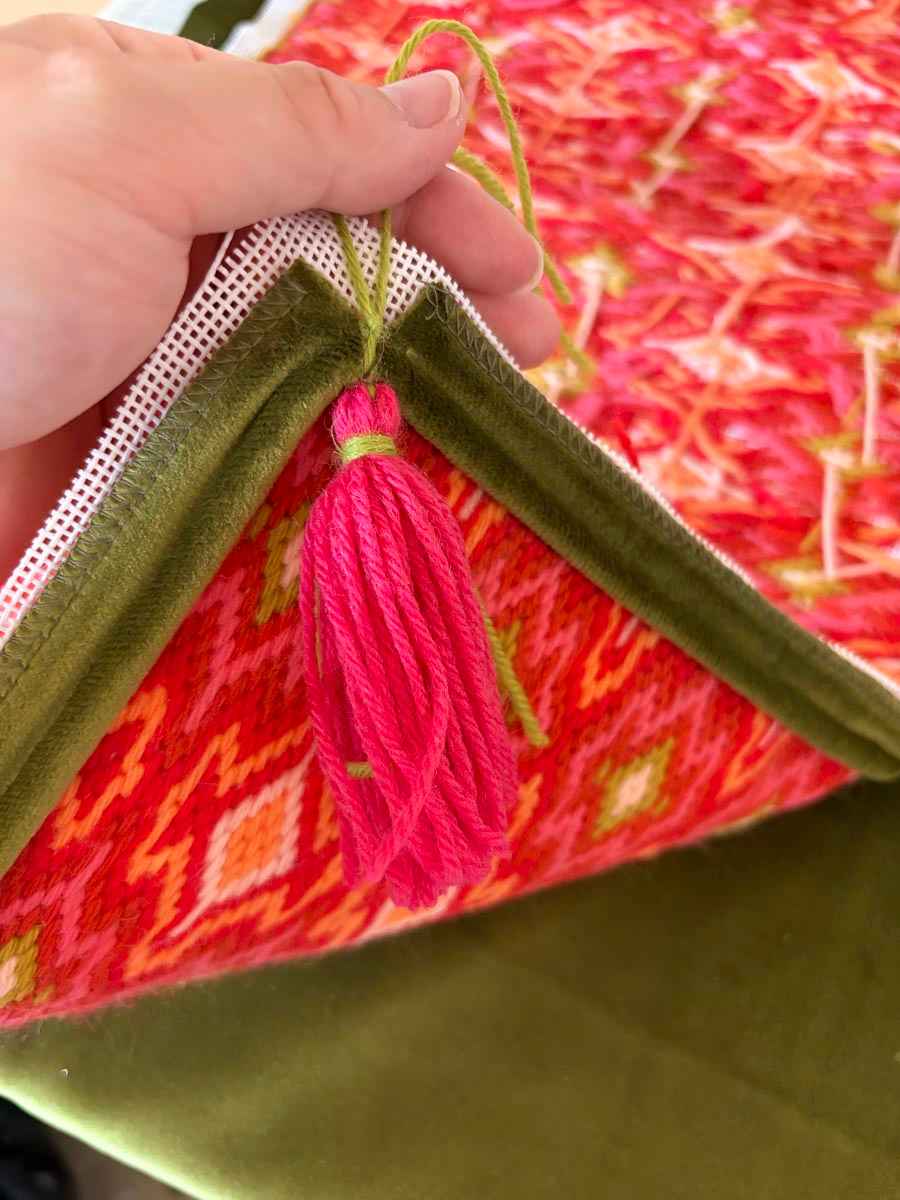
Find the top centre of the cushion front and mark with a pin. Repeat for the bottom edge.
Line up the centred pins with the opened fold that you pinned earlier on the backing fabric, starting at the top and bottom, and work around the edges, pinning every few inches.
Fold out the excess piping to ensure a neat corner (image below).
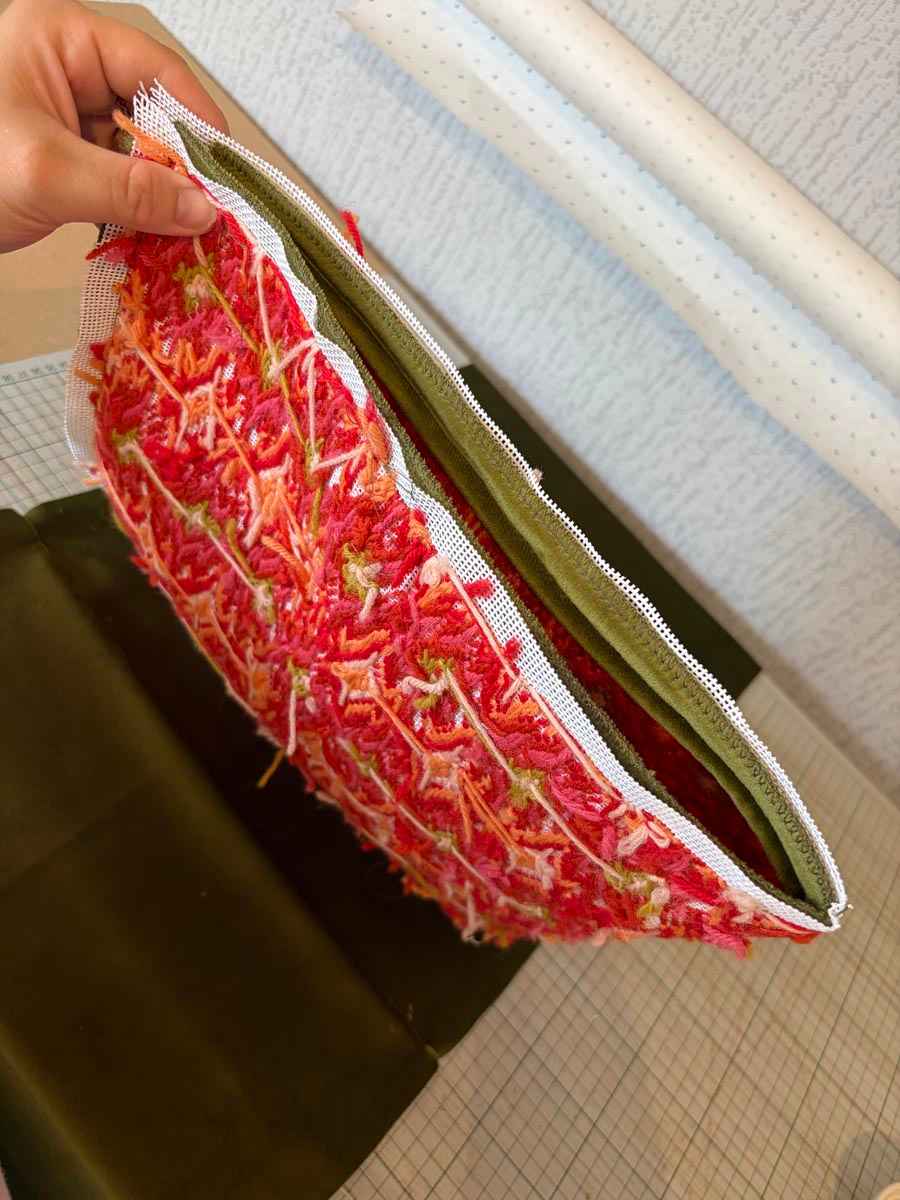
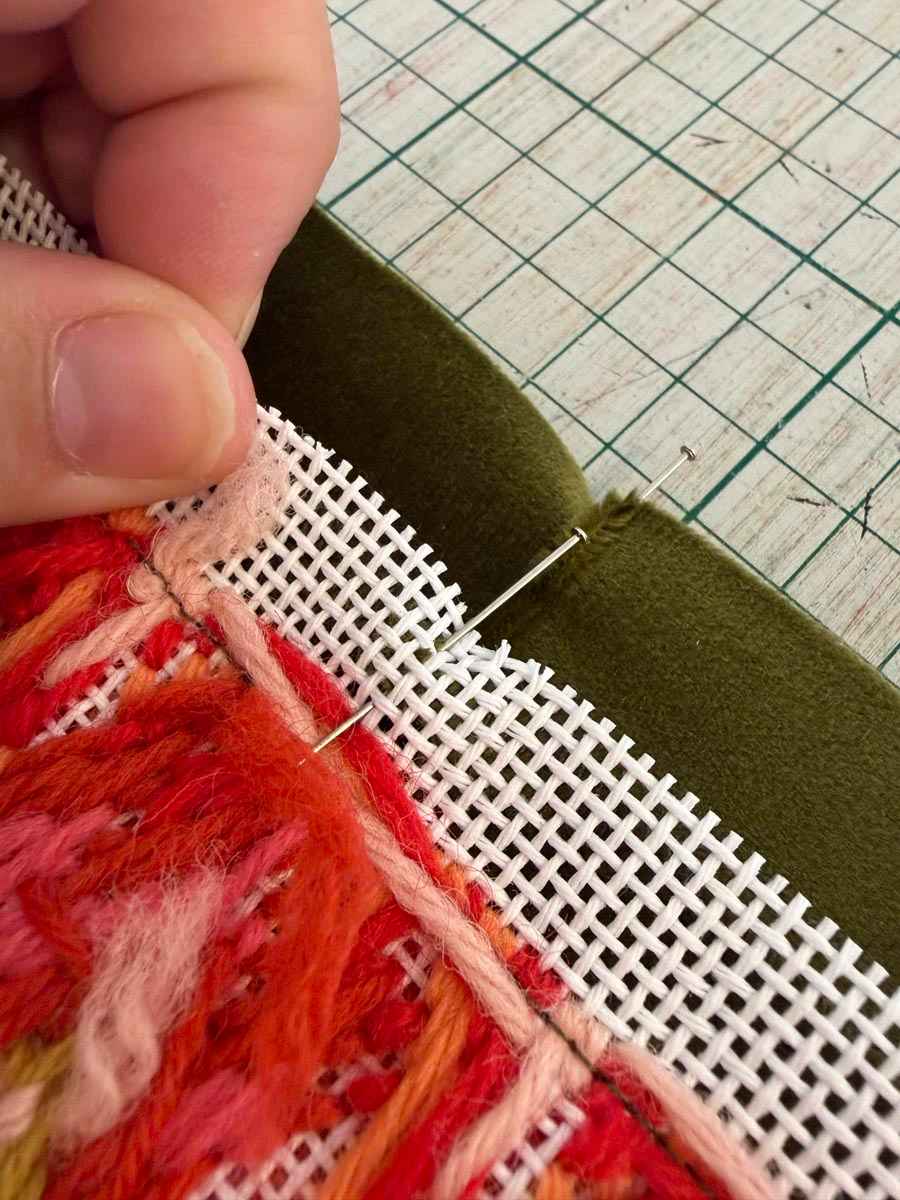
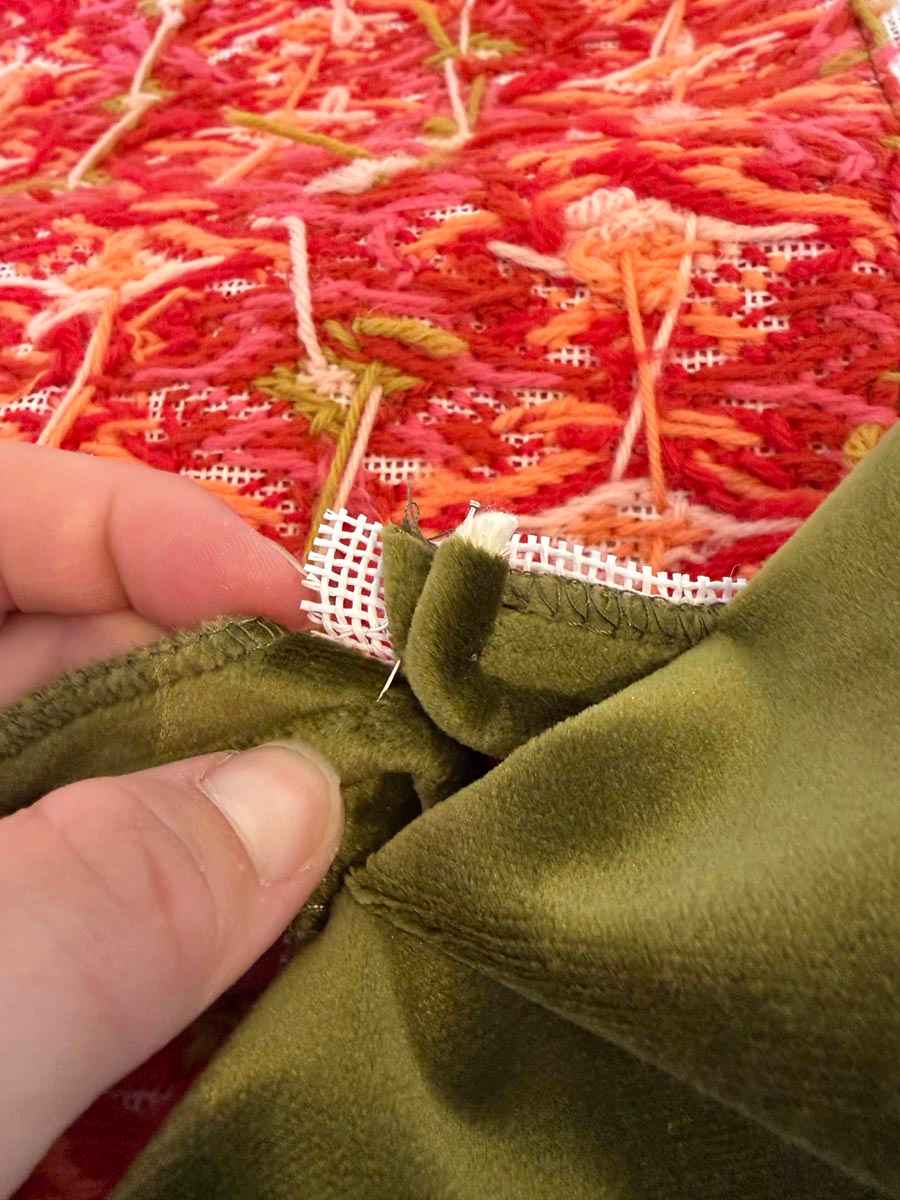
Sew as close to the existing stitch line as you can, smoothing the velvet as you go.
Once sewn, flip the cushion to be backing fabric on top and stitch around again - this ensures extra strength and that you can get the stitching as close as possible to the edge of the piping.
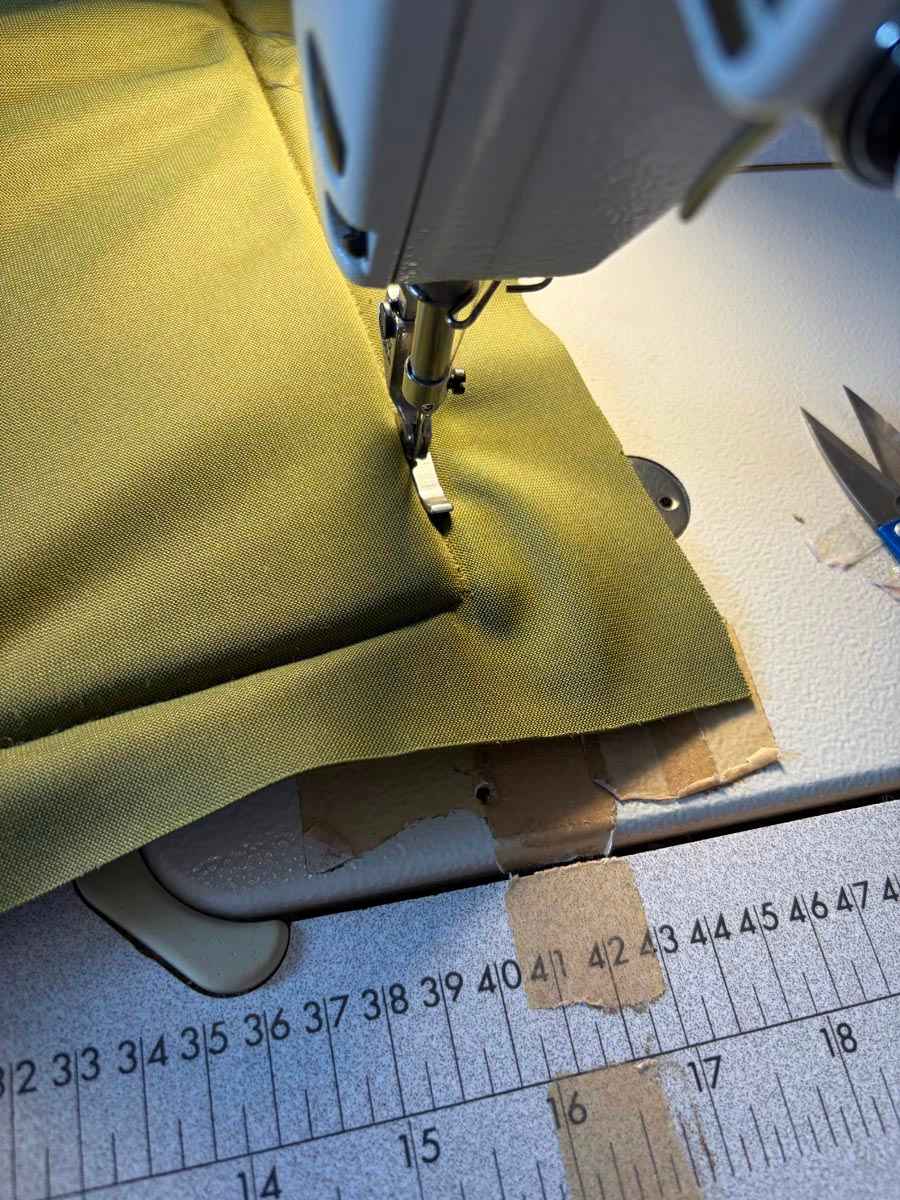
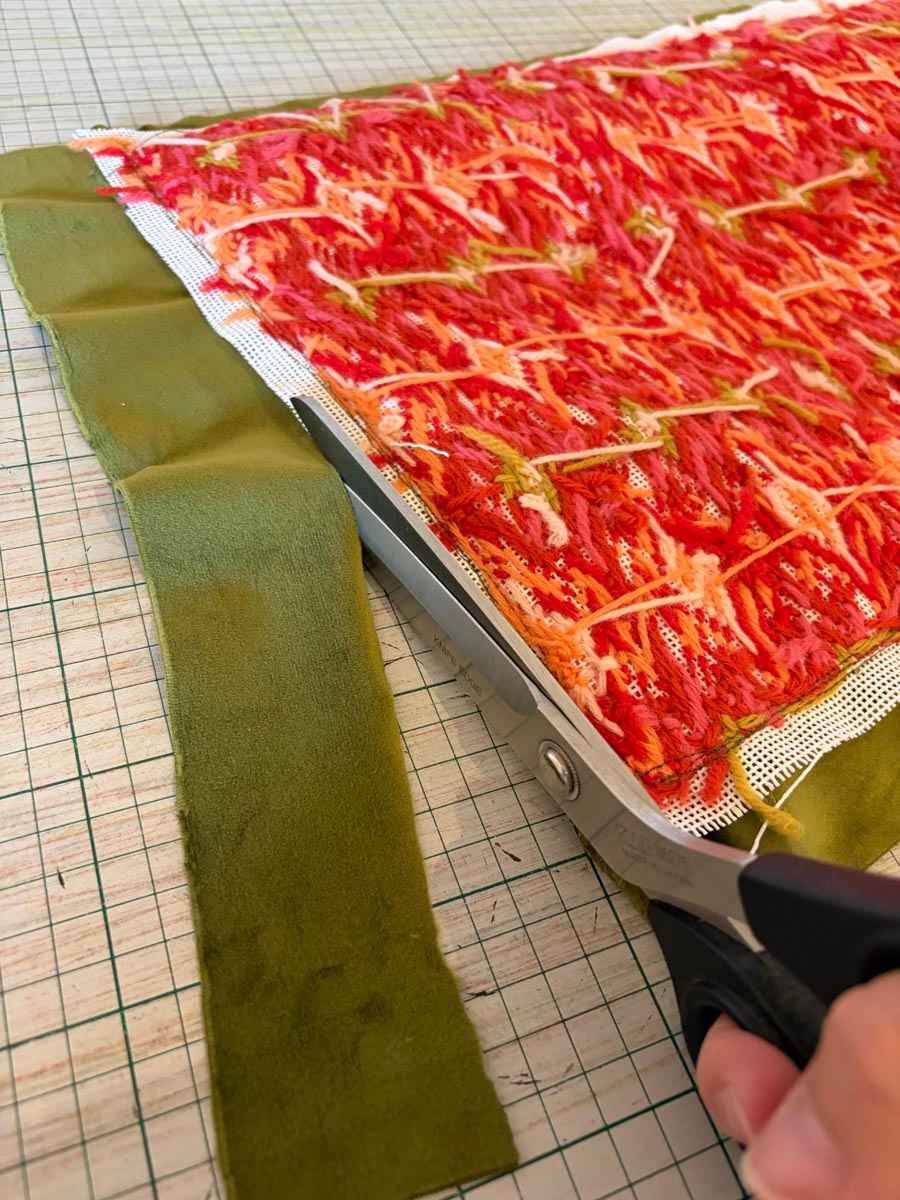
Trim away any excess fabric.
Turn your needlepoint cushion the right way out and give it a press and you're done!
Top Tip: If you want your cushion to feel fuller, size up on the cushion pad by 5cm.