Design Your Own Embroidery
We have one primary objective as a business: to empower creativity.
That doesn’t just mean giving you kits to stitch, like most other embroidery or sewing kit companies – if that were our goal, our mission would be something along the lines of “to get the world sewing,” which would be a perfectly admirable ambition in itself. But that’s not quite it. Our mission goes a bit further – it’s about helping you build creative confidence. It’s what I wrote about in our article on why we don’t sell PDFs of our designs – because we’re not trying to make things quick and easy, we’re trying to help you feel like a creative person.
So, with that in mind – and given that embroidery is my primary creative language – it felt like the right moment to put together a guide on how to design your own embroidery. Now, we do have a very comprehensive course that walks through this whole process in detail, which you can find out about here. So if you want the full experience – a proper deep dive into discovering your own aesthetic – then I’d absolutely recommend that. But if you just need a little nudge, something to push you gently from the safety of a kit to the excitement of a blank canvas, then this might be just the thing.
The tricky thing about the creative process is that it usually starts with the hardest part… coming up with an idea. Every now and then, inspiration will just land on your lap – a fully formed idea will appear in your head and you’ll feel ready to go – but if that’s a regular occurrence for you, then I suspect you’re probably not reading this article. For most people, this is the bit that feels the most intimidating – and it’s often where things unravel. We sit down, full of good intentions, maybe with a brand new sketchbook, and within five minutes we’ve panicked, got disheartened, and given up altogether.
There are all sorts of reasons we get stuck here – and usually it has a lot to do with the myths we’ve absorbed about what creativity should feel like (wild, spontaneous, exciting, free-flowing), as opposed to what it often actually feels like (structured, awkward, intimidating, time-consuming). I’ve written before about the seven myths of creativity (you can read that here if you want a bit of reassurance that you’re not alone), and they’re all worth being aware of, because if you’re expecting the creative process to feel like dancing through a meadow, then sitting at your desk feeling nervous and stuck can feel like proof you’re doing it wrong – when in fact, it probably just means you’re on the right track.

So before you even think about designing something, the first thing to do is to get over that very real hurdle – believing in yourself enough to have a go. And the best way I’ve found to do that is by breaking the process down into small, structured, enjoyable steps. That’s exactly why I made our video series on YouTube, called Finding Inspiration. The first one is linked below, and I’d really recommend watching all three. I know I’m biased – I made them, after all – but I do think they’re a good place to start if you’re someone who thinks you’re “not creative” or could never come up with an original idea. They show you that it doesn’t have to be magic – it just has to be doable. And it absolutely is.
How To Find Inspiration
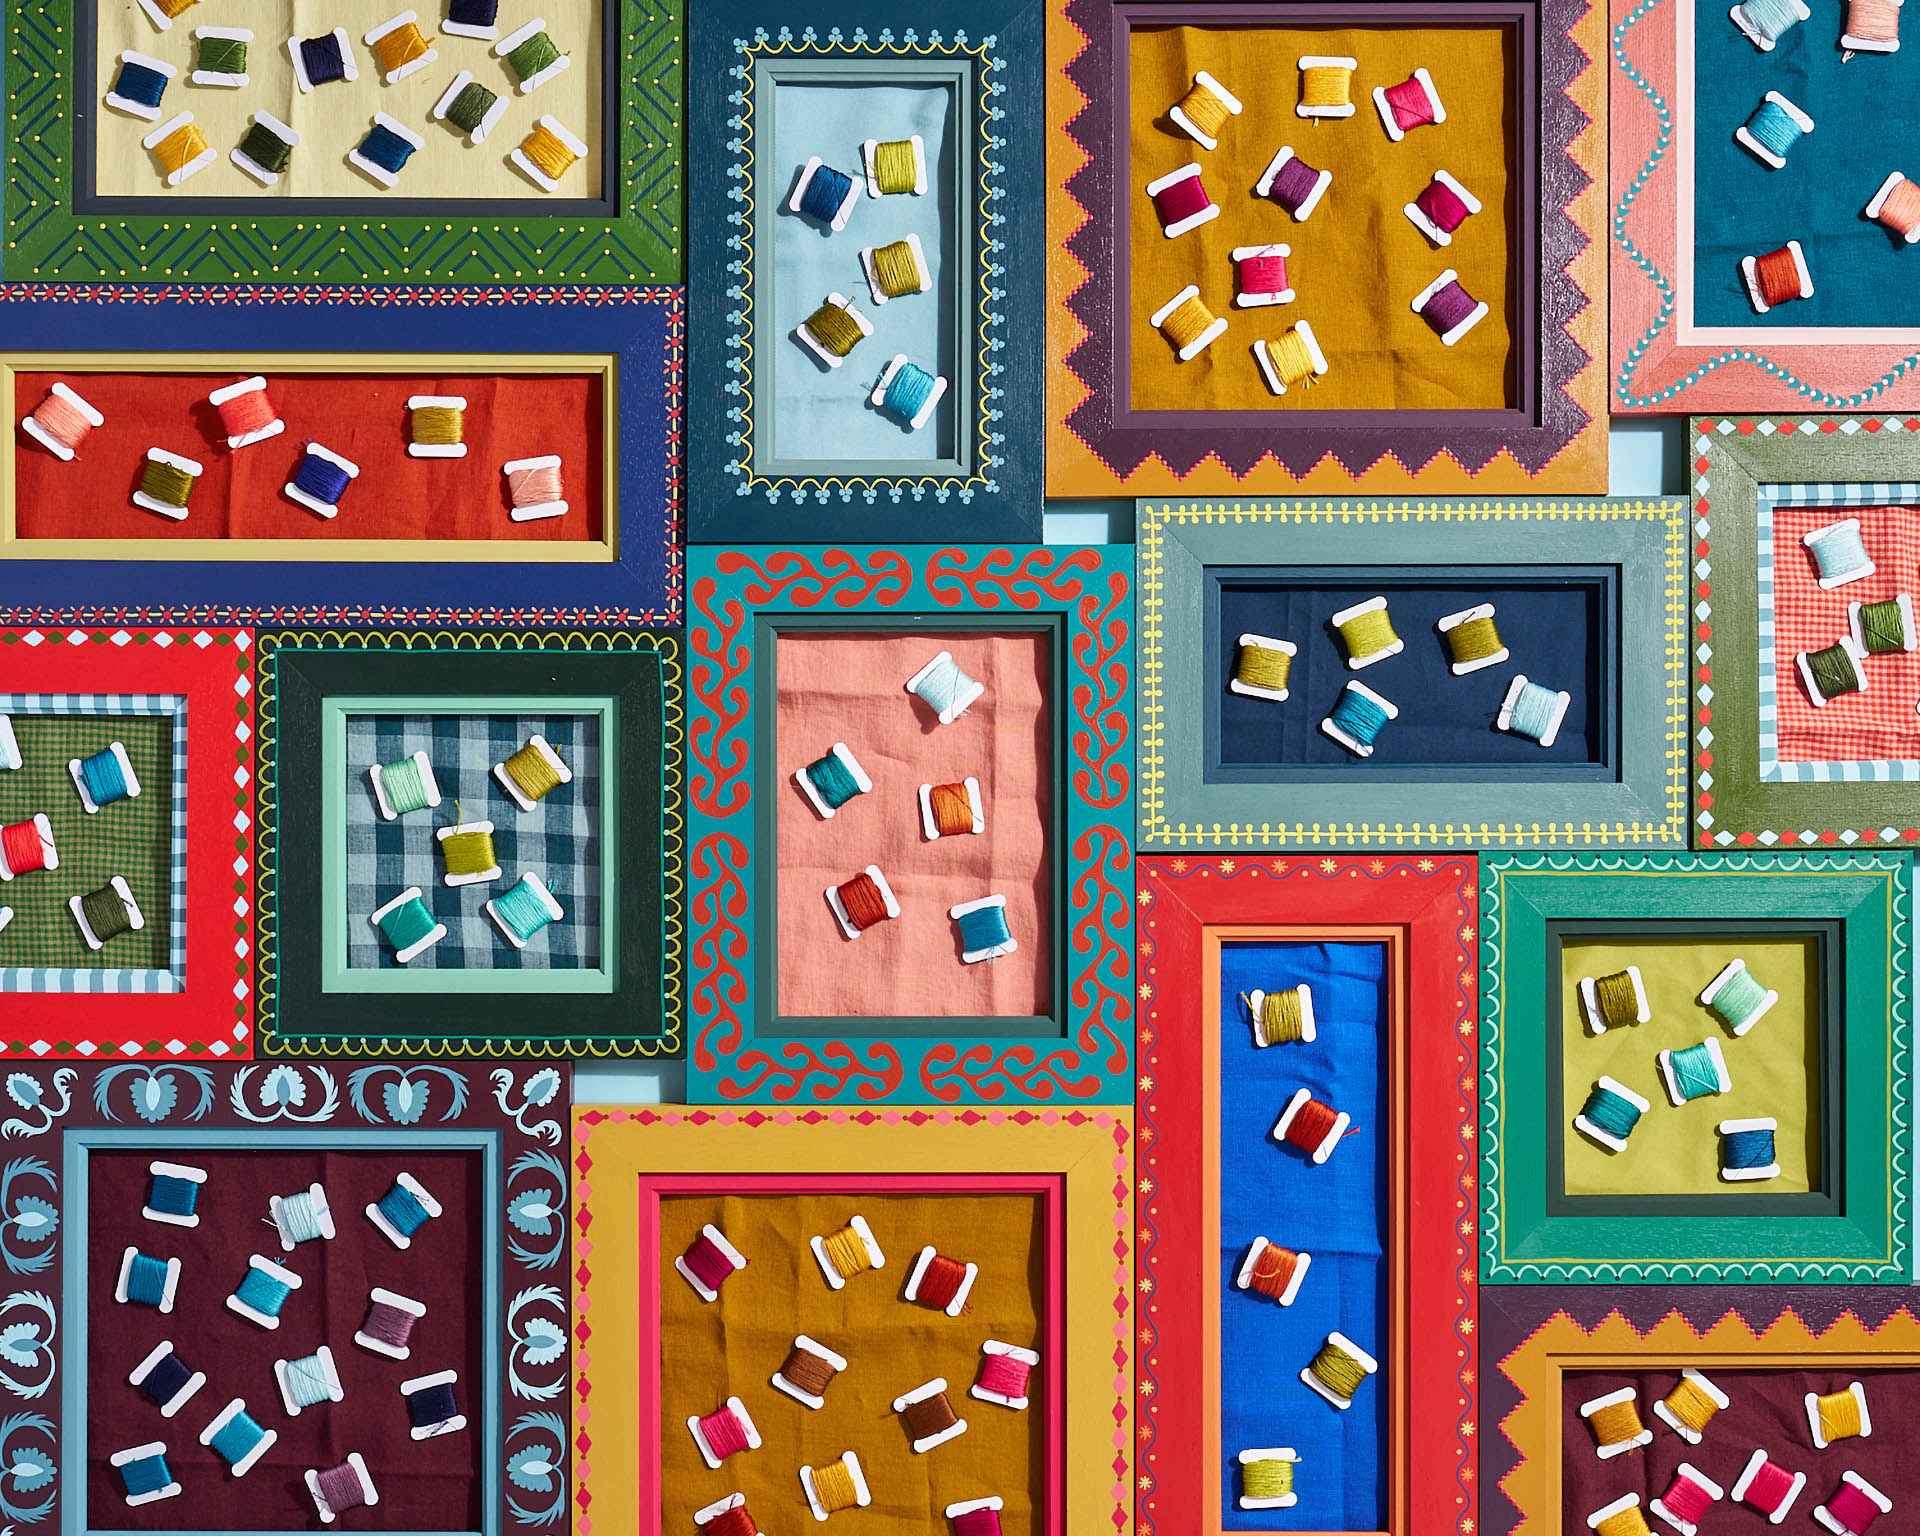
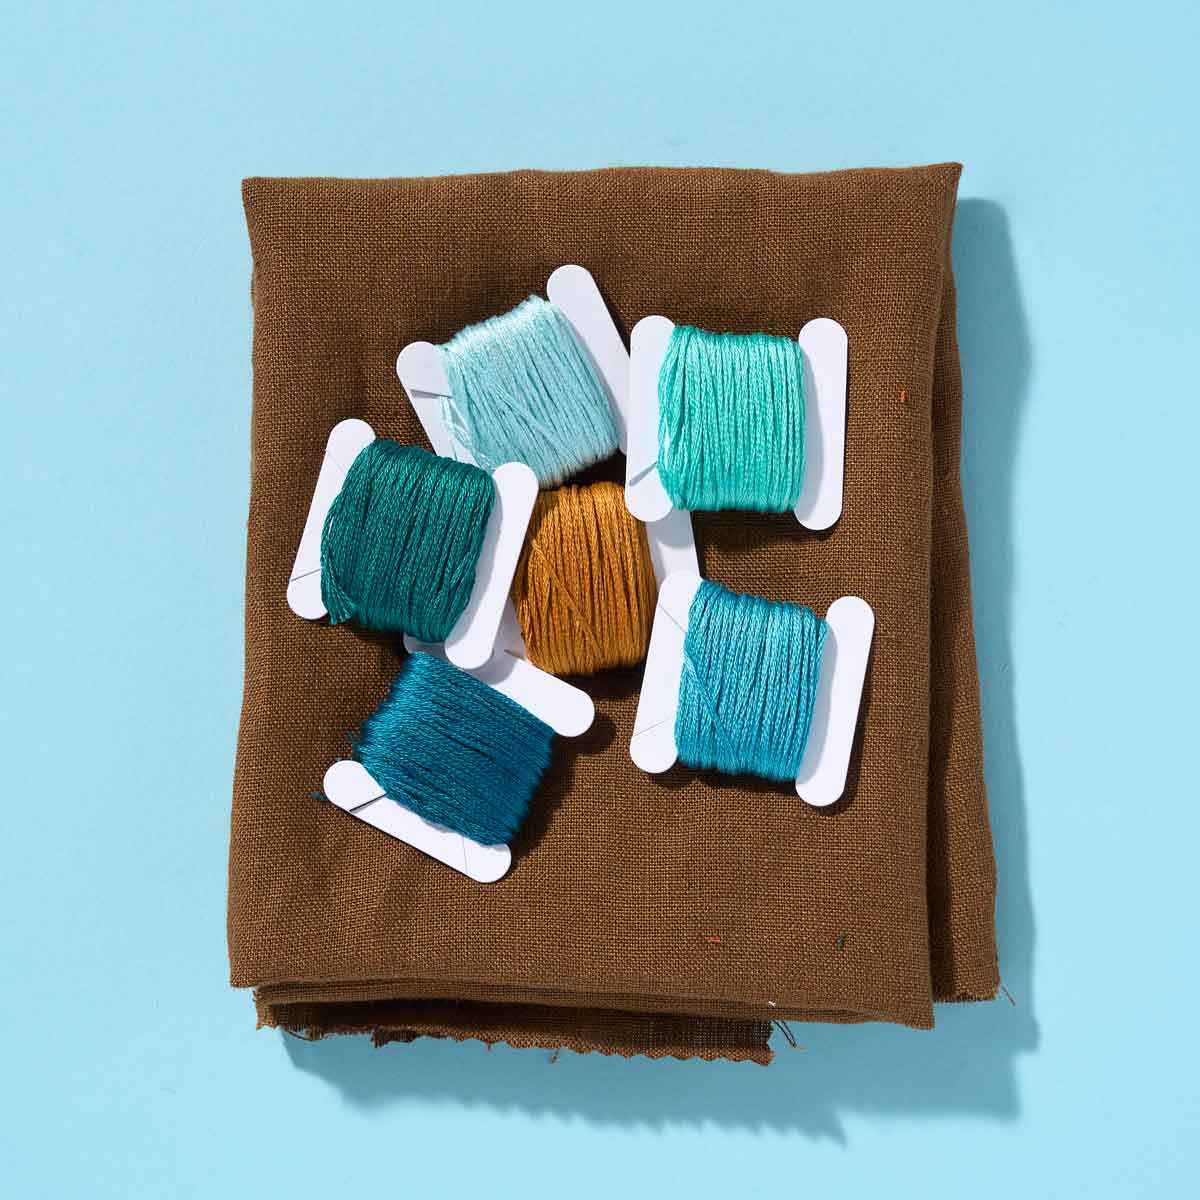
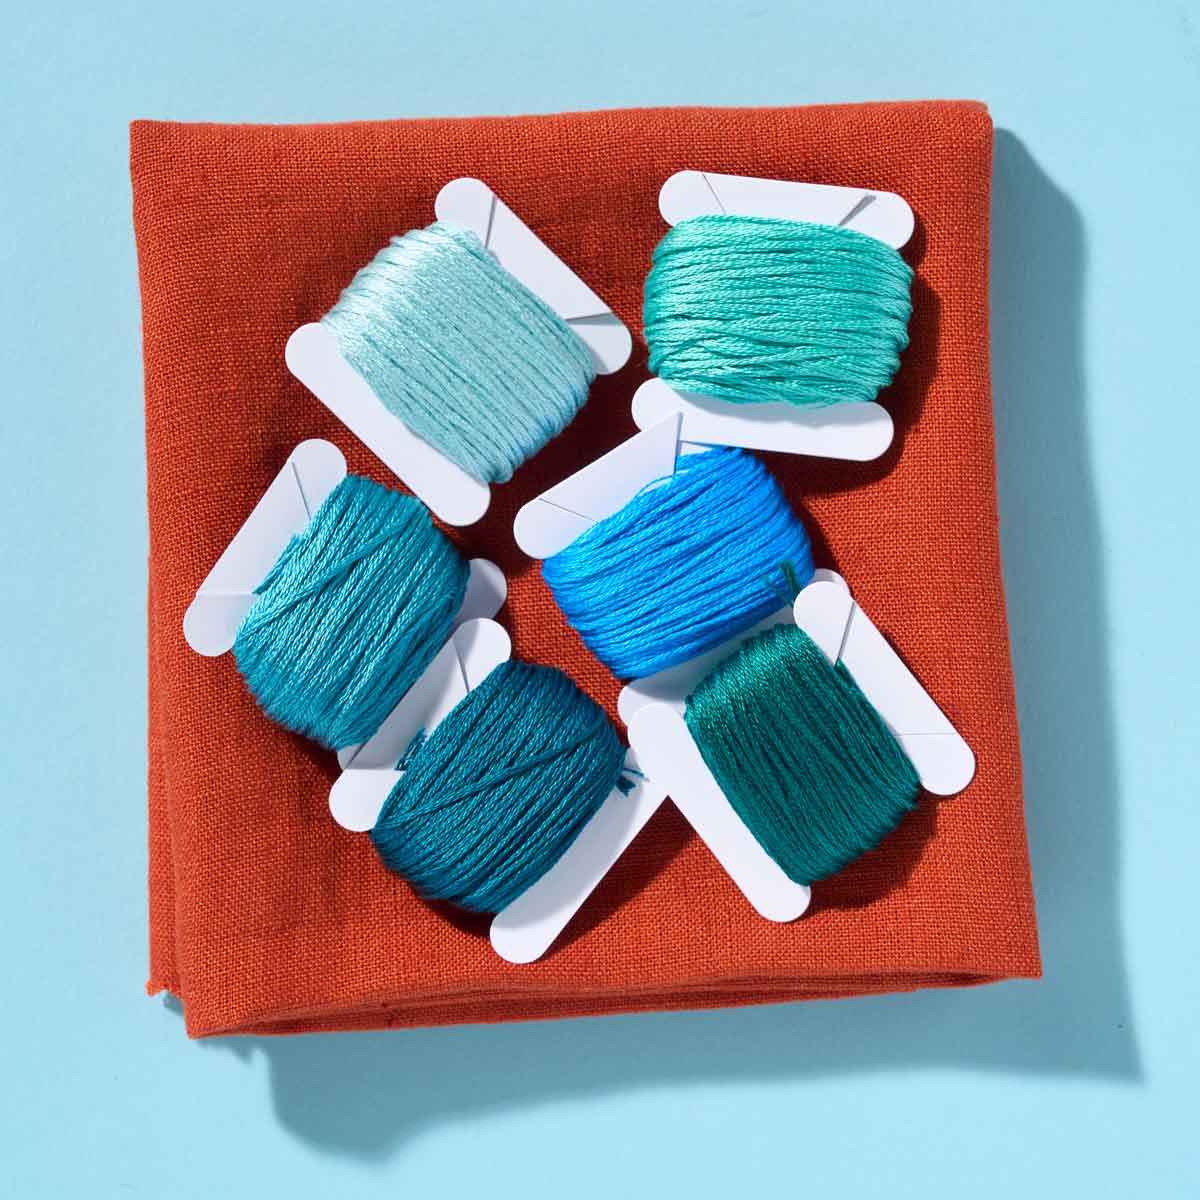
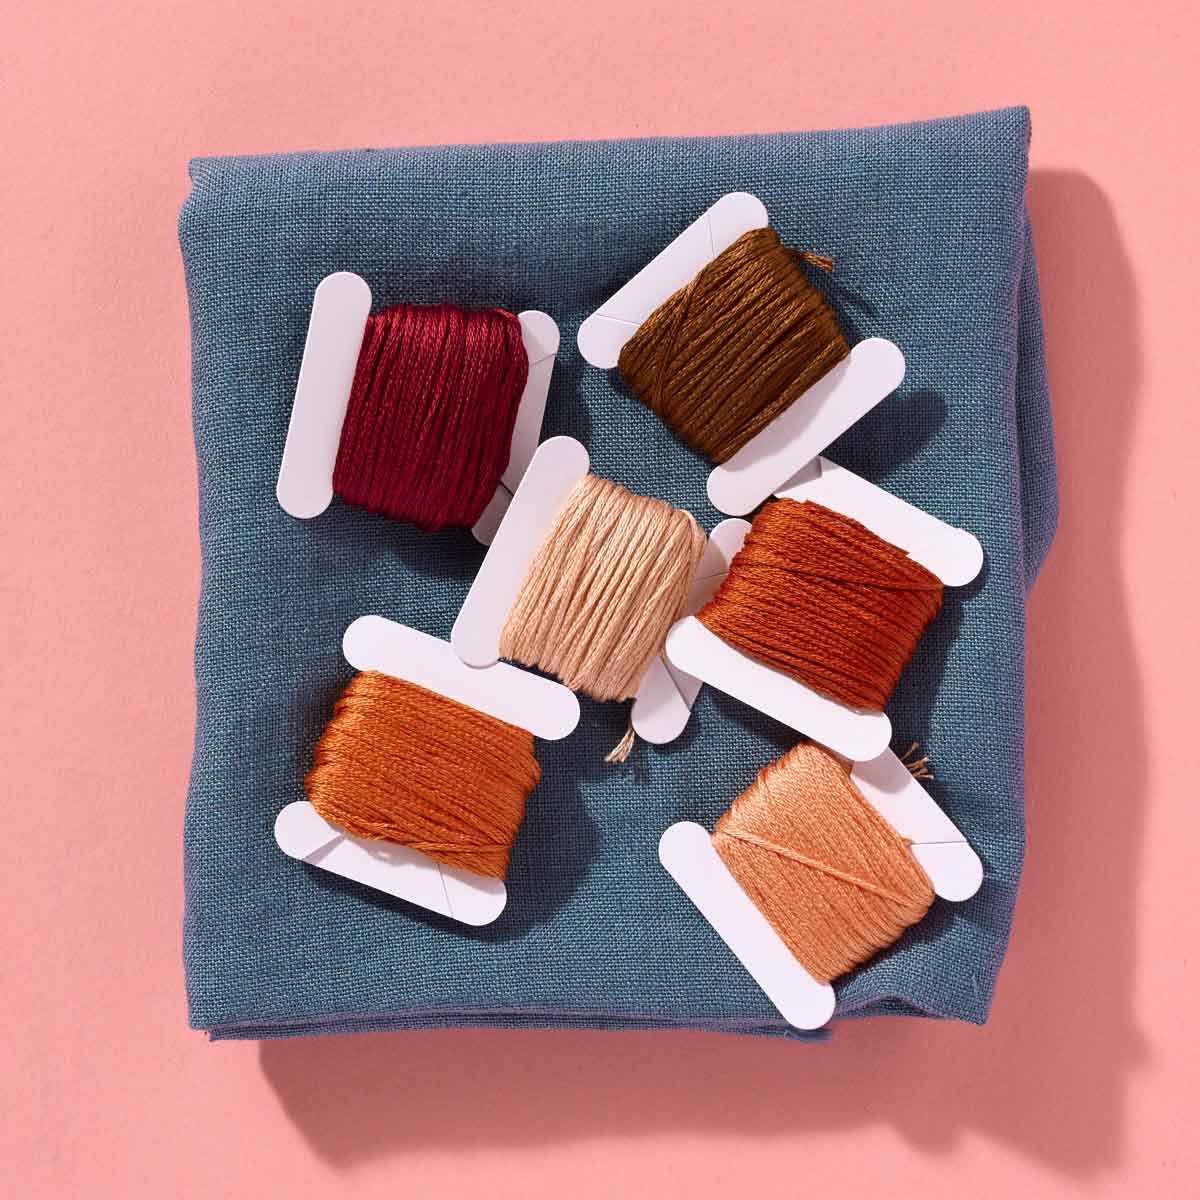
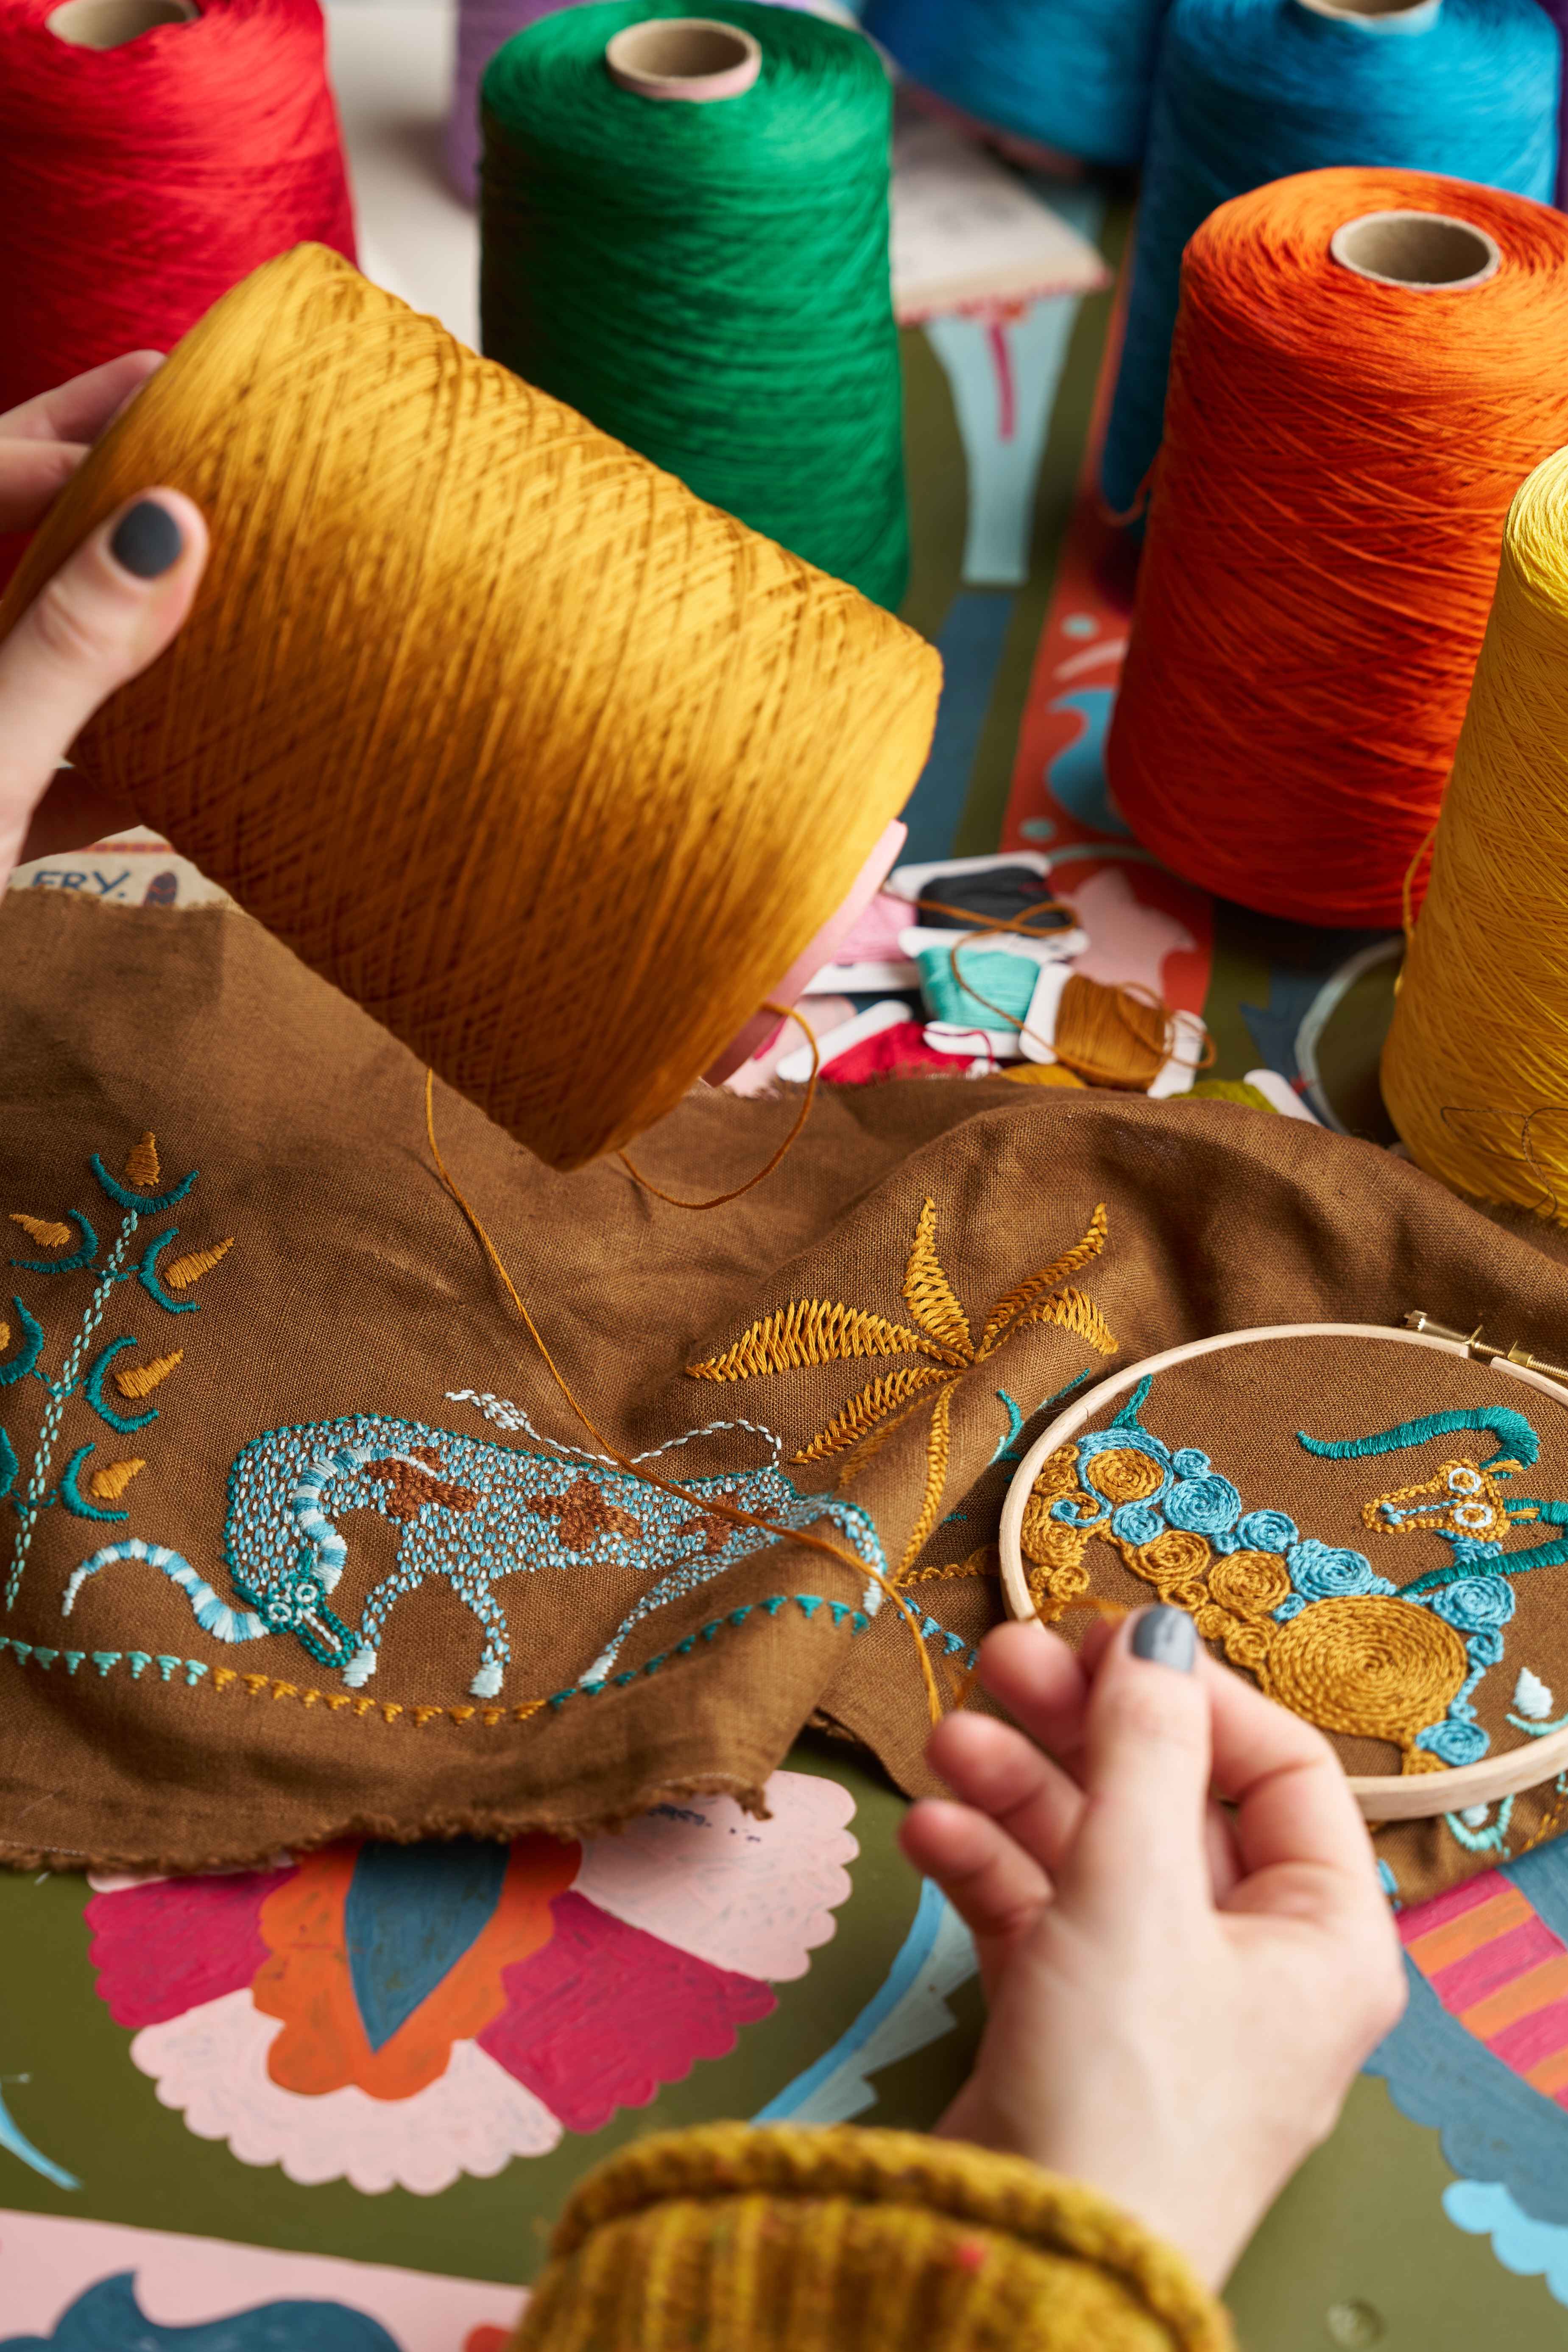
So, up next comes choosing your colour palette – essentially, getting together the materials you’ll use to create your design. I think picking colours is one of the most fun parts, but also one of the most important. A good colour palette can make even the simplest design look brilliant, whereas even the most impactful design can fall flat if the colours are confused or lacking in contrast.
If coming up with a design feels like enough of a challenge for your first go, we do have a helpful shortcut – our Bundles.
 Sold out
Bundle 3

Bundle 32
 Sold out
Bundle 26

Bundle 5
Each bundle includes a piece of fabric and enough thread to create your design, but more importantly, we’ve already done the hard bit of making sure the colours work well together. Each one has enough tonal variation to let you play around with light and dark, harmony or contrast. So if you want to focus on stitching something original without worrying about the palette, starting with a bundle can really help build your confidence.
That said, colour is a personal thing. I’ve written a whole article for our Studio members about my own methods for choosing colours, which you can find here, but you don’t have to follow my approach. You can simply go with what you like – pick colours you wear often, match them to a favourite print, or just start with a shade you love and build around it. We’ve got a whole range of fabrics and threads to help you build your own palette from scratch.
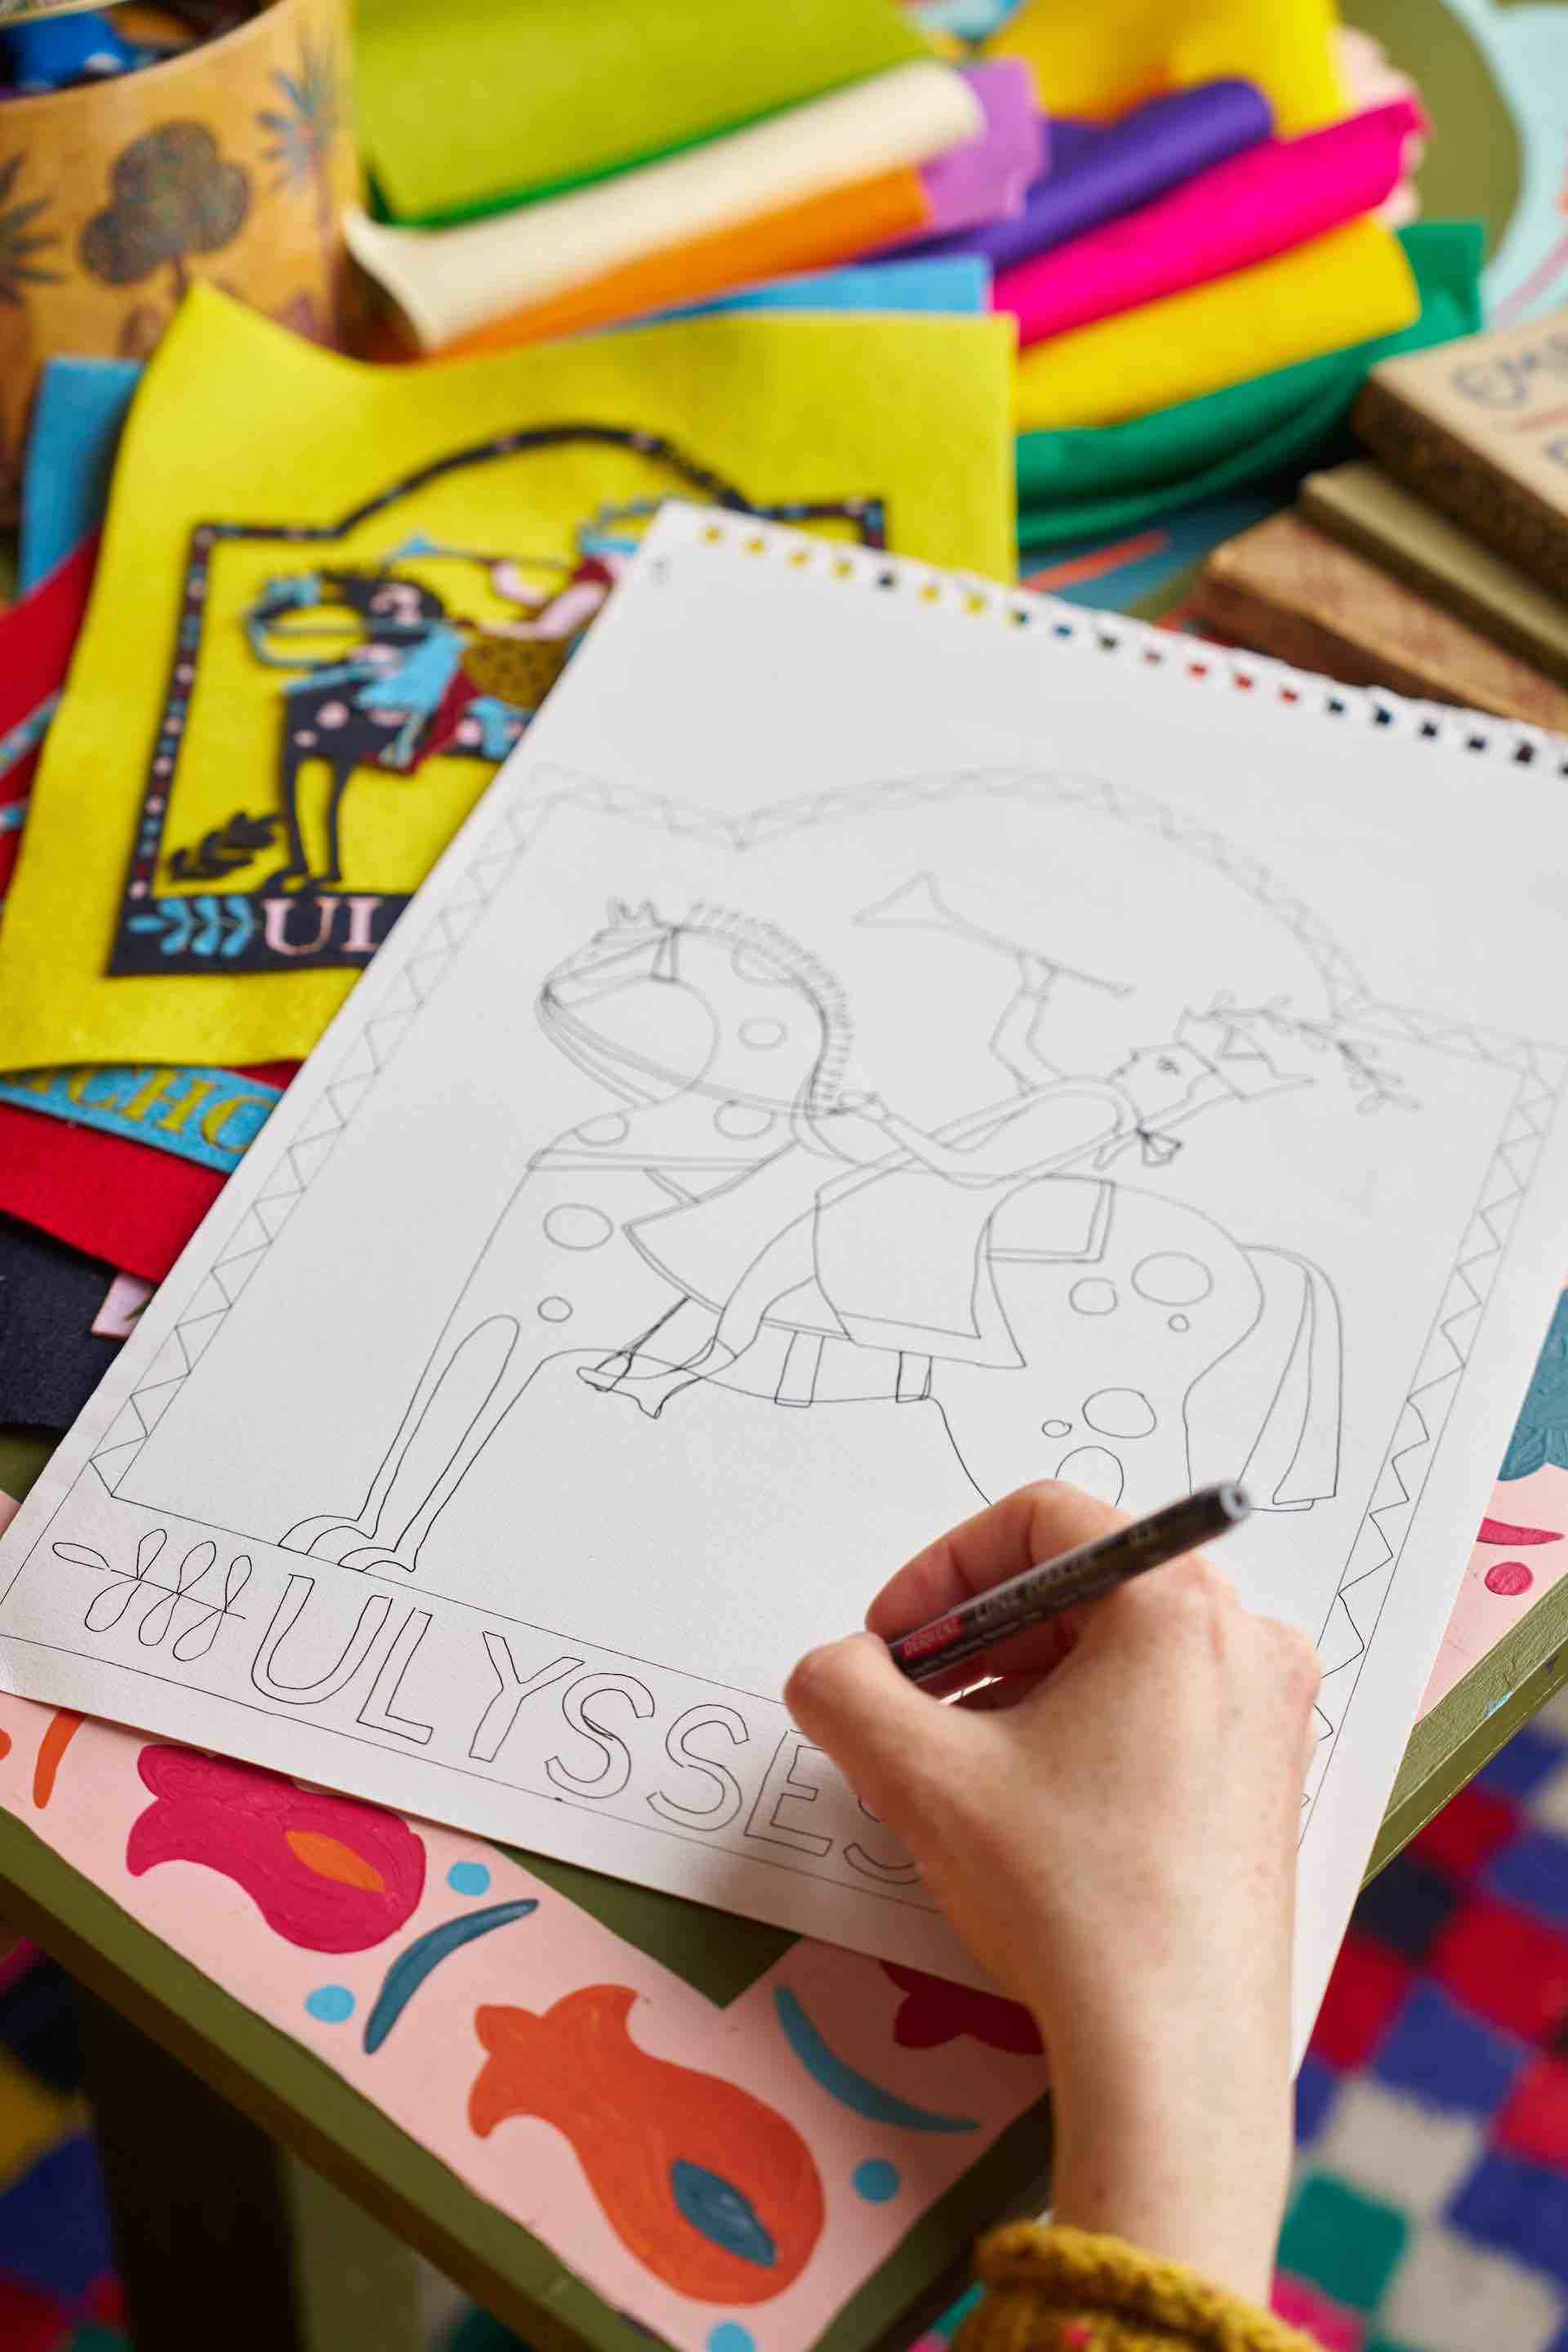
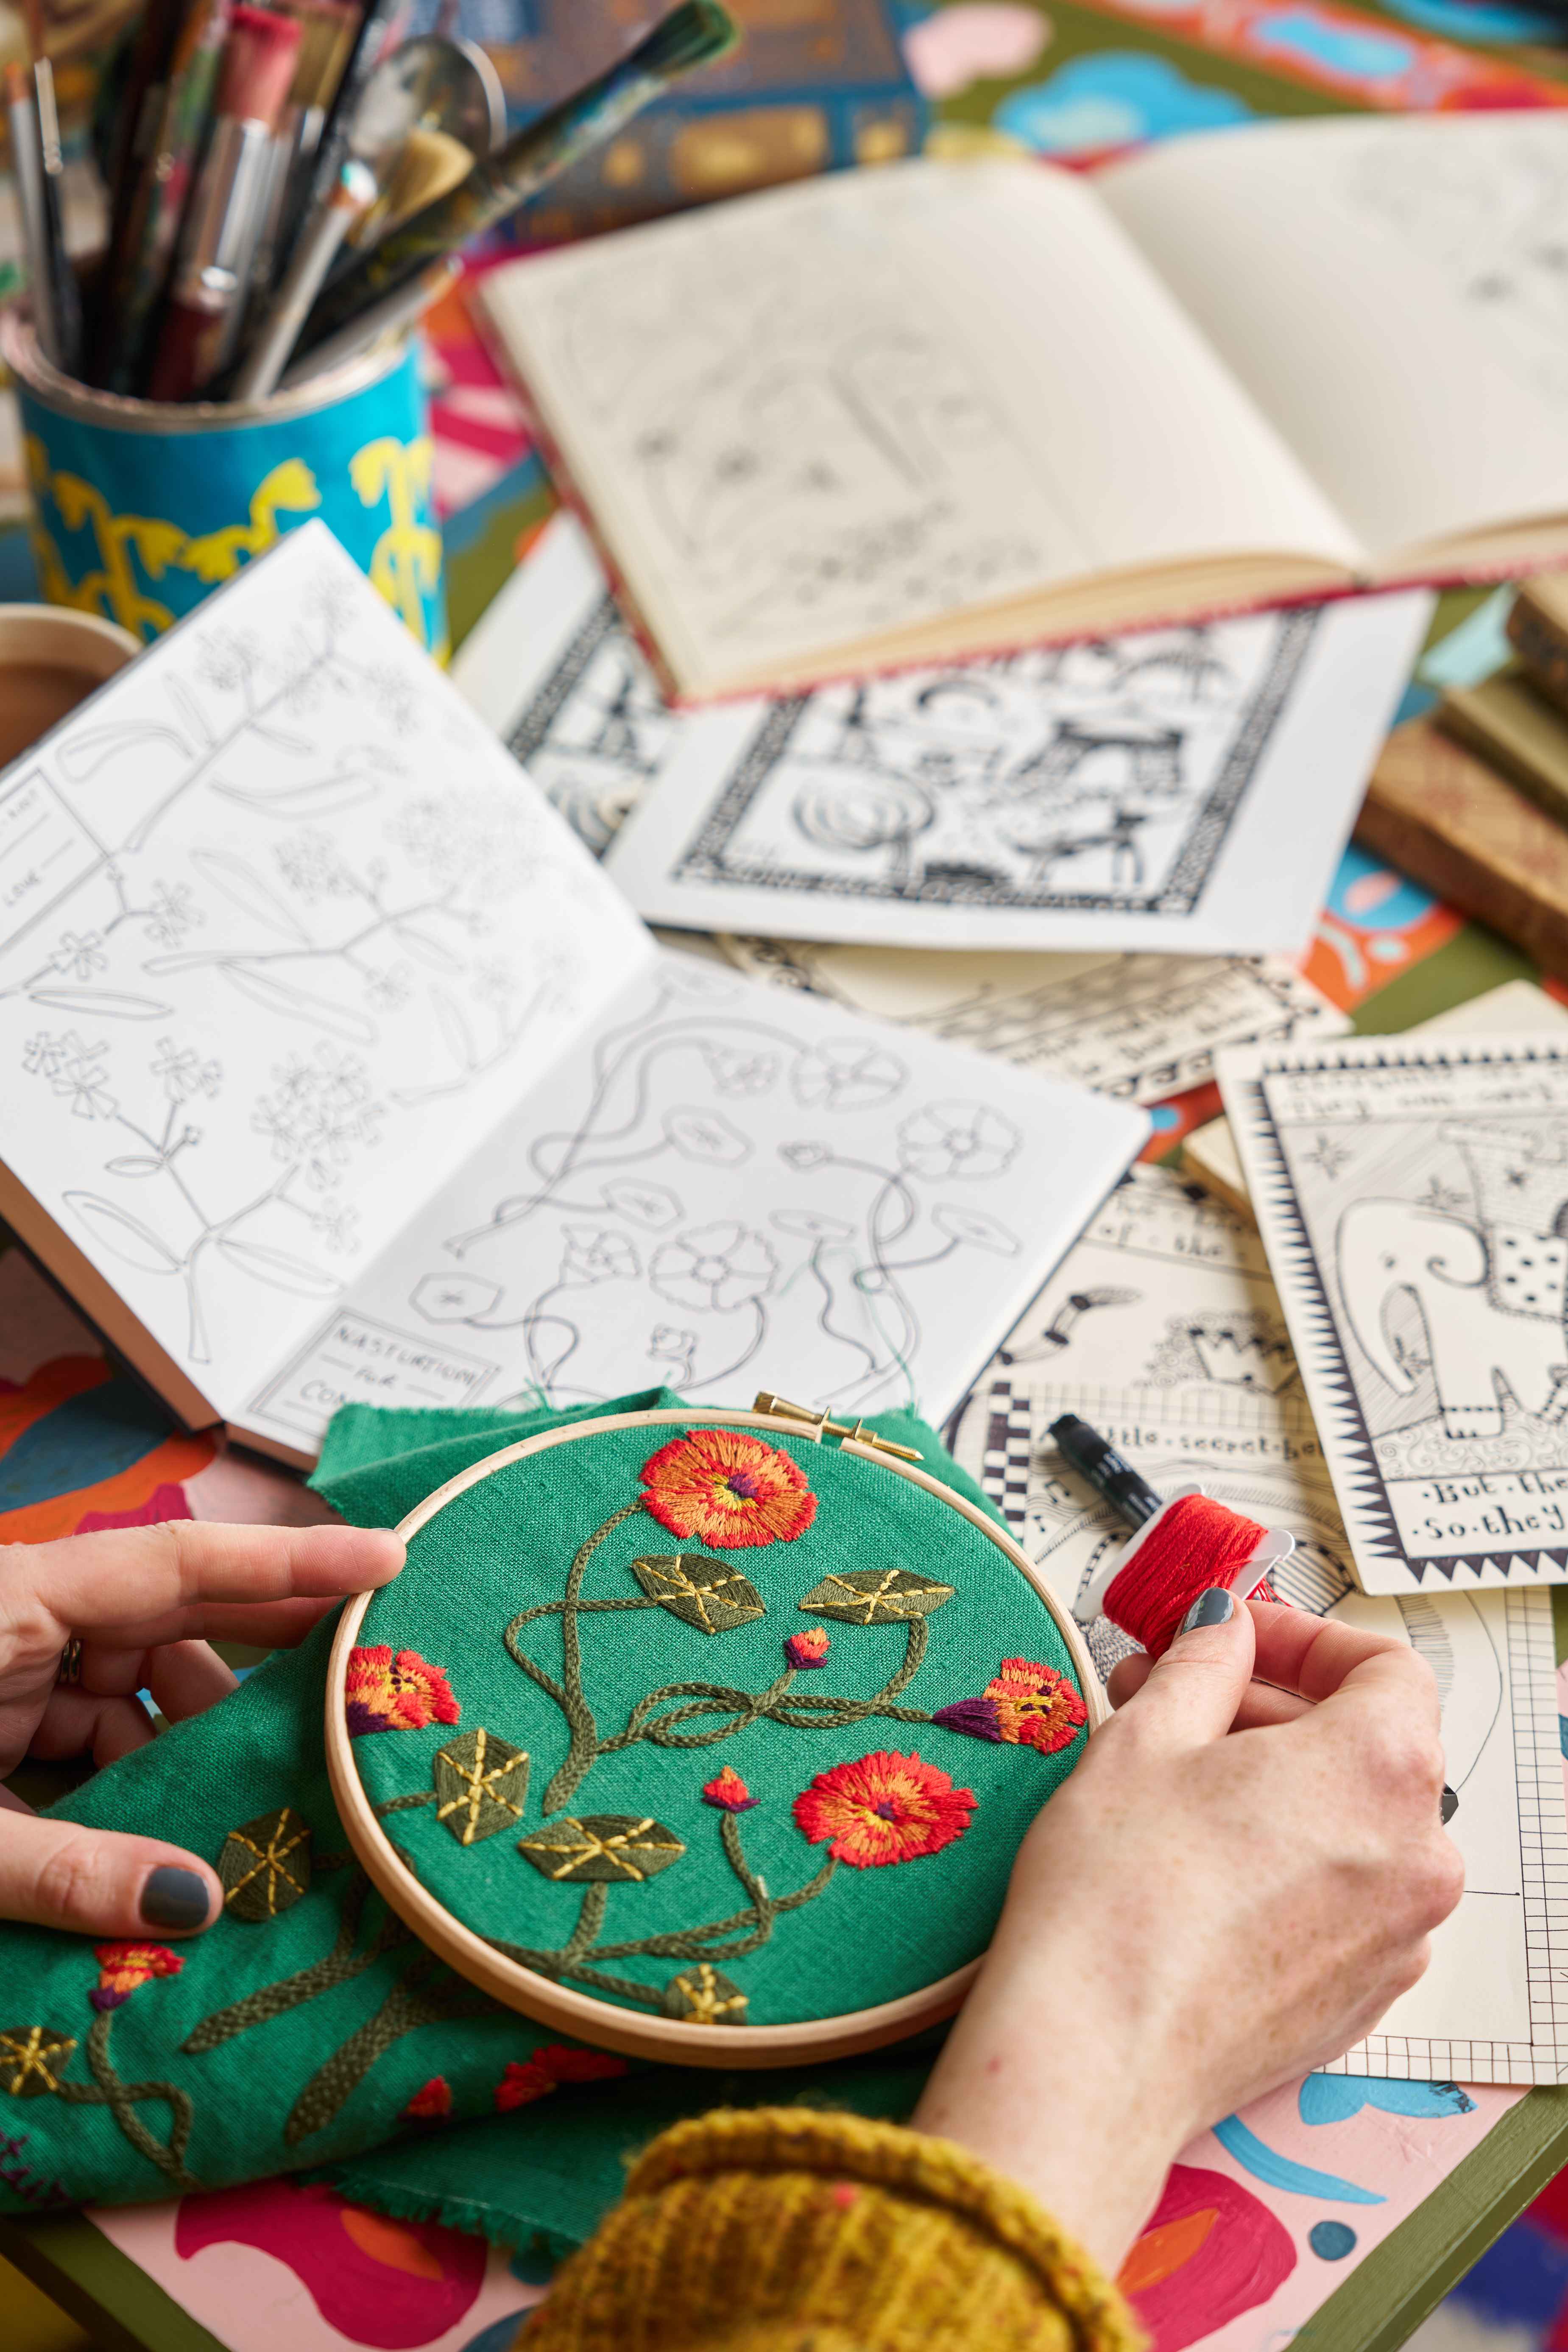
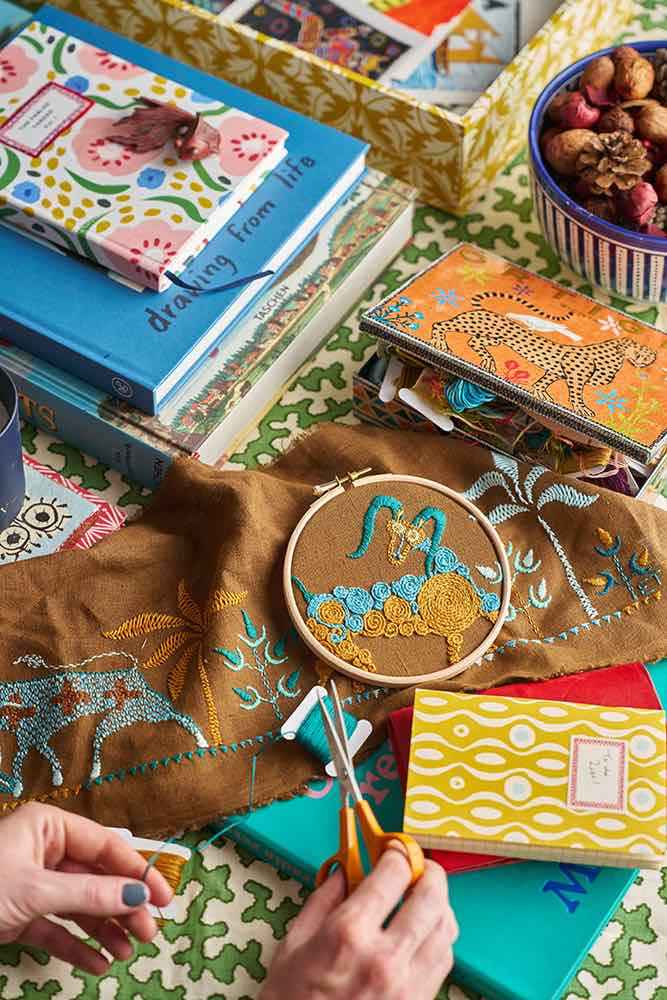
So you have your fabric and threads, and now you just need to get your design onto the fabric – easy, right? Well, it is, once you’re used to it. But the first time, it’s pretty hard. So here are some top tips on how to transfer a design onto fabric for embroidery:
- Get your fabric flat so it’s easier to draw on: You’ll find it much easier to draw neatly if your fabric is held firmly in place. At a minimum, I’d recommend ironing it first, but my strong preference (if I’m drawing up a design at home) is to pin the fabric onto something like a blocking mat, so it stays stretched and still throughout the drawing.
- Draw the outer edge of your design: As you stitch, your fabric will naturally stretch a little. So if you know what size you want your finished piece to be (which I always recommend deciding in advance – it makes framing much more cost-effective), then you’ll want to draw yourself an outer edge. This should be about 1cm smaller than your intended finished size, to allow for that movement. Make sure to use a removable pen or chalk for this – you don’t want it showing on the finished piece.

Frame A: Small Rectangle

Frame B: Large Rectangle
Frame D: Large Square

Frame E: Small Square
- Grid up your design: Once your outer edge is drawn and your design is ready to copy, grid up both spaces to match. It might just be dividing the design into thirds, or you could do squares every inch – whatever feels most comfortable. Again, make sure you’re using a removable pen!
- Mark up the whole design loosely: With your grid in place, you can now copy the design from paper to fabric, square by square. It’ll never match exactly – but that’s not the aim. Each time you draw a design, it’ll be slightly different, and that’s okay. It’s important to accept those “imperfections”, because once you start stitching, the design will shift again. So let go of control.
- Draw only the essential elements of the design: Once your rough version is down, go back and mark up only the parts of the design that are essential. The reason I say essential is that you might find later on you’re not actually sure about certain details – and if you’ve drawn them permanently, you’ve got no choice. Or you might draw a pattern that ends up being too small to stitch and feel trapped into something you’re not enjoying. So I tend to just mark the main outlines, knowing I can always add later, but I can’t take anything away.
For all of these steps, the materials I’d recommend are chalk and Posca pens for dark fabric. While the latter is permanent, it’s the only way I’ve found to get a really clear line on dark fabric – so just use chalk first for your sketch. If you really don’t feel comfortable drawing directly onto fabric, we also stock some small sheets of water-soluble transfer paper. It can be useful, but my personal preference is always just to draw straight on – the soluble paper can feel a bit sticky to stitch through, and it means you have to soak your piece at the end, which I always prefer to avoid.

Prym Chalk Pencils (Blue and White)

Ultra Fine Posca Pen

Pilot Frixion Heat Erasable Pen

Soluble design transfer sheets
With your design drawn onto fabric and your colours all chosen, the stitching really is the easiest part of the process. Whilst of course this does rely on you having a little bit of knowledge to get going, just because you’ve designed it yourself doesn’t mean you need to make the stitching part complicated.
One of the reasons our embroidery kits are set up to scale in skill level is to help build your sewing confidence, so that when you do get to the point of stitching your own design, you don’t feel at all daunted by it. Whether it’s one of our beginner kits like the Jabberwocky or Musicians, or something more advanced like The Botanicals or Night at the Circus, the aim is the same – to help you feel capable and in control with your stitching.
Embroidery Kits by Level

The Jabberwocky
Shop the collection
The Musicians
Shop the collection
The Botanicals
Shop the collection
A Night at the Circus
Shop the collectionAlternatively, if you want to build your skills more deliberately, you could try our virtual Start Stitching course – it walks you through everything from the essential tools to a whole range of stitches to play around with.
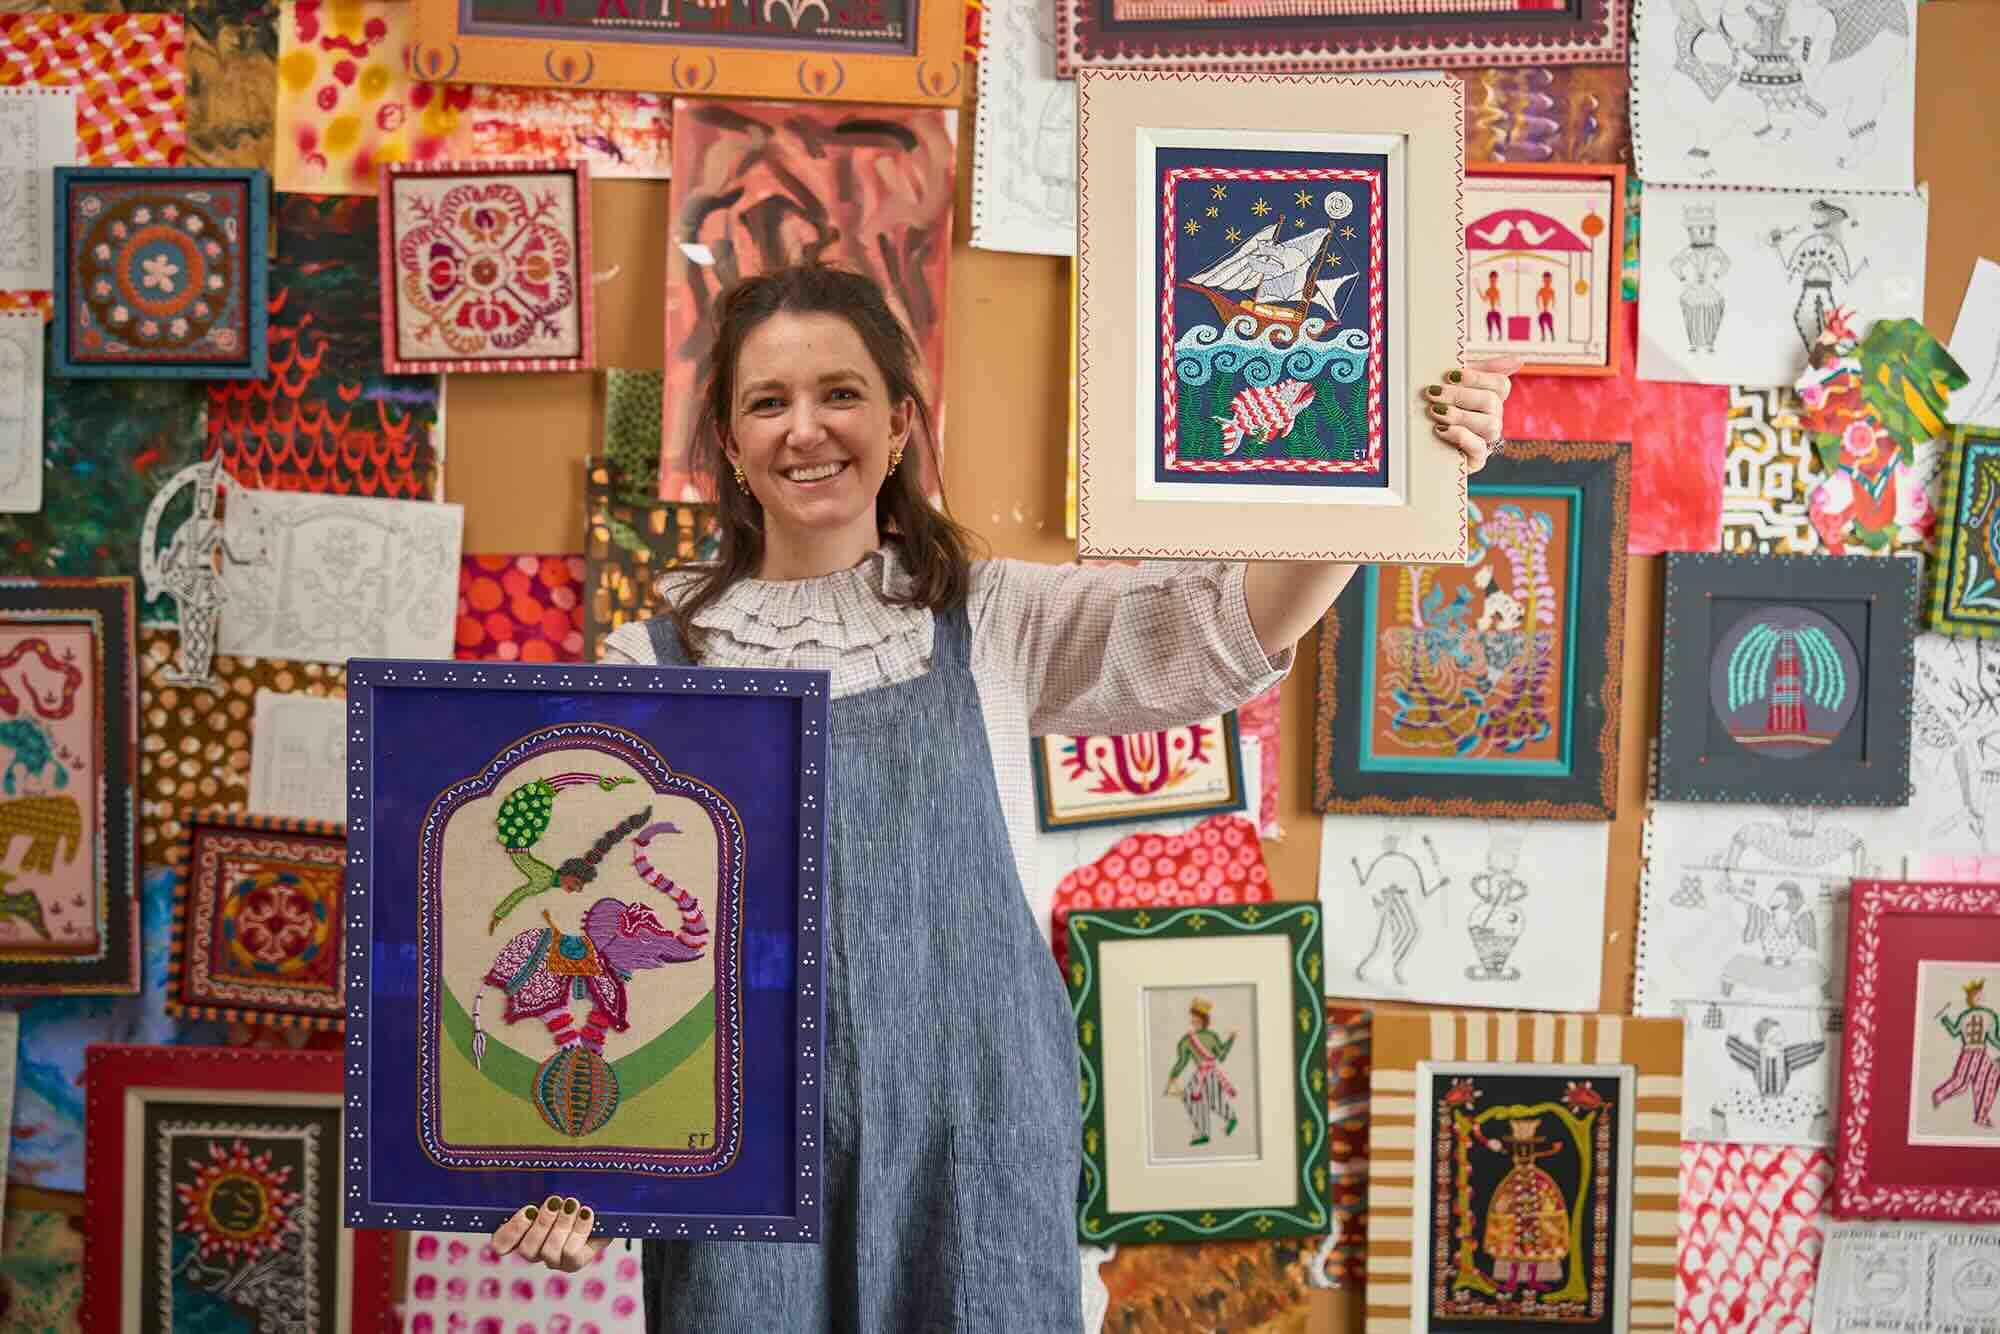
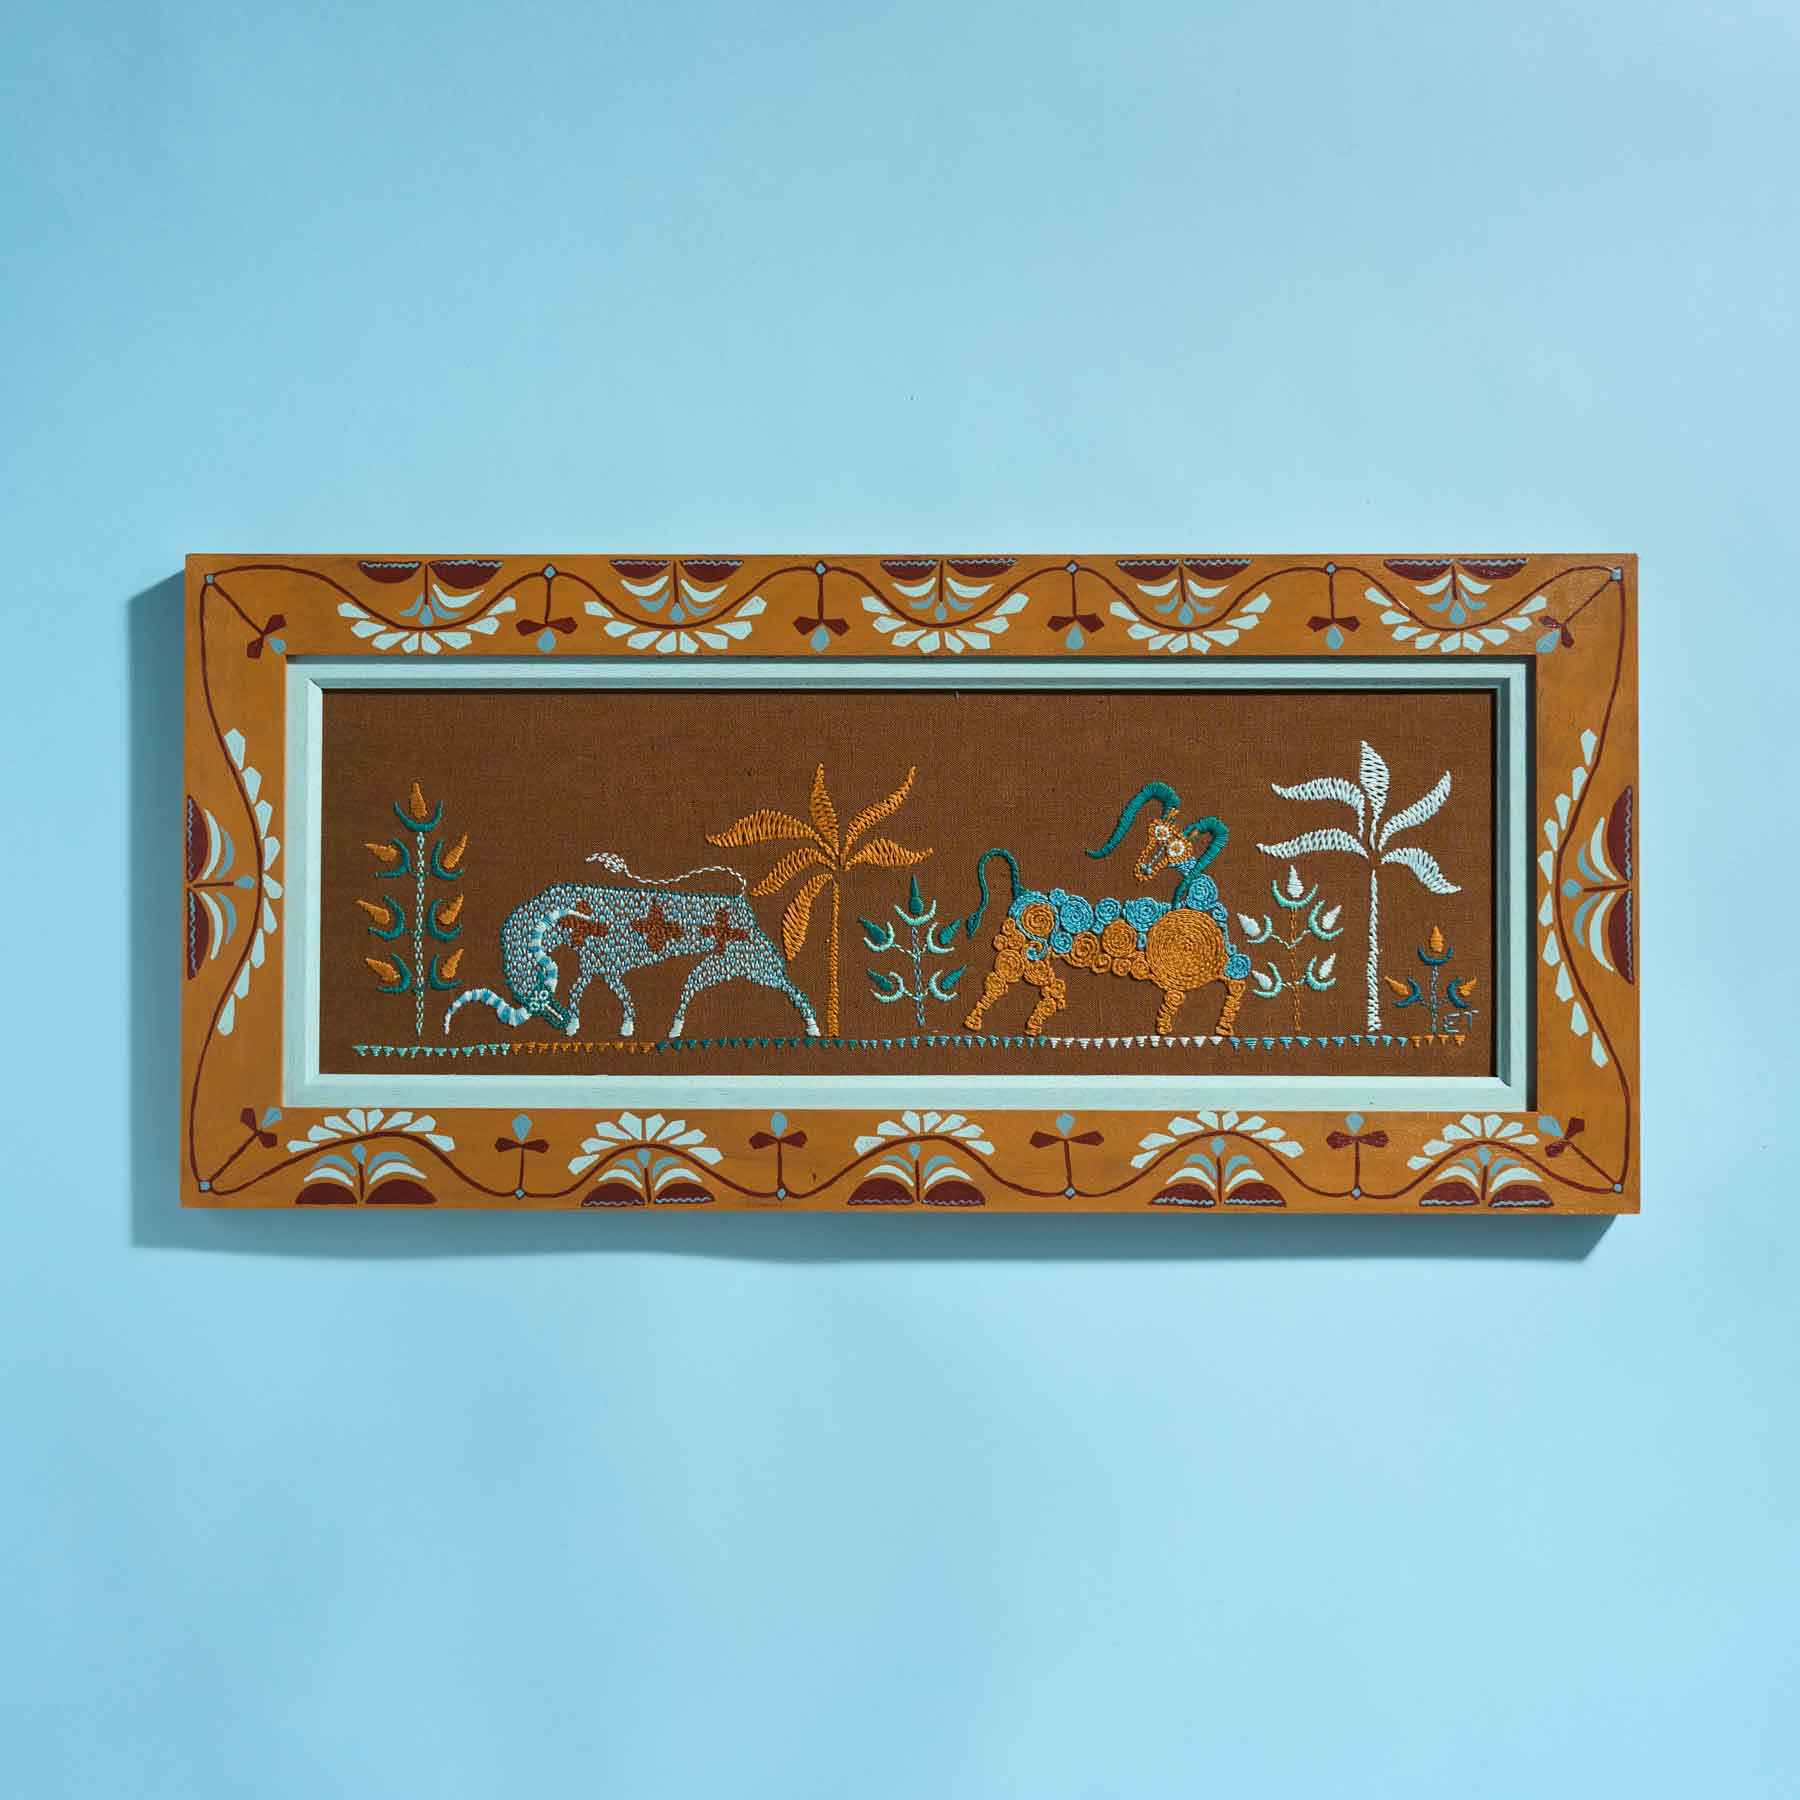
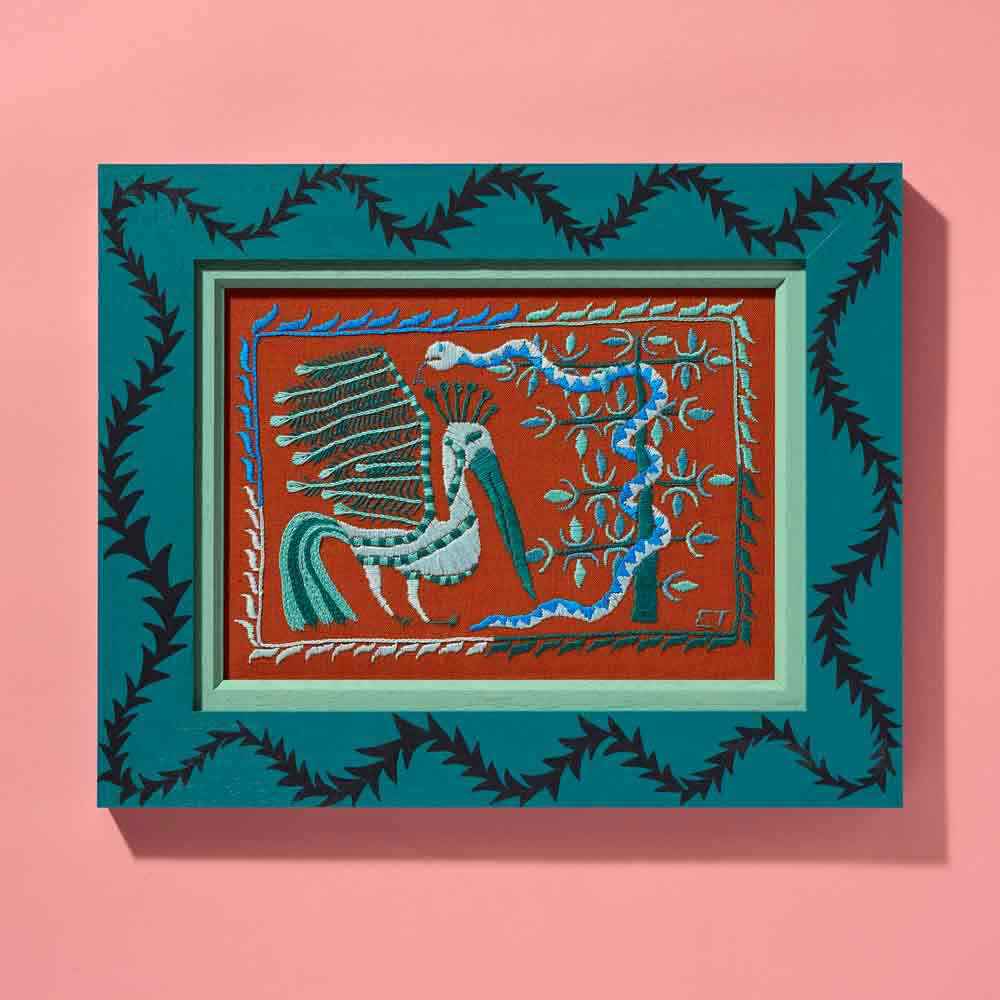
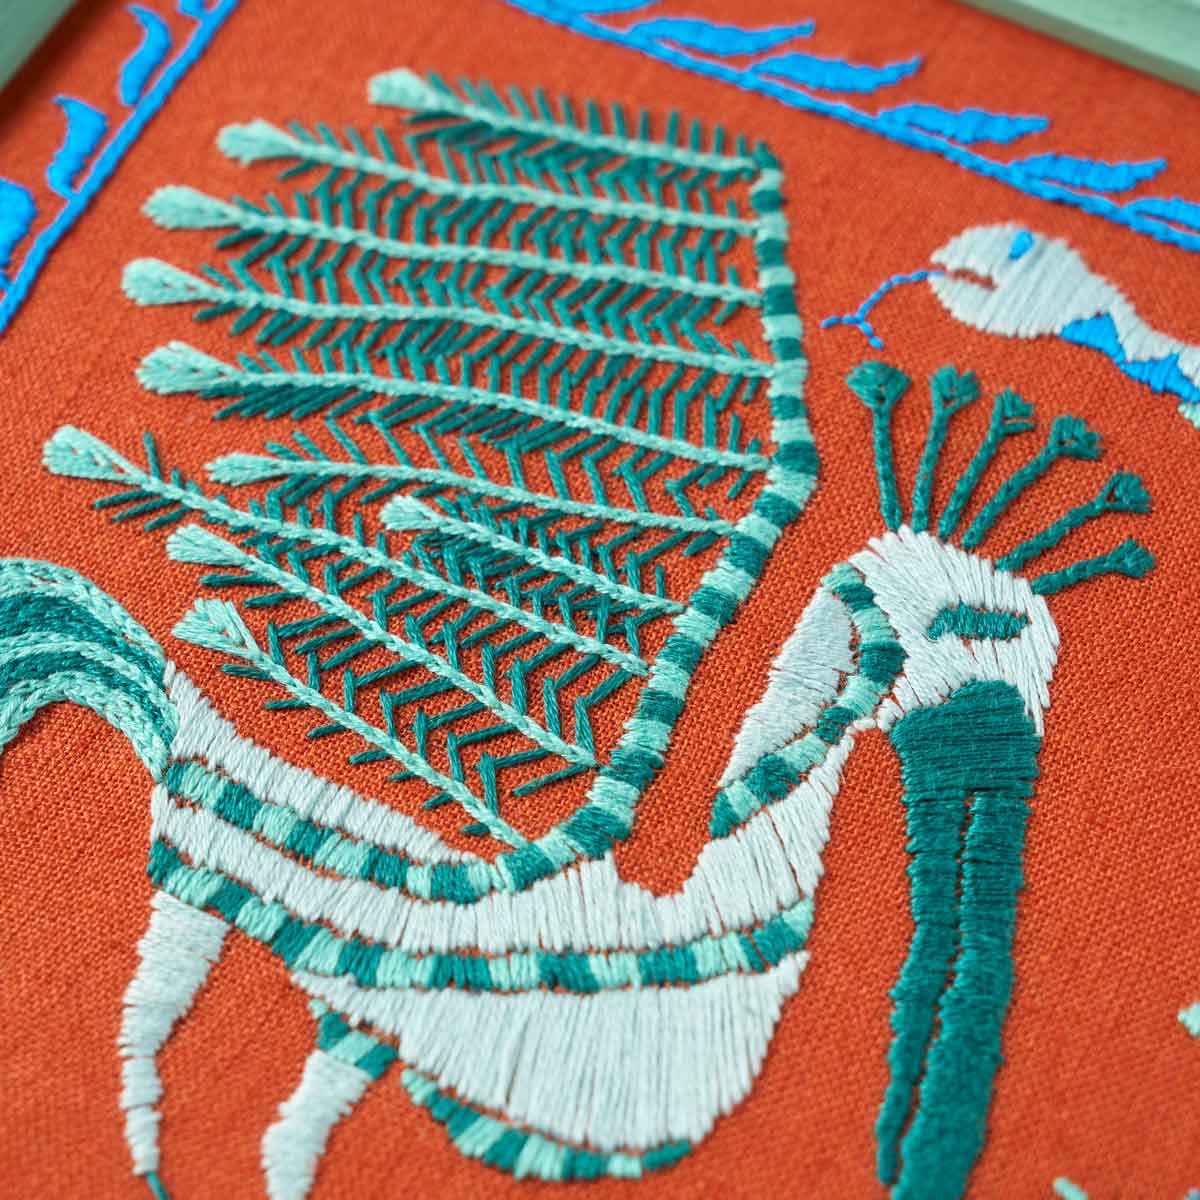
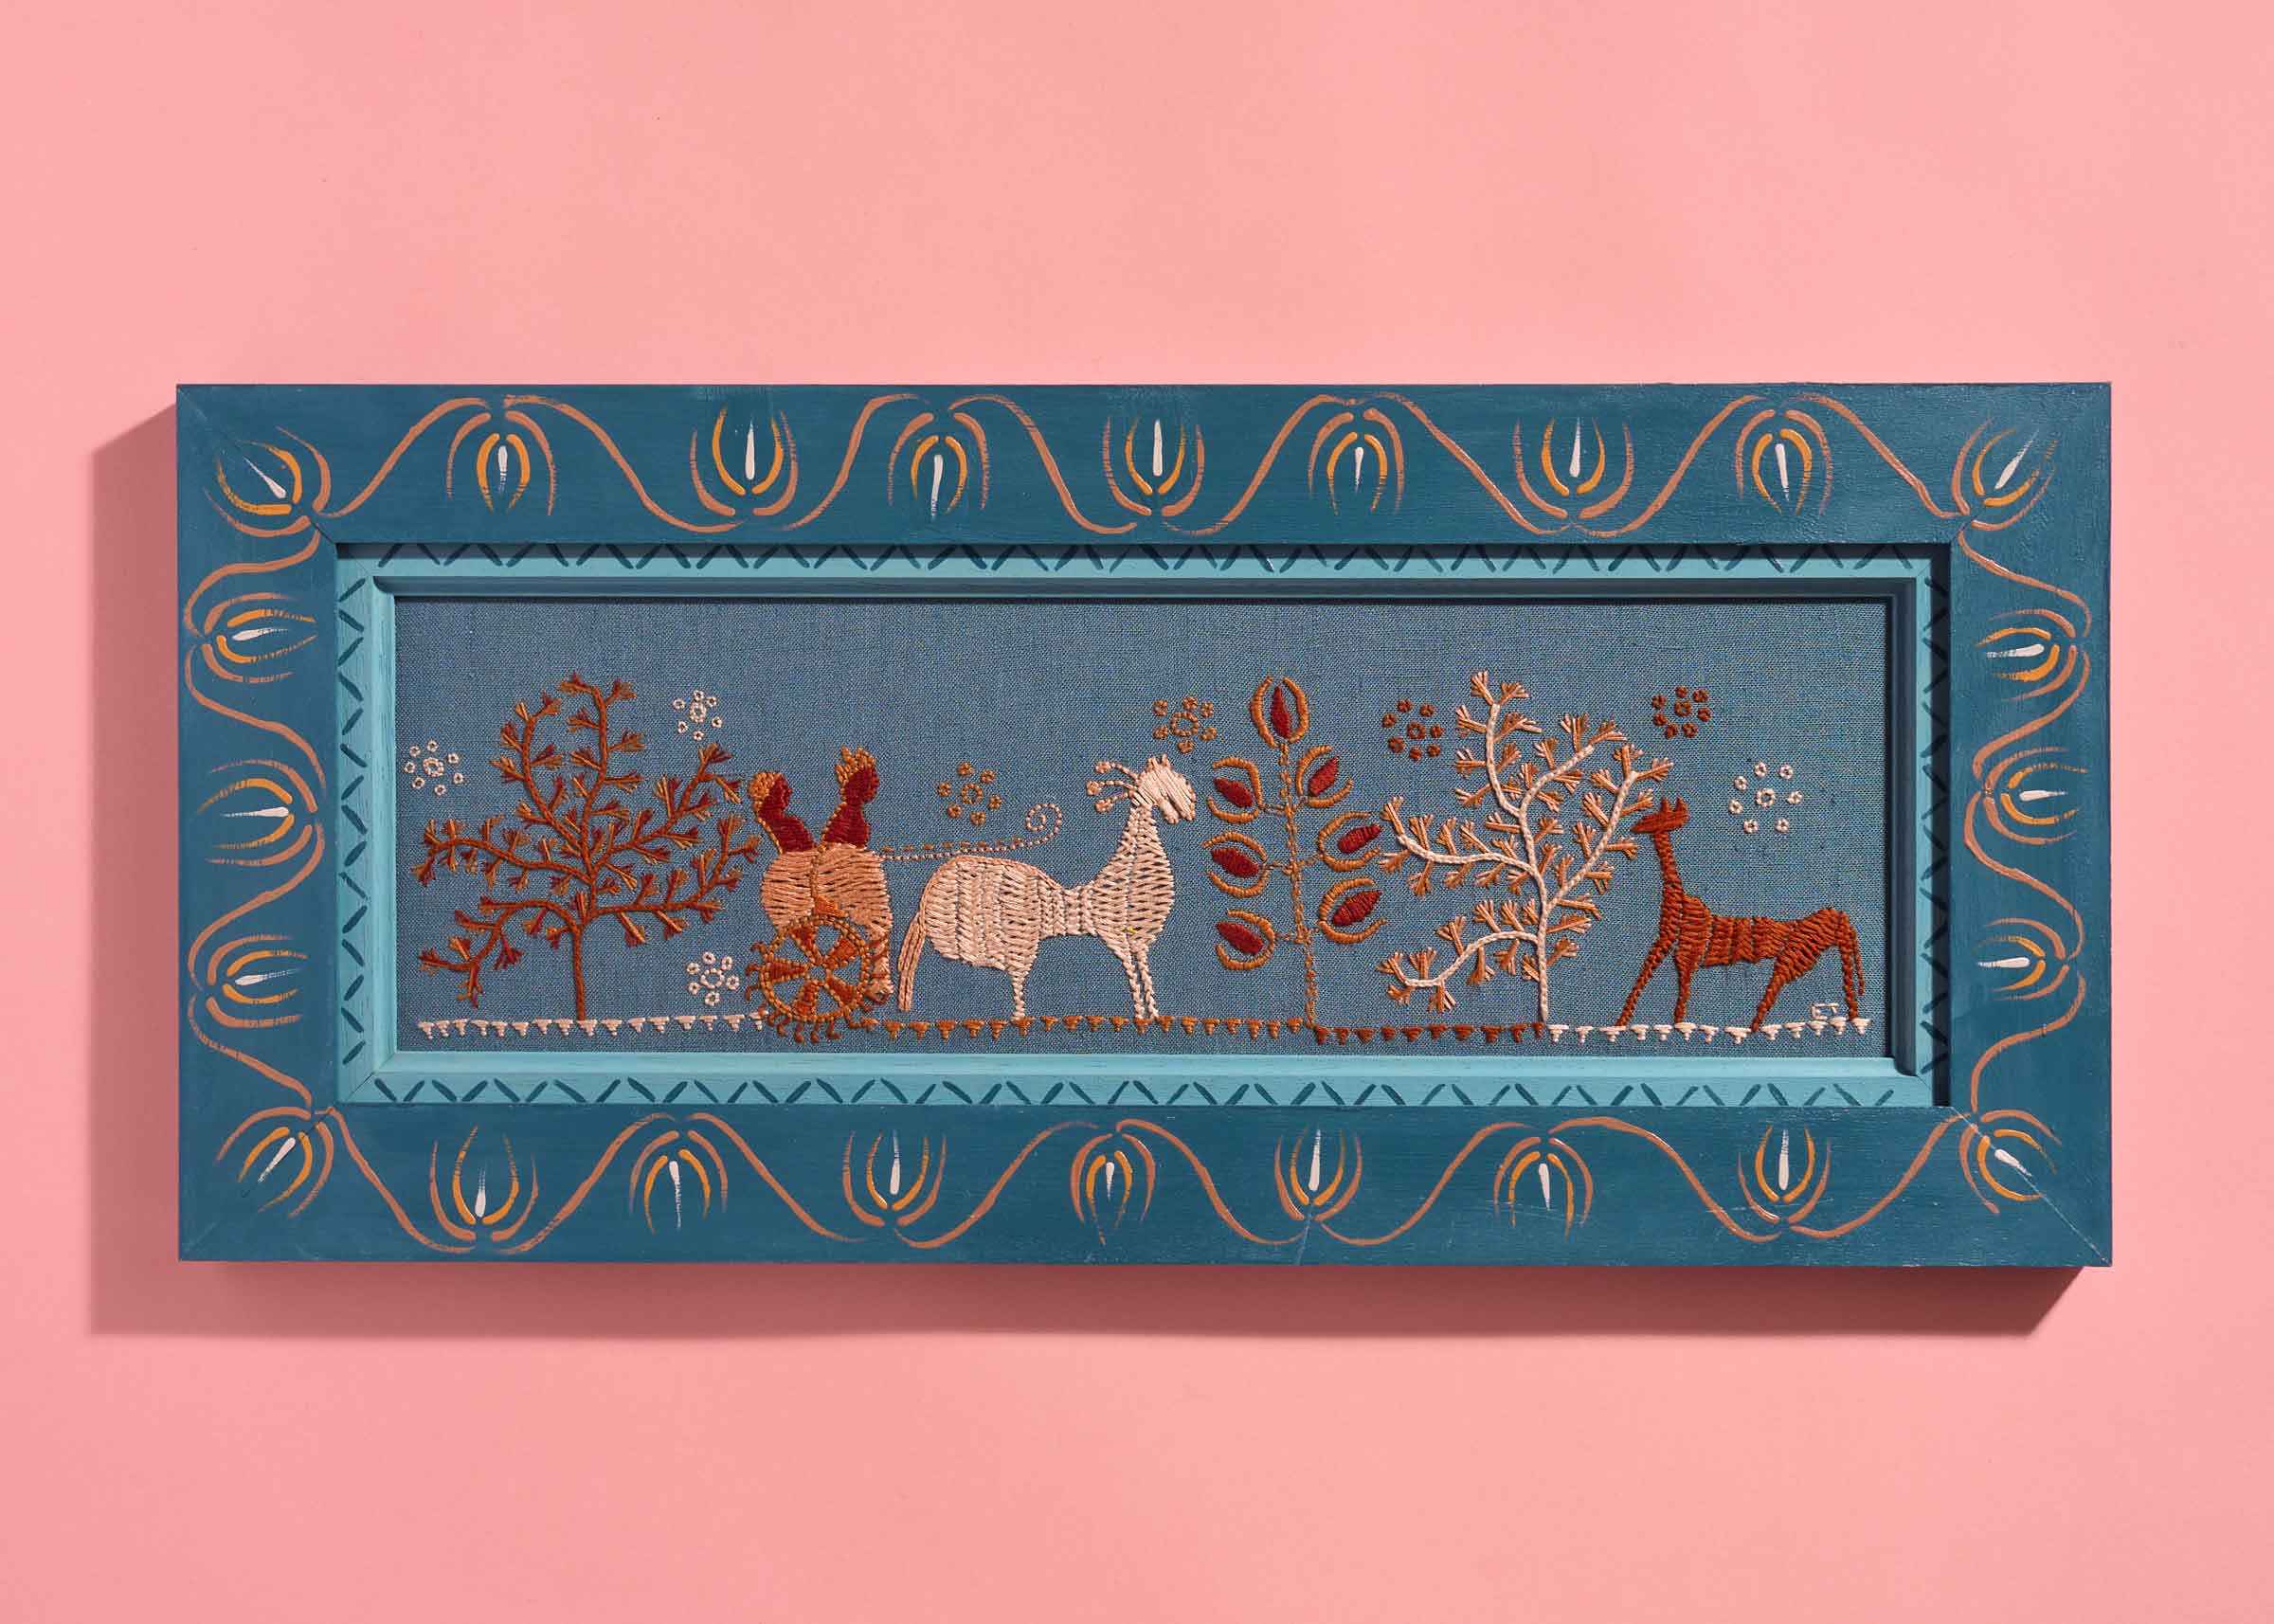
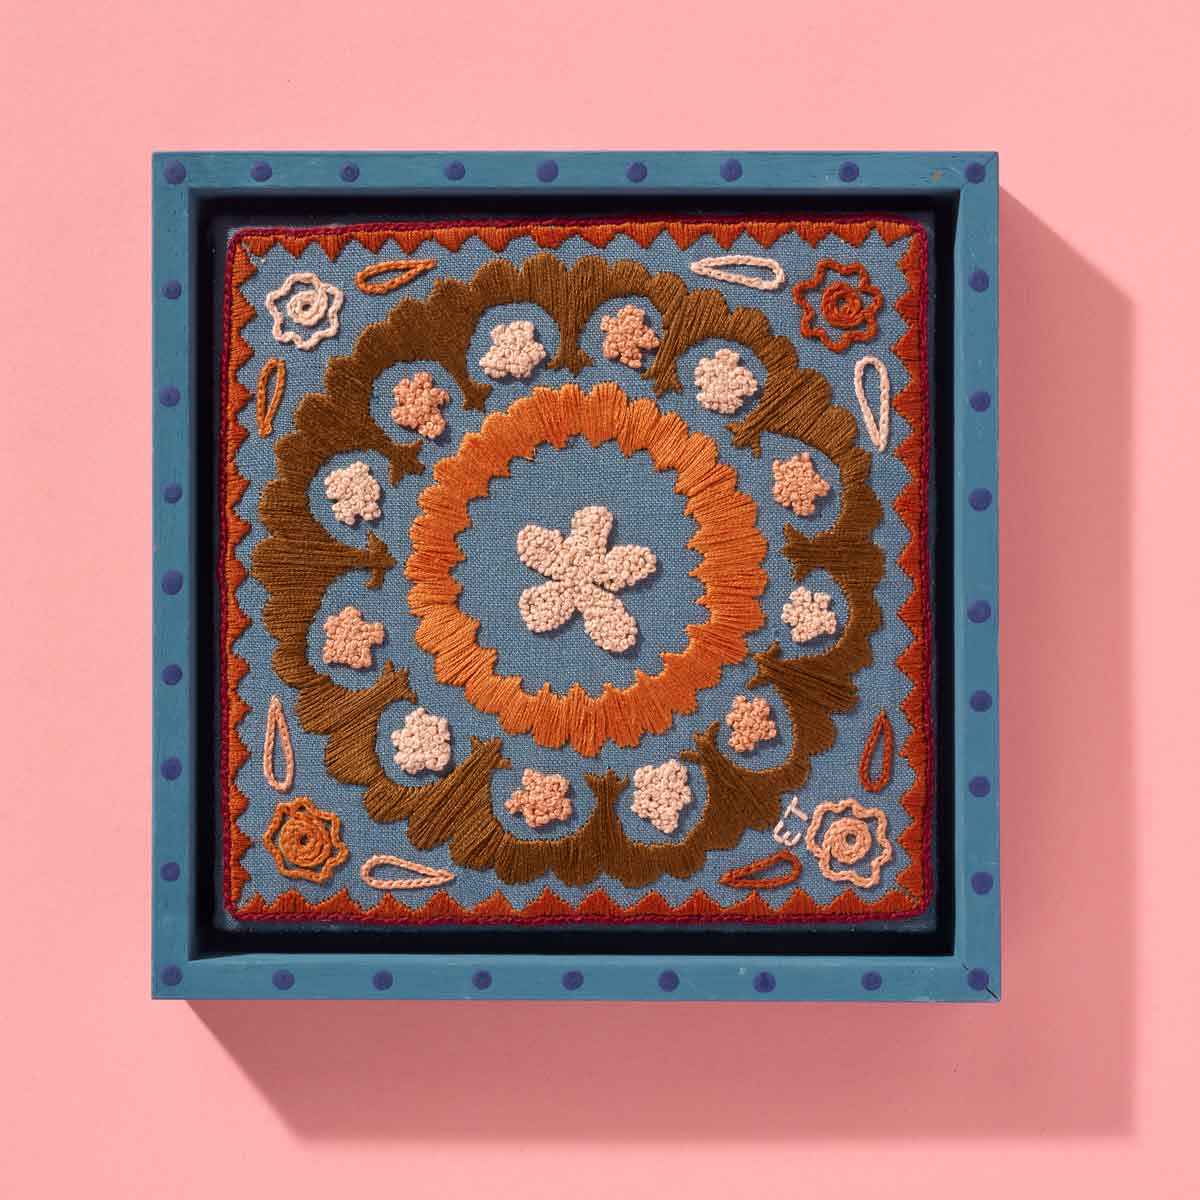
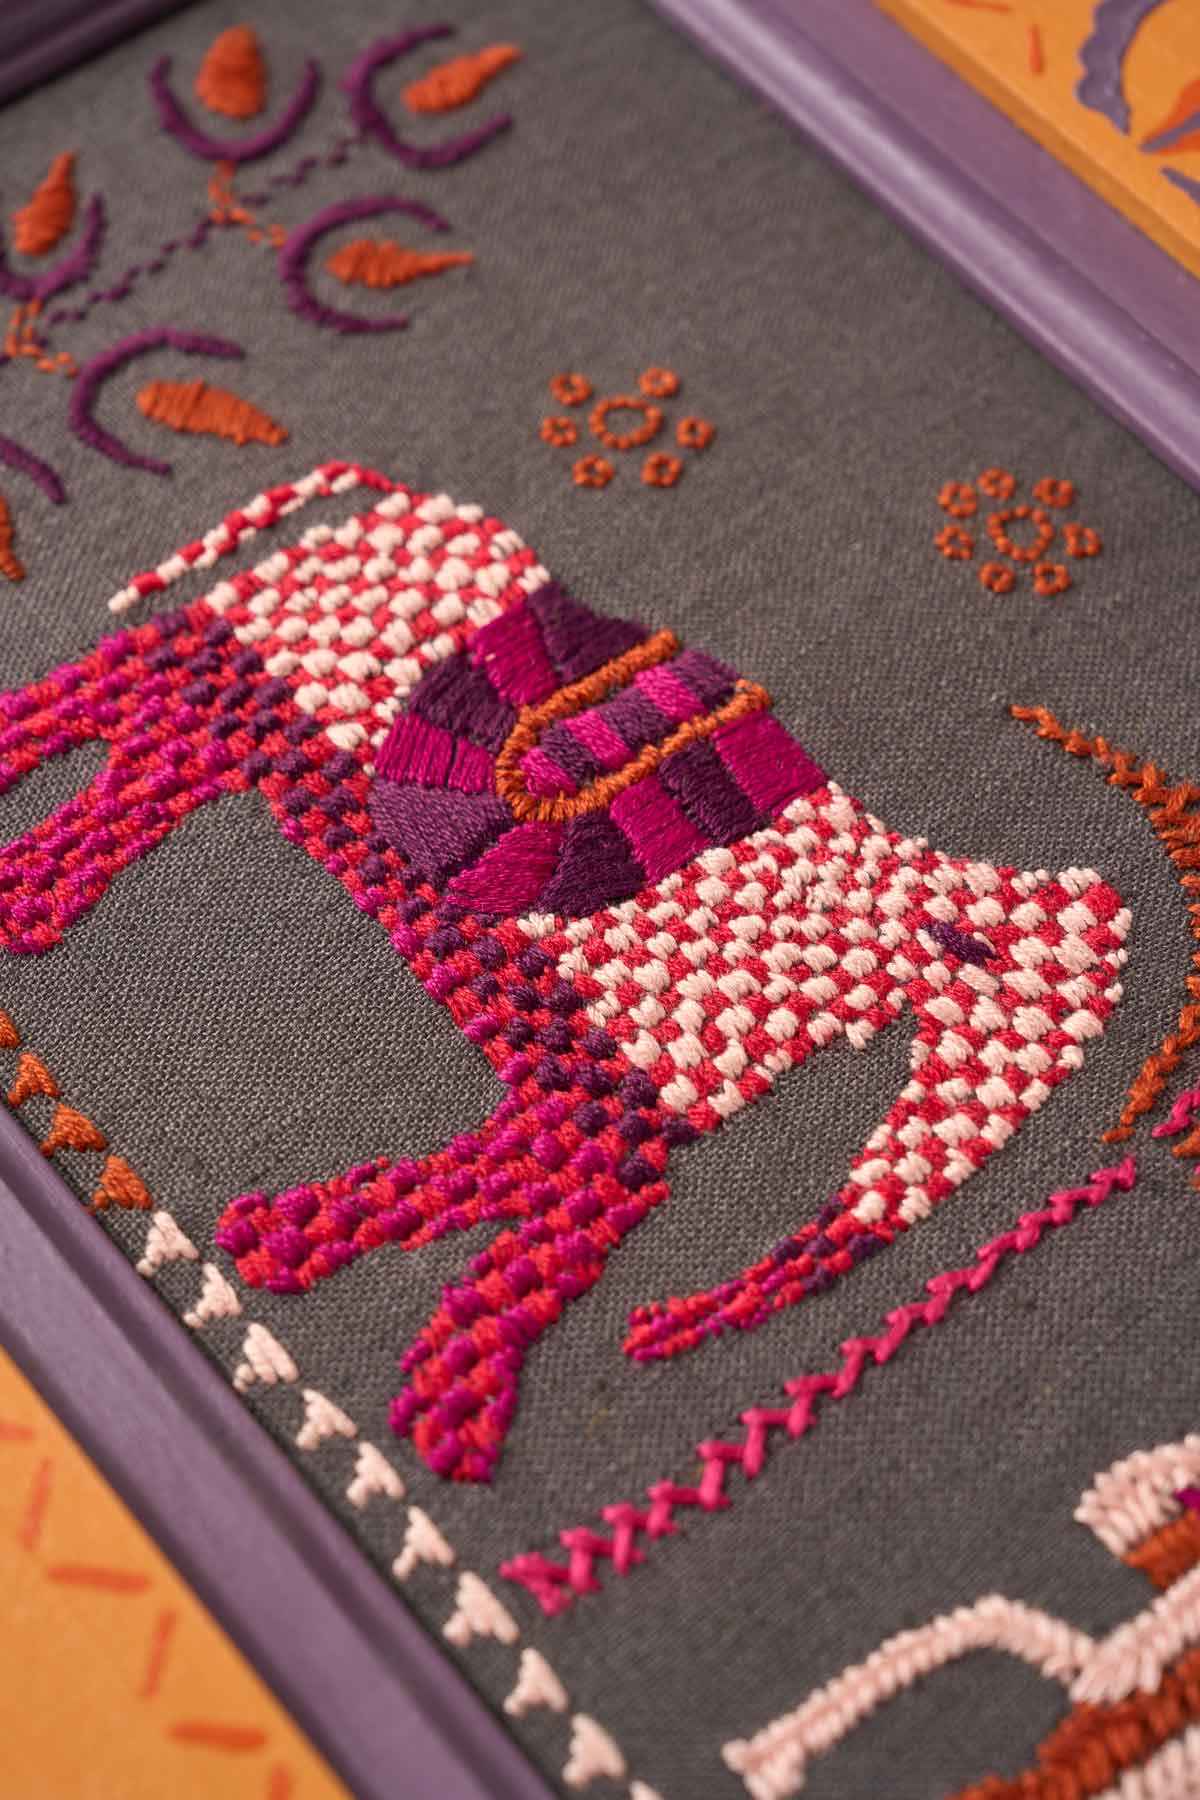
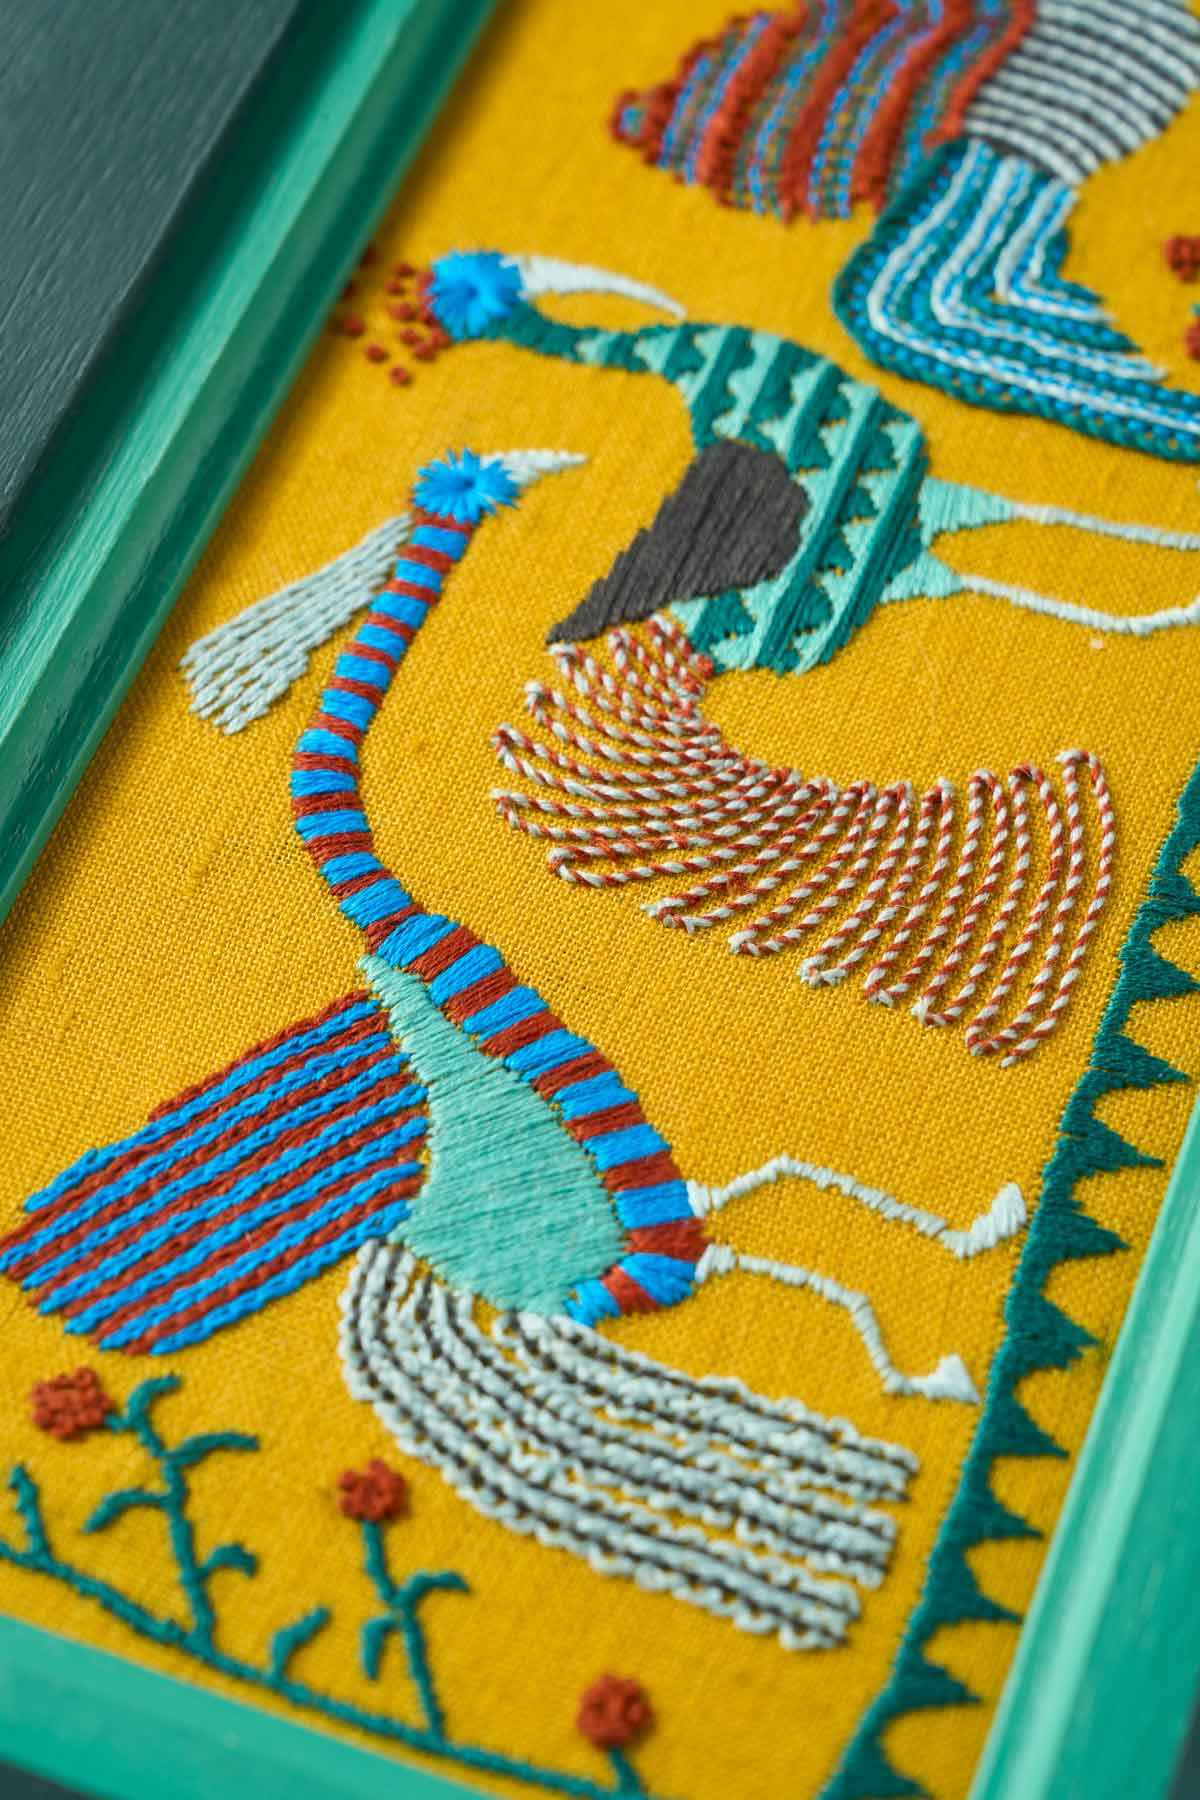
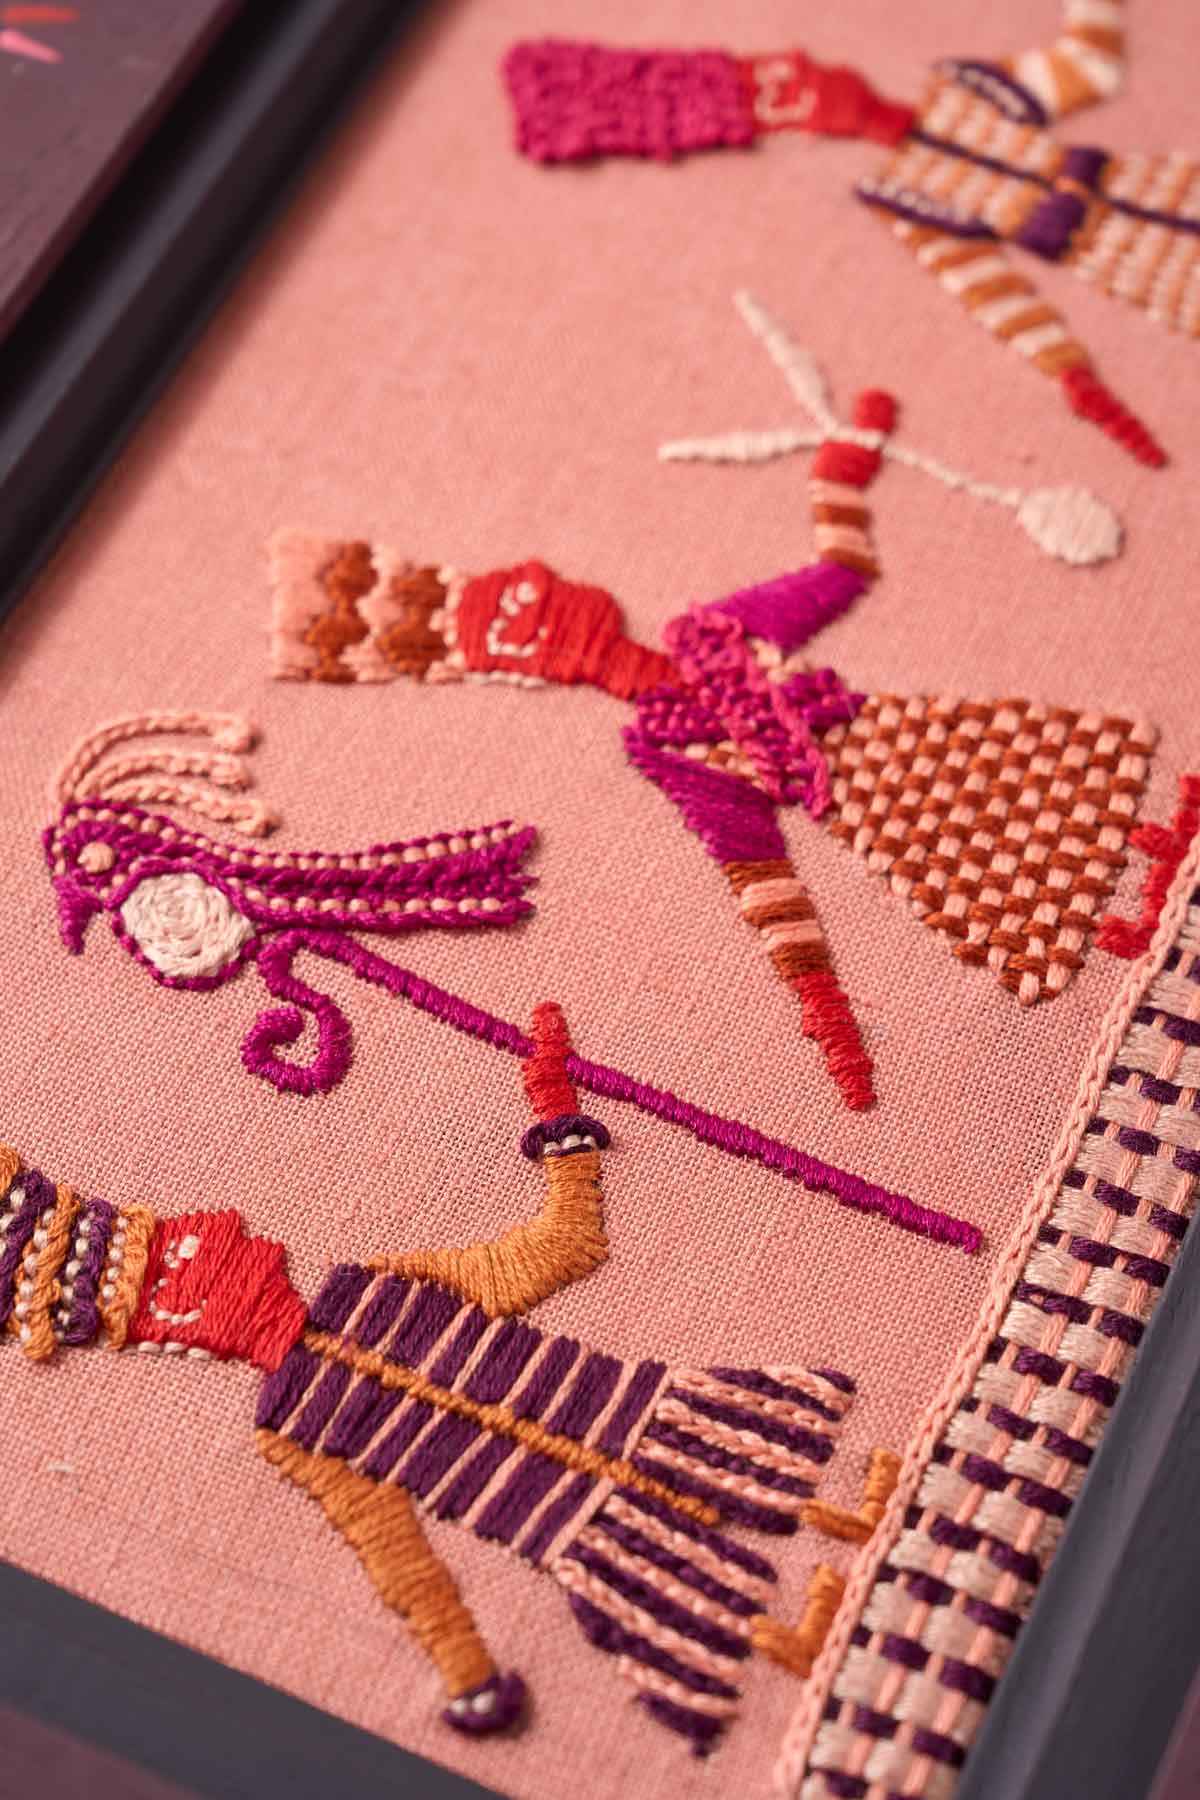
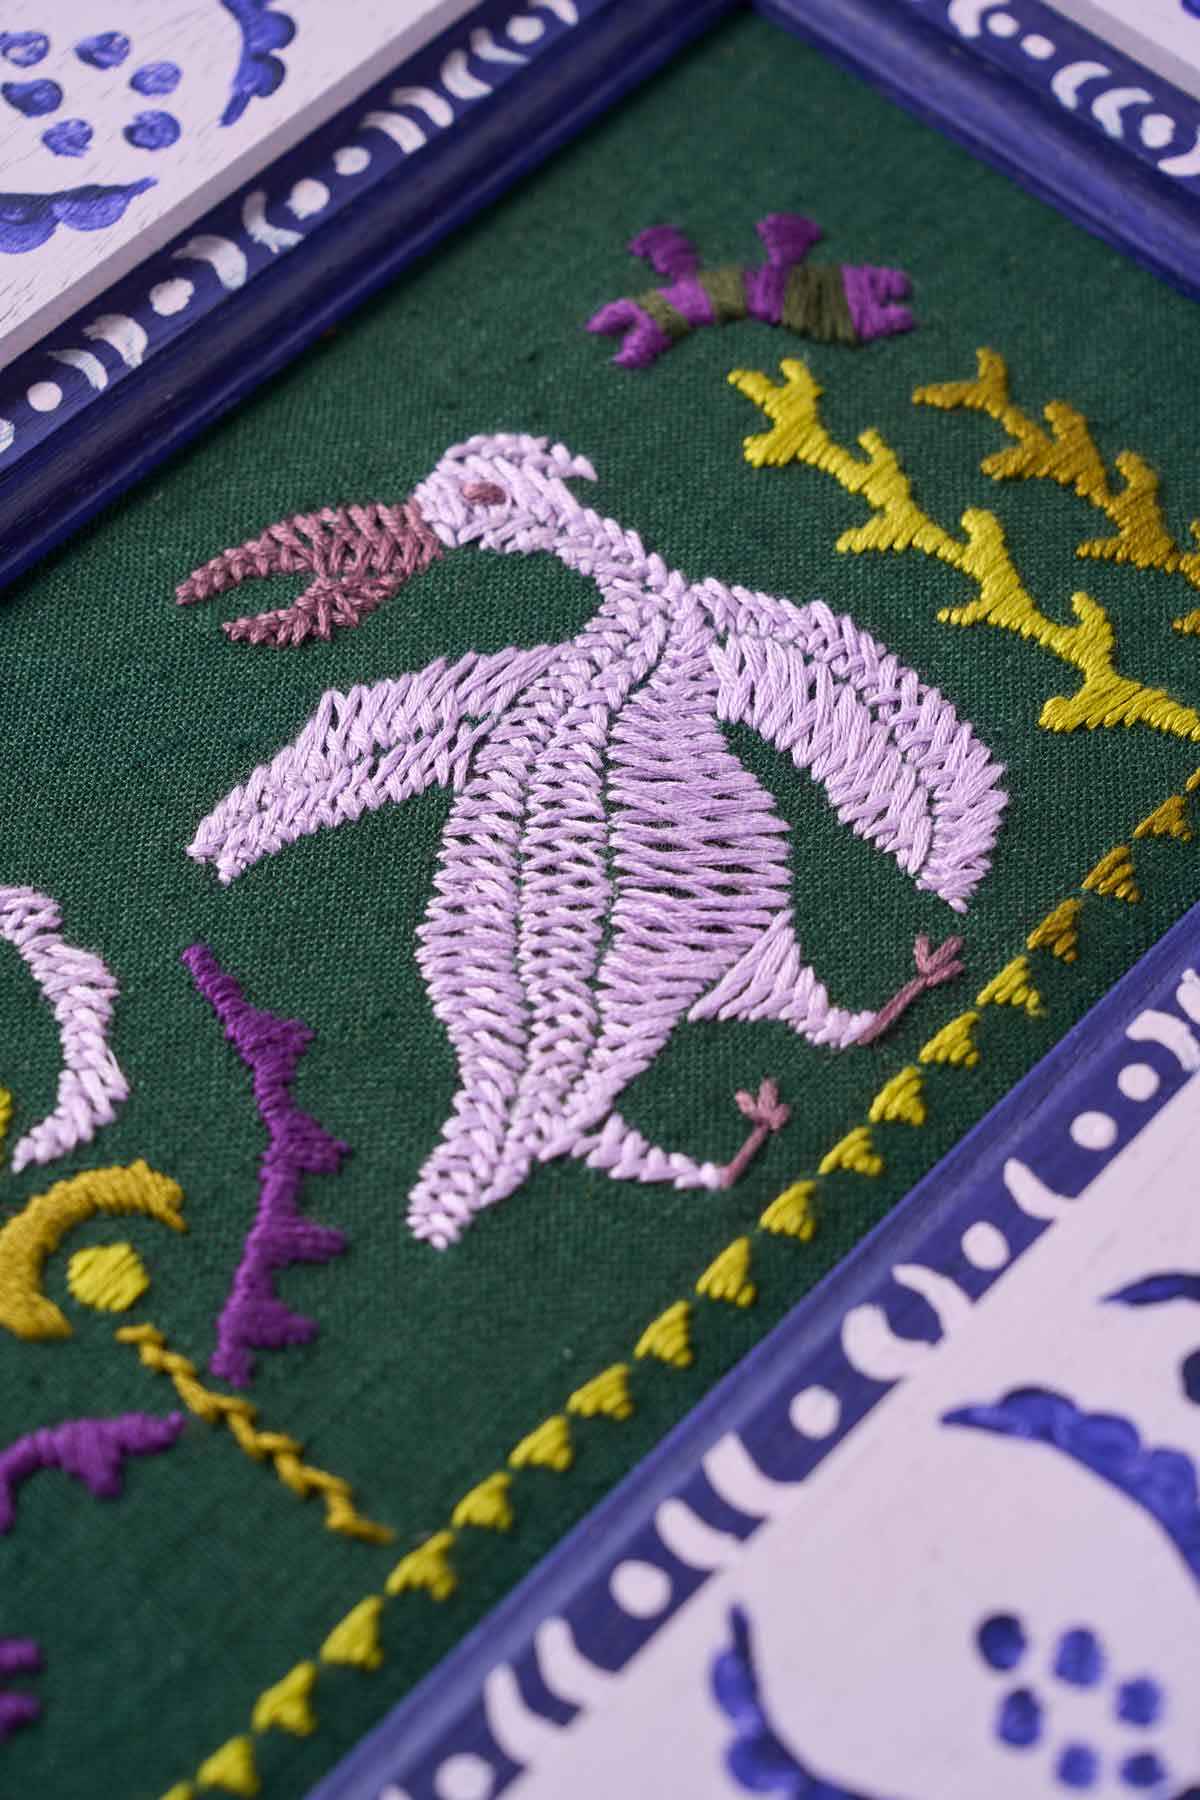
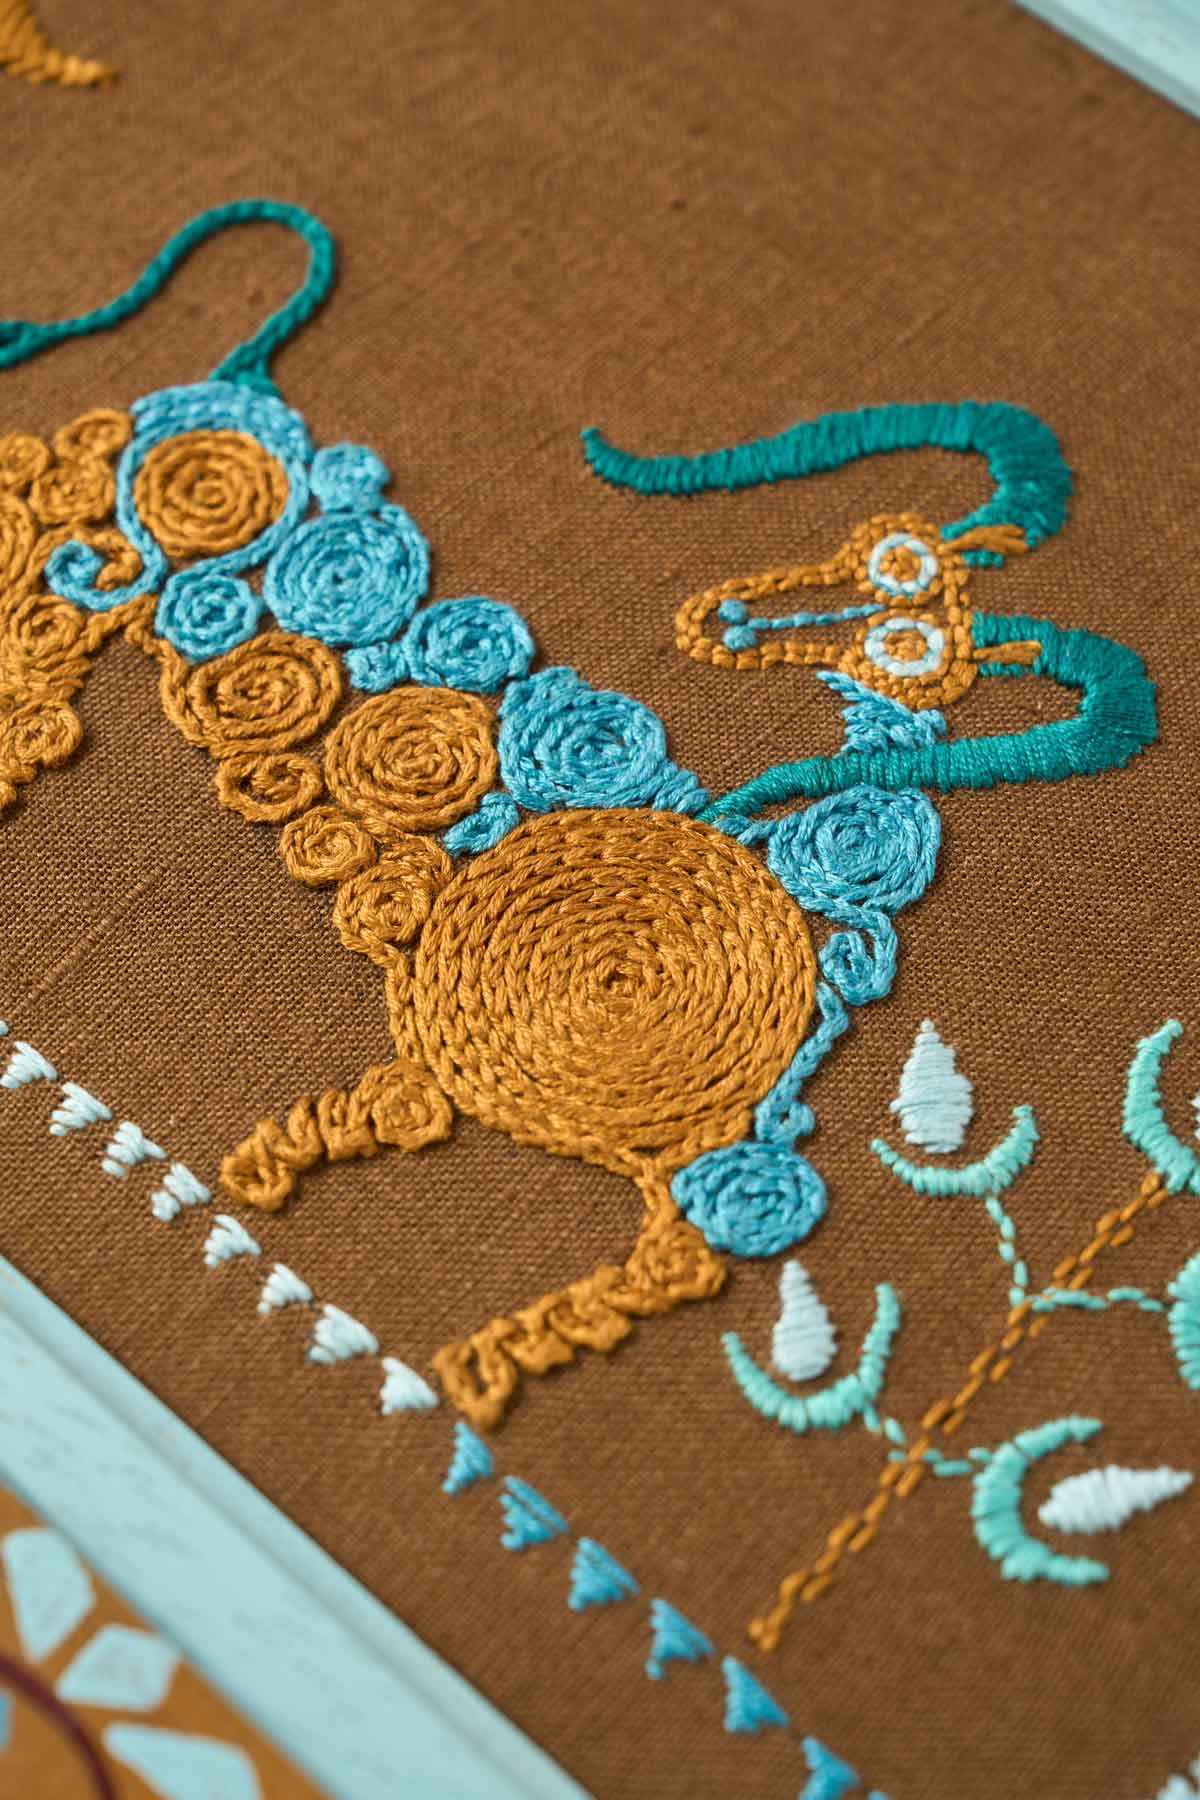
And if you’re after a bit of inspiration for how you might bring your design to life, take a look at some of the examples below – all created with simple colour palettes (just like our bundles), but proof of just how much variety and character you can achieve.

Hopefully by this point you’re feeling a little less daunted about the idea of designing your own embroidery. It’s very easy to look at other people’s finished pieces and imagine there’s some kind of magic involved – that creativity is something innate, something you either have or don’t. But like anything, it’s mostly just about practice, patience, and giving yourself permission to have a go.
What I’ve tried to do in this article is show that the process doesn’t have to be grand or complicated – in fact, I think the best creative work usually comes from simple materials and a bit of structure. You don’t need a perfect idea, or endless technical skills, or some sweeping artistic vision. You just need a spark of curiosity and a willingness to see where it takes you.
But if you’d like a bit more support on that journey – something a bit more guided than just diving in with a blank bit of fabric – we do have a Freestyle Embroidery course, which might be just what you need. It’s a proper deep-dive into the process, helping you explore your own visual language, think about composition and colour in more detail, and bring together a design that feels completely your own.
Our Virtual Courses


Or if you’re keen to keep exploring your creativity more generally – not just through embroidery but through all sorts of making, writing, sketching, and thinking – then you might want to take a look at The Studio, our membership community. It's where I share monthly creative exercises, long-form articles, artist deep-dives, interviews and more, all designed to help you build a creative practice that fits around your real life.
Whatever next step feels right for you – whether it’s getting started with your first design or simply paying a bit more attention to the things that inspire you – I hope this has given you a bit of encouragement to begin. Because it doesn’t matter where you’re starting from. It just matters that you start.
You May Also Like
My Top 5 Embroidery Stitches For Filling
Read more
My Top Embroidery Tips for Beginners
Read more
Finding Inspiration and Overcoming Creative Blocks
Read more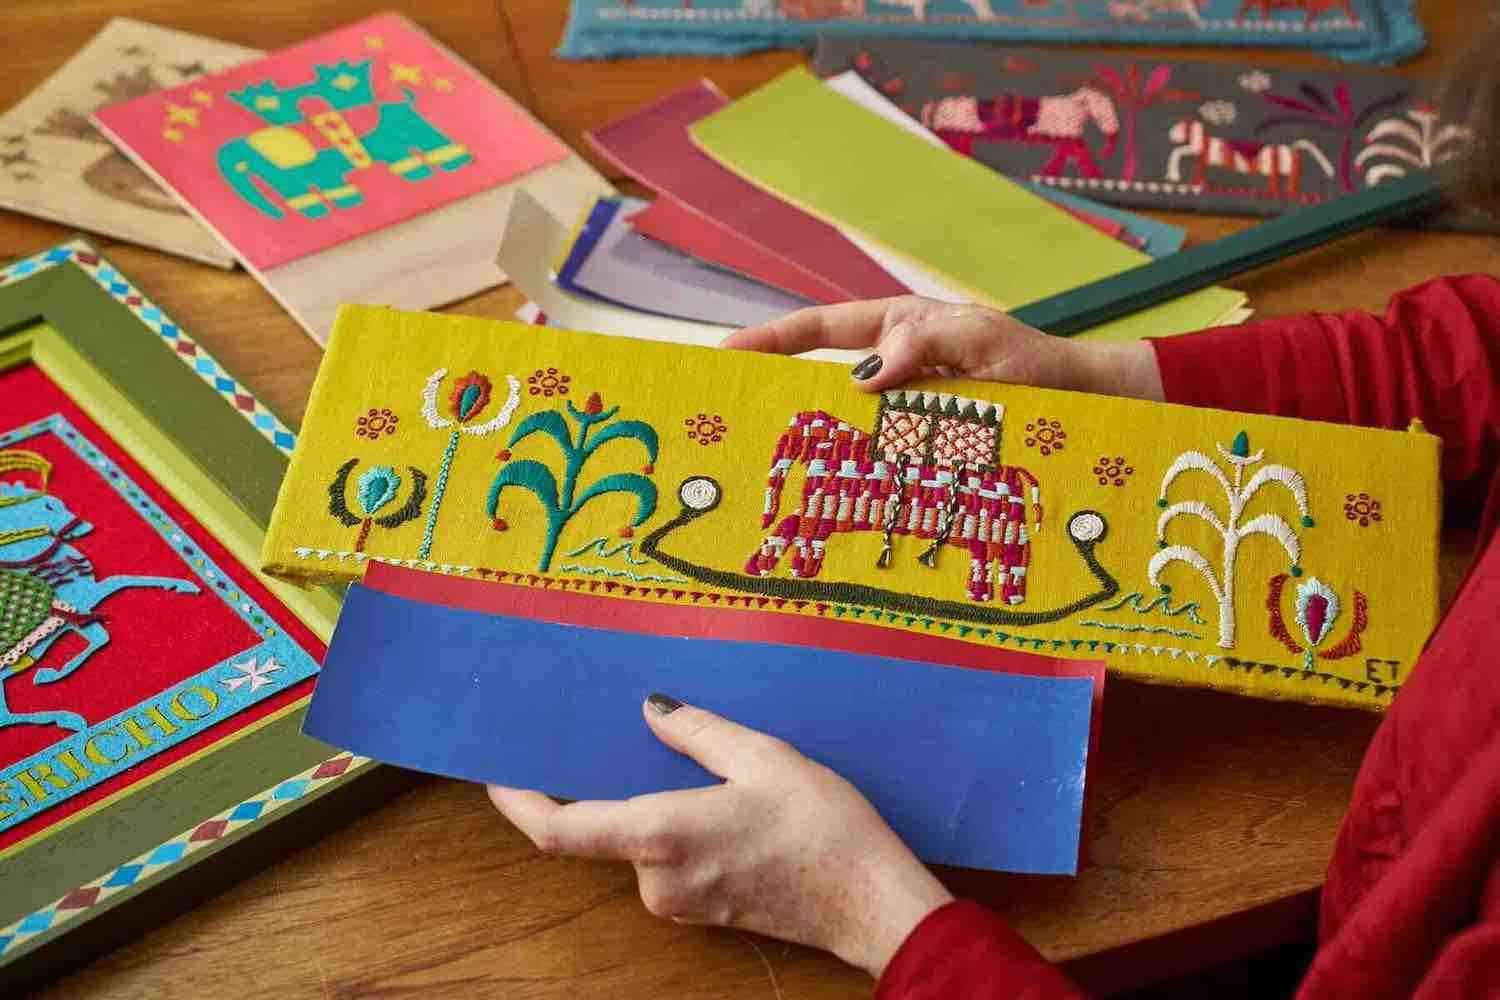
Studio Talks Recording: Let's Talk Colour
Read more
Scaling Creativity: Maintaining Creative Freedom Whilst Running a Business
Read more