Freestyle Embroidery with The Fabled Thread
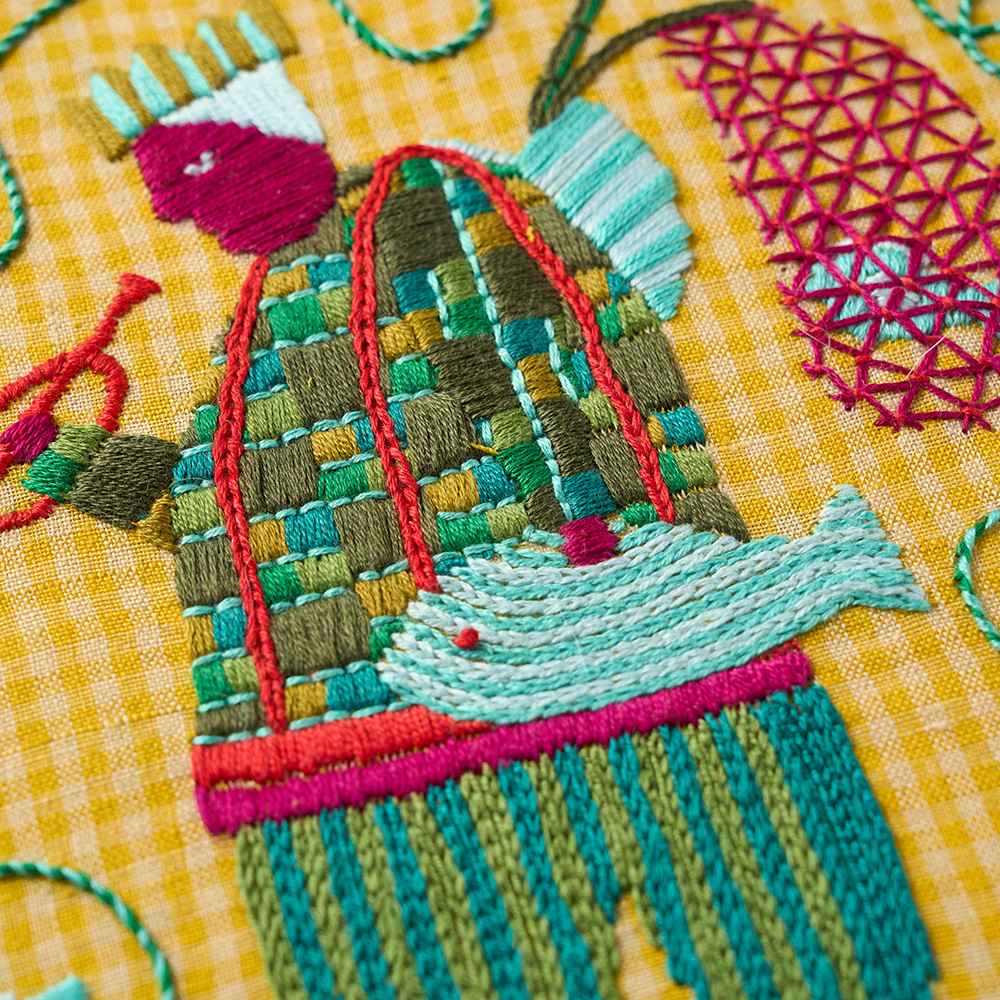
$73.00This virtual course explores how to create your own designs.
What will you learn
Details of the course
Part 1: Welcome to the course
This section will introduce to the course, talk through what we will cover and how we would like you to approach the course. We will go into the materials that you are able to download to use alongside the course.
Part 2: What materials to use
In this section of the course we will go into detail on the materials you need for freestyle embroidery including the different types of fabrics and threads you can use, the other accessories you will need and the types of framing you can opt for at the end.
Part 3: Start with the colour
We will now start looking at creating our own designs, and as I do with all my work, we will start with the colour. This section will explore how to choose colour palettes using colour theory, considering tones, colours to avoid and how complicated you should go.
Part 4: How to find and use inspiration
In this section I will guide you through how to look and use inspiration. We will cover different places you can look to and how to take that inspiration, using it to create new ideas that are unique to you. This section teaches you my own techniques for dealing with creative blocks and finding my own creative voice.
Part 5: Constructing designs
Now we have explored finding inspiration, here we will start looking at how to translate all the inspiration into your own designs. We will discuss various ways to lay out compositions from using borders, to deciding how much detail to include, to ways to experiment with paper cuts for creating designs. At the end of this section you will have a design to start stitching.
Part 6: Translating designs onto fabric
Now you have a design we will cover the various ways to translate onto fabric covering the different approaches for both light and dark fabrics and how much detail to draw.
Part 7: Starting to stitch
Now you have chosen a colour palette, found inspiration, created a design and translated onto fabric, all that is left to do is to stitch. Whilst this course doesn't cover the technical stitches (that is covered in our Start Stitching course), we will go into how to choose which stitches to go where, how to apply your colour palette, and drawing out a stitch plan.
Part 8: Framing and finishing
In the final section of the course I will show you how to finish your embroidery and to mount it for framing. We will touch on the styles of frames but this is covered in more detail in our Decorative Framing course. Then we will recap everything that has been covered through the course.
Extra Deep Dives
As part of the course, you also have access to recordings from four Studio Talks sessions. Each of these sessions is a practical hands-on session exploring topics from the course in more detail: from exploring places to look to for inspiration, to drawing exercises to help you free up your creative approach, to a deep-dive into the 6 steps for composing a design. These videos are a place to learn about topics in more detail.
This course is not a technical stitching course and so we wont cover how to do various stitches. This is all covered in lots of detail in our separate Start Stitching course.
Accompanying materials


We stock all the materials I use in this video course in our sewing supplies shop. You'll be able to choose from a range of fabrics, threads and all the accessories to be able to create your own designs.
All the fabrics and threads which I have used to create my designs are stocked in the shop, so you have a huge amount of choice to create something totally unique to you.


