

Resources
The Importance of Framing
As an embroidery kit company, our aim has always been to encourage people to discover their creative side. We believe that once you've spent hours carefully stitching, your finished piece deserves to be celebrated - and the best way to do that is by hanging it proudly on your wall. Framing adds the finishing touch to an embroidery, elevating it into a piece of art and allowing it to last for generations. But frames can be more than just plain squares of wood or plastic - they can become part of the art itself.
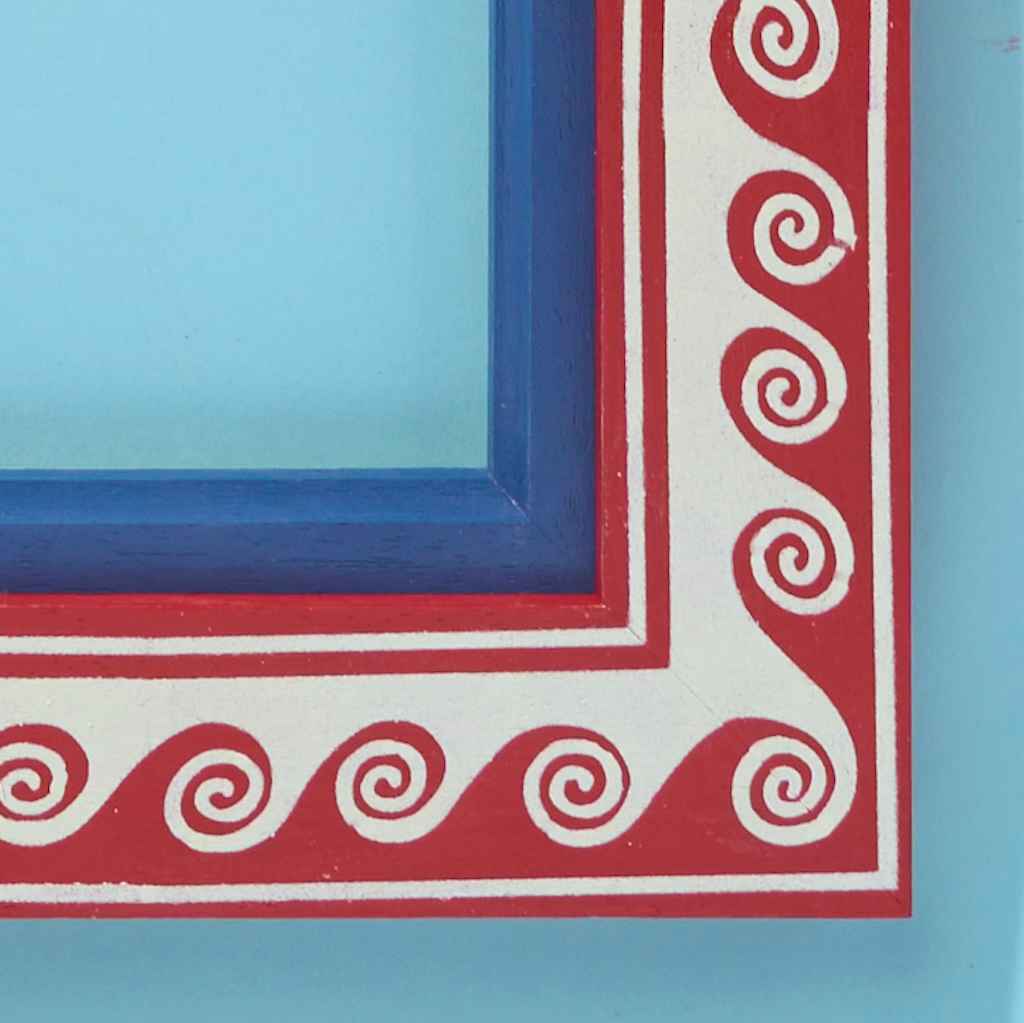
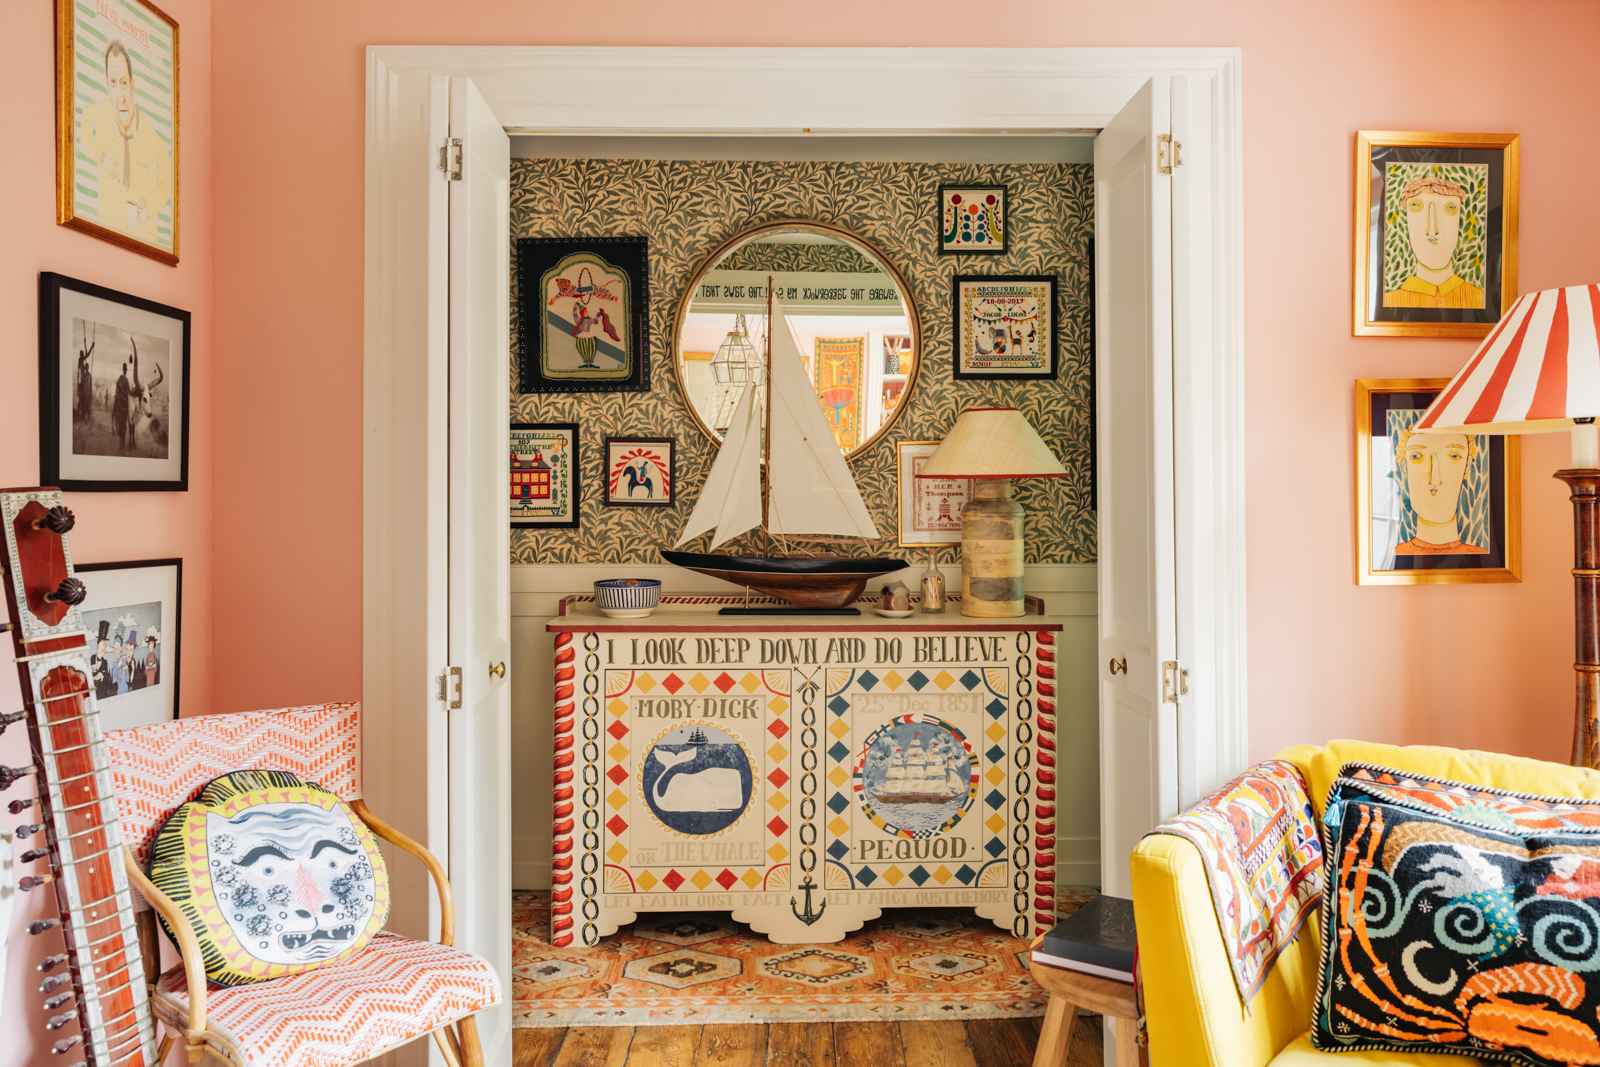
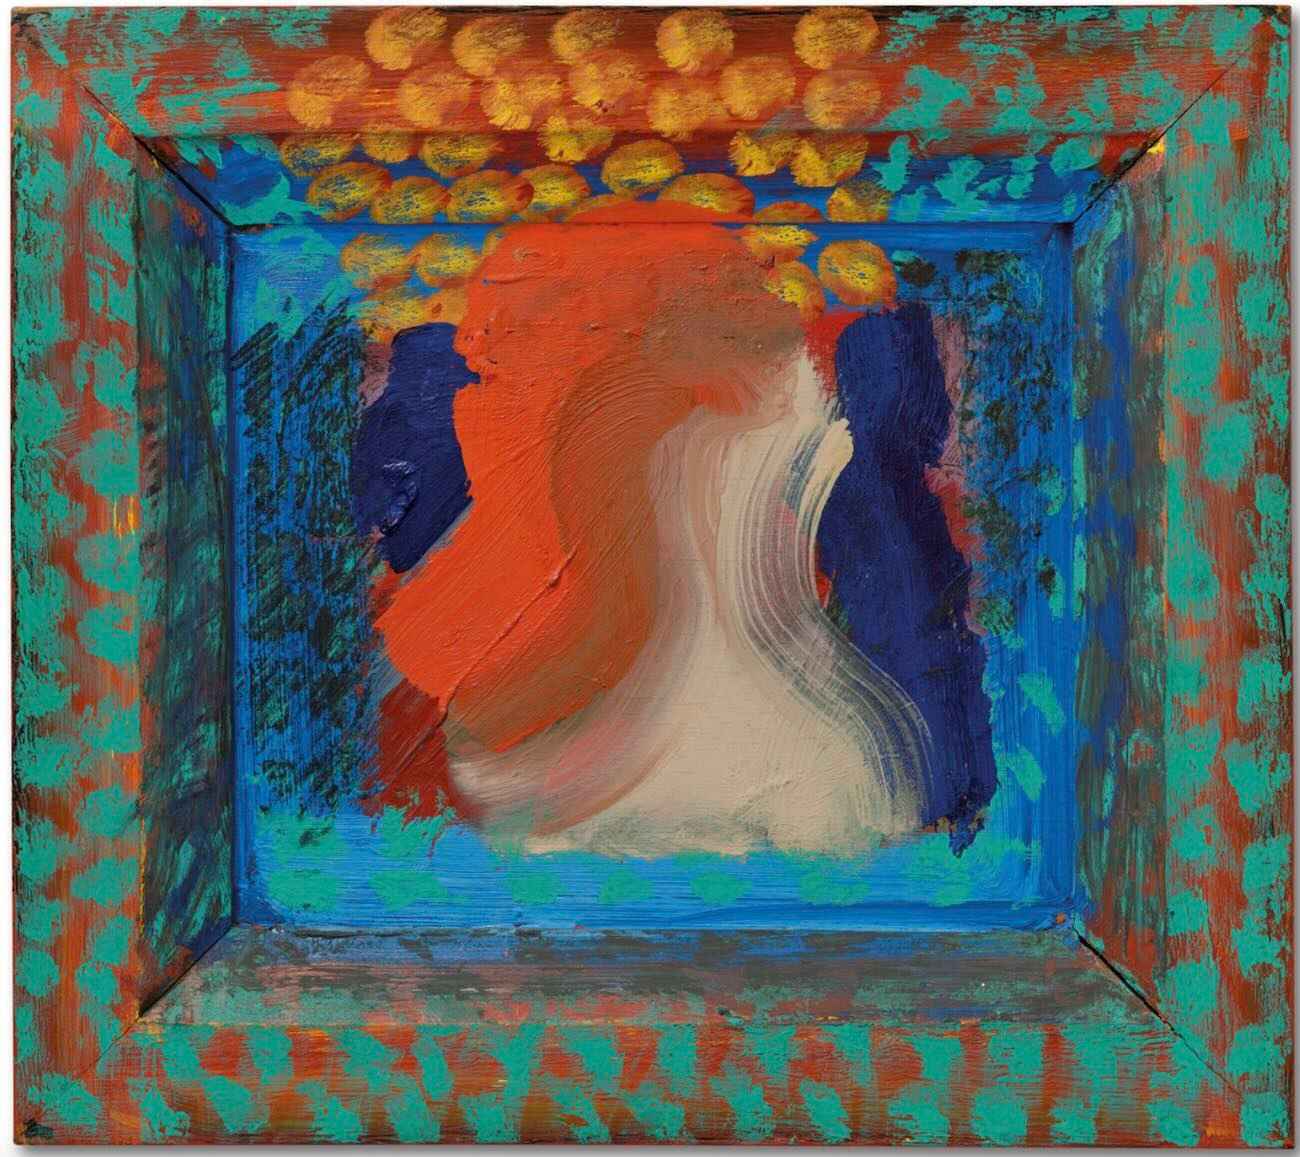
During the Italian renaissance, many artworks had incredibly elaborate gilded frames, with motifs or patterned borders. The artist Kandinsky also painted some of his frames himself, like the one in his reverse glass painting, below. He used colours from the painting to add a pattern of dots to his frame, helping to bring the whole piece together, while adding a fun and creative element to the finished piece. Howard Hodgkin also famously incorporated frames into his artwork (we’ve written before about Hodgkin’s incredible colour palettes here). He designed the paintings with the frames in mind, rather than simply adding them as an afterthought.
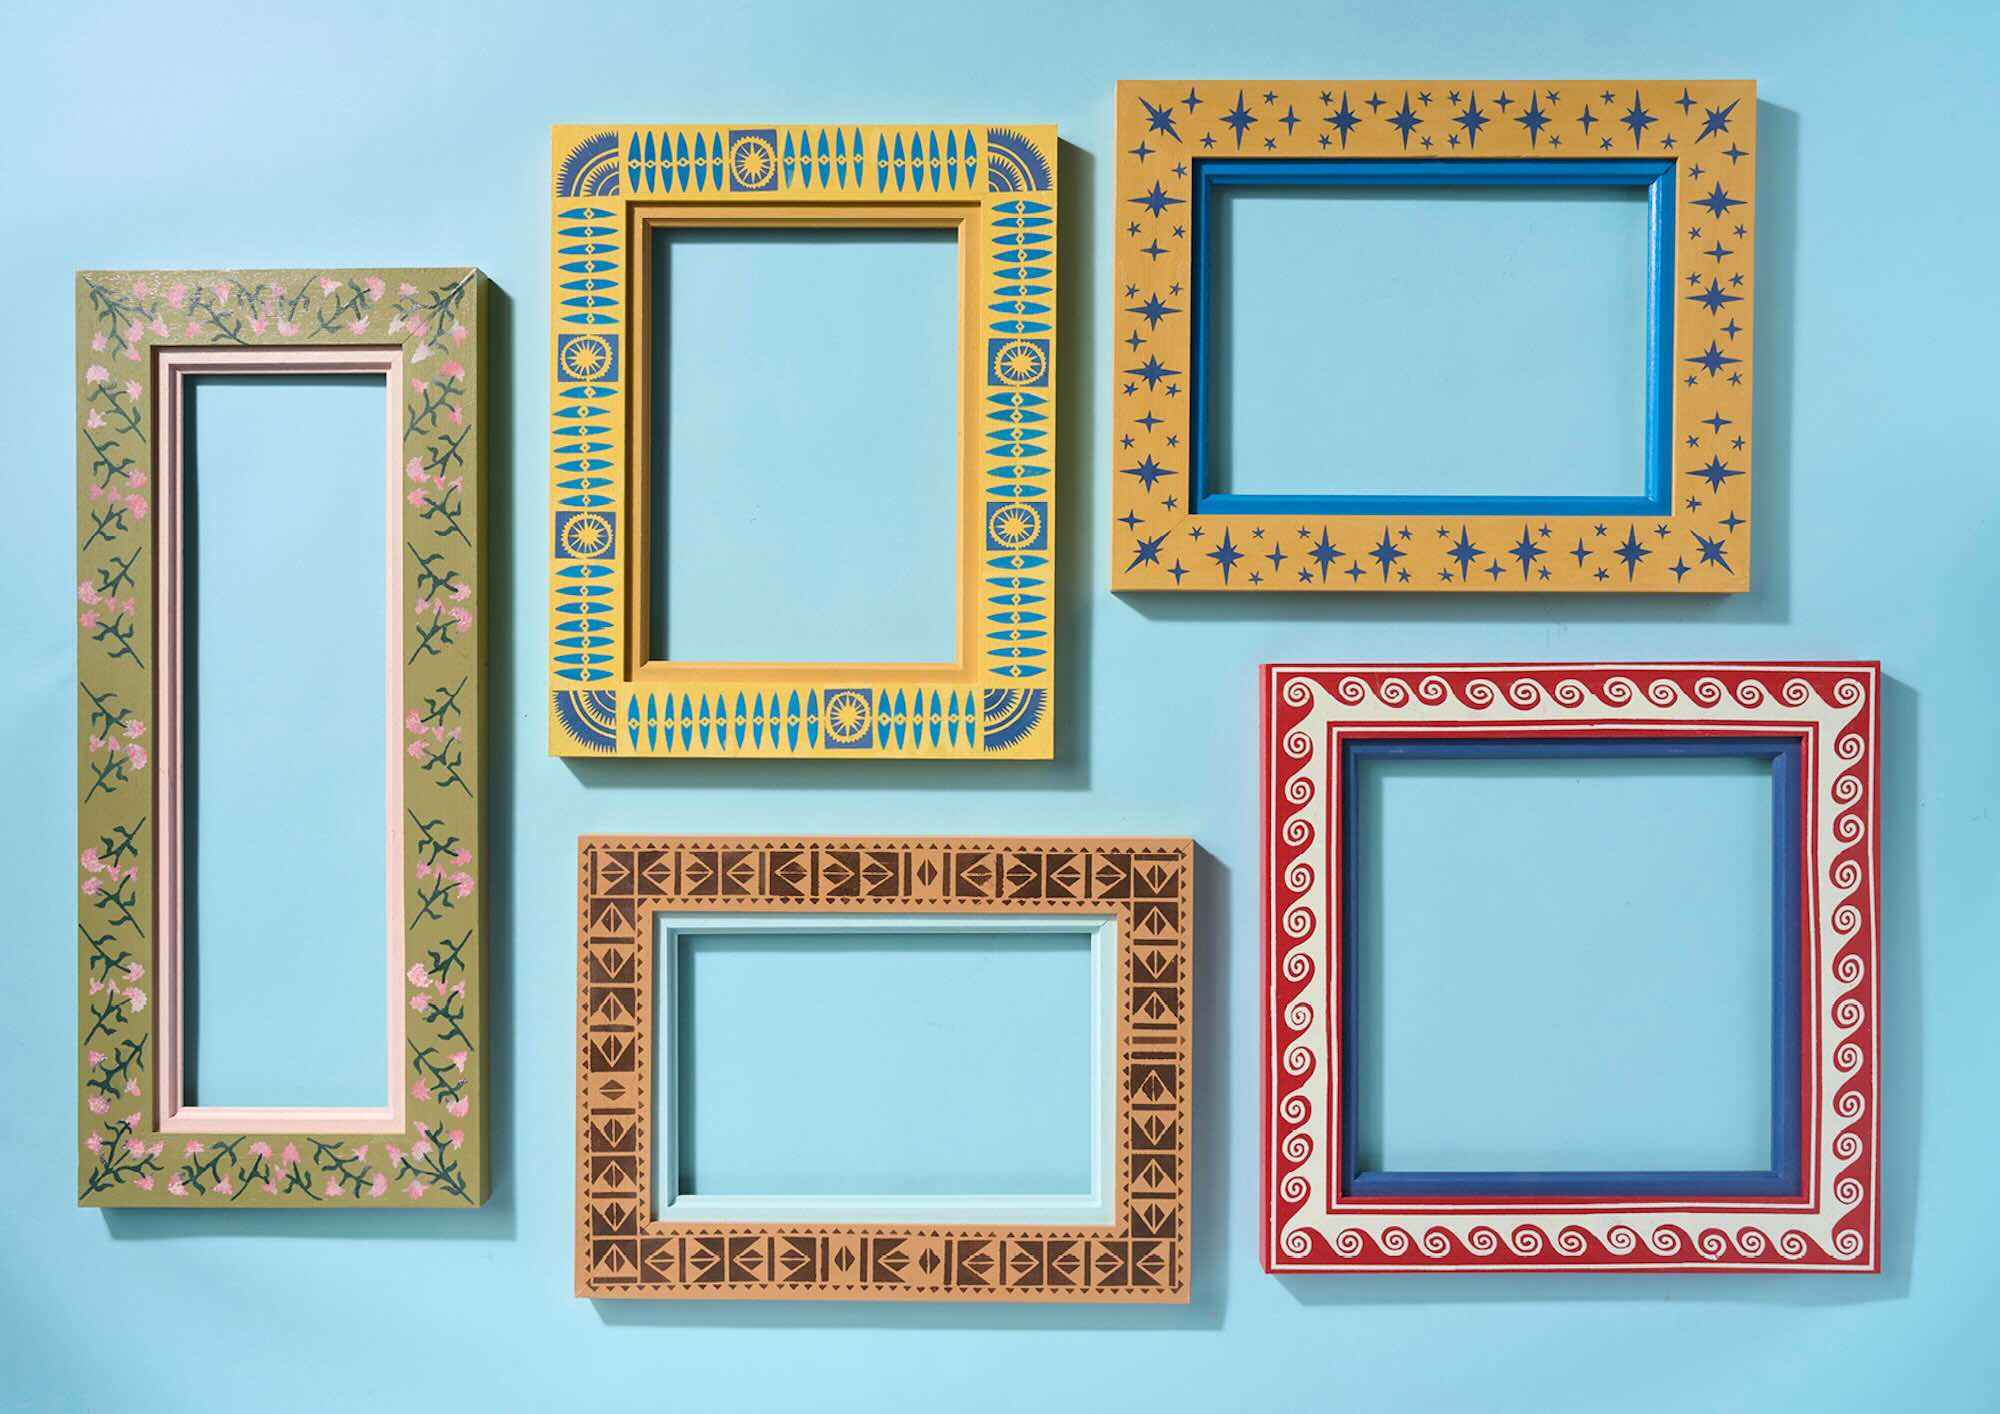
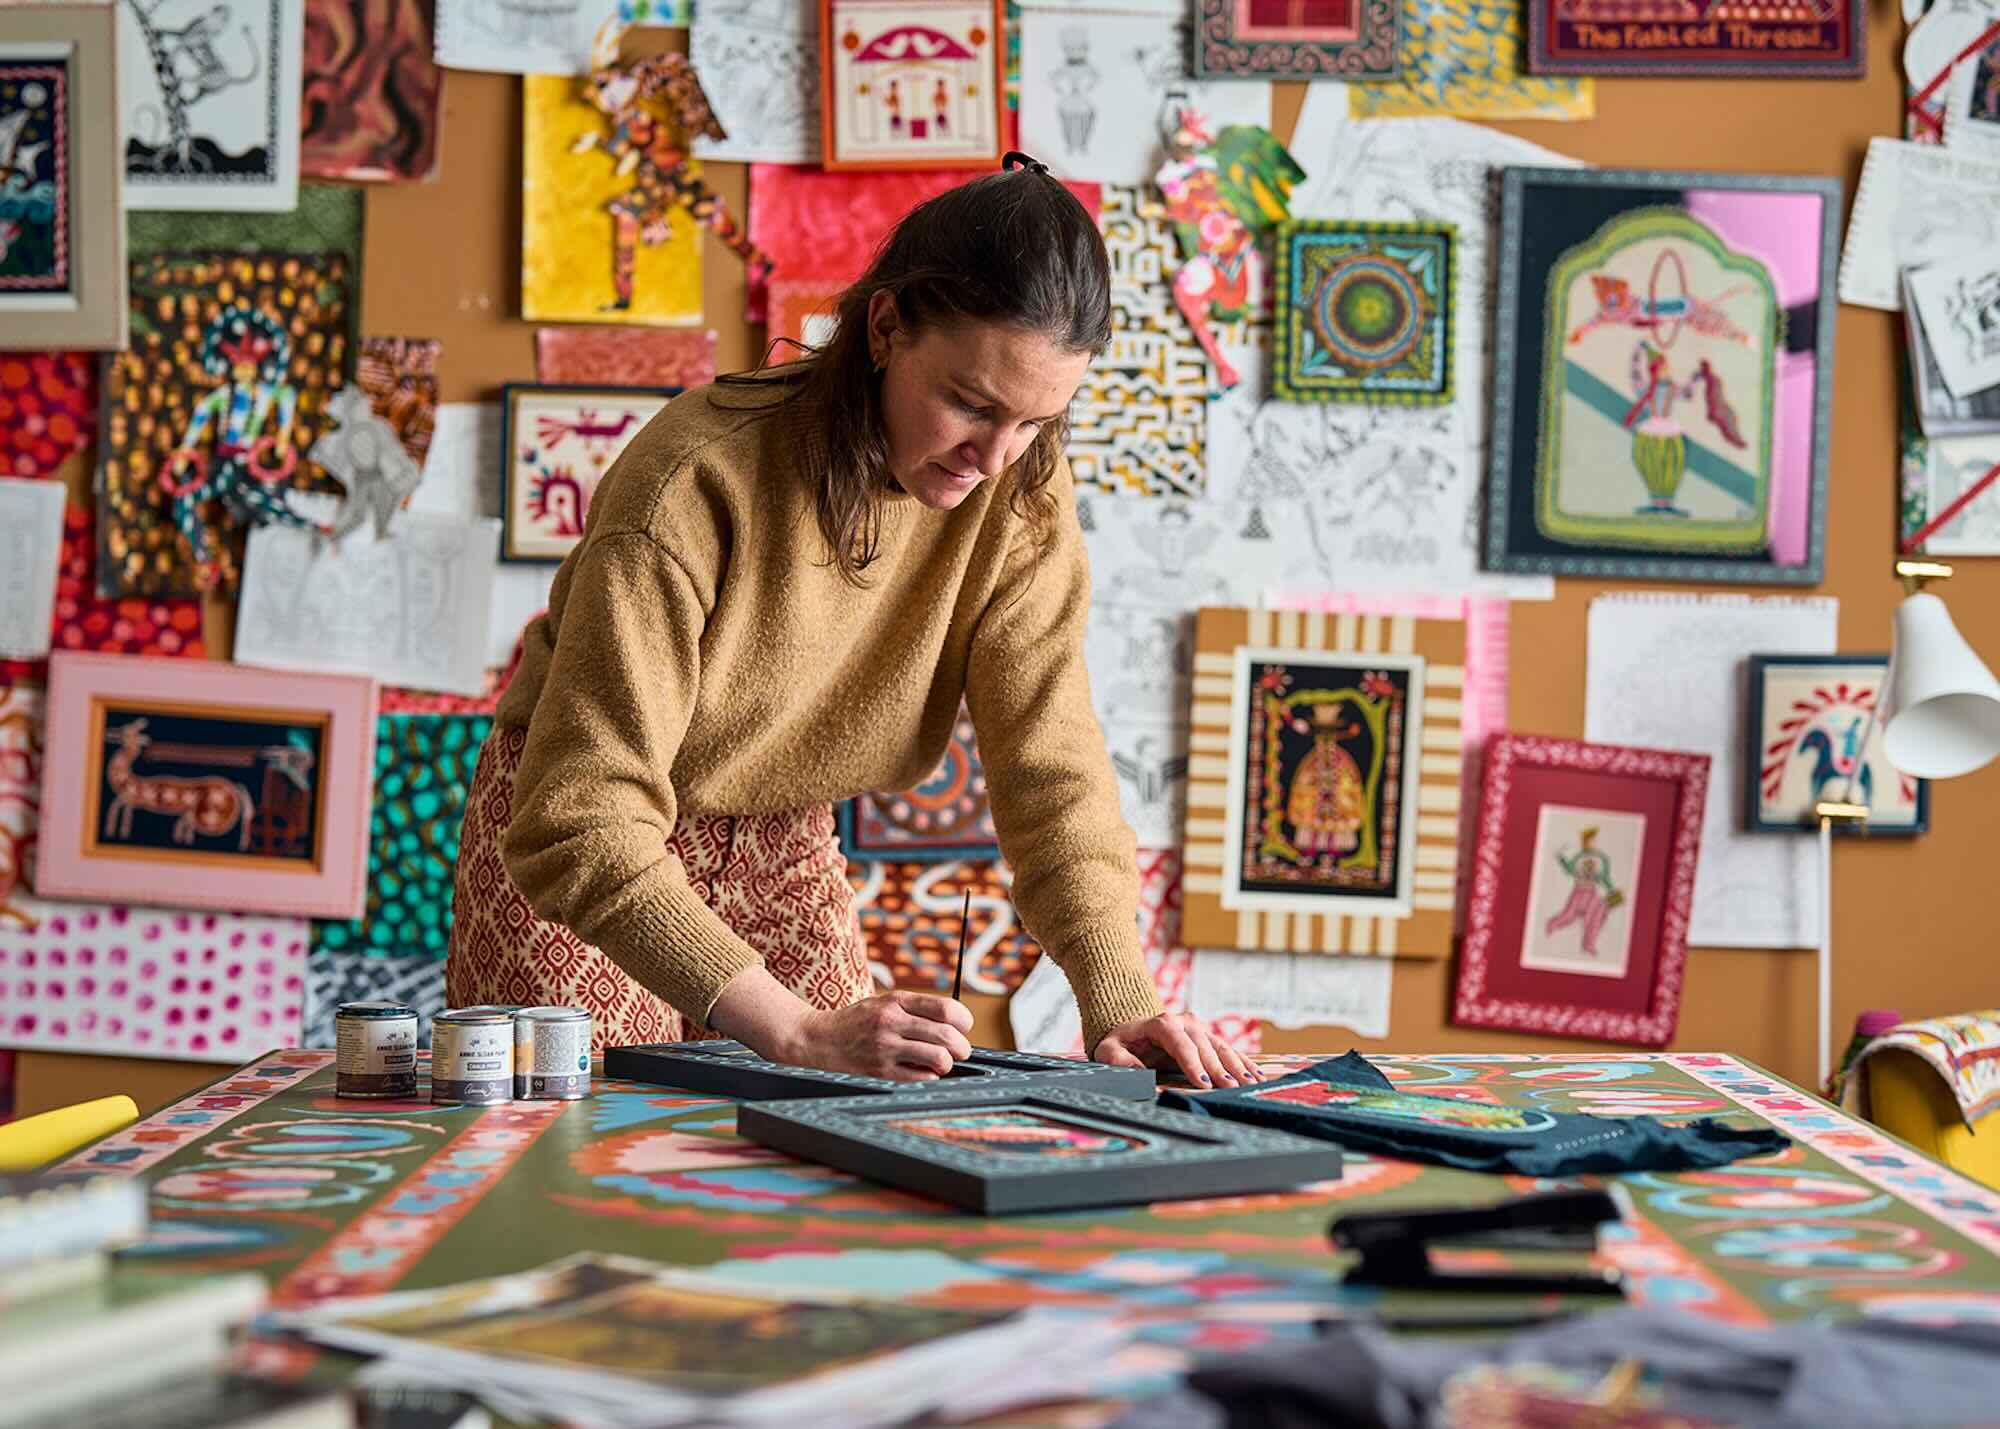
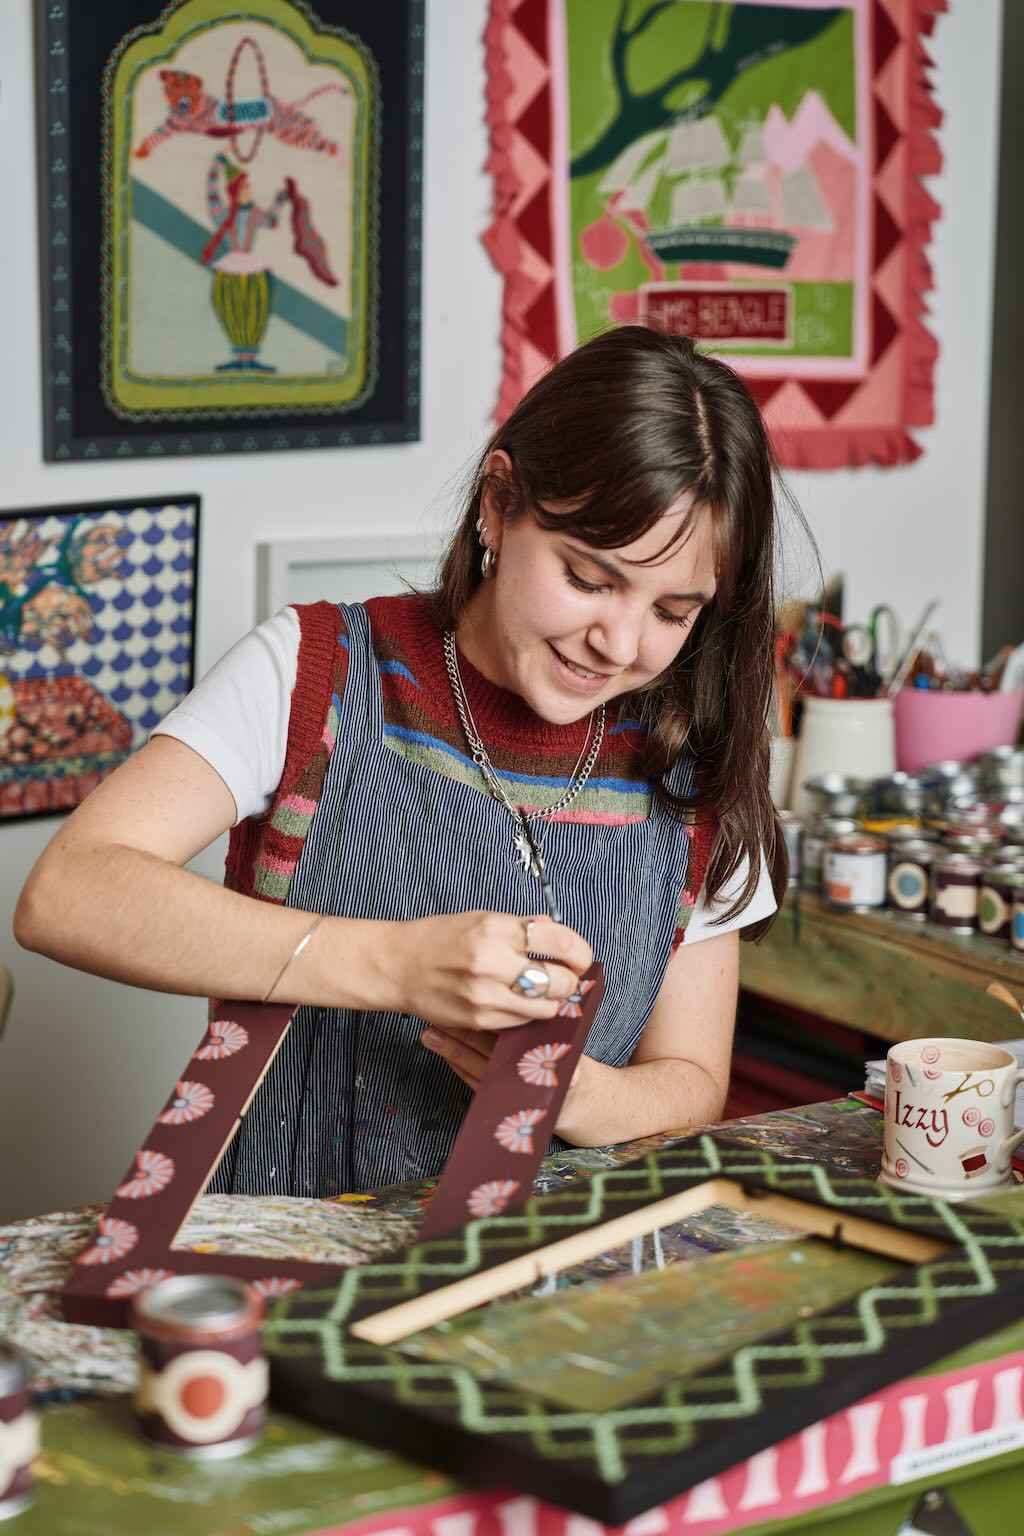
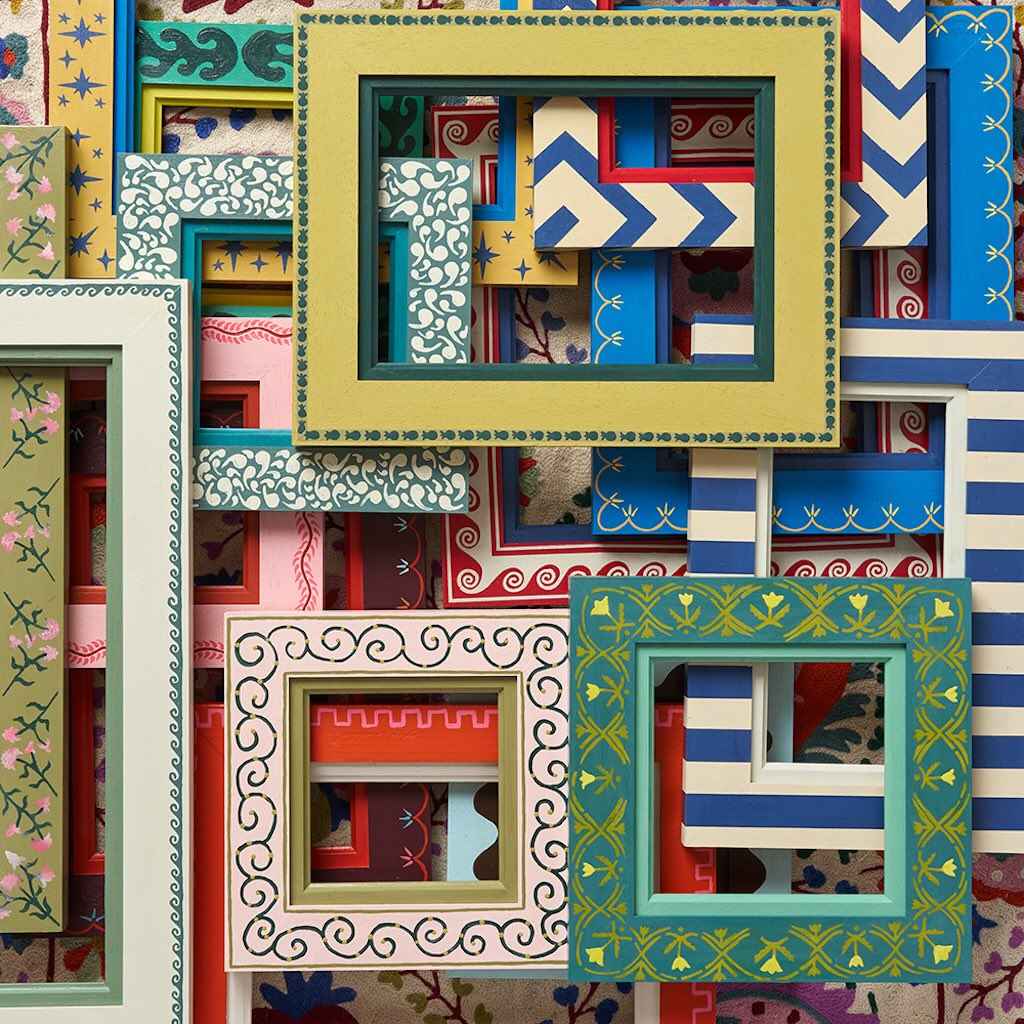
We’ve taken this same approach with our range of hand-painted frames, carefully selecting the colours and patterns to make sure that each frame perfectly complements its embroidery kit, creating one cohesive piece of art. All of our kits have the option of being paired with their own specially designed, hand-painted frame, painted by Izzy in our studio.
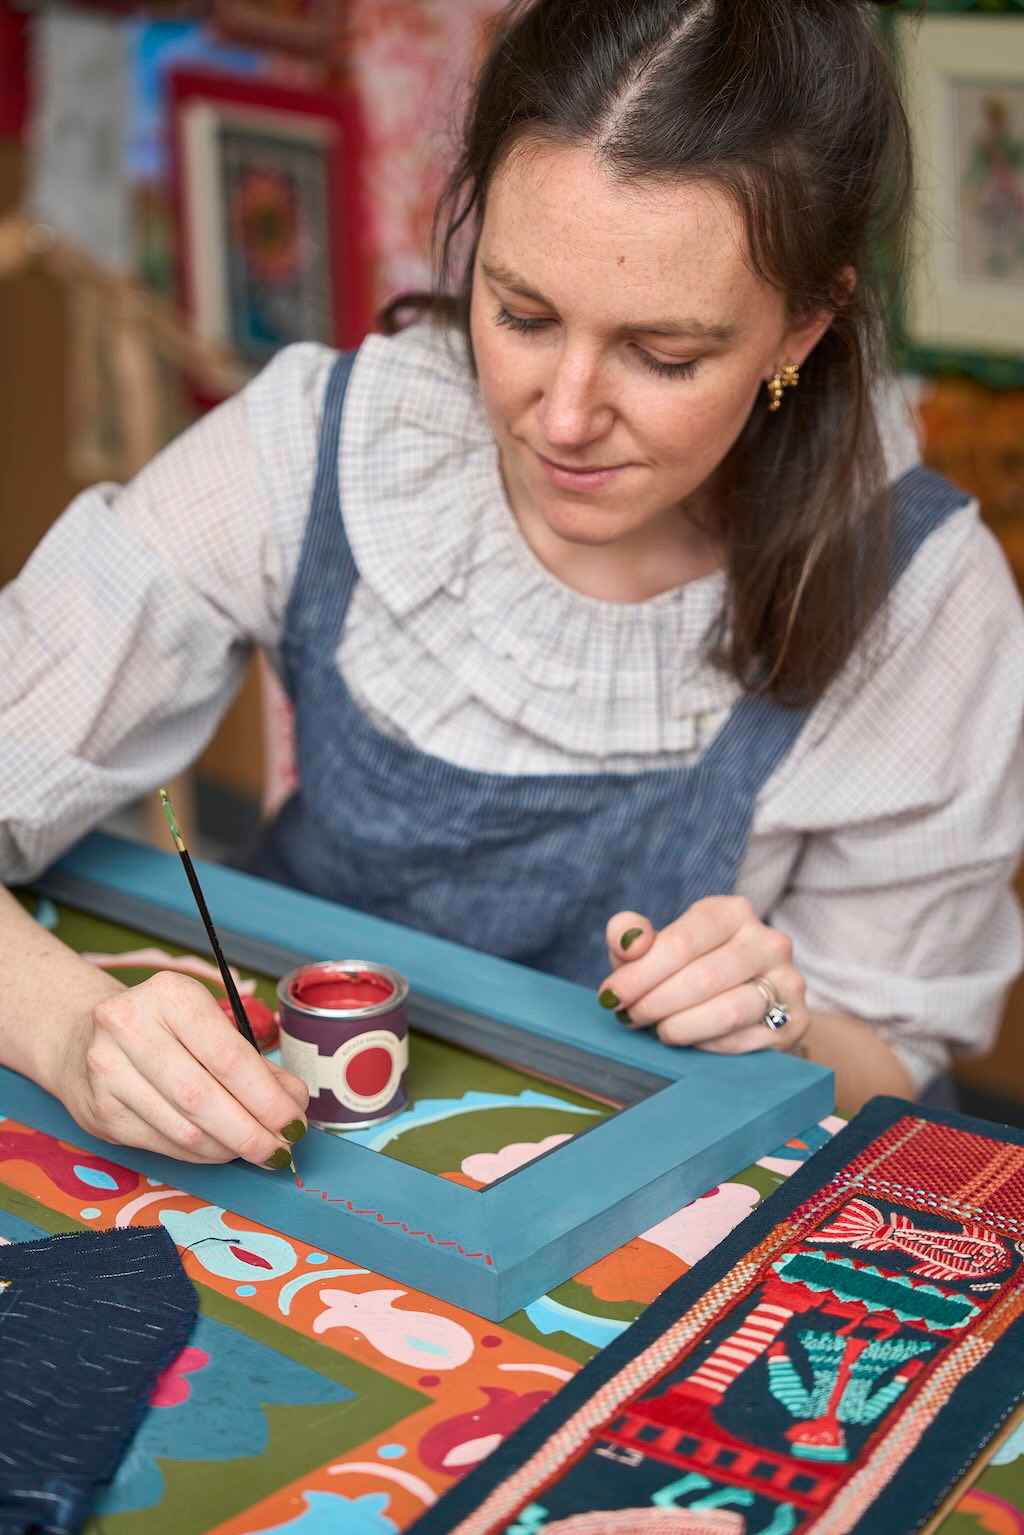
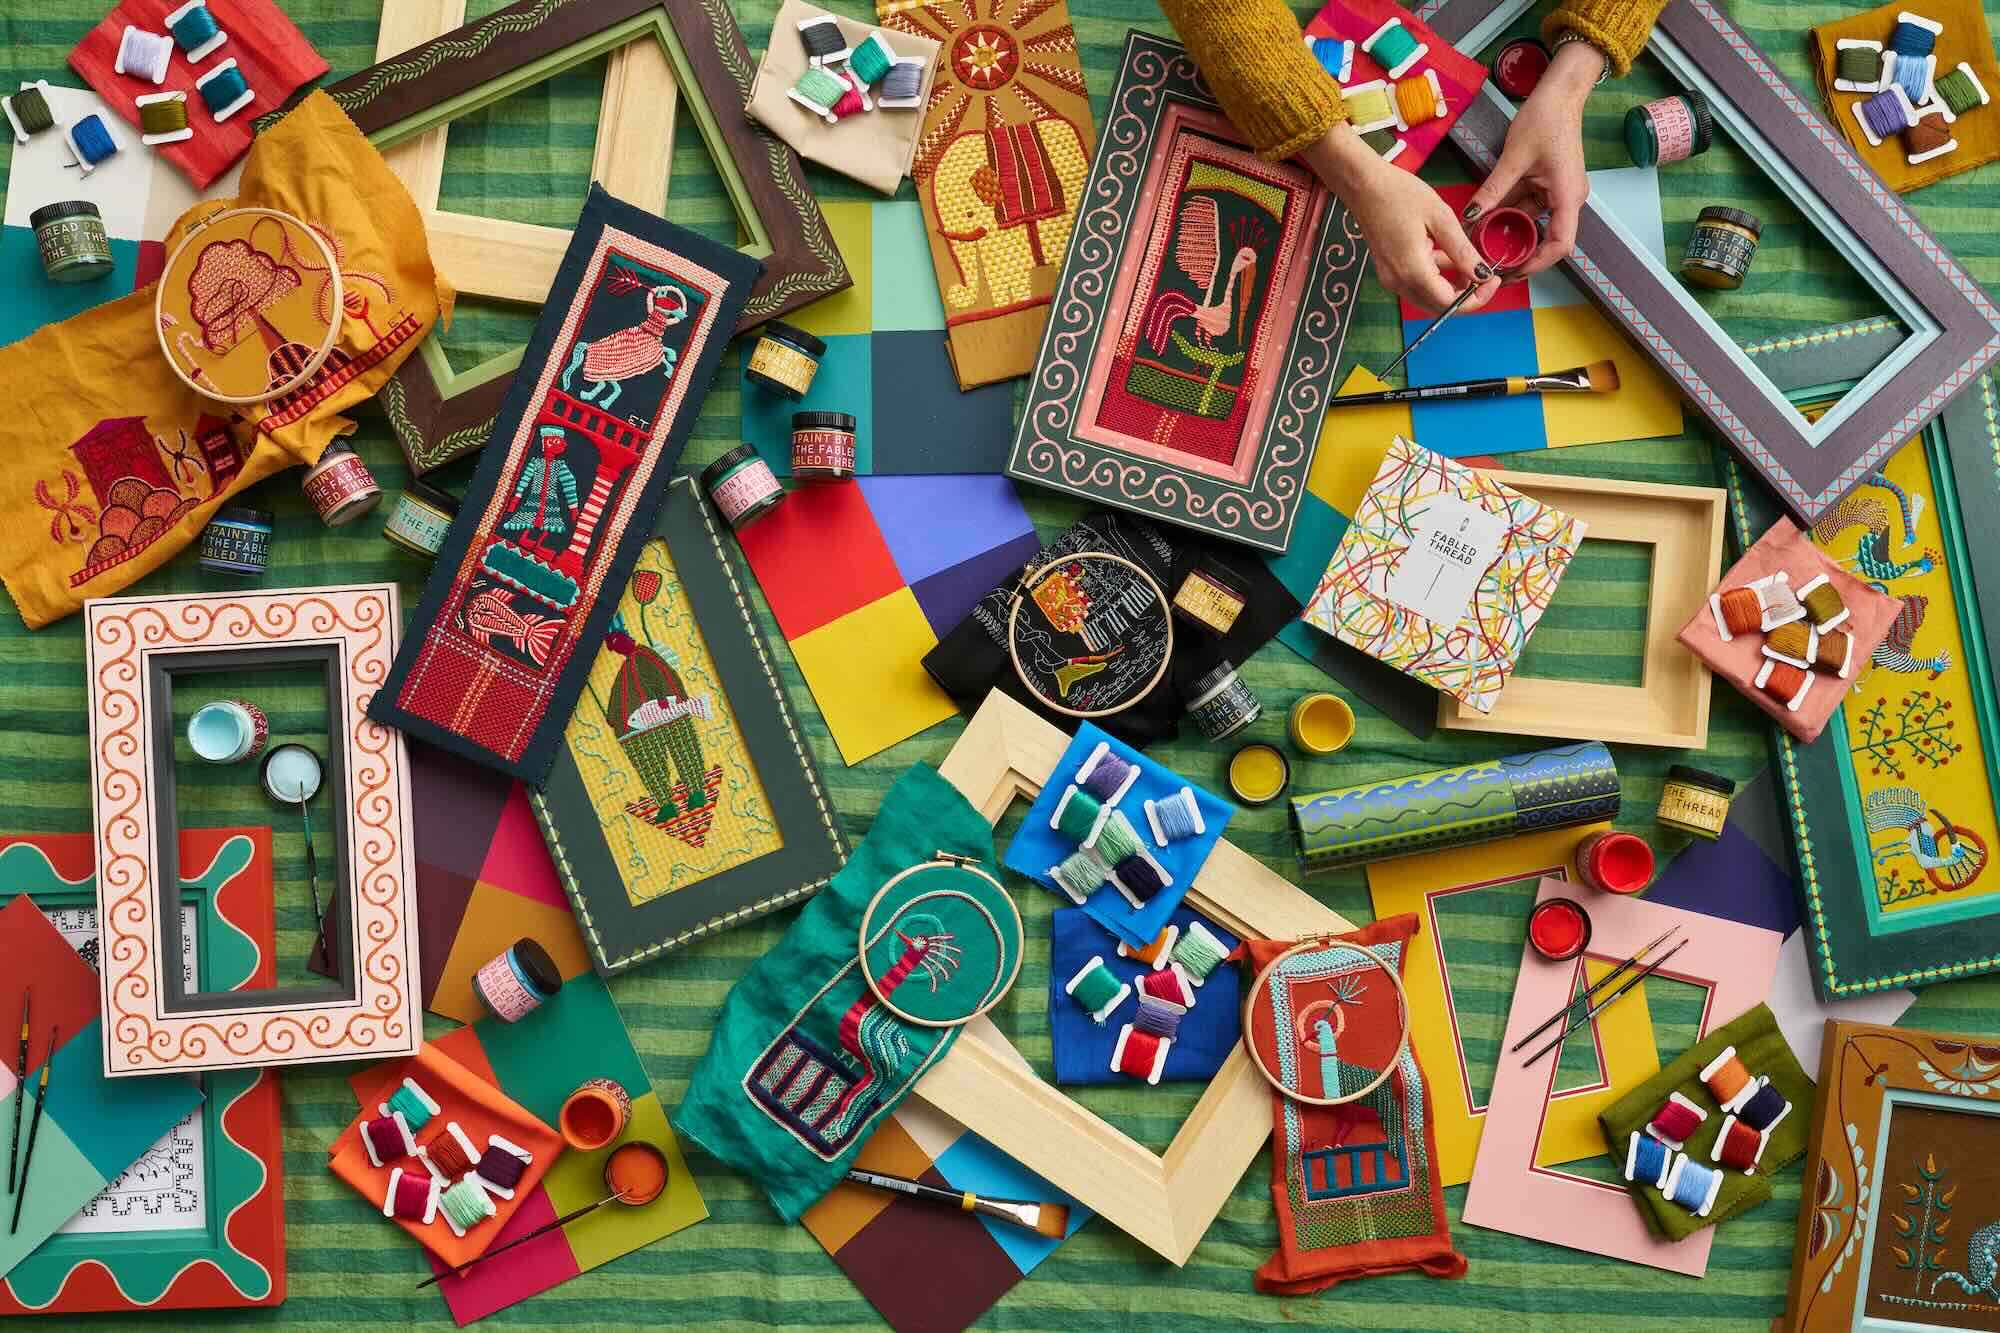
But if you want to try and decoratively paint your own frame, we also sell unpainted frames. We know that the painting process can feel a little daunting to begin with, so we thought it was time we shared some helpful tips with you if you needed a little nudge to get started.
We do have a whole decorative framing course, which takes you through every step of the process, making it clear and easy to understand. If you’re a visual learner, we’d definitely recommend signing up for the course, which covers everything from explaining the materials you'll need and choosing your frame shape, to tips on using stencils and painting motifs. But if you just want a little introduction, then hopefully this article will help make decorative frame painting feel much less daunting!
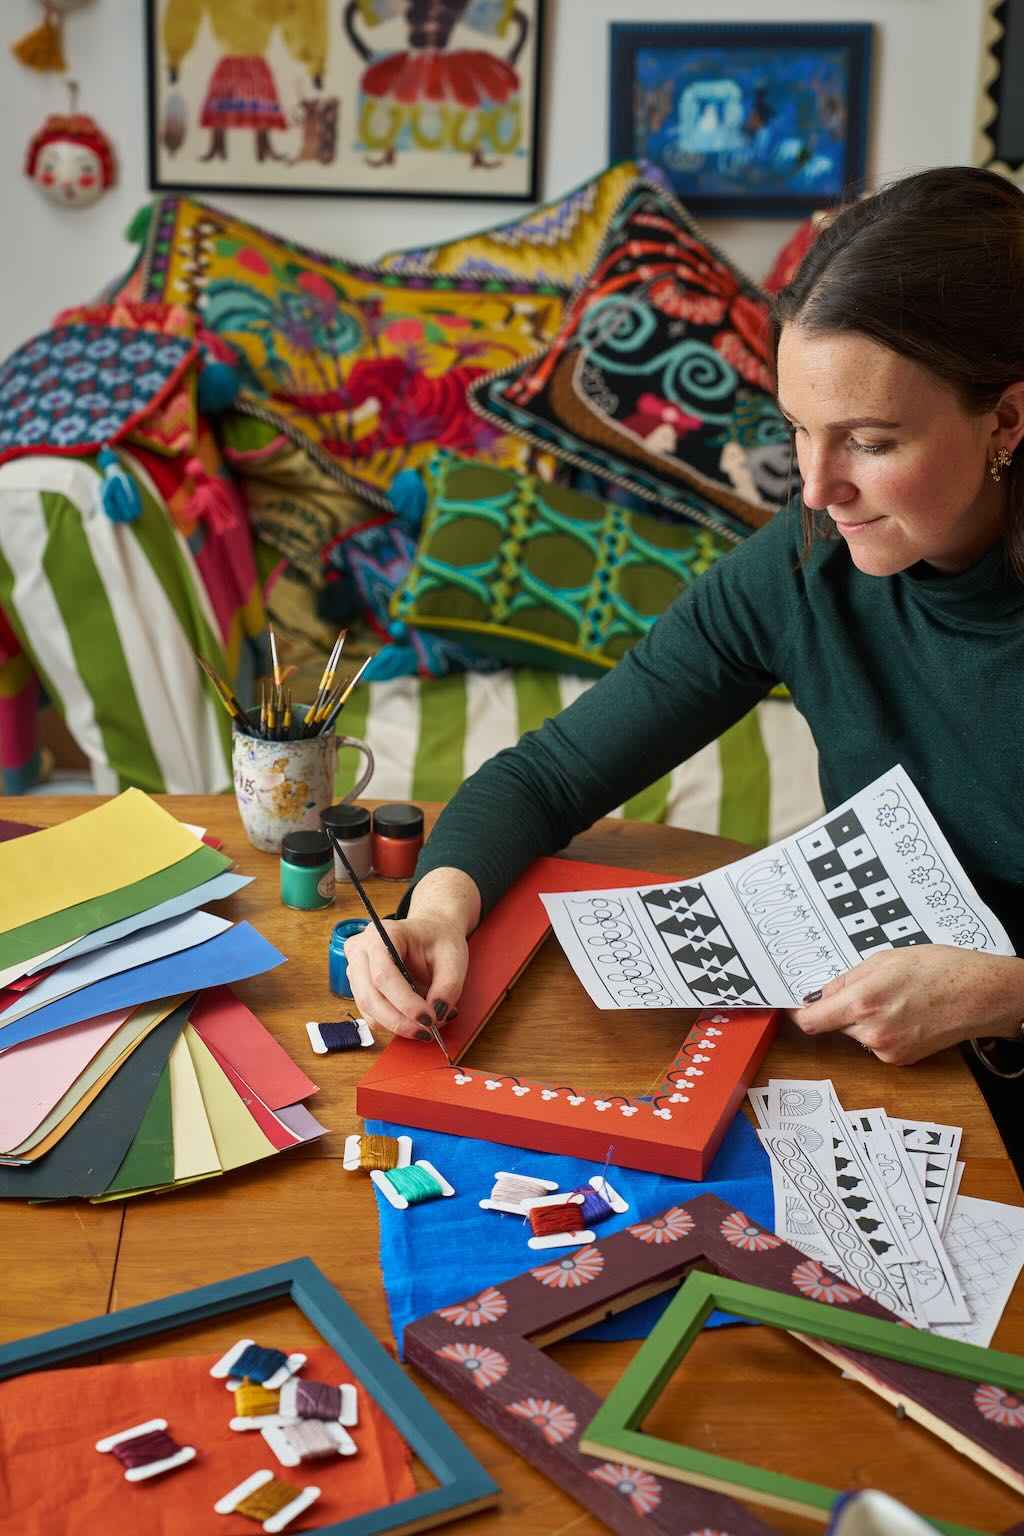
1 | Choosing the colours for your frame
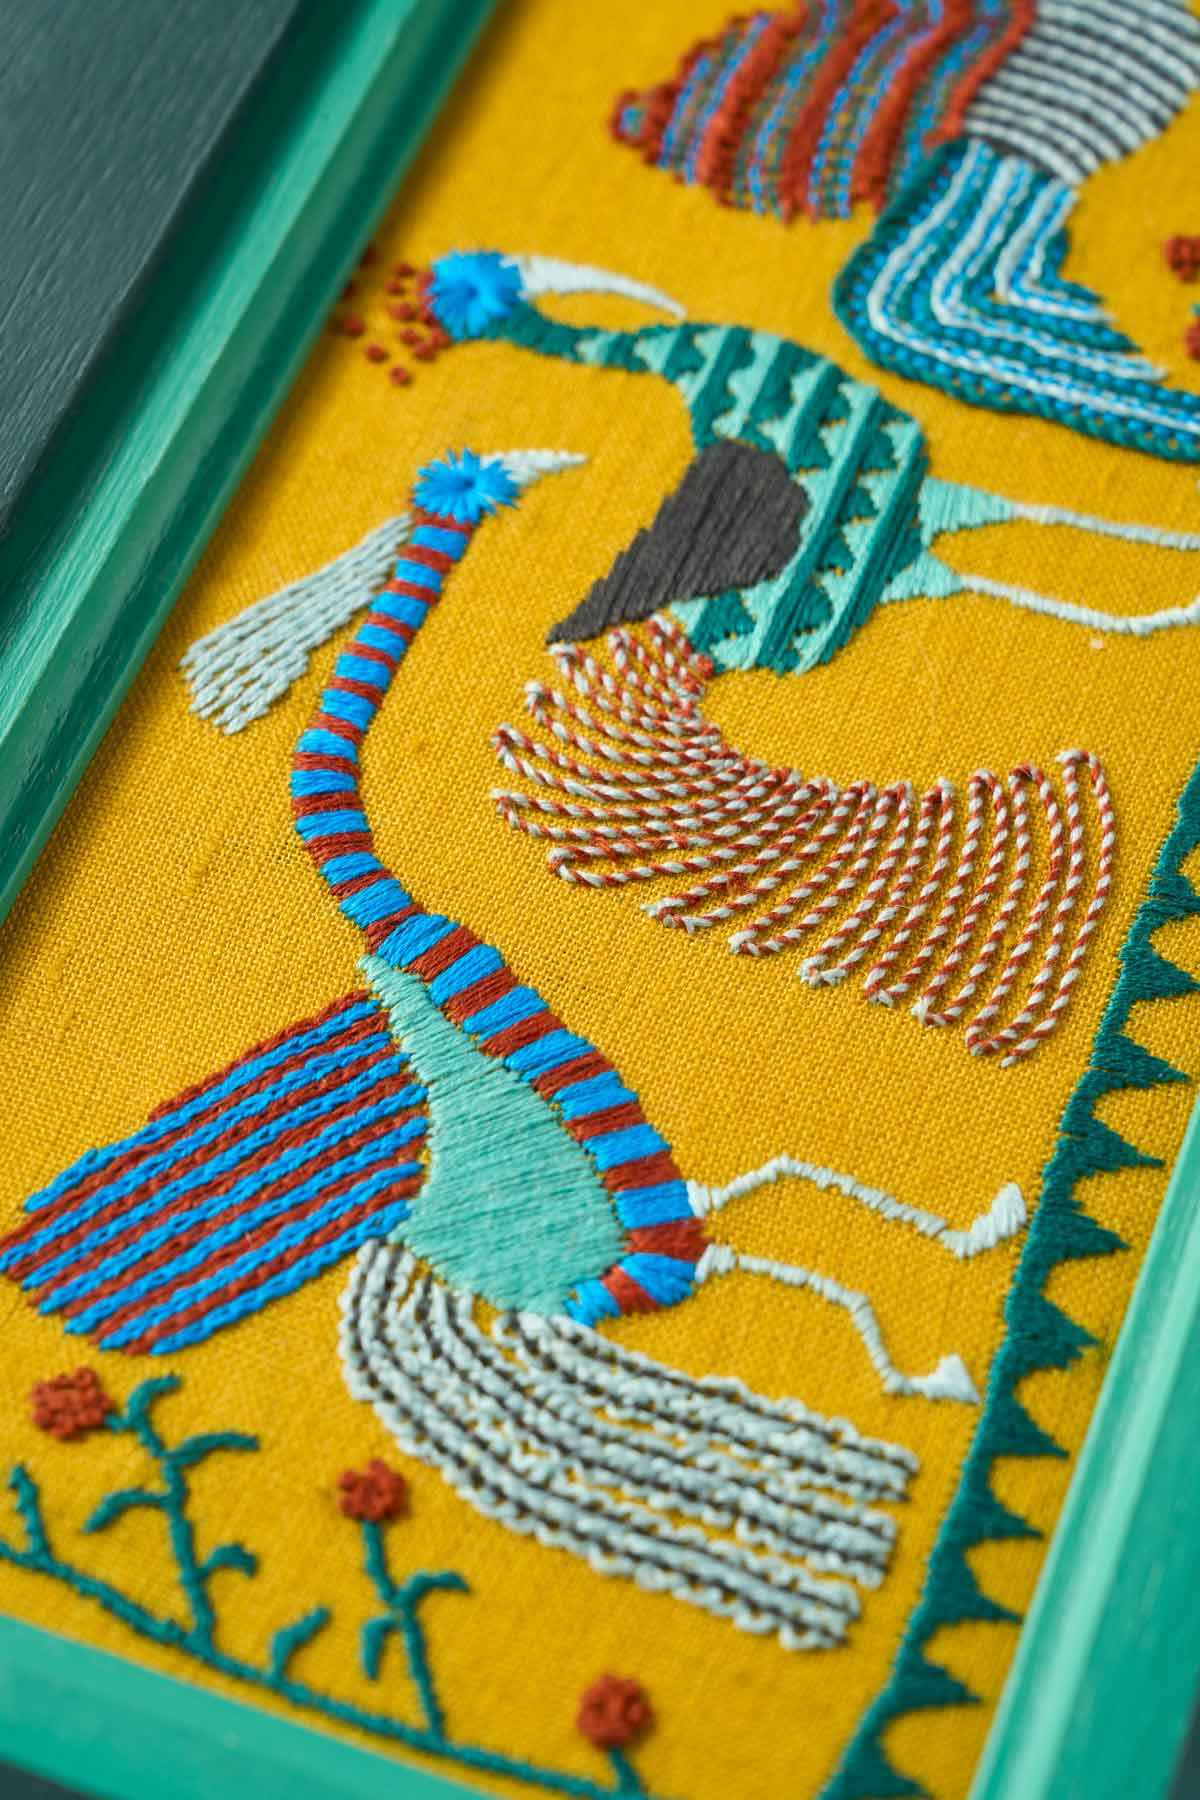
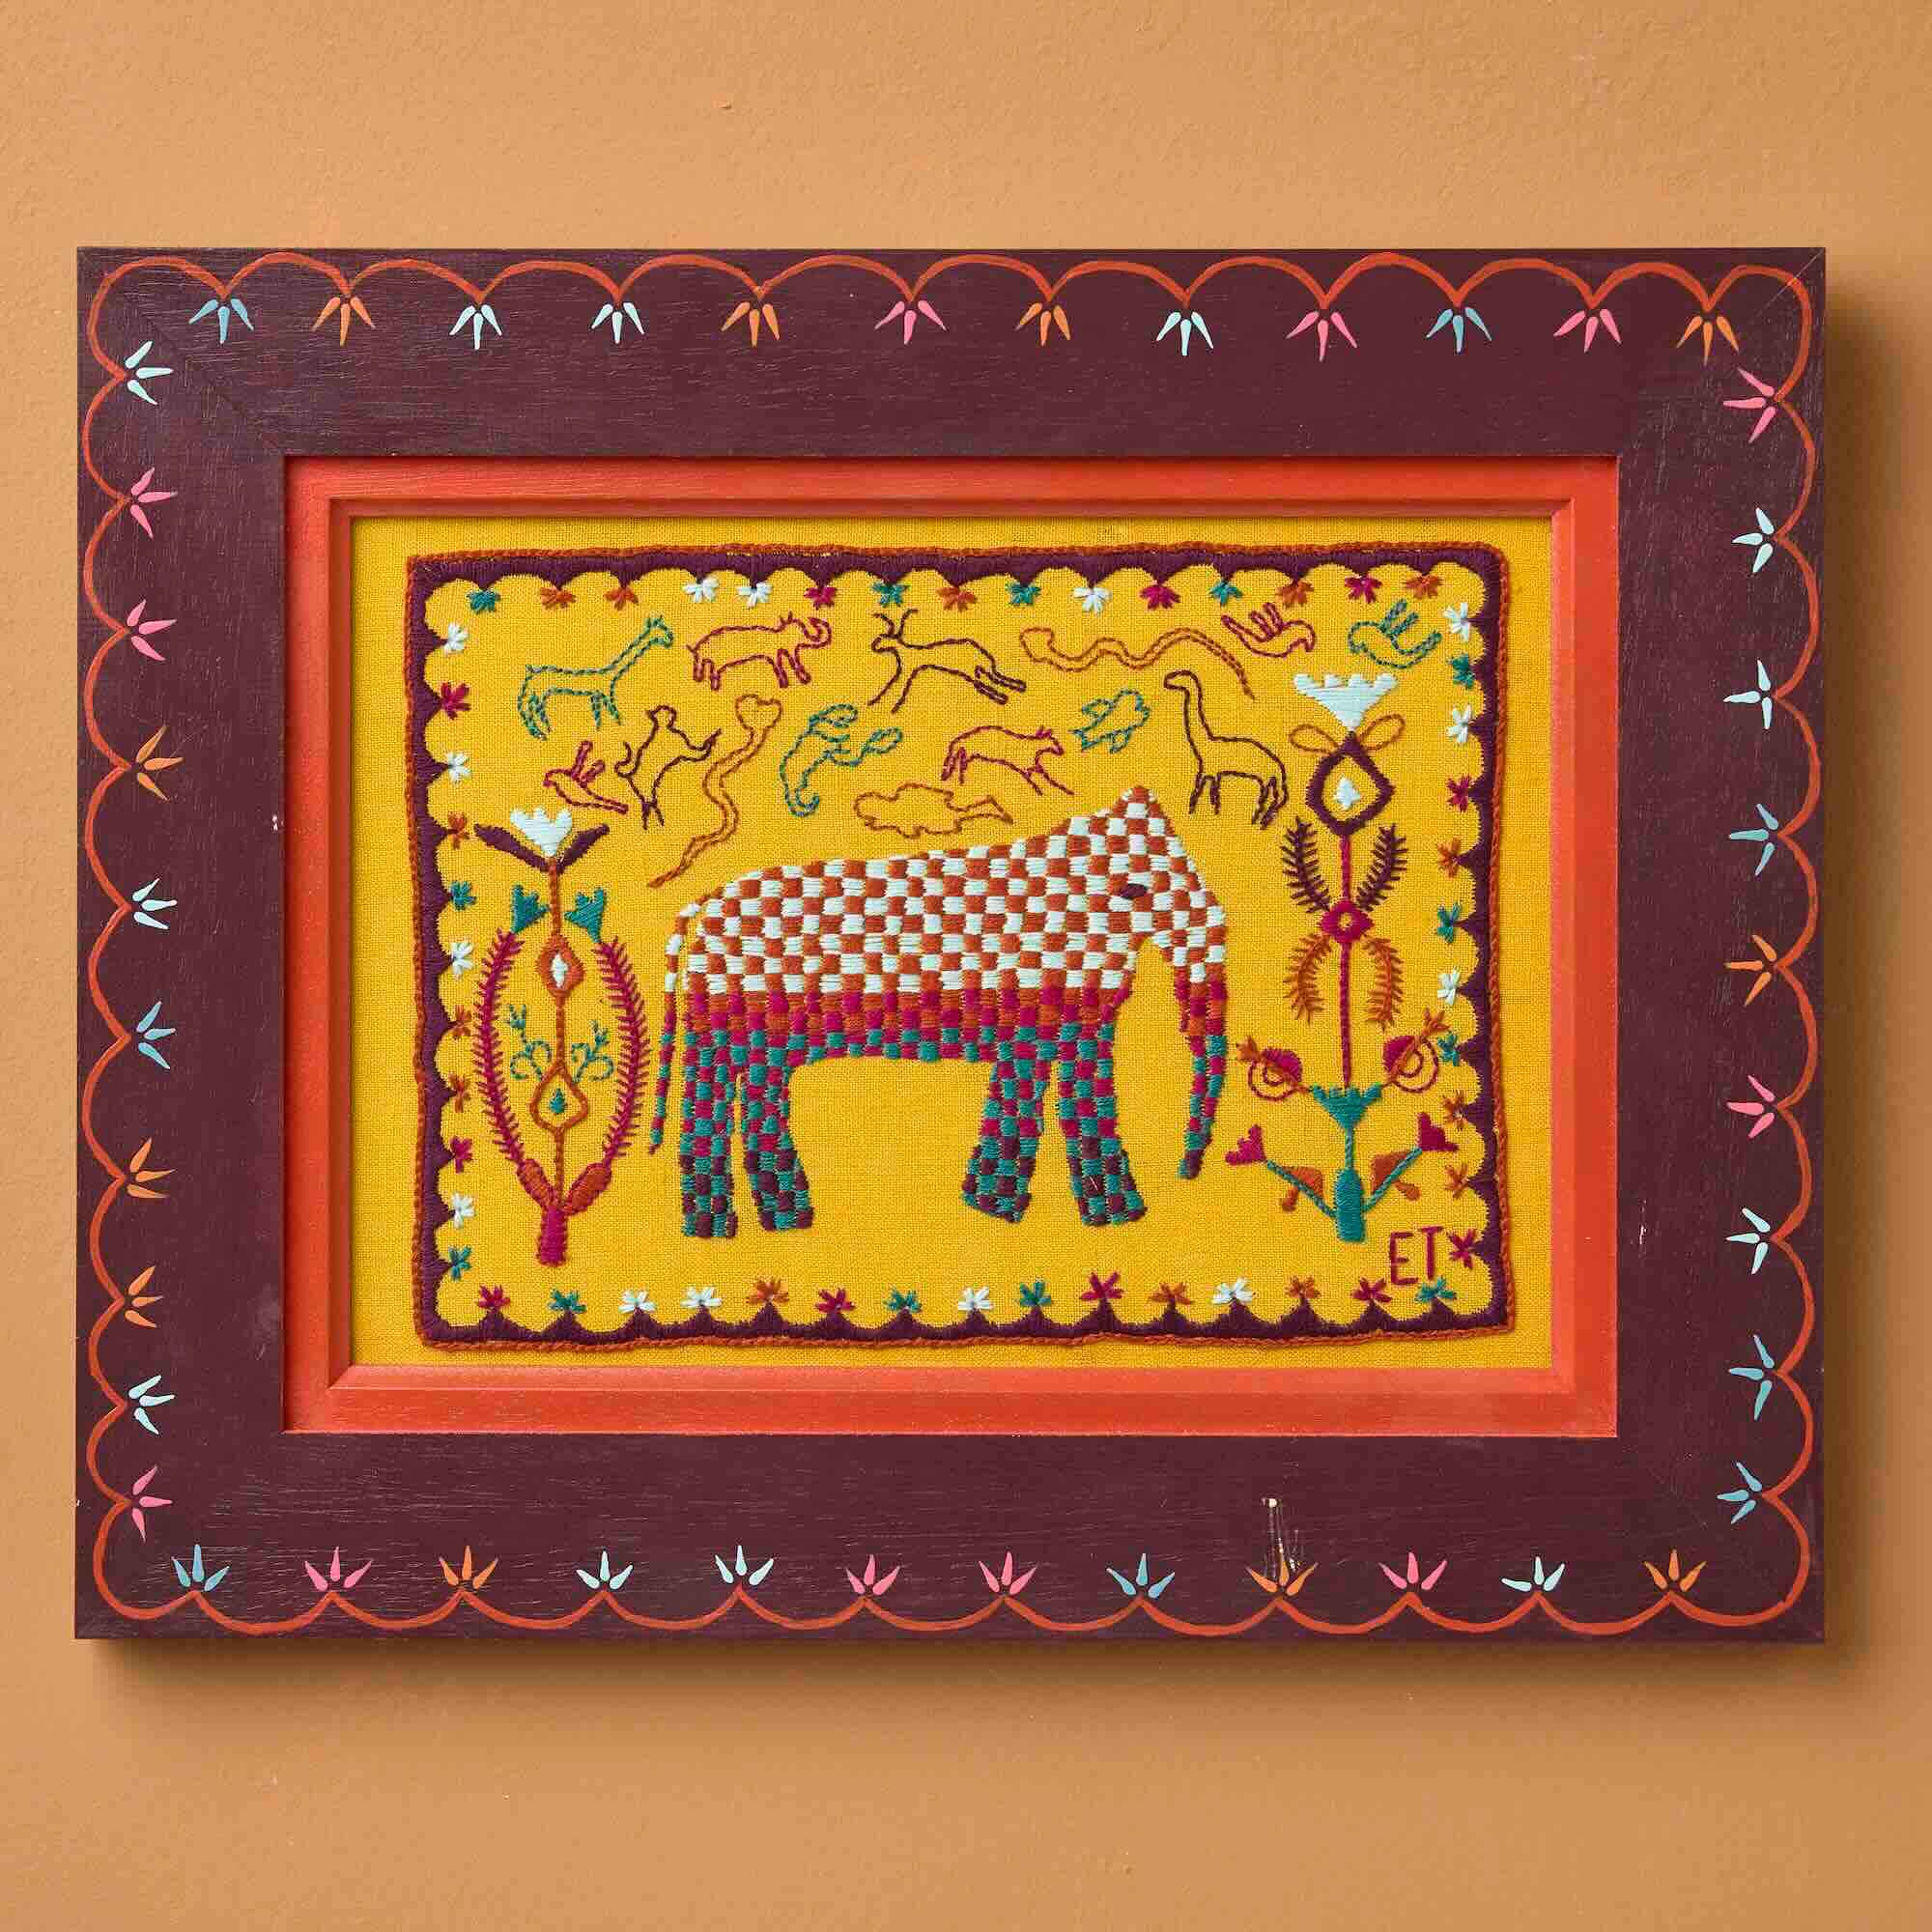
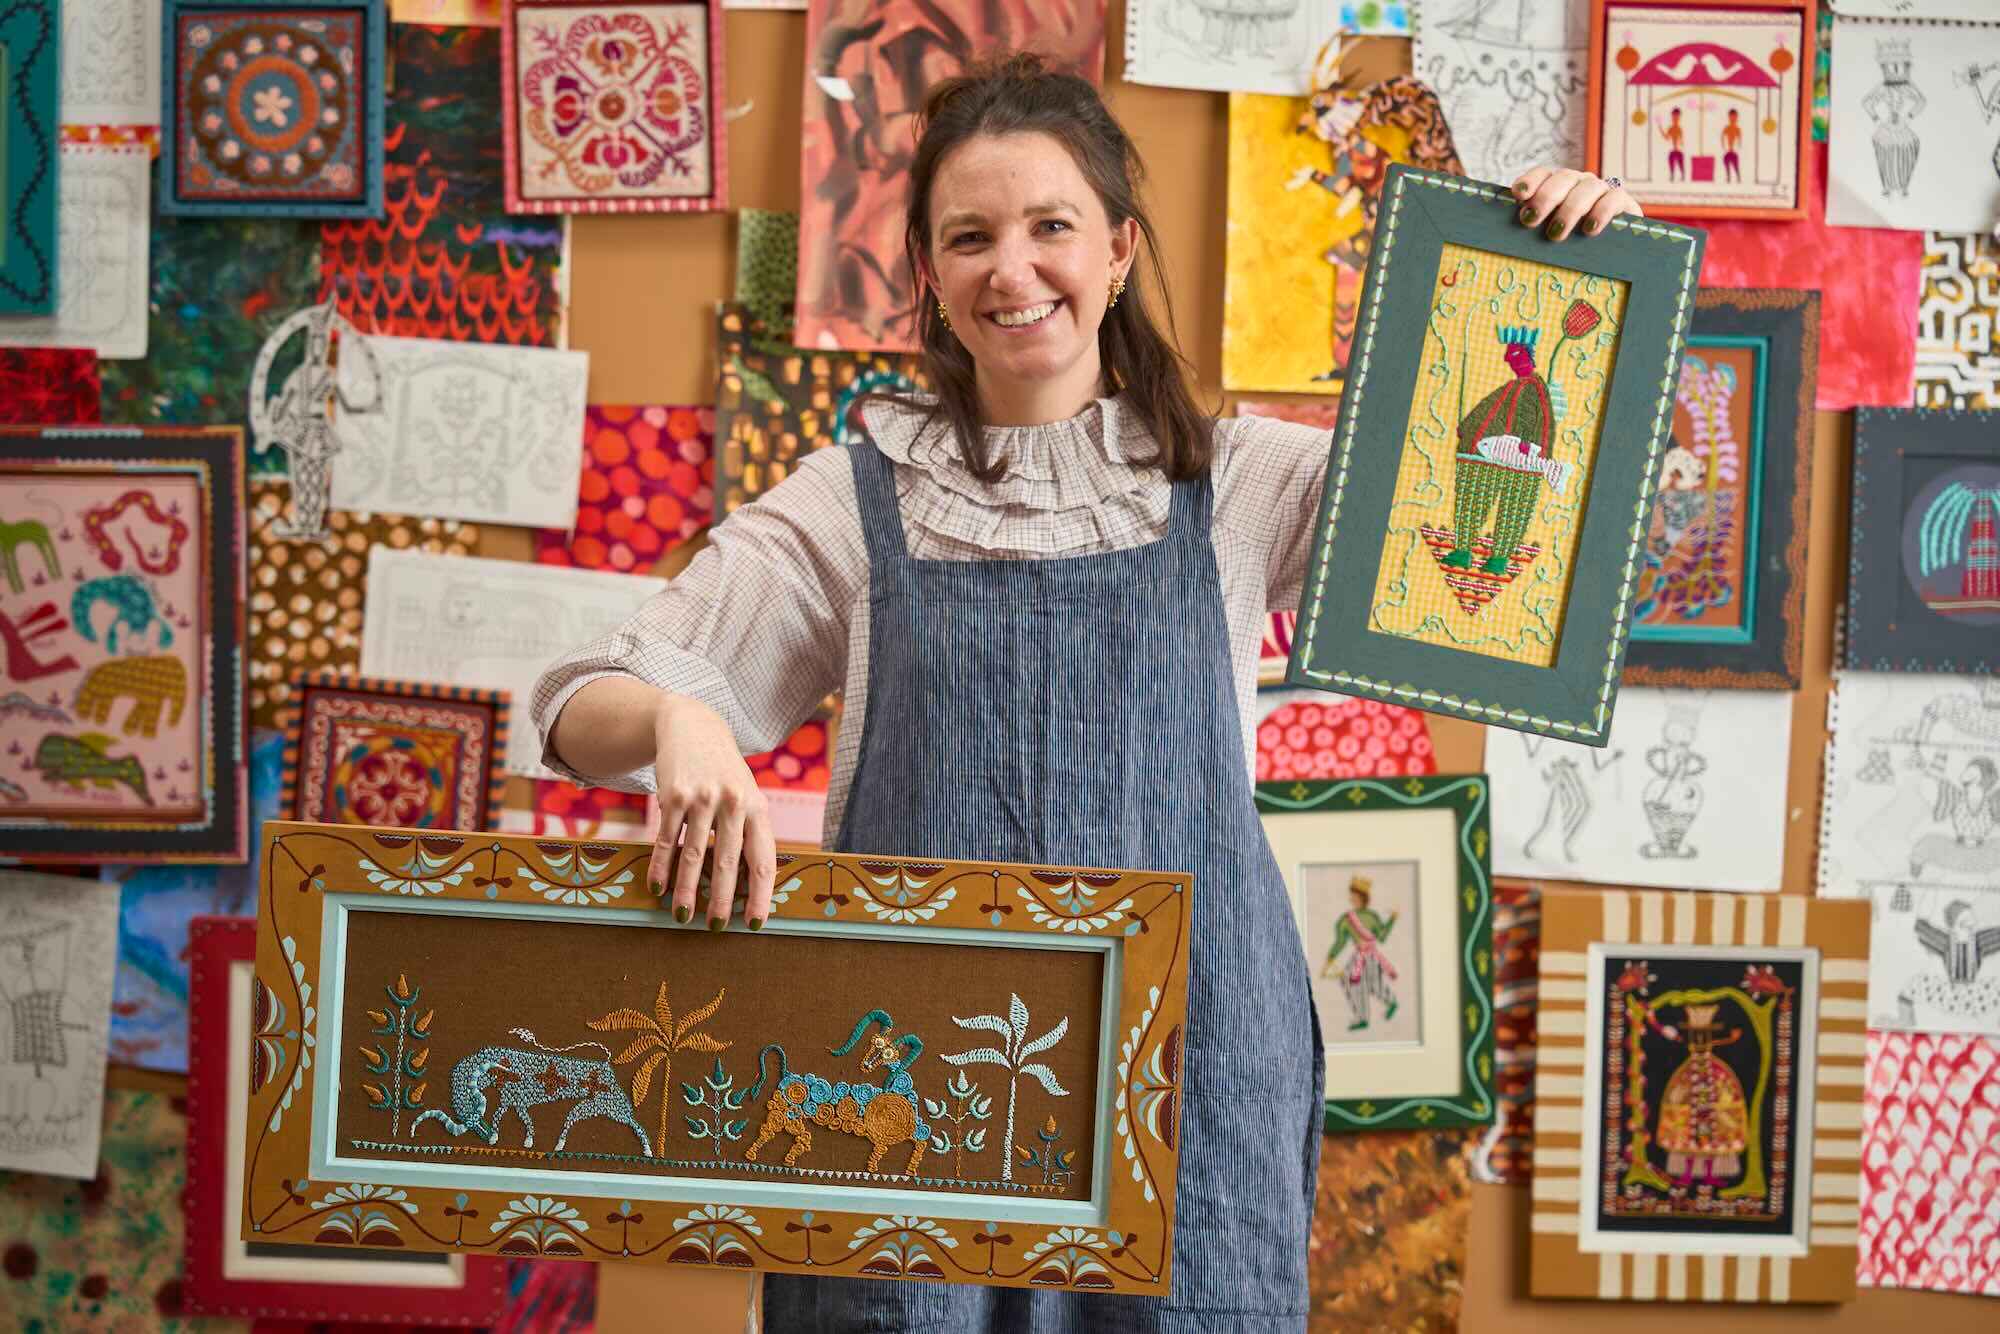
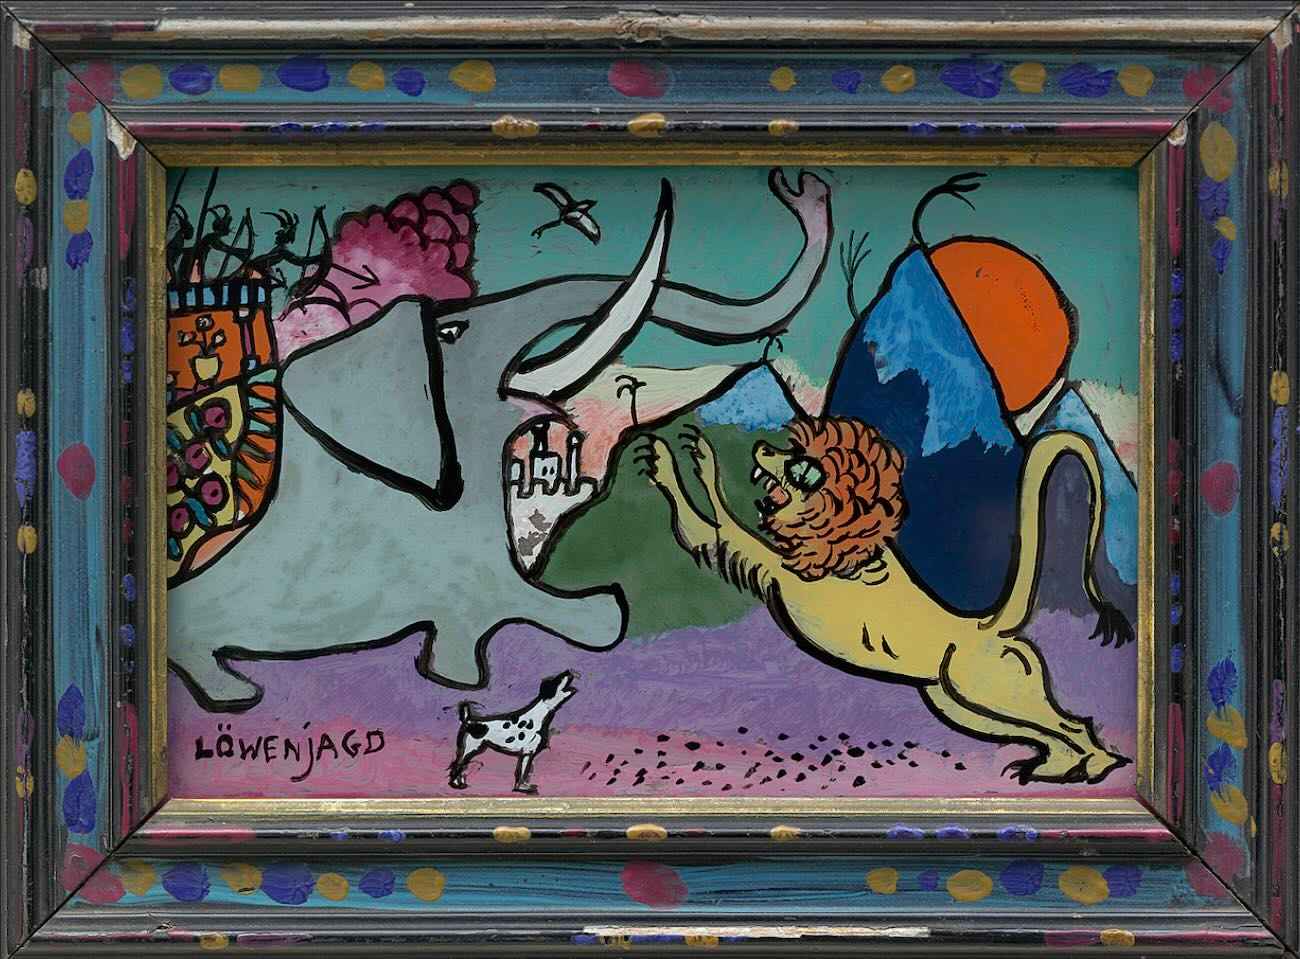
The first thing step to decorating your unpainted frame is choosing your paint colours. We always recommend picking colours that are already within the piece of art that you want to frame. If your piece has a yellow background like the embroidery below, you might decide the to pick out a more minor colour from within the embroidery, like the brown from the border and the elephant’s legs. When this brown makes up the main colour of the frame, with finer details from the other colours in the piece, it has the effect of really drwaing your eye to the embroidery. If you want a colour in your embroidery to really pop, you could leave it out of your frame entirely, like the pinks in the lion and boar the vulture example below.
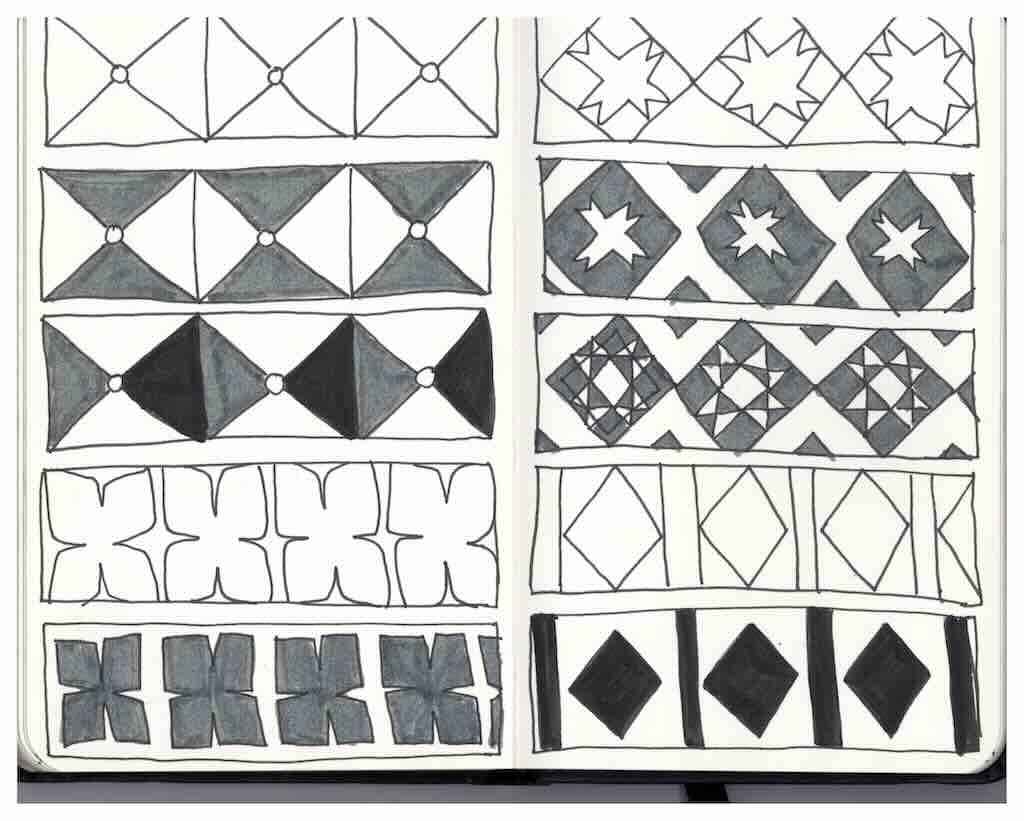
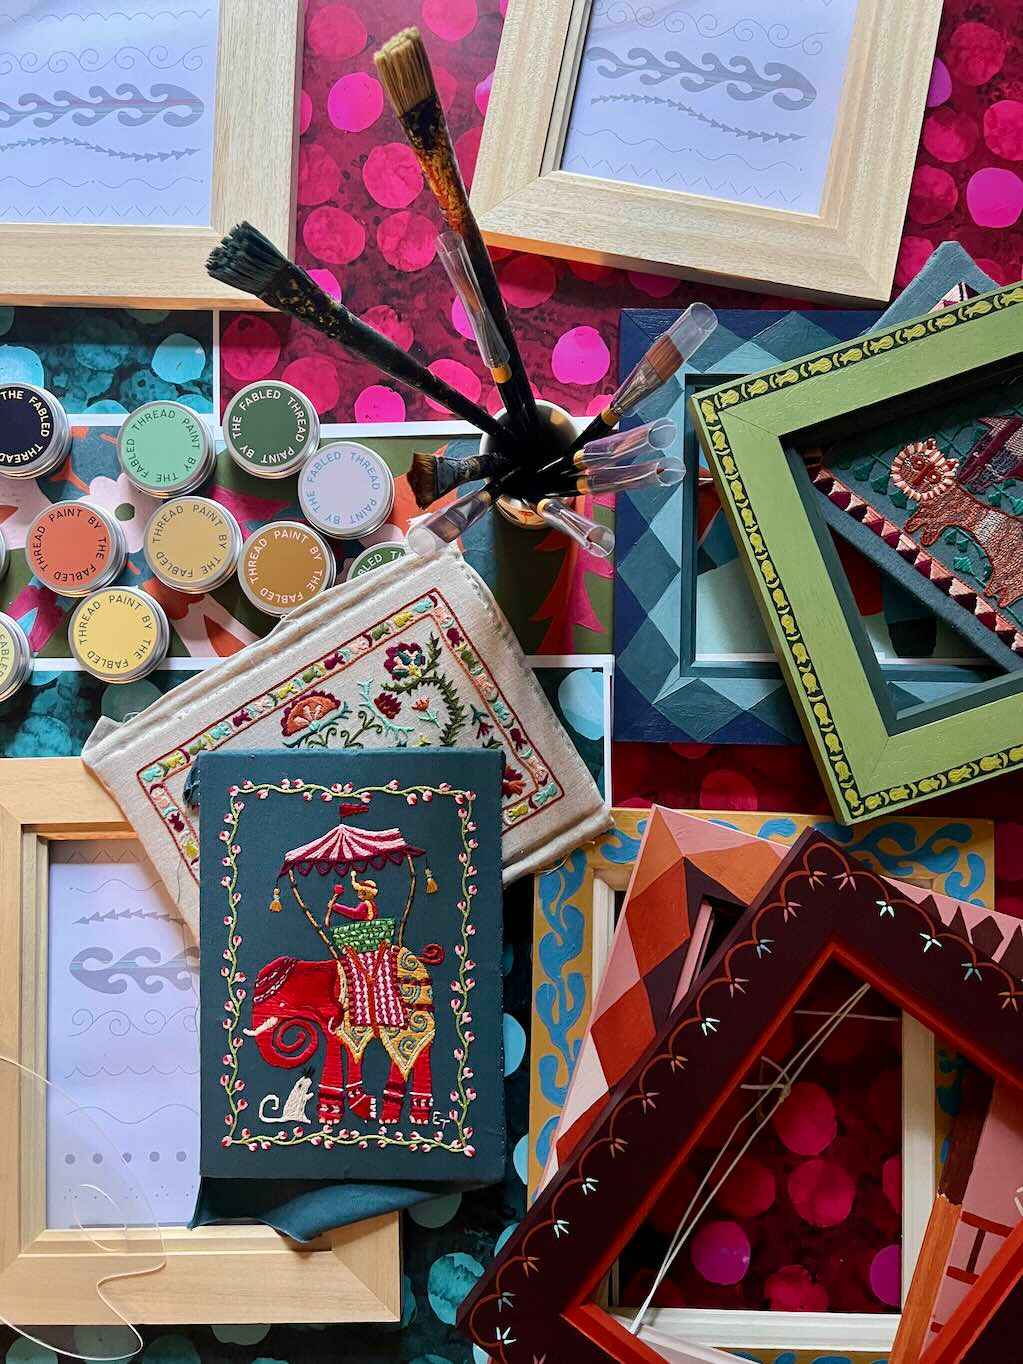
2 | Choosing your motifs
Once you’ve chosen your colours, it’s time to plan out your design. Similarly to the colour process, we reccomend picking a motif or pattern from within your embroidery to make your frame and embroidery feel really cohesive. This could be a motif you’ve used as a border in your embroidery, a decorative detail in your background, or a pattern within one of your main shapes or characters. Or if you really want the frame to stand out and draw your eye, you could pick a motif that isn’t already included in your piece. We would still recommend sticking to the general theme of your piece though - for example, if your embroidery or artwork doesn’t have any harsh lines or angles, we’d avoid choosing geomtric motifs for your frame. Equally, if your embroidery if quite bold and geometric, loose and flowing motifs may not be the most effective framing choice.
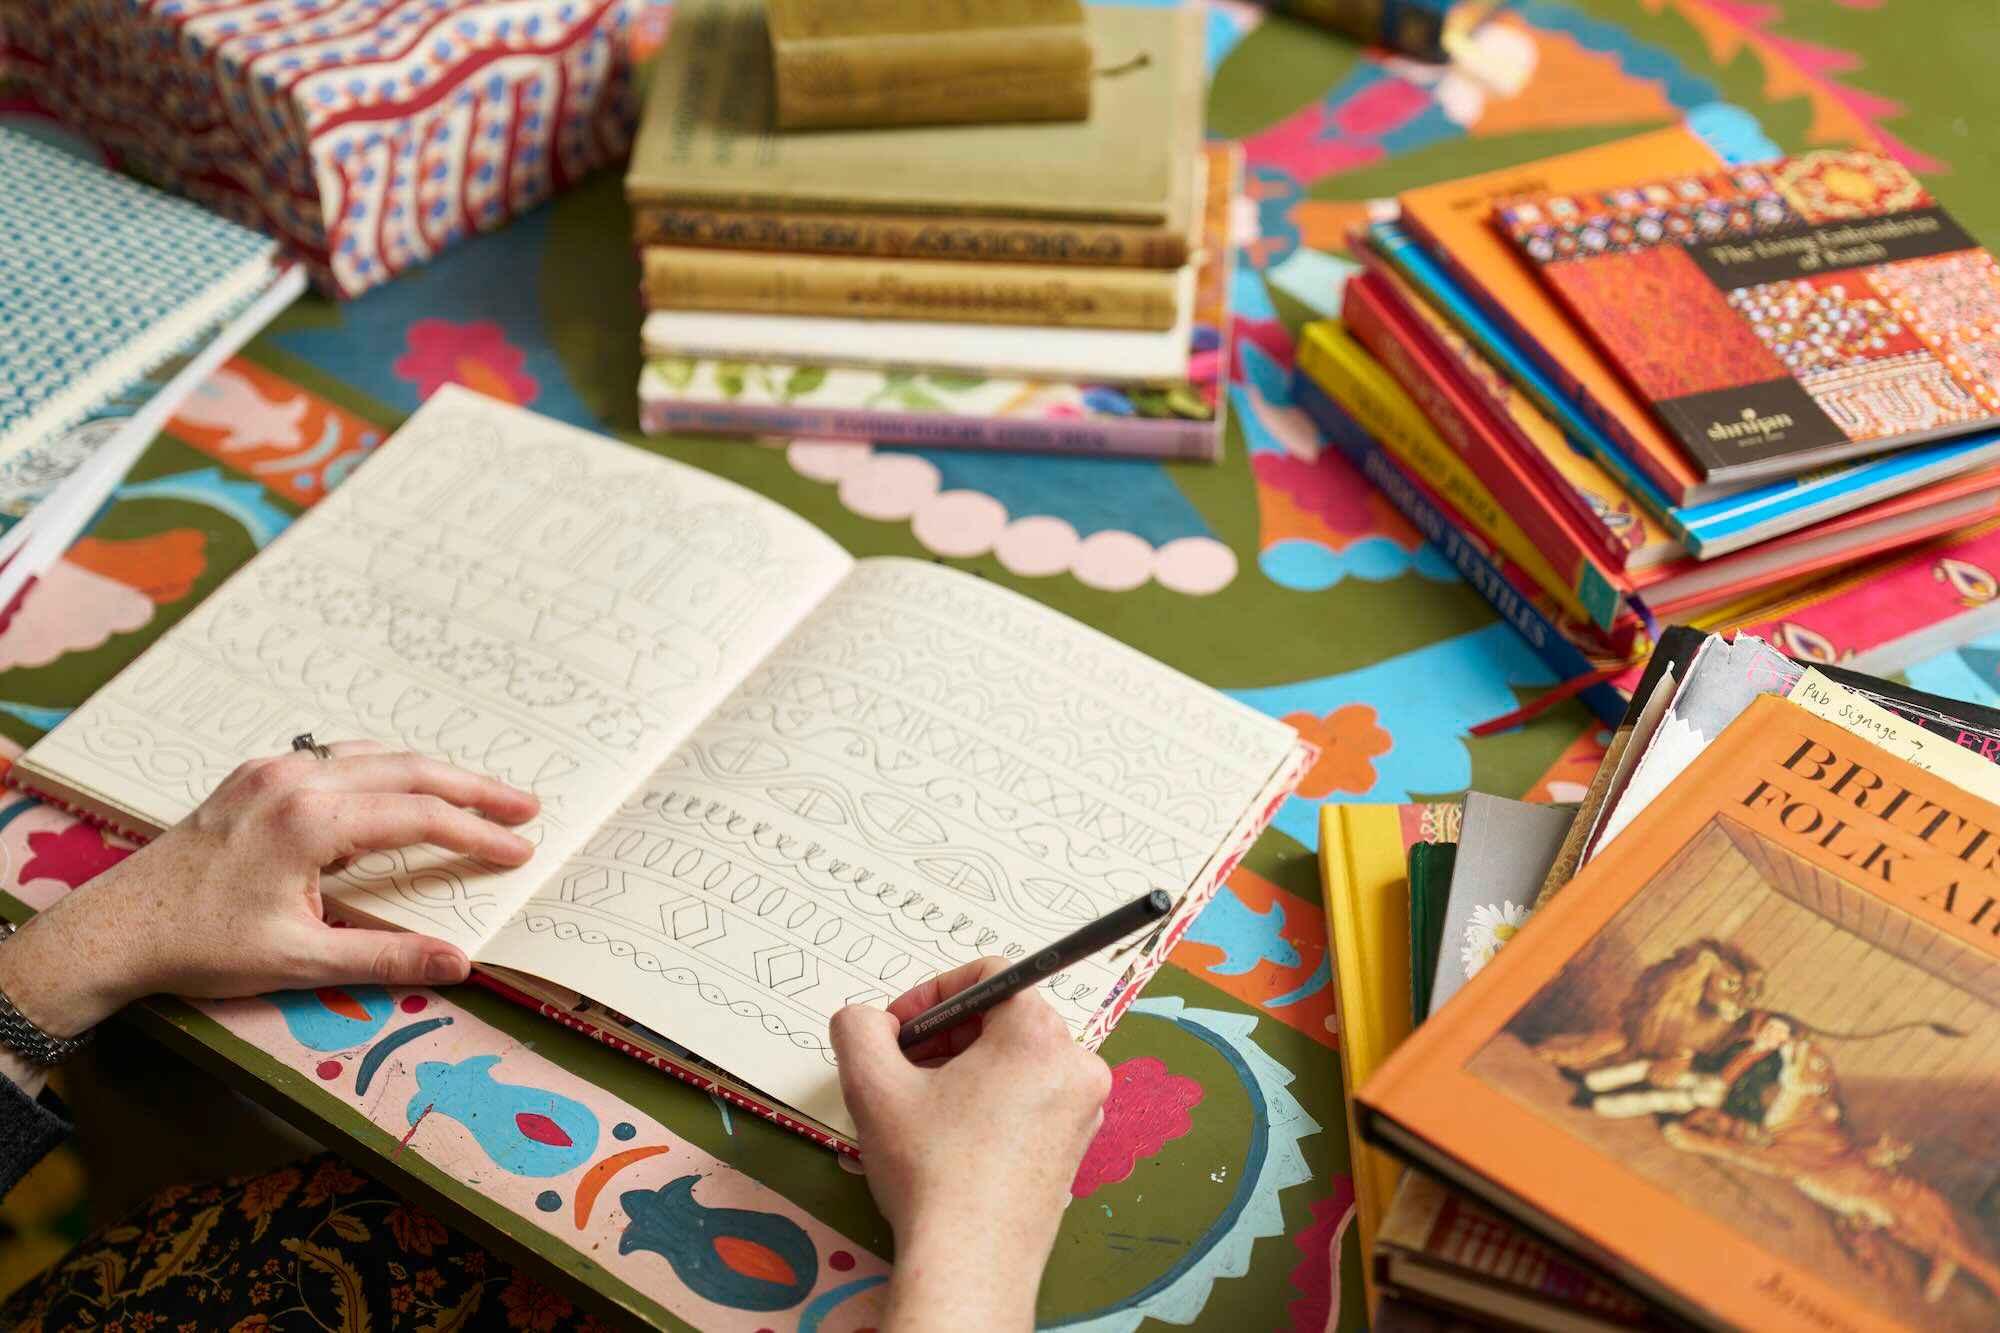
If you’re feeling a little lost about where to start when you come to designing your own motifs, we have two articles on our journal all about looking up and finding inspiration from the world around you (here, and here). These have tons of great images of motifs, but of course the ultimate aim is to inspire you to get out and find your own. This article for our studio members breaks down the process of turning things you see into motif designs.
We also have a range of stencils available if you would like to begin with these rather than create your own designs.
3 | Mounting your embroidery
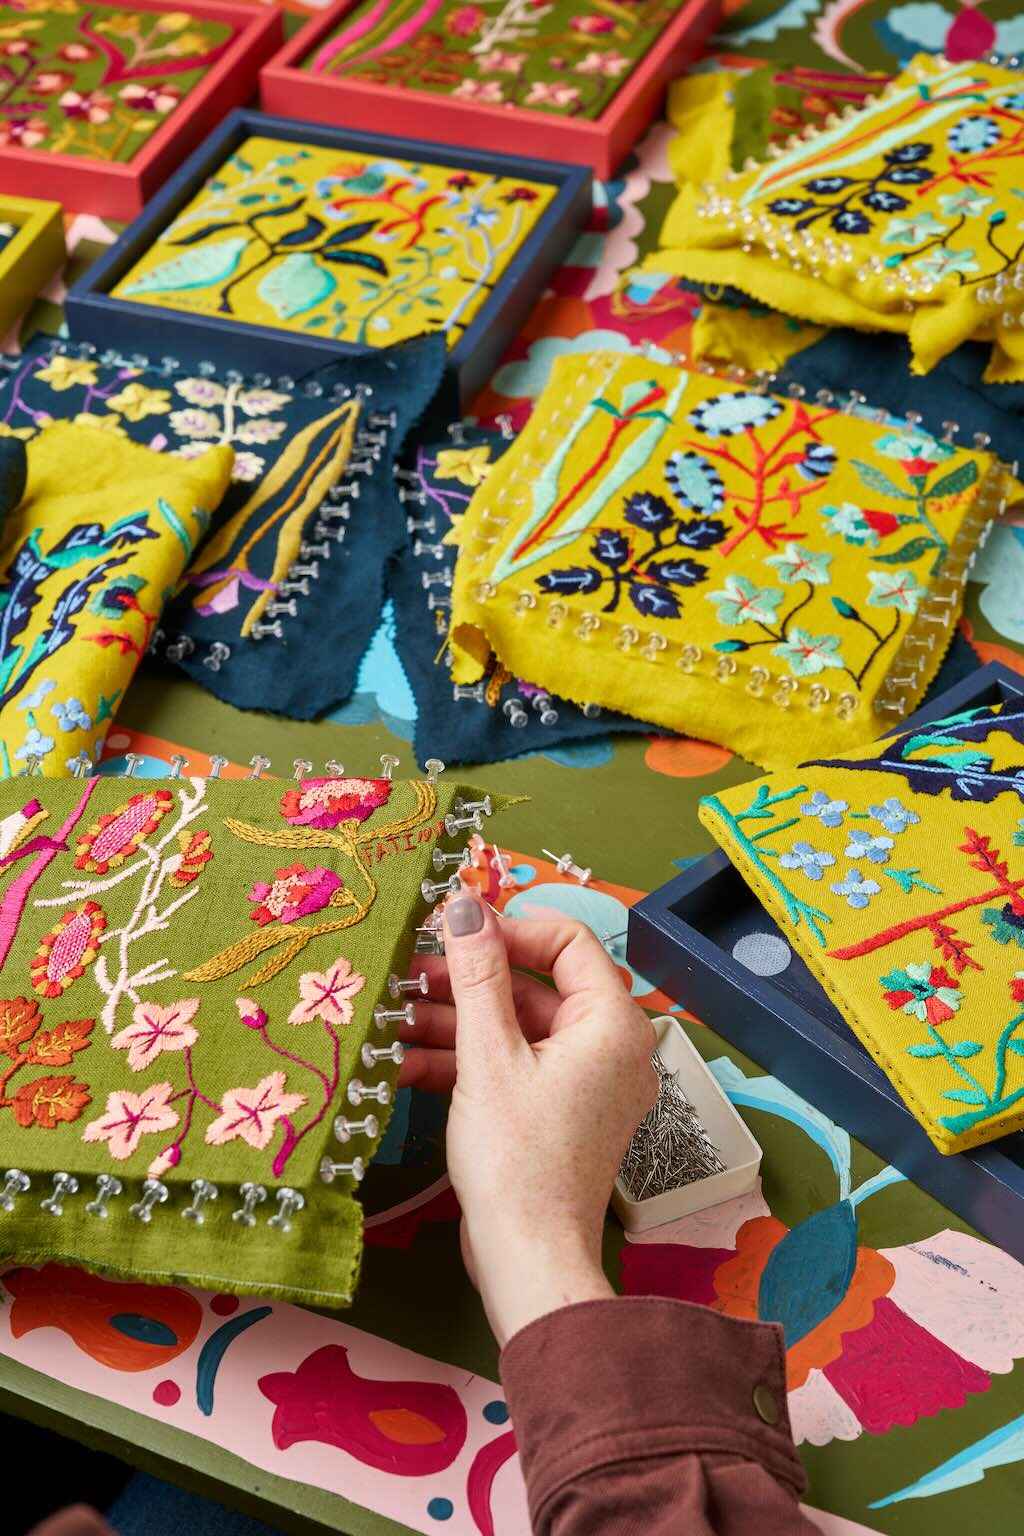
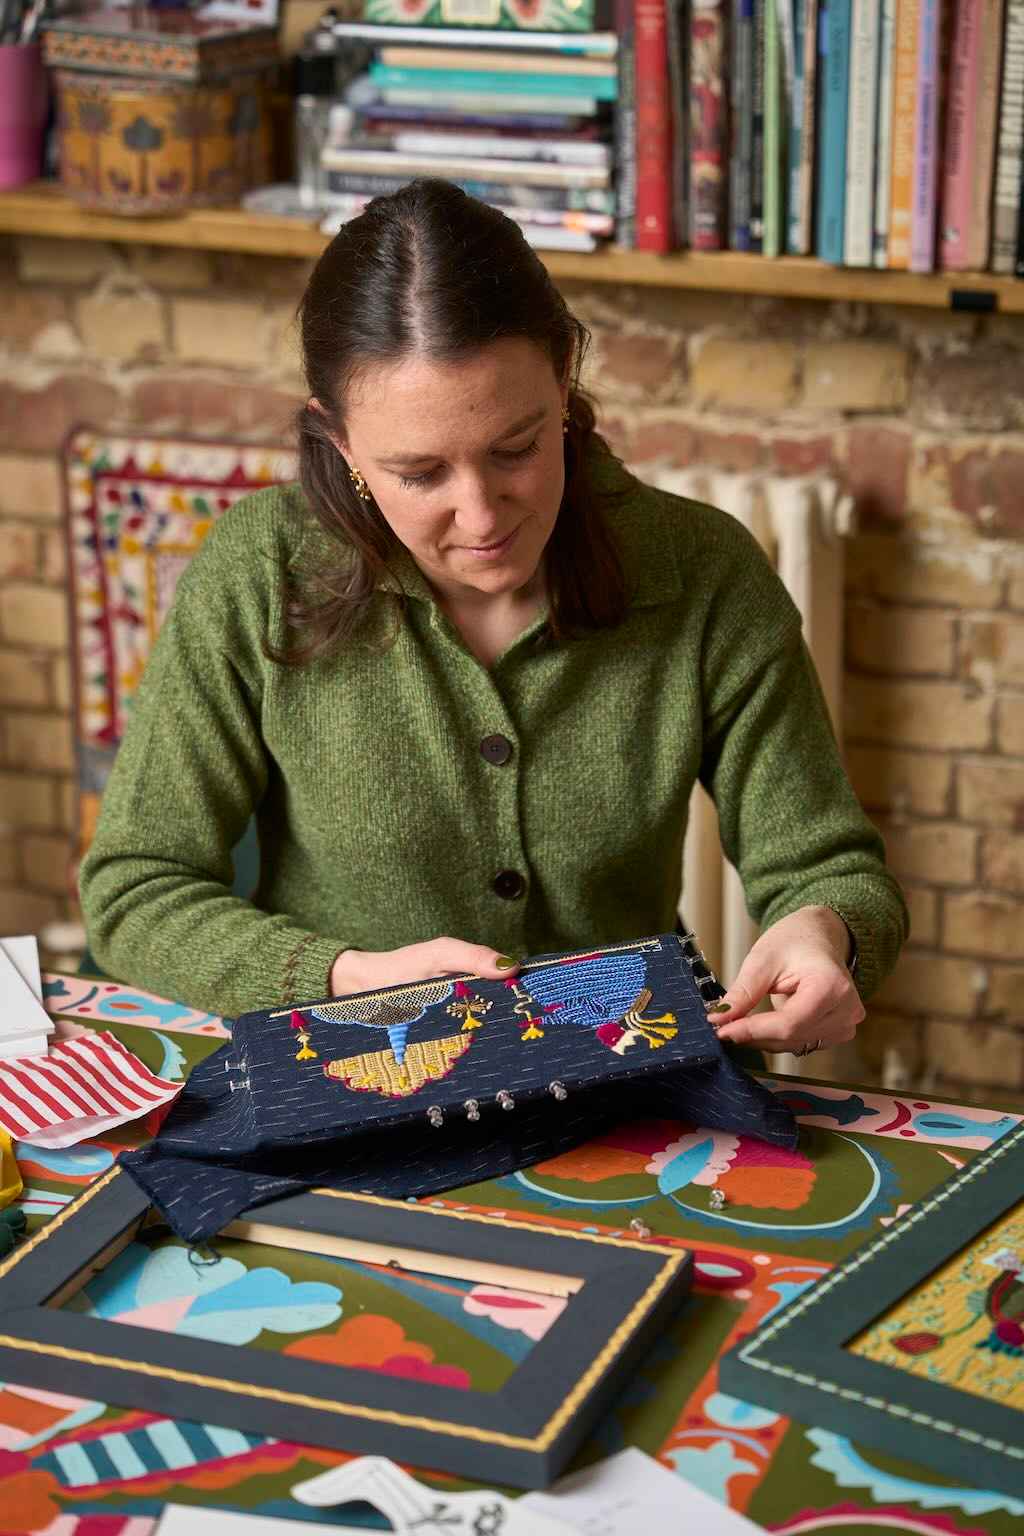
Now that you’ve chosen your paint colours and motifs, you’re ready to get framing! Firstly, you’ll have to mount your embroidery. Every framing kit we sell includes a mount kit with all the instructions you’ll need, but you can also watch the mounting process here.
We’ve designed this to be smooth and easy, helping you to create your beautifully stretched and crease-free embroidery in a quick and easy way. Once you final piece is mounted, it will seat easily within your frame - just don’t place it in your frame before you start painting, or you’ll get paint on it!
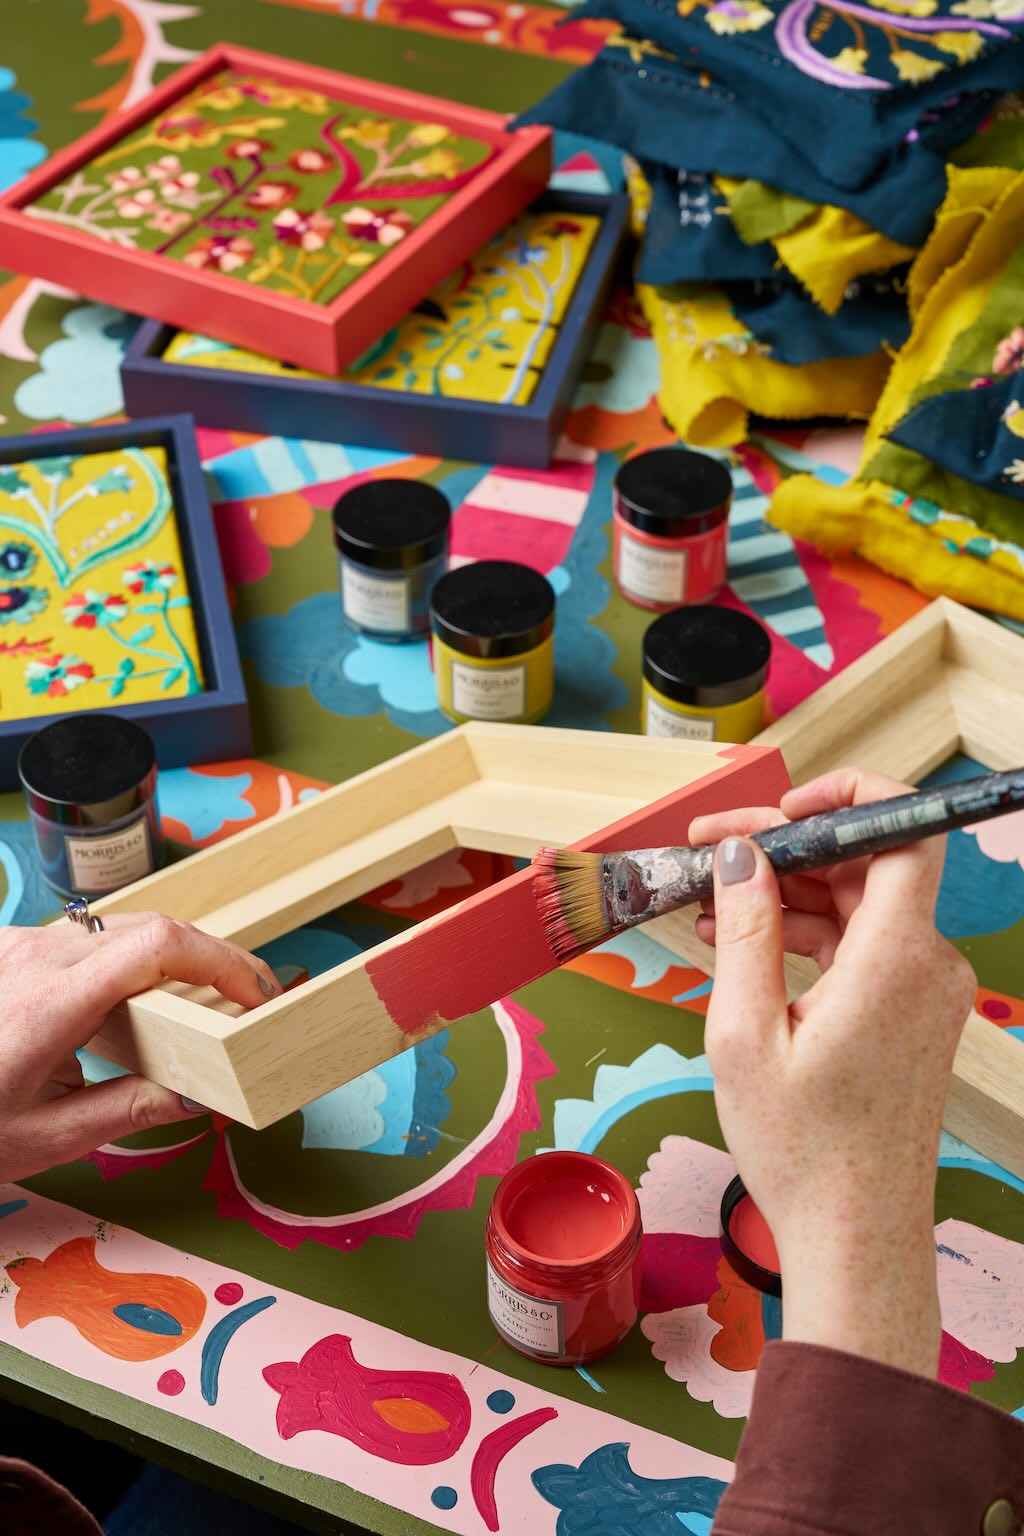
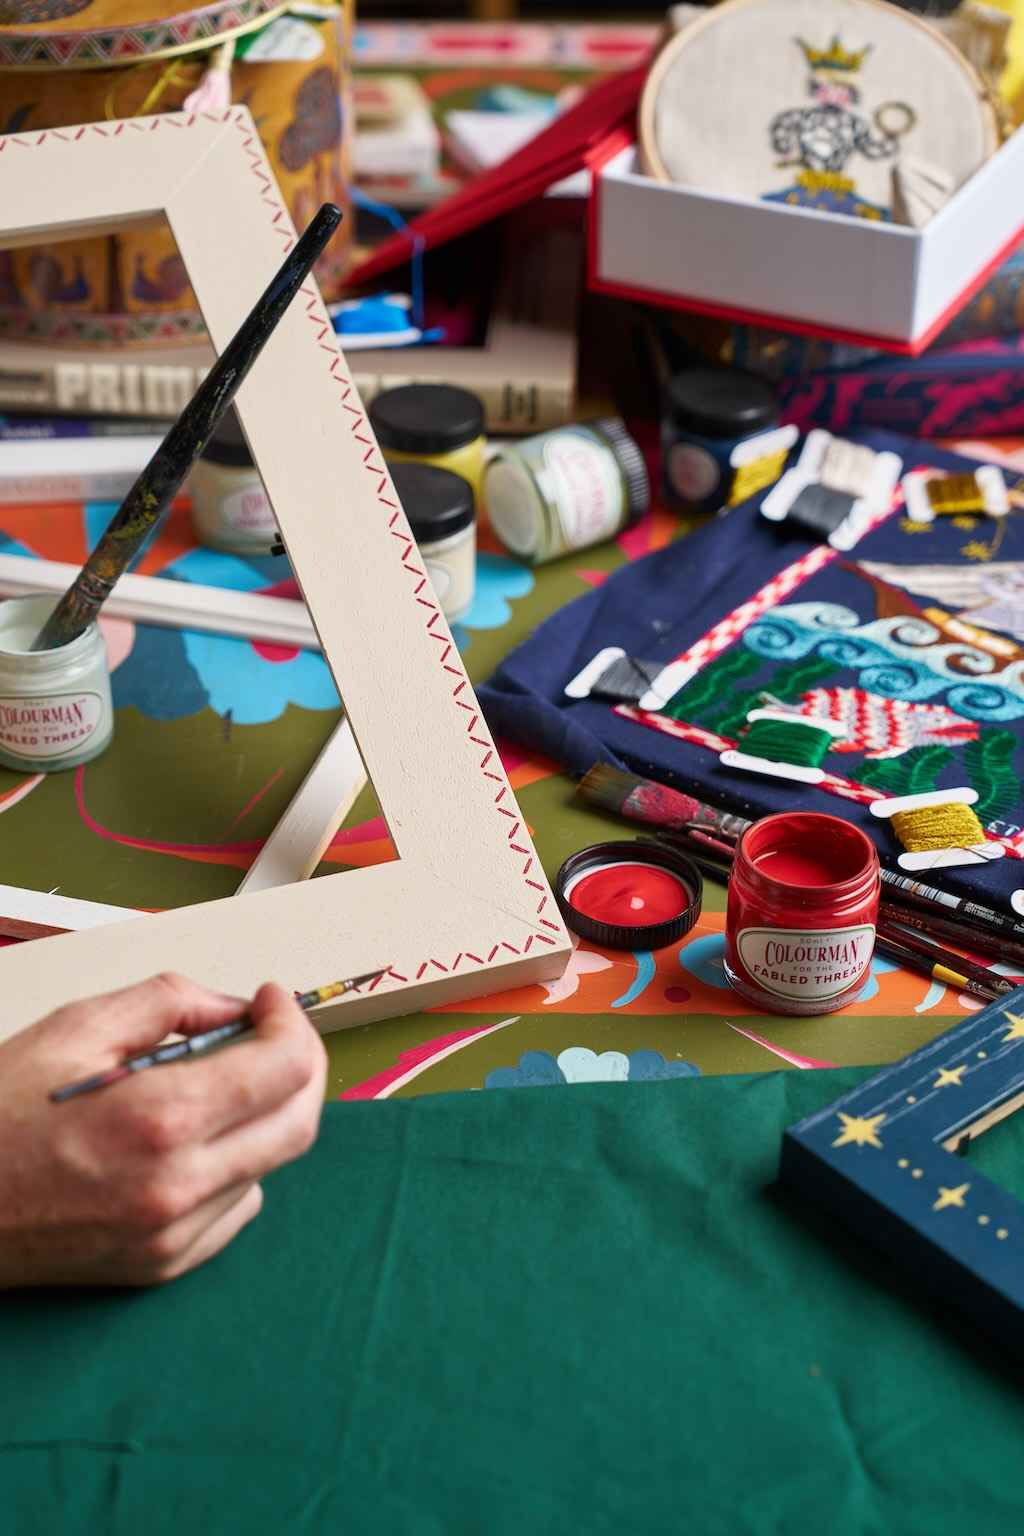
4 | Apply your base coat
To begin with, we recommend starting with a base coat. If using our water-based chalk paints, you won’t need to mix them with water, you can simply dip a large brush into your chosen colour and begin painting the raw frame. Once you’ve painted your base coat and allowed it to dry, we recommend applying a layer of varnish. This will mean that if you make any mistakes when you come to painting your motifs, you’ll be able to easily wipe them away without the need to re-paint your base coat.
5 | Sketch out your design
Before getting started on painting your motifs, we reccomend sketching your them very lightly on top of your base coat, so that you have a guide to follow. This is especially useful for making sure that the motfs or patterns are even each side and that they go around the corners of your frame. Once you’ve done this, all that’s left is for you to get painting!
To help you through this, we’ve asked Izzy, our frame painter, to give you a list of her top tips and tricks for decoratively painting your own frames.
Izzy's top ten tips for decorative framing
🎨 When doing the base coat, paint the entire inner edge first - so you always have an edge to hold onto.
🎨 Don’t apply base coats too thickly - multiple thin layers are better.
🎨 Remember: the frame should complement the embroidery, not overpower it.
🎨 Varnish the base coat before you decorate - this helps with layering.
🎨 Simple motifs are often more effective than complex ones.
🎨 When adding motifs, start from the corner - so you know how the design will work around the bend
🎨 Sketch your design lightly with a very small amount of paint and a fine brush rather than going straight in with thick final designs - so you can see how the whole design will work across the frame.
🎨 Use tape for clean, straightedges – particularly for geometric shapes.
🎨 Avoid making your colour arrangement too repetitive - variation adds interest.
🎨 For small, uniform dots use the other end of your paintbrush.
We hope this article has helped make decorative framing feel less intimidating, and hopefully you now can't wait to get started decoratively painting your own frames!