embroidery
How to Make a Stitch Plan and Why You Should Stick to It
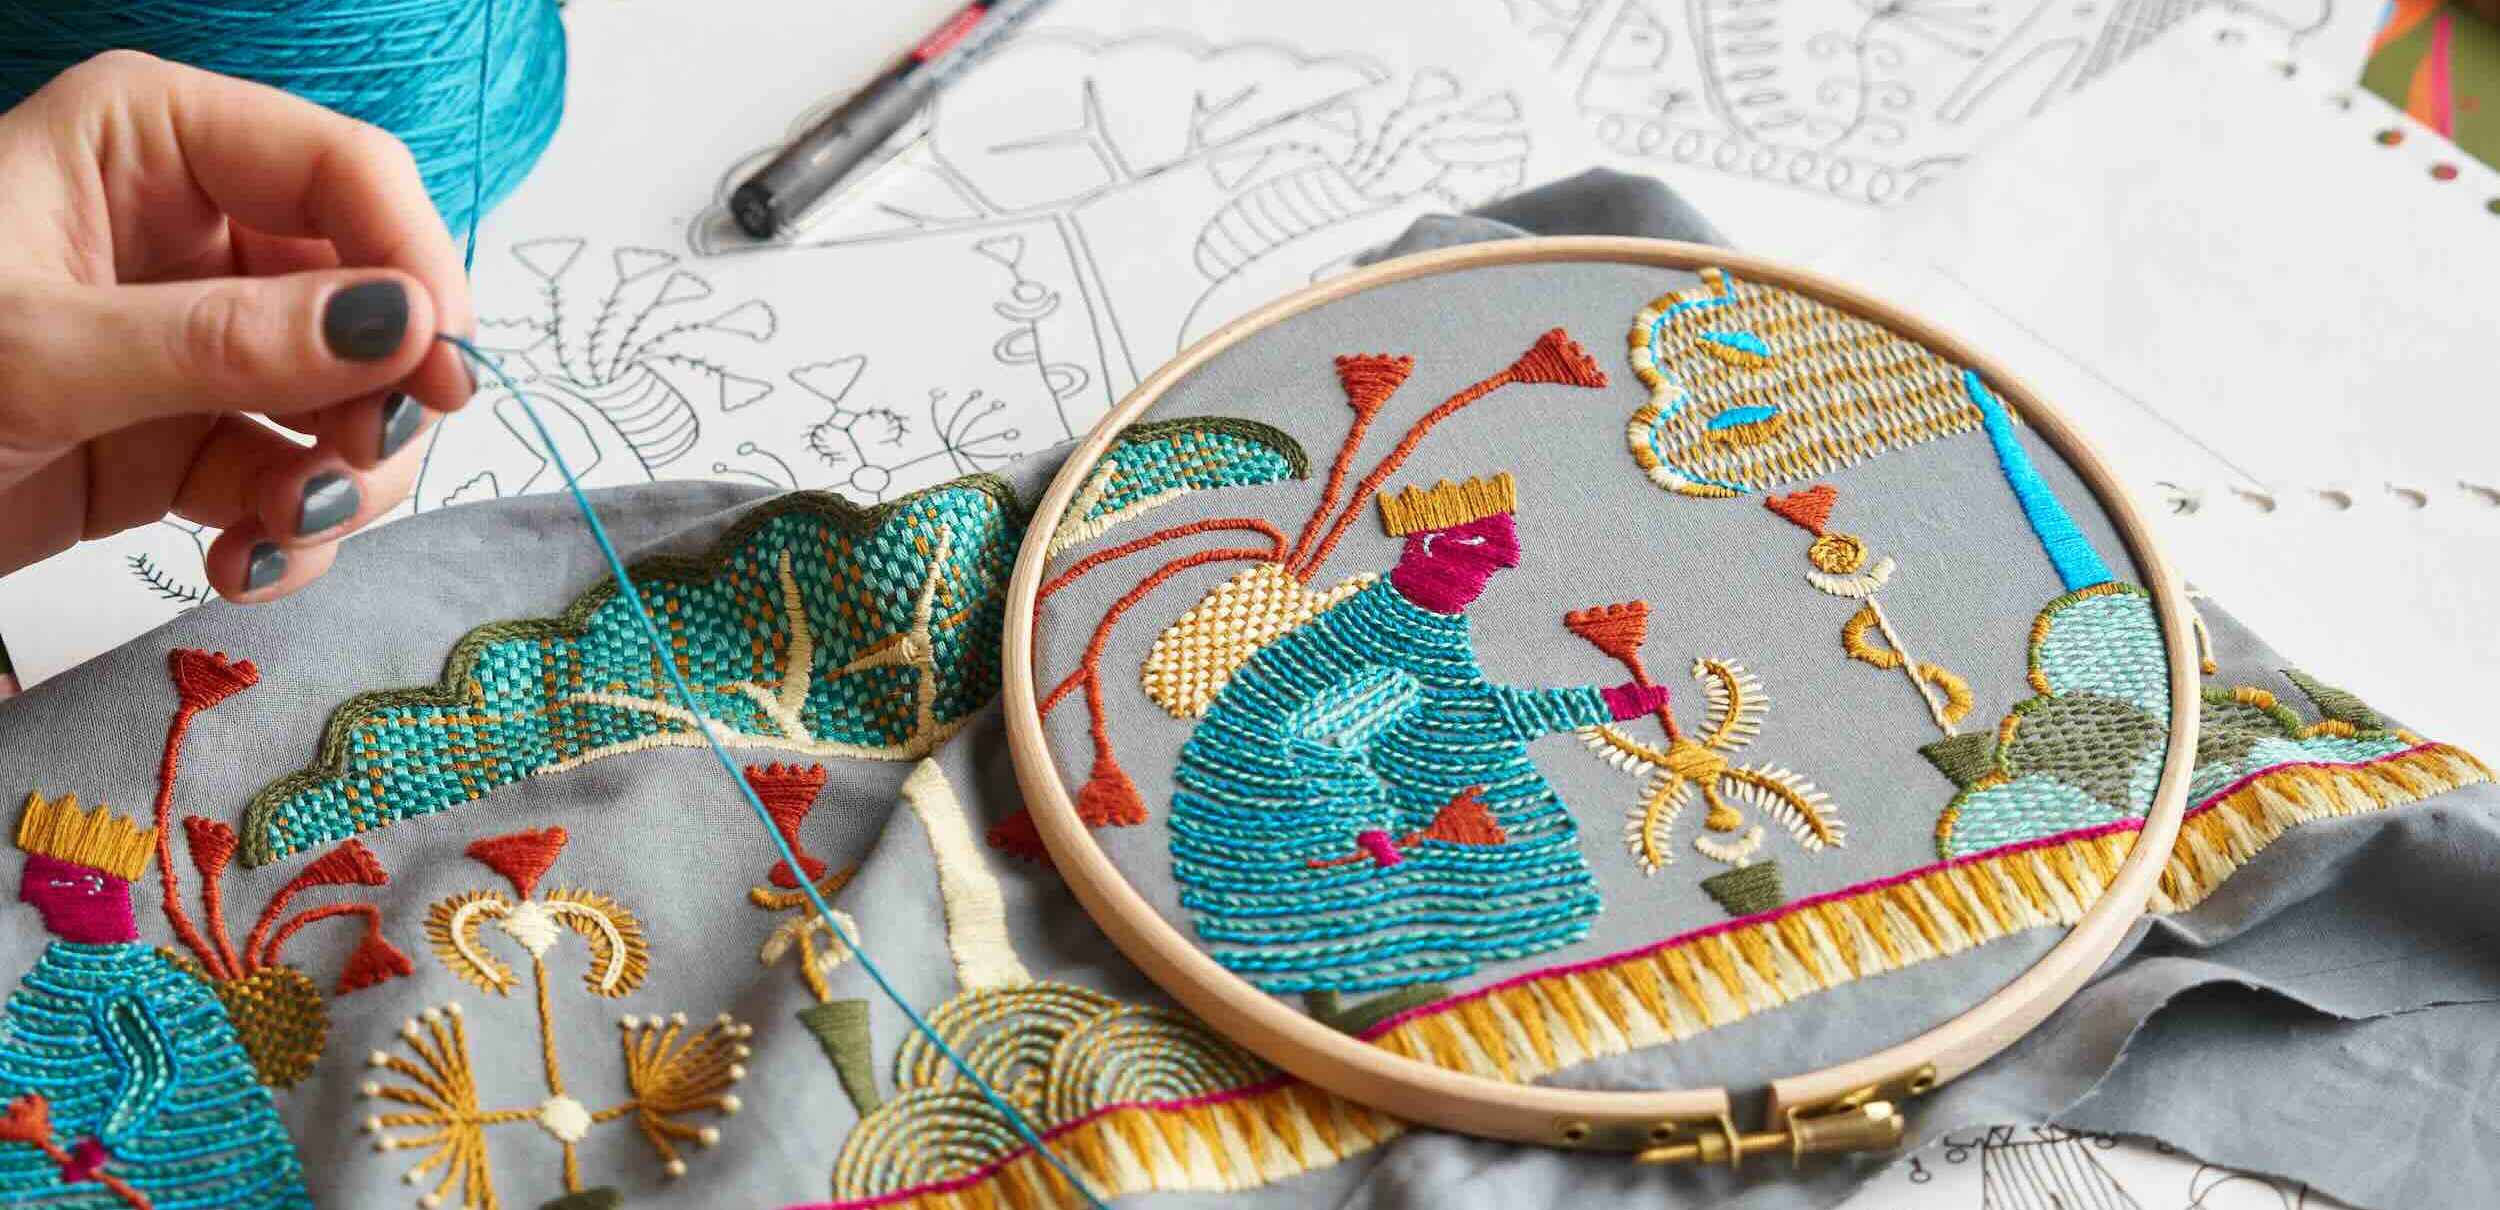
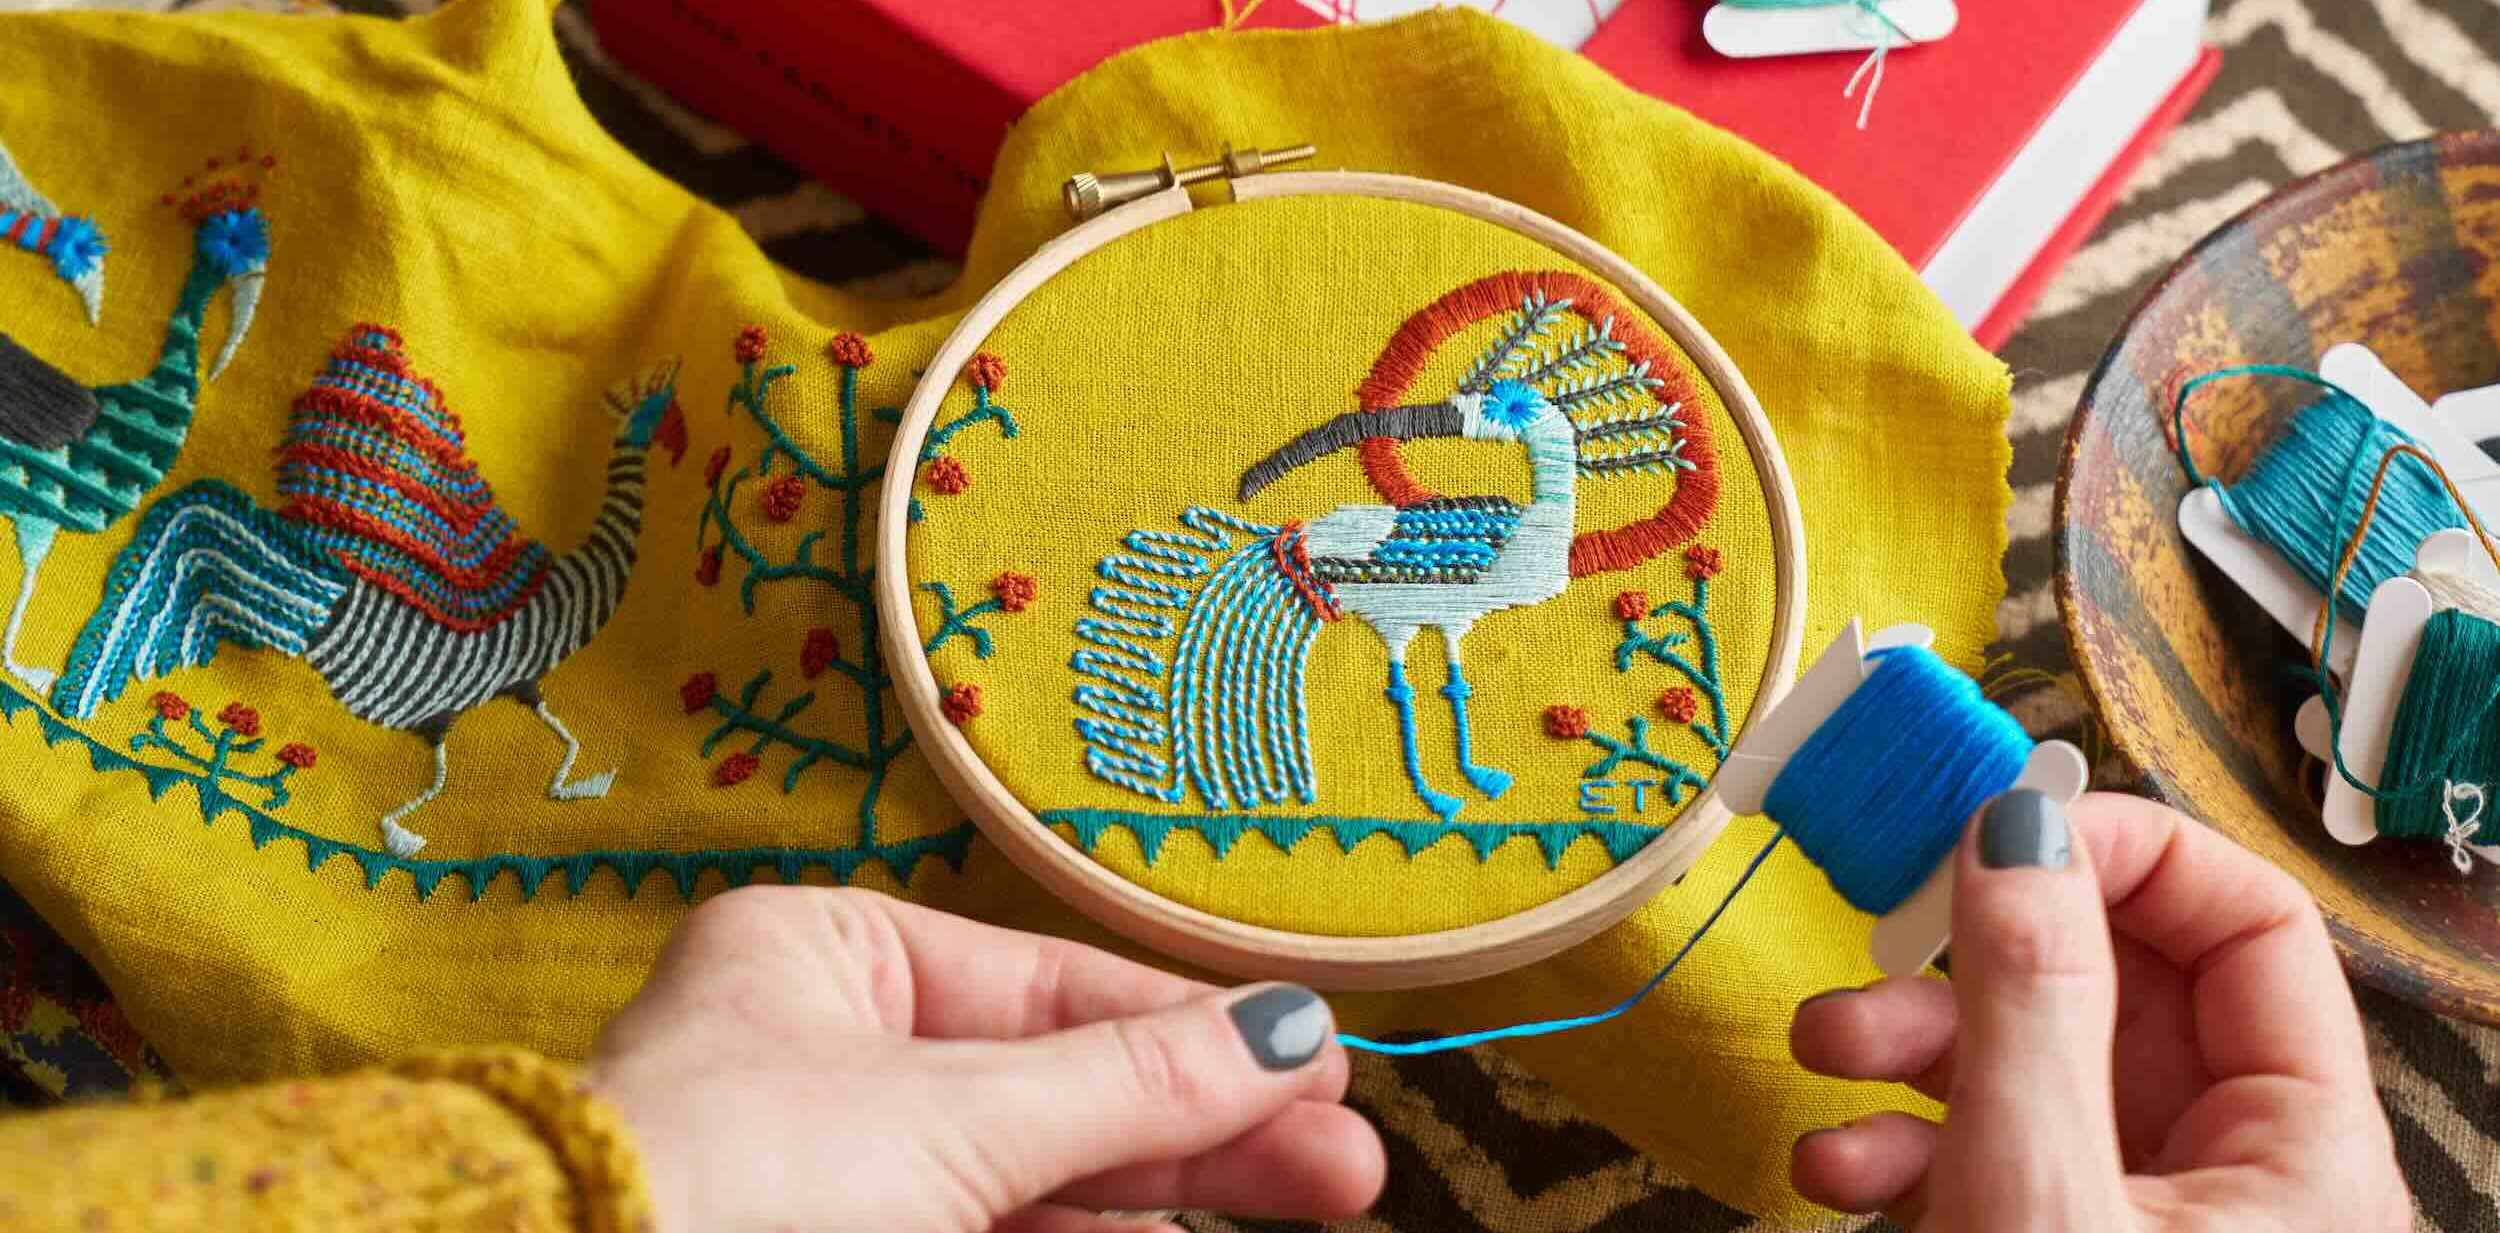
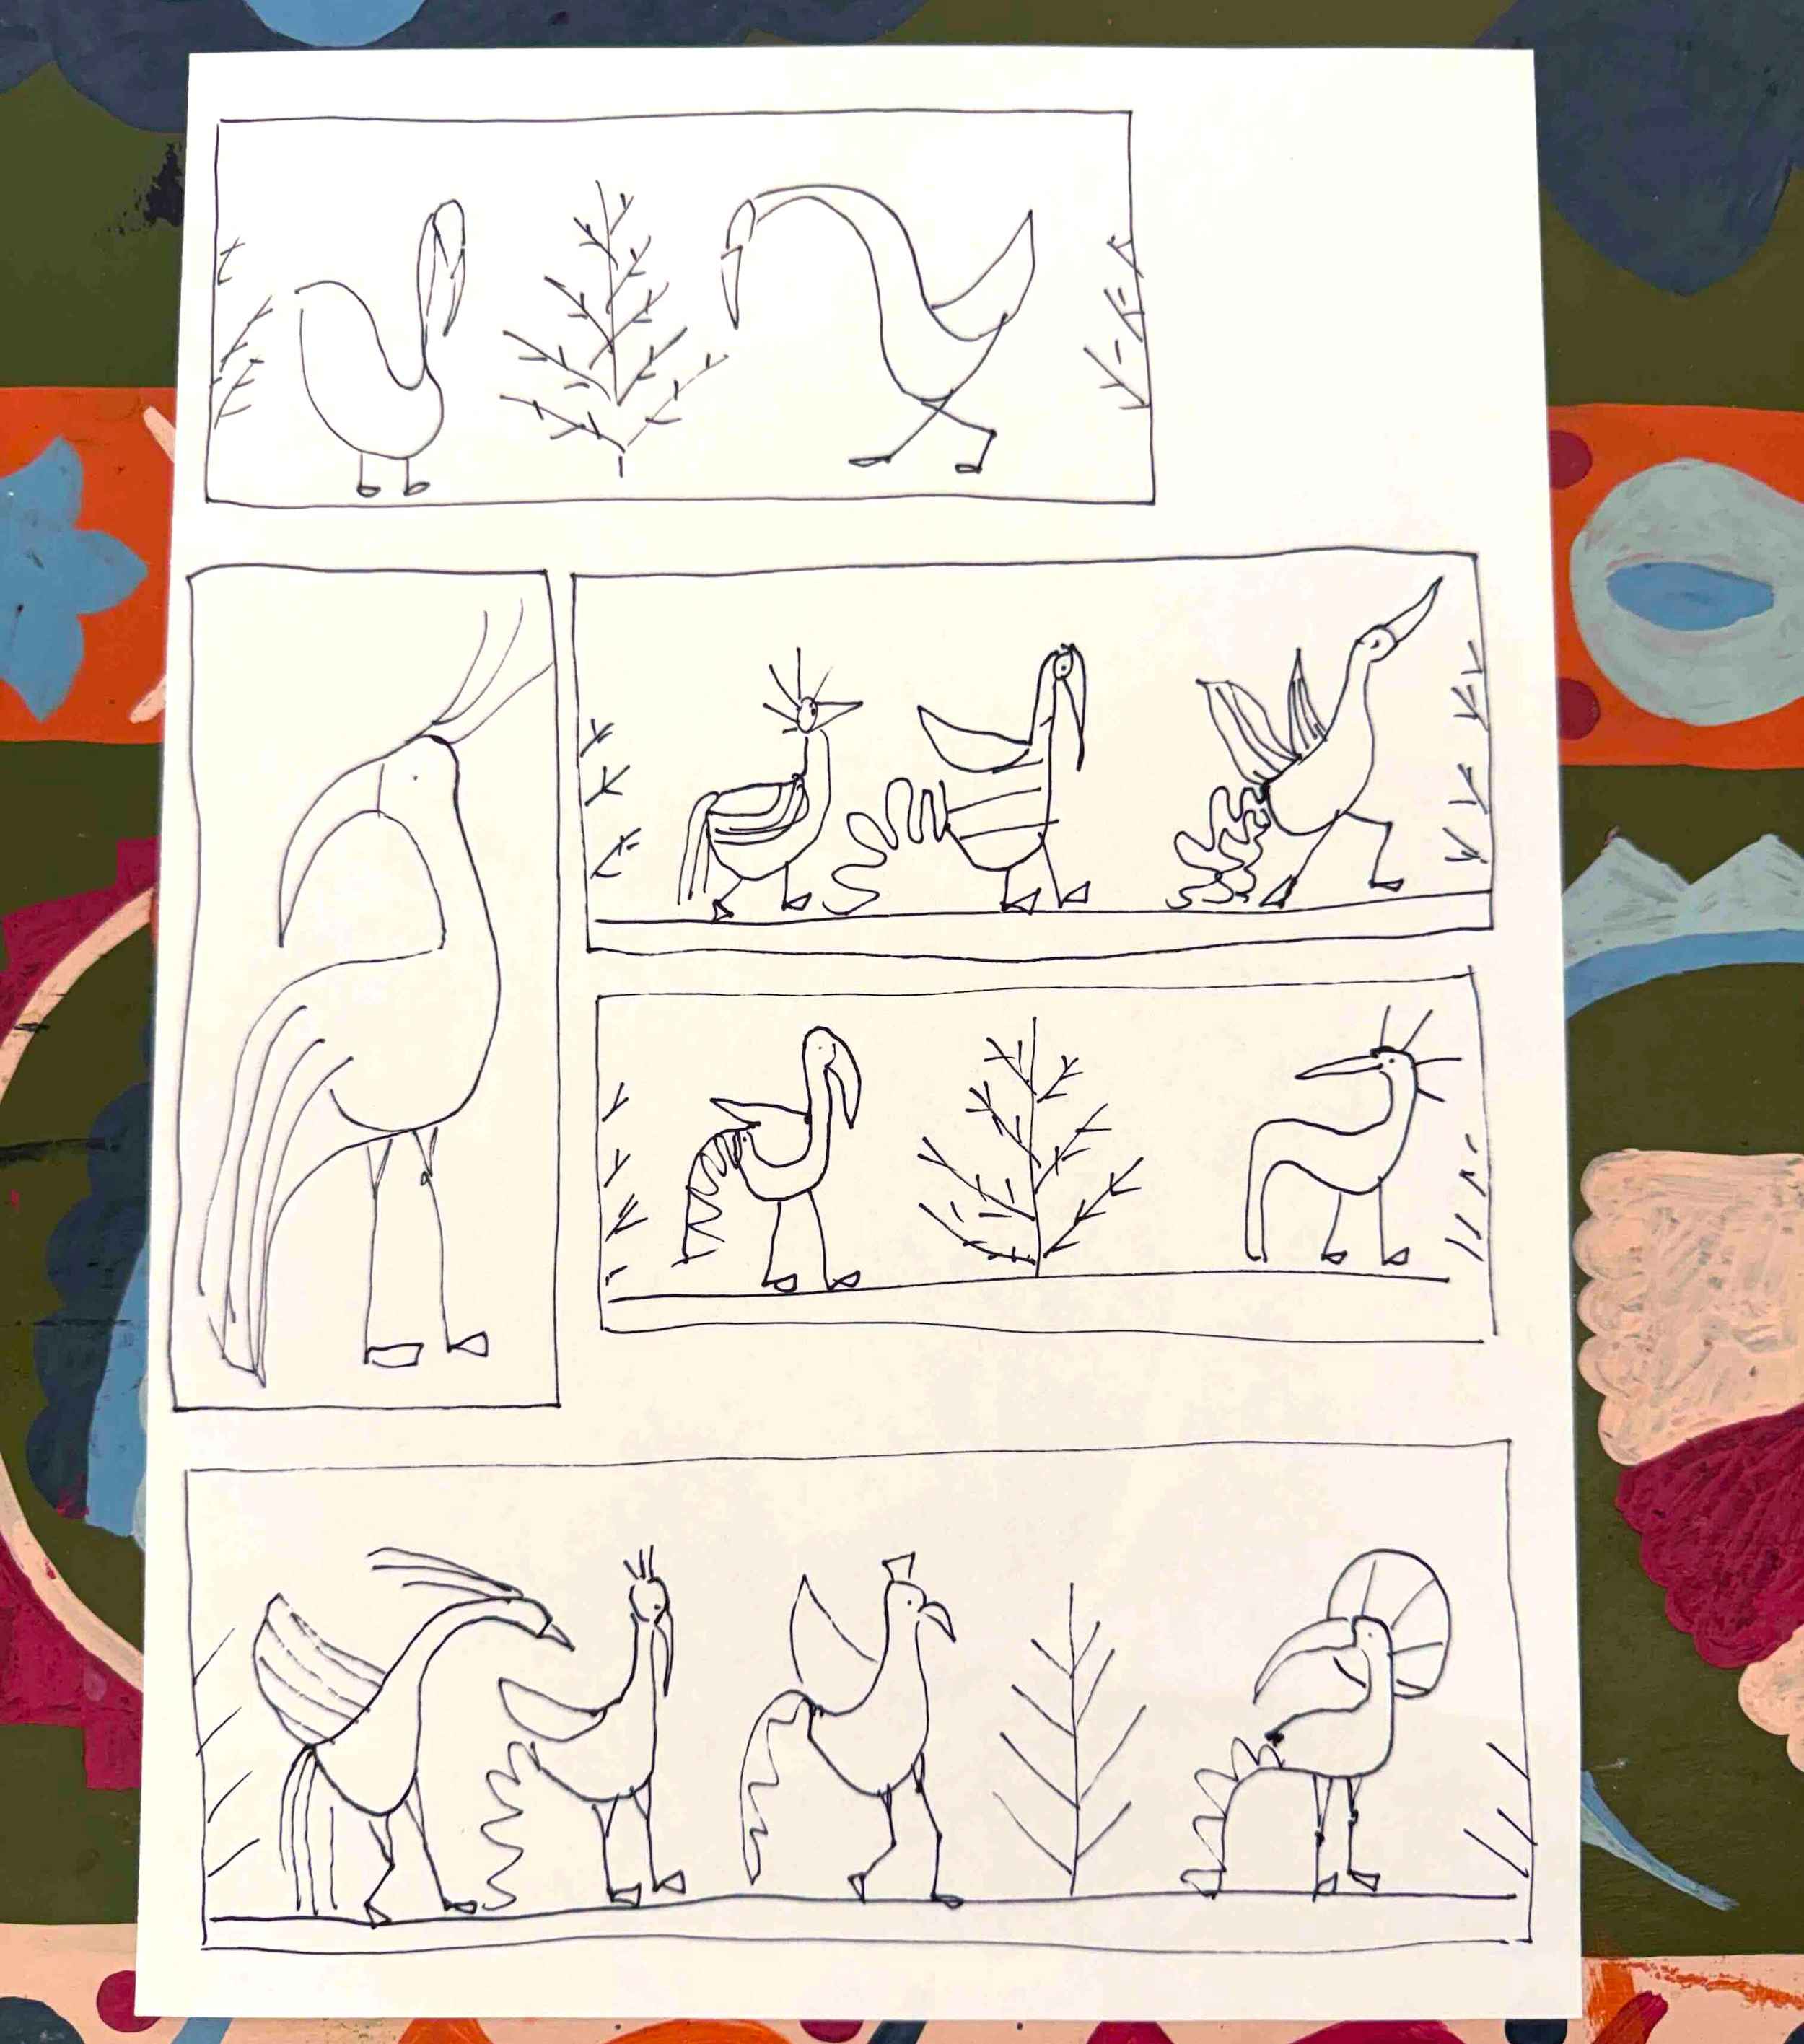
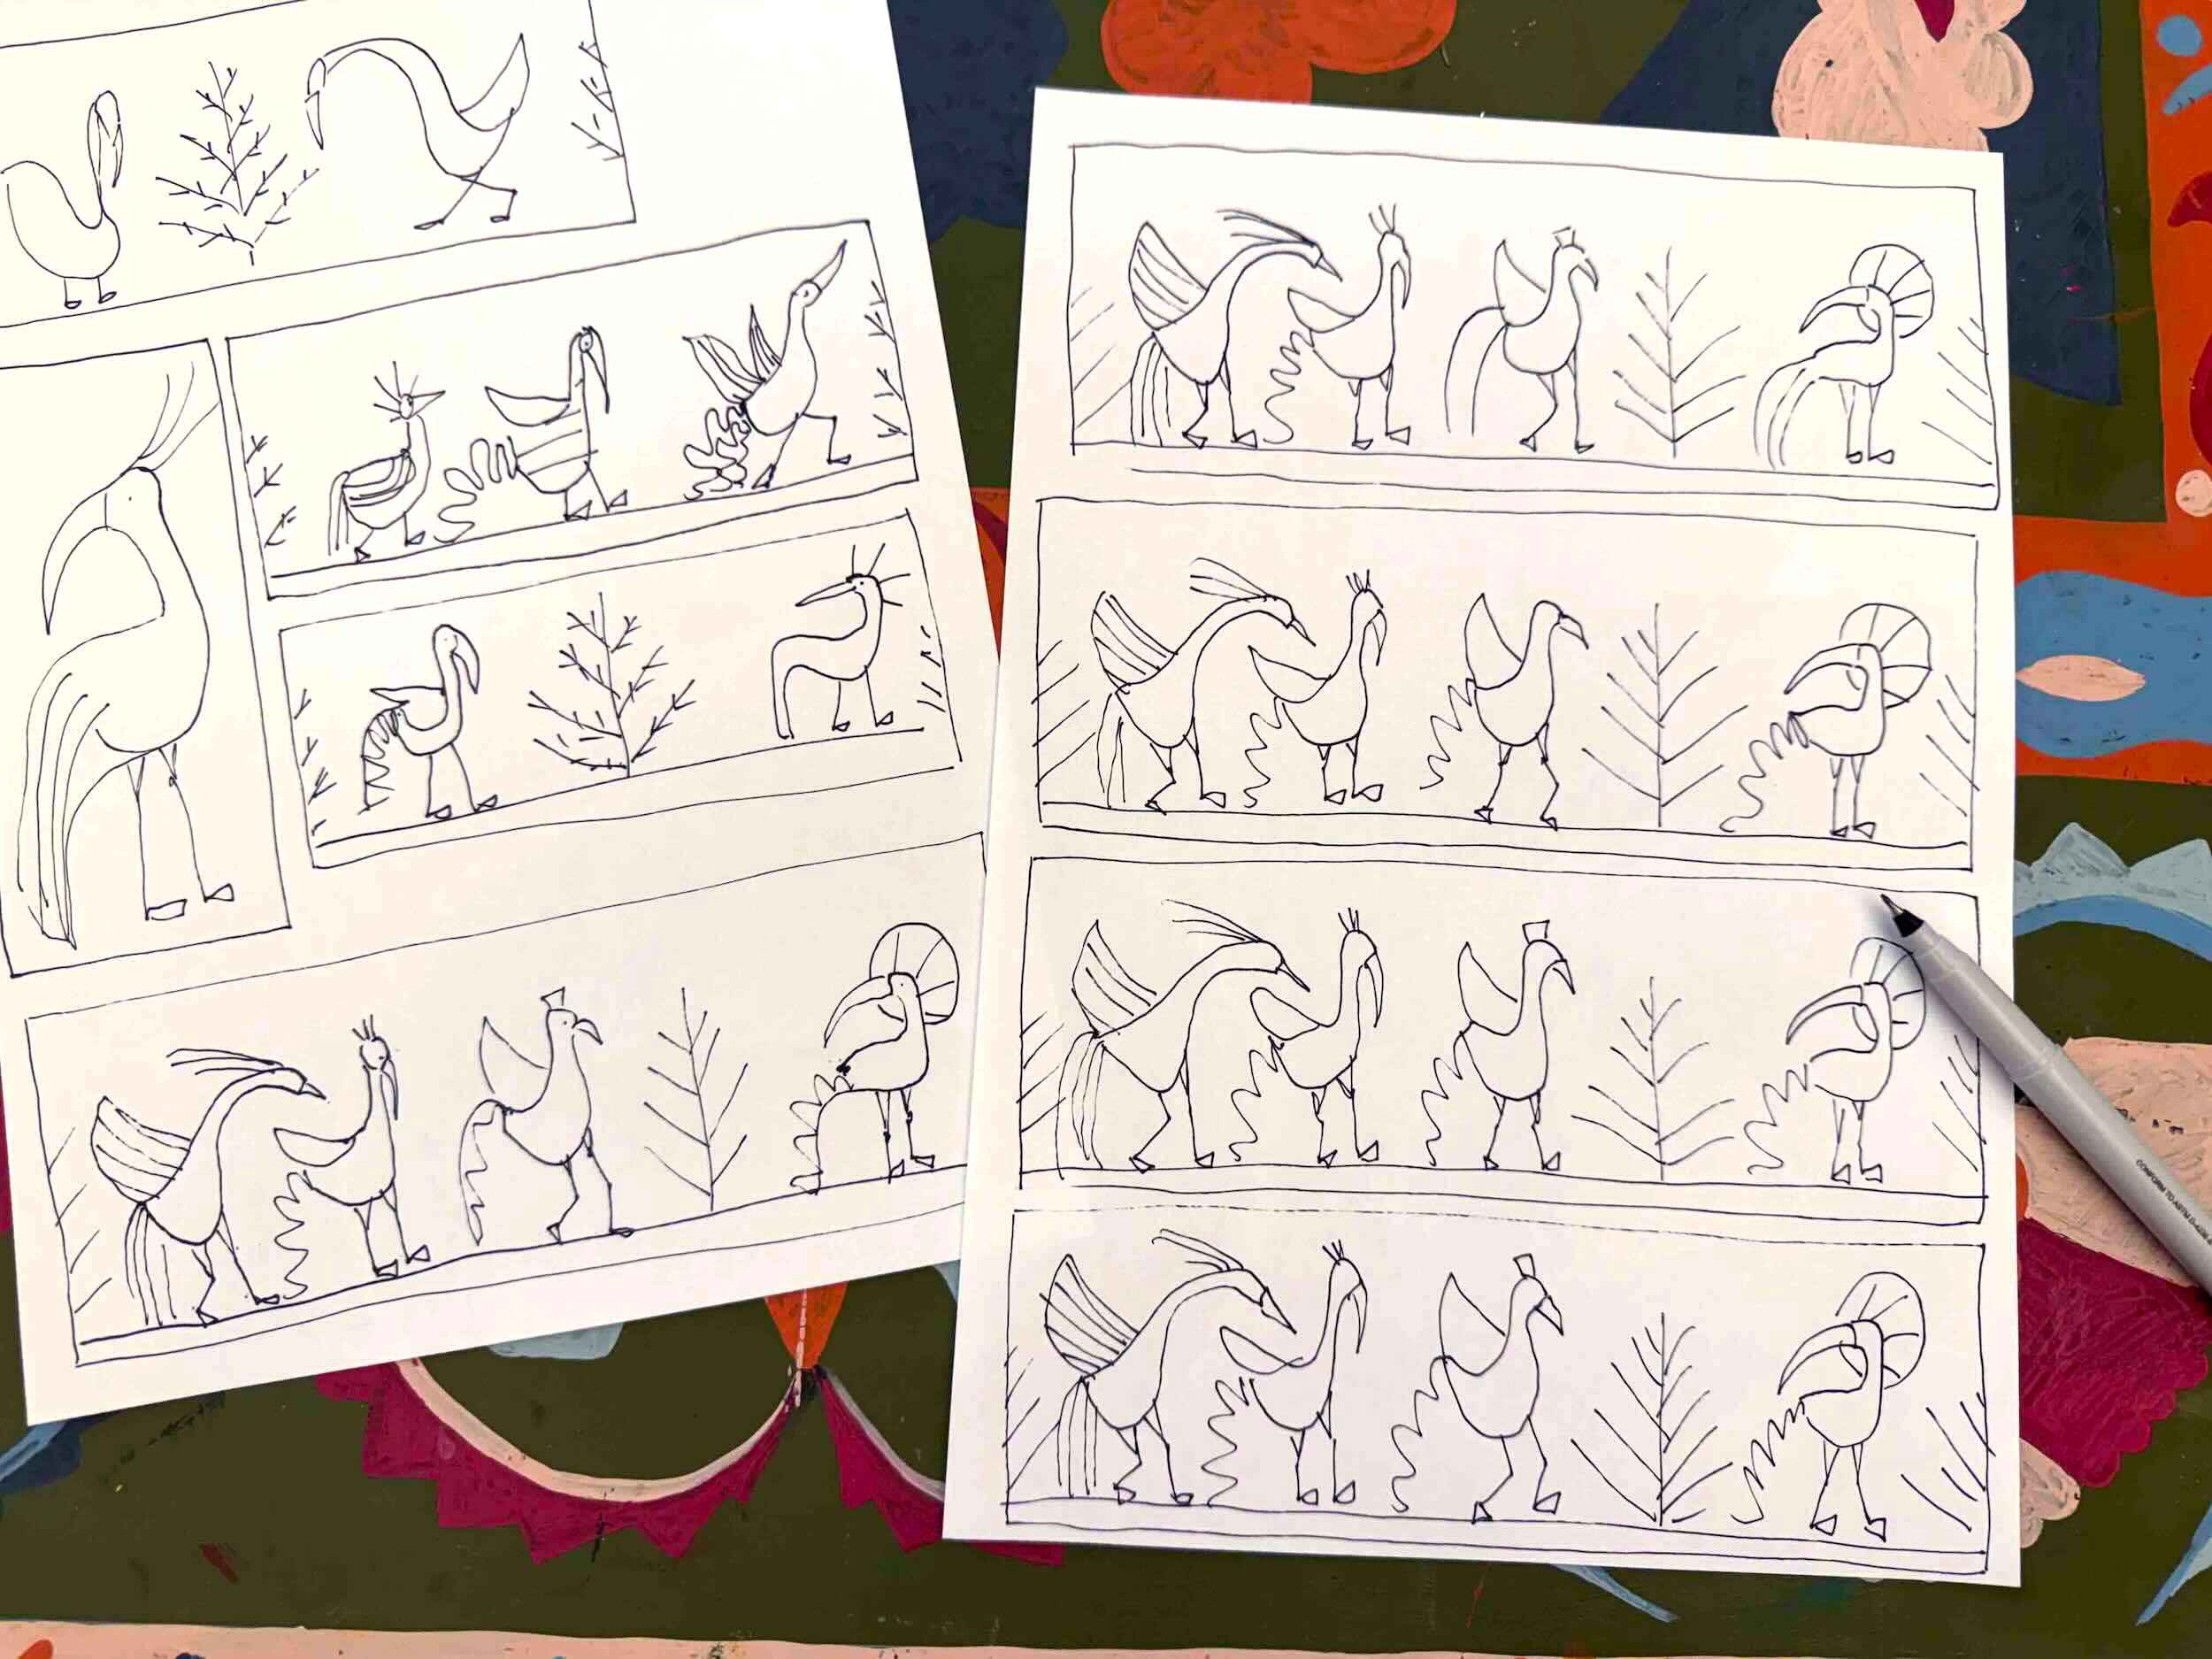
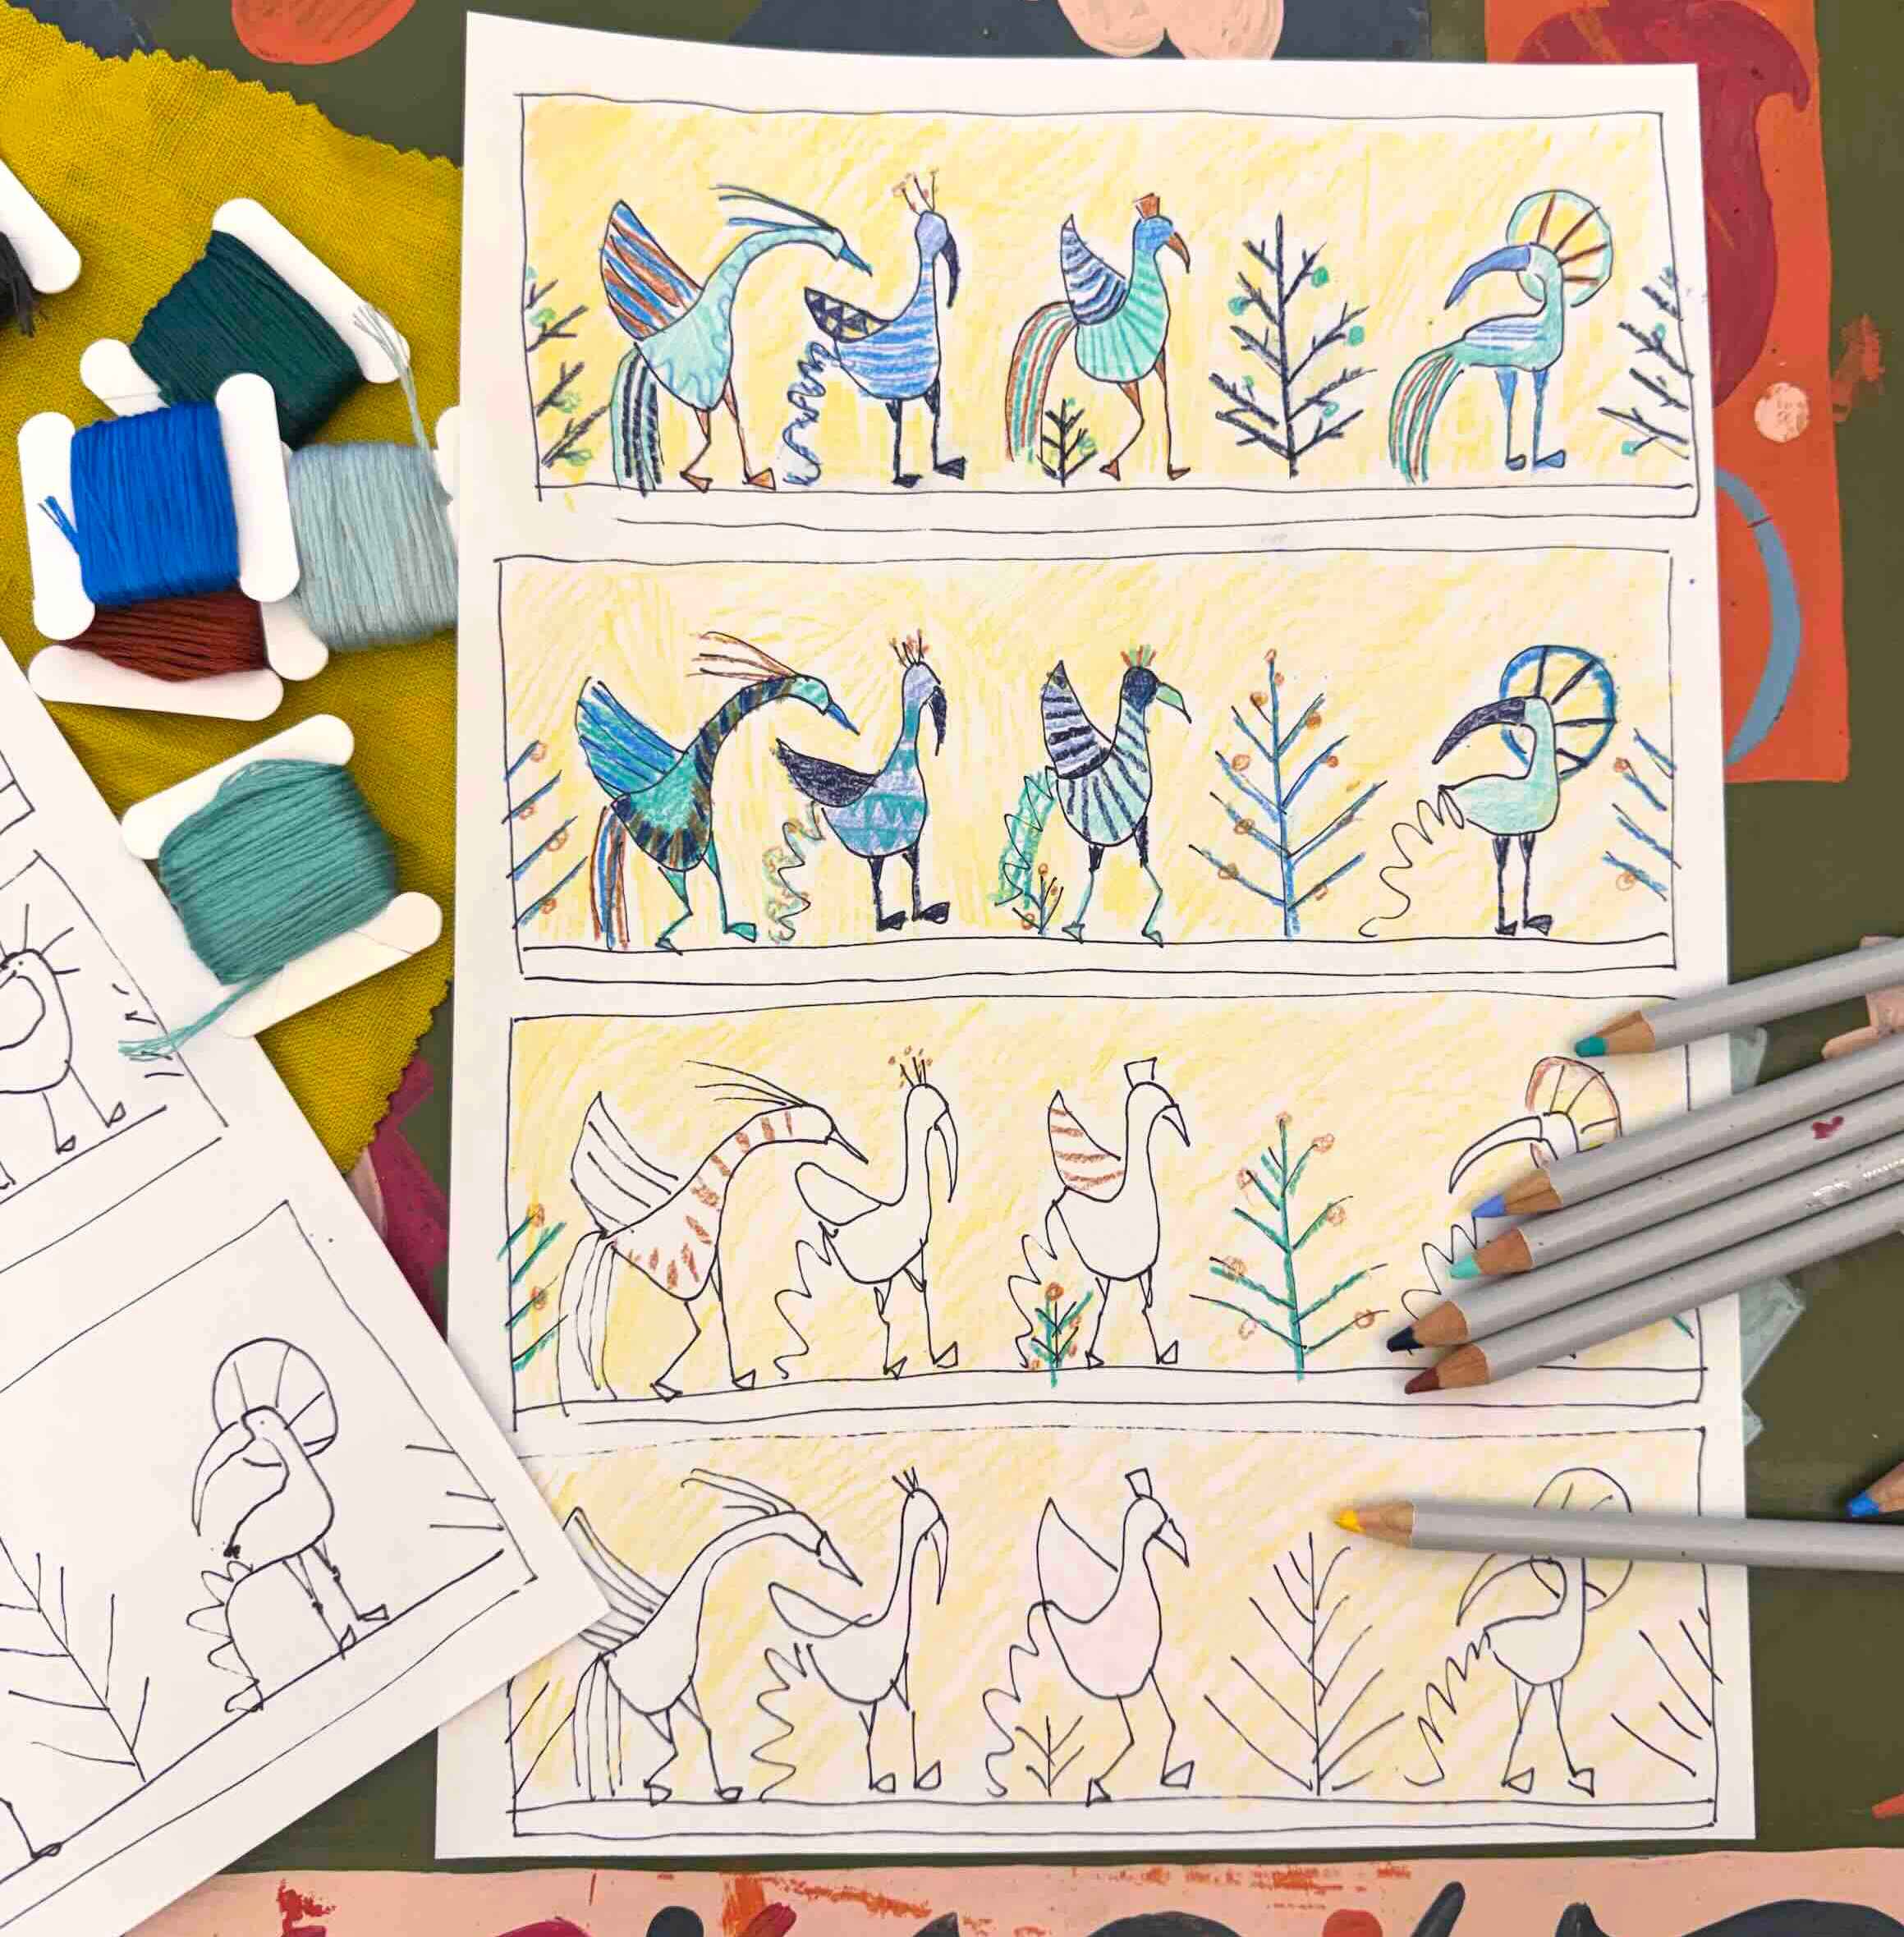
We sell embroidery kits but our whole ethos is about encouraging creativity. Kits are a fantastic way to unwind and create something beautiful without having to come up with a design yourself. But if you do decide that you want to venture into creating your own designs, we recommend you begin by making yourself a stitch plan. This is a colour plan of your final design, annotated with notes about which stitches you're going to use for each different element.
Making a stitch plan is a fantastic way to effectively create your own kit. It simplifies the stitching process by ensuring that you’ve done all the design work before you begin the actual stitching, enabling you to sit back and relax.
So, we've created this simple step-by-step guide to help you make your own stitch plan, so that you can design your own embroidery. If you want further help, we have courses and challenges that take you through this process in much more depth. Our Maker members have access to all our courses, plus a dedicated platform filled with heaps of resources to inspire and guide them through creating their own designs.
How to Make a Stitch Plan | Design Your Composition
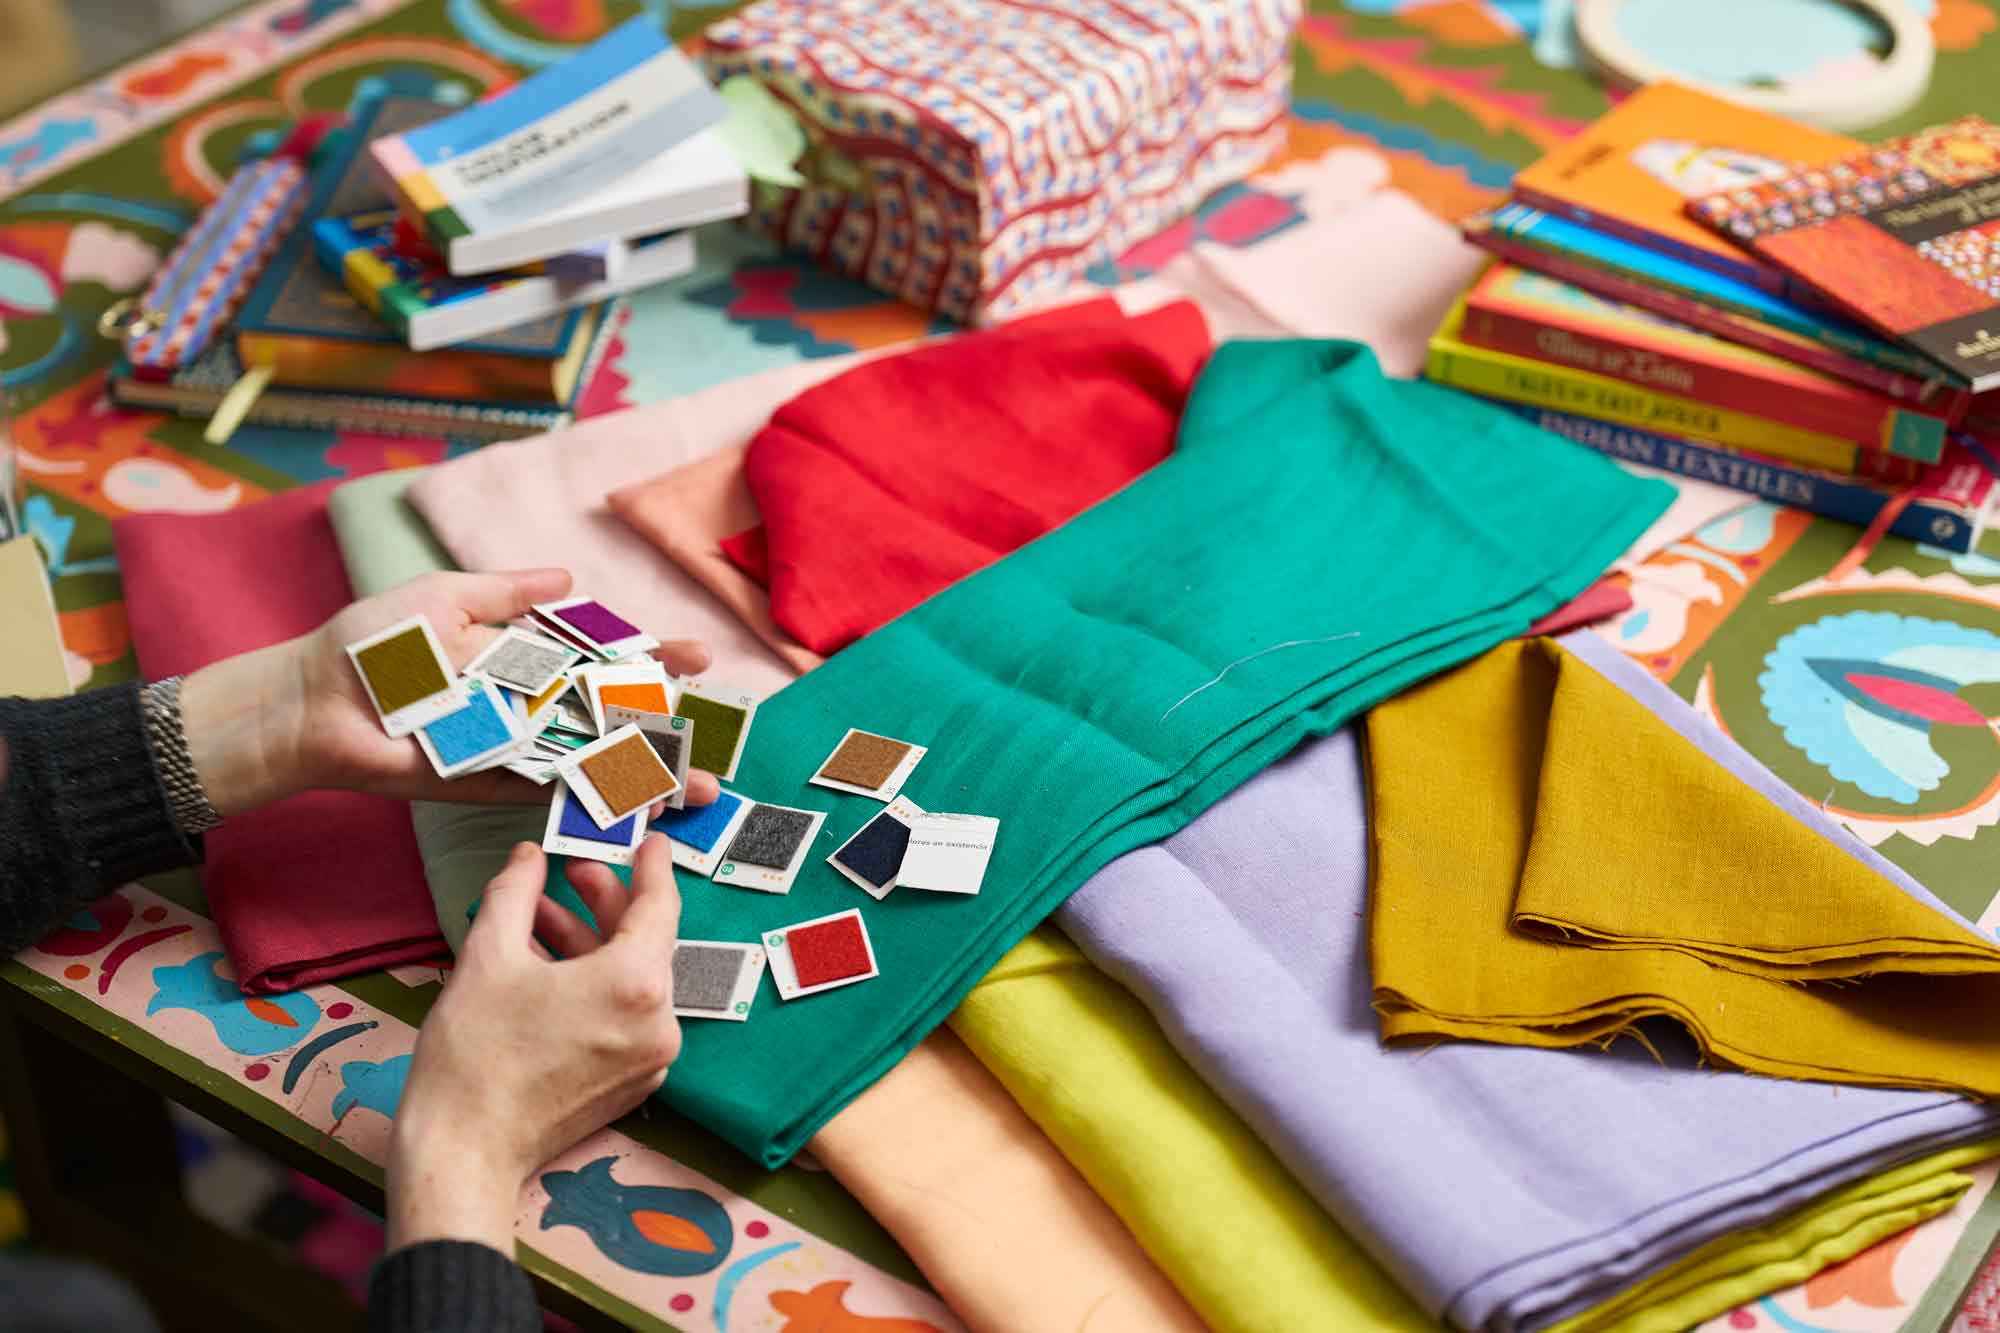
Adding Colour
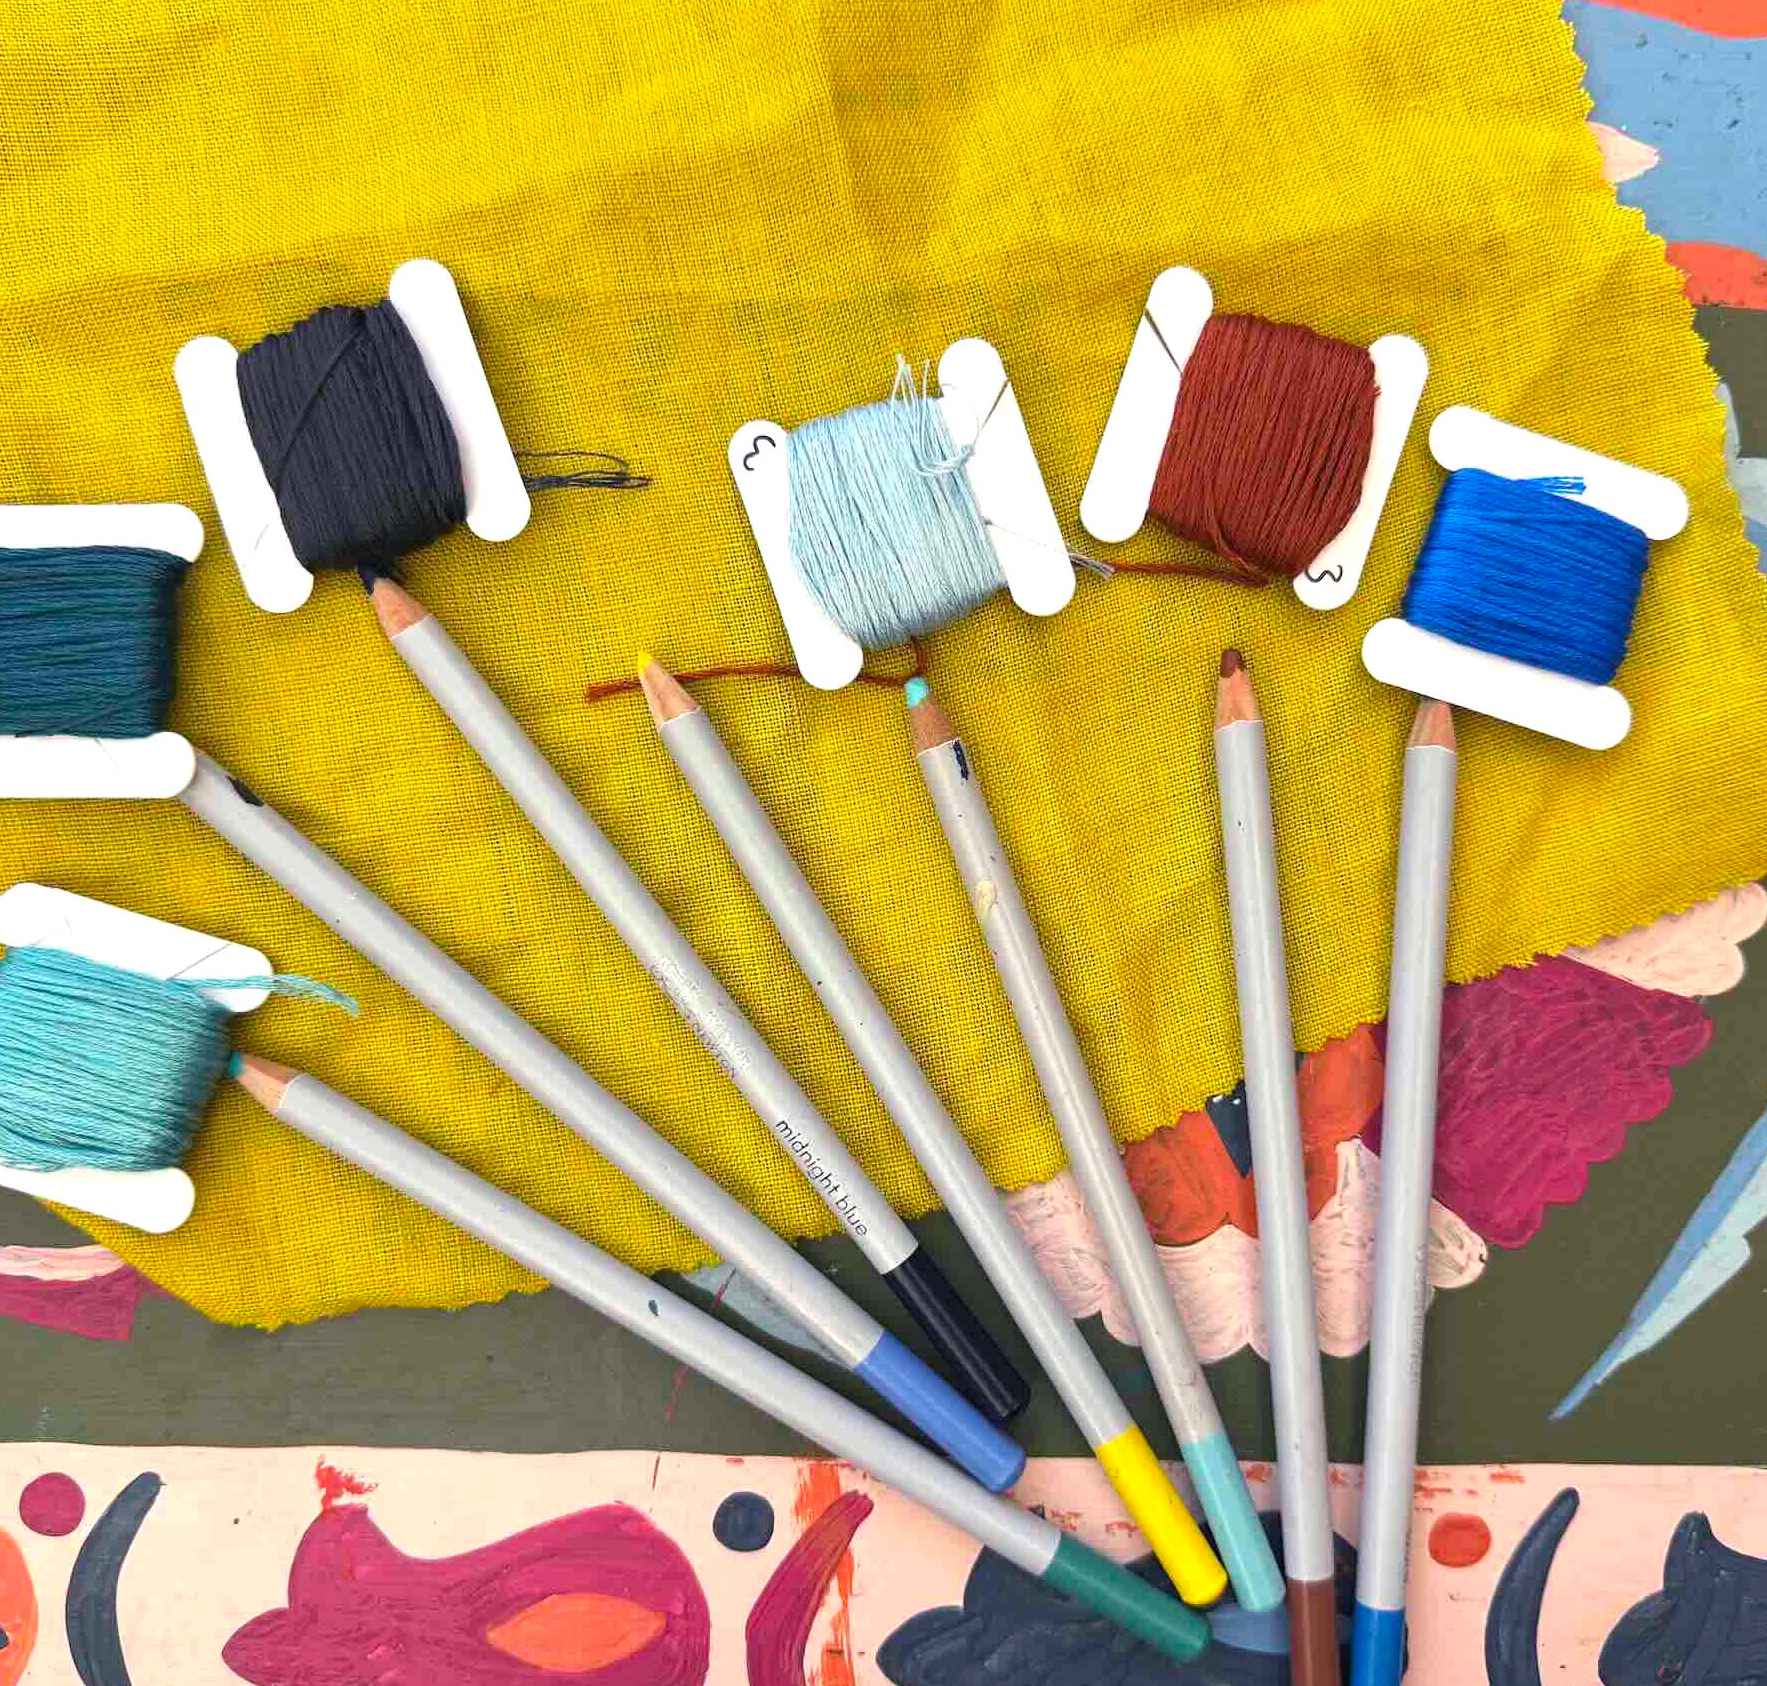
4. If you find colour choices tricky, this article for our explorer and maker members covers our top five tips for choosing a colour palette.
5. You can also try one of our (recently restocked!) bundles if you’d like to just pick a pre-existing colour palette. This design is made using our bundle 6.
Our Bundles


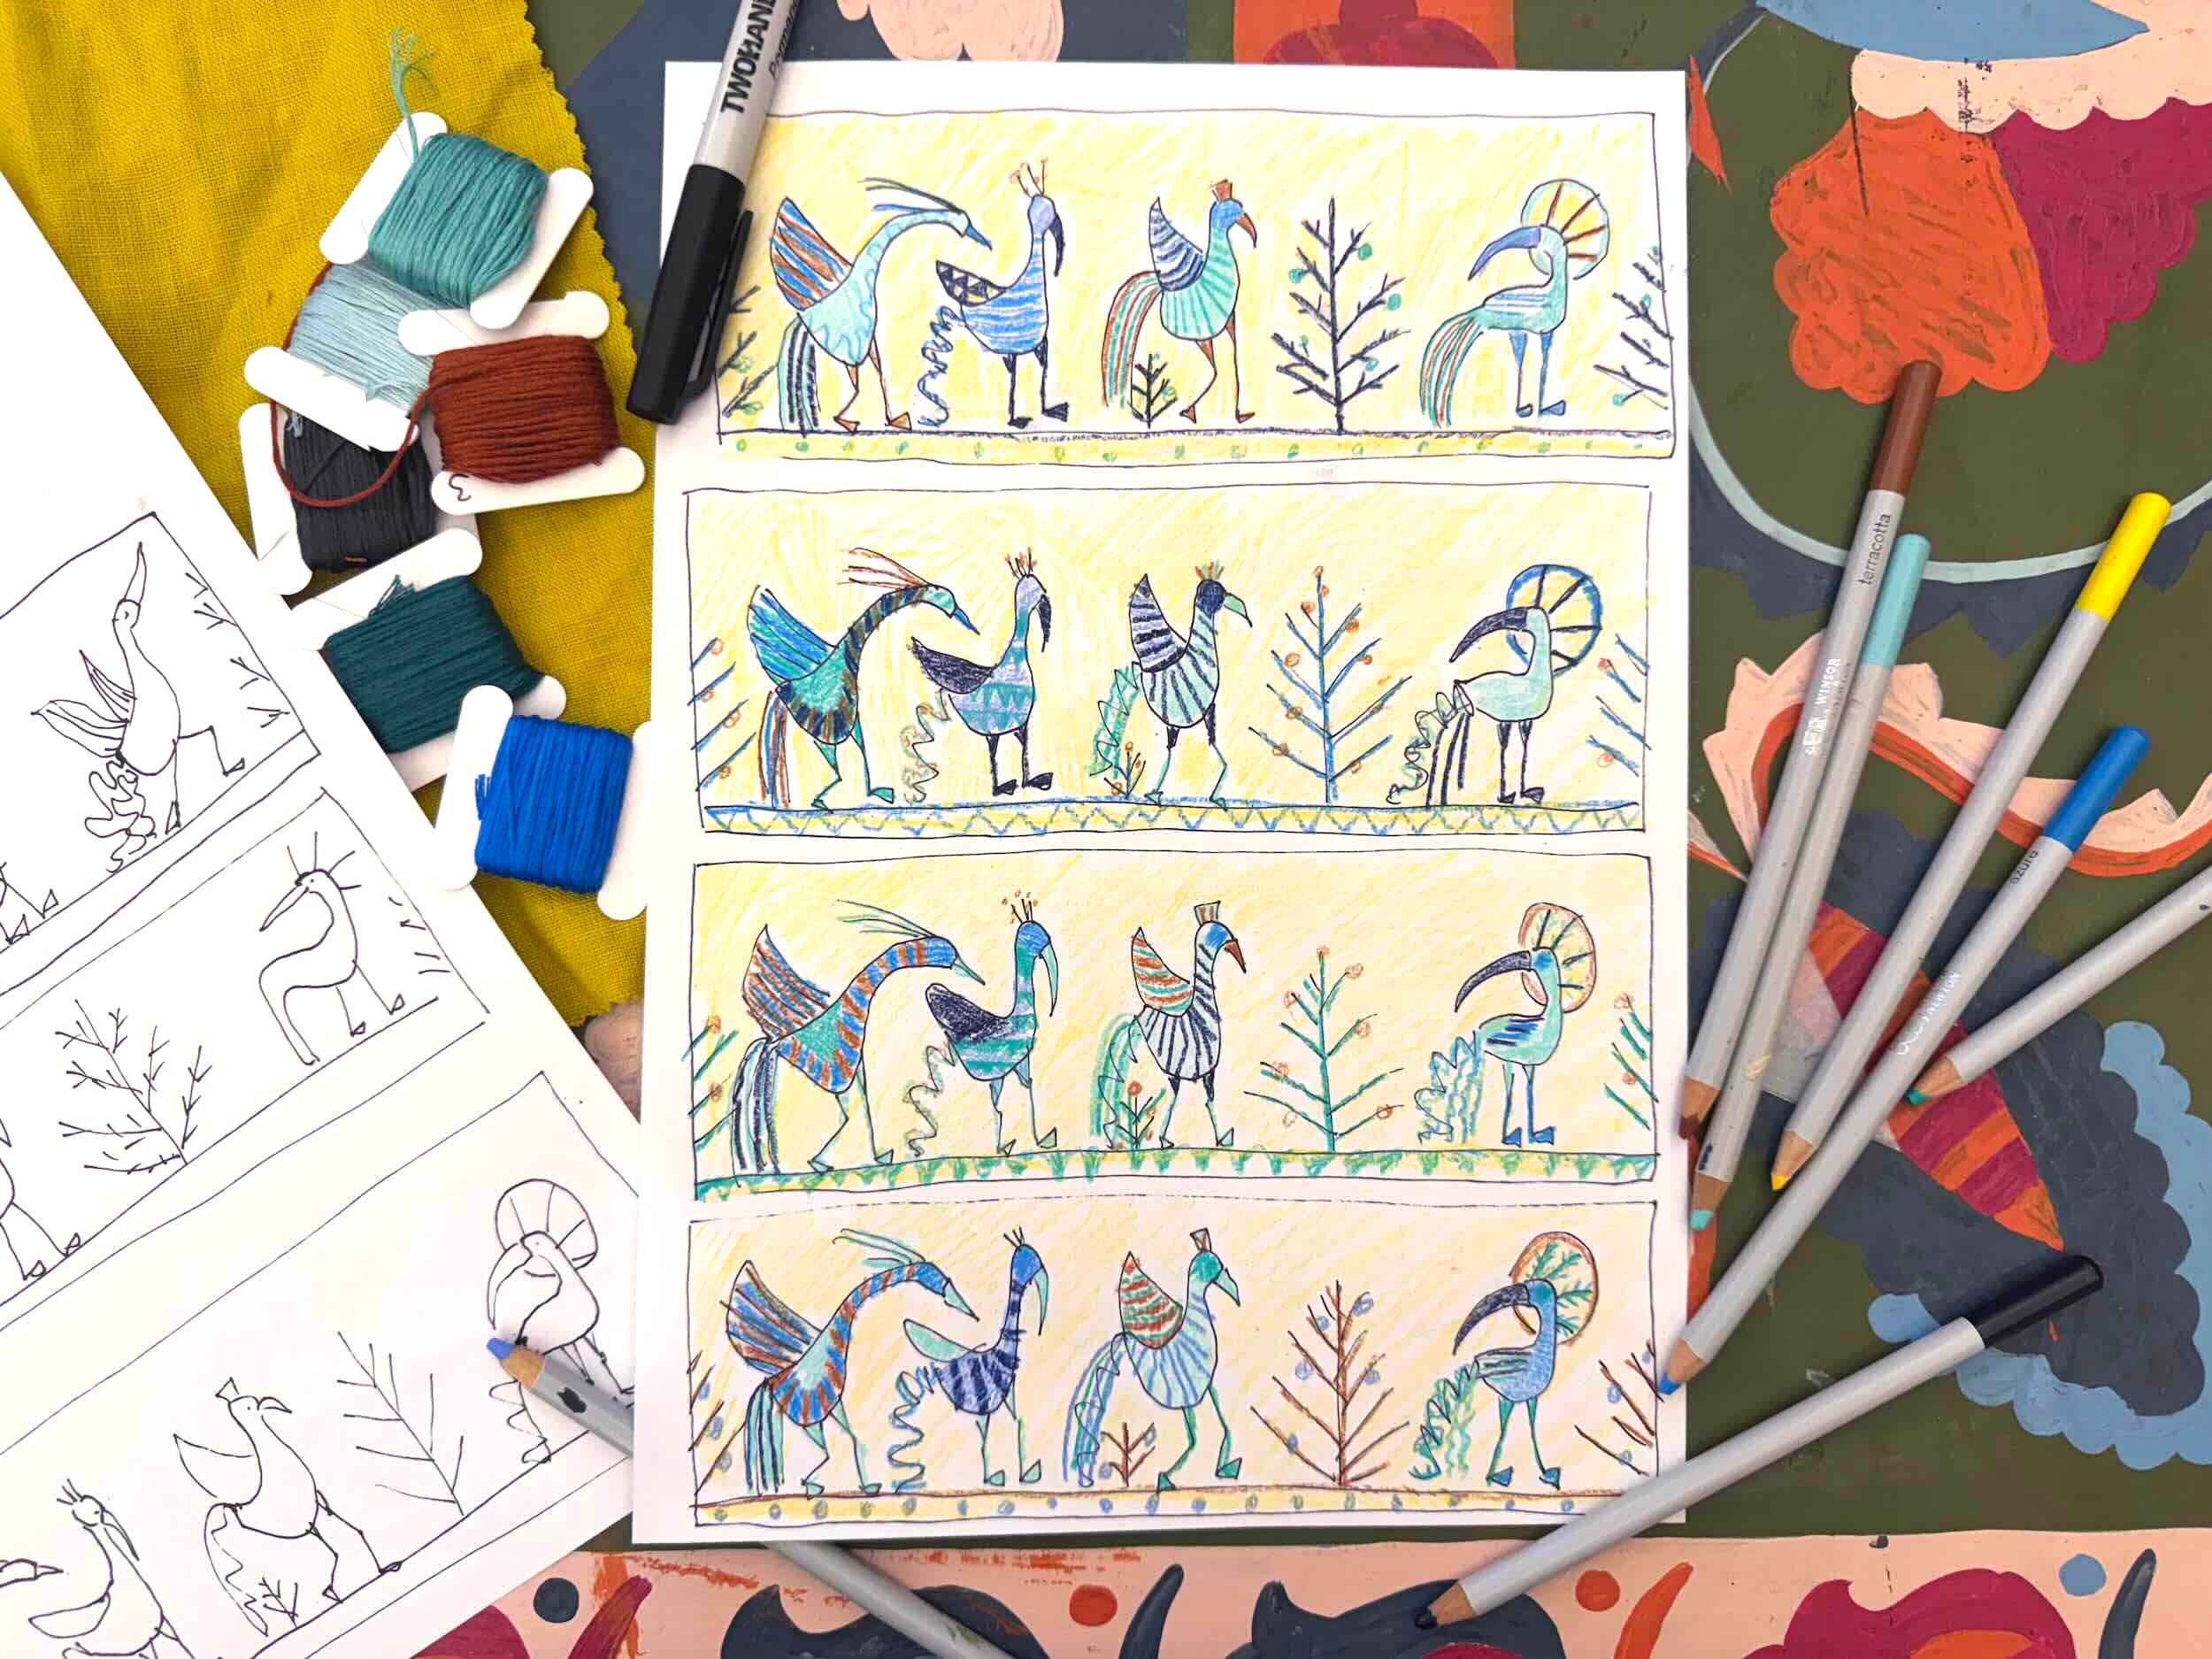
Choosing Your Stitches
When you’ve got your colour palette sorted, it’s time to decide what stitches you’re going to use.
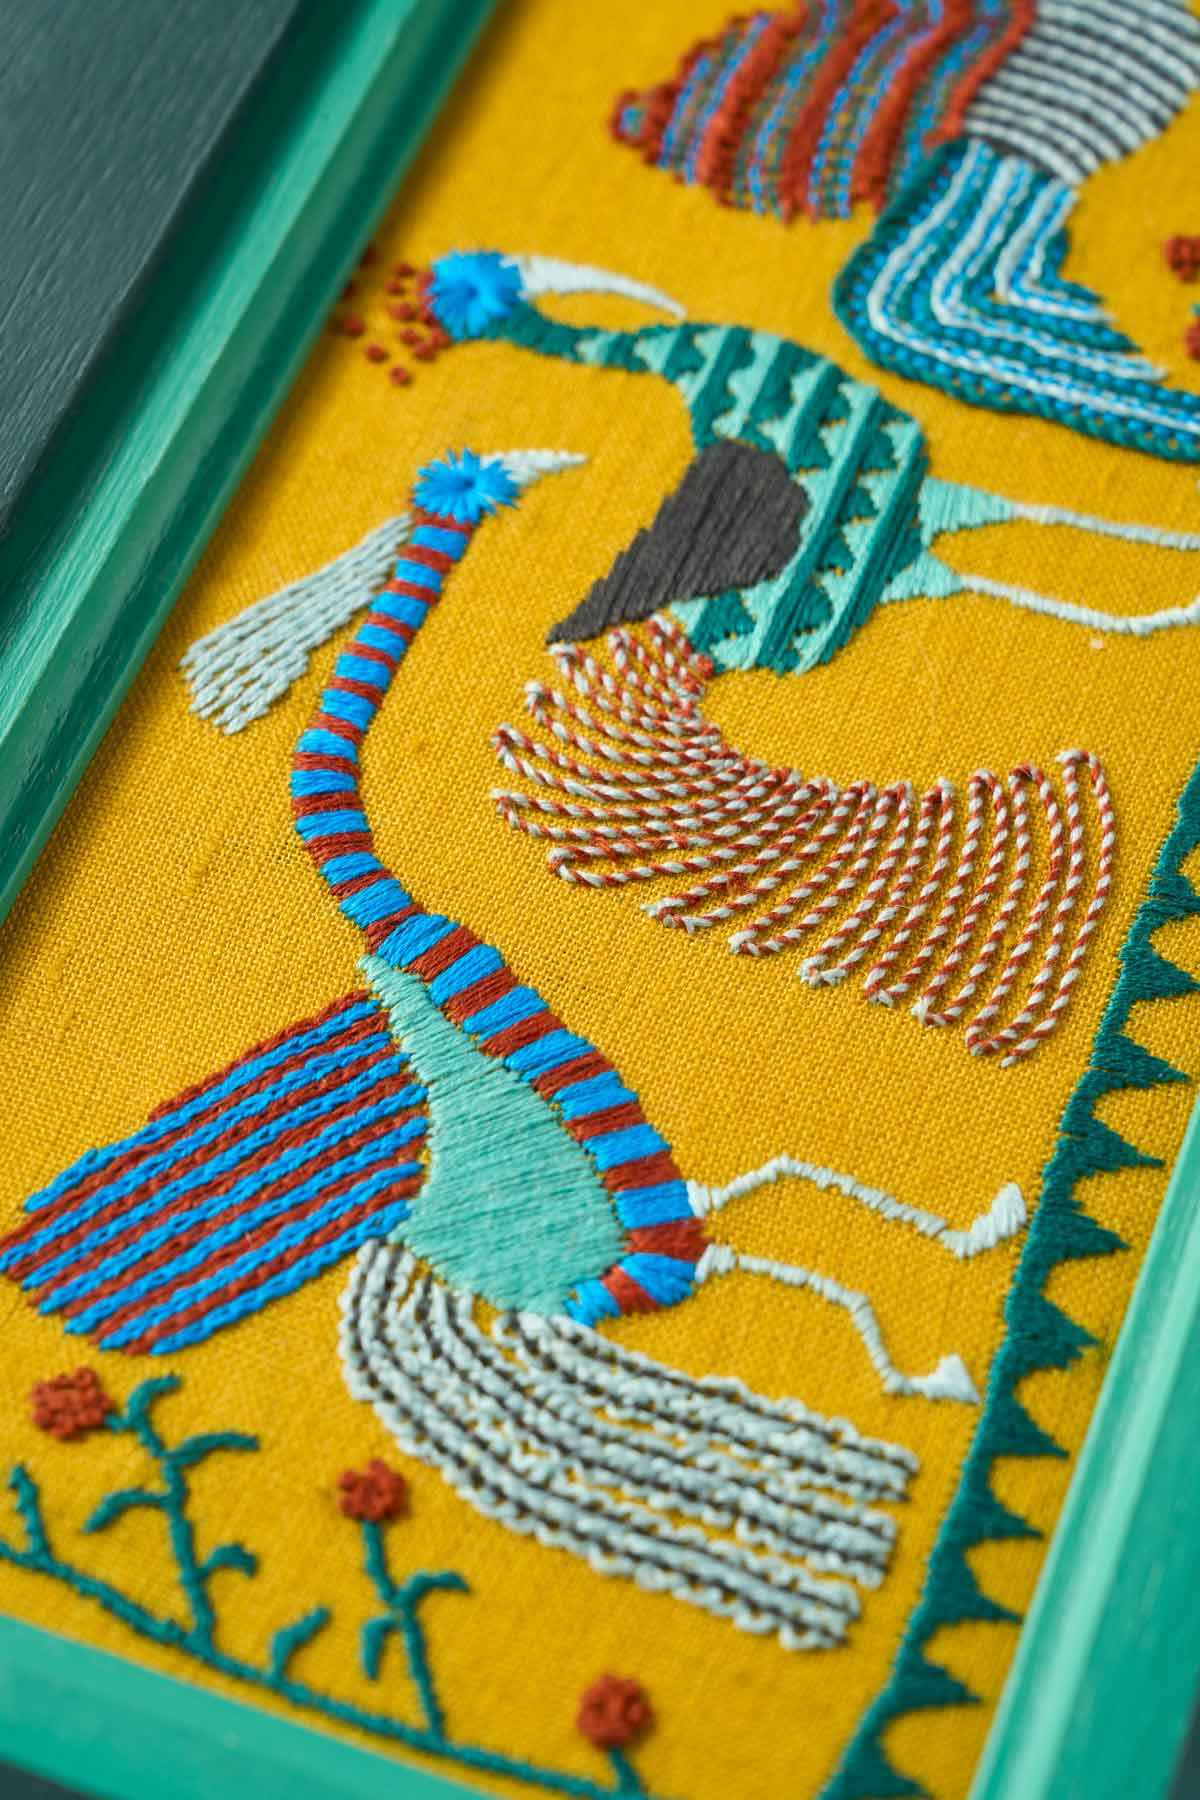
10. Pick three to five different stitches in your embroidery, just so that you don’t overcomplicate it.
11. If you’re relatively new to embroidery, take a look at our start stitching course for guides on our favourite outline, filling and decorative stitches.
12. Or sign up to the maker’s membership, which includes all our virtual courses, plus an exclusive course on designing and creativity, as well as tons of resources and access to our self-paced Animal Challenge. Read more about our membership options here.
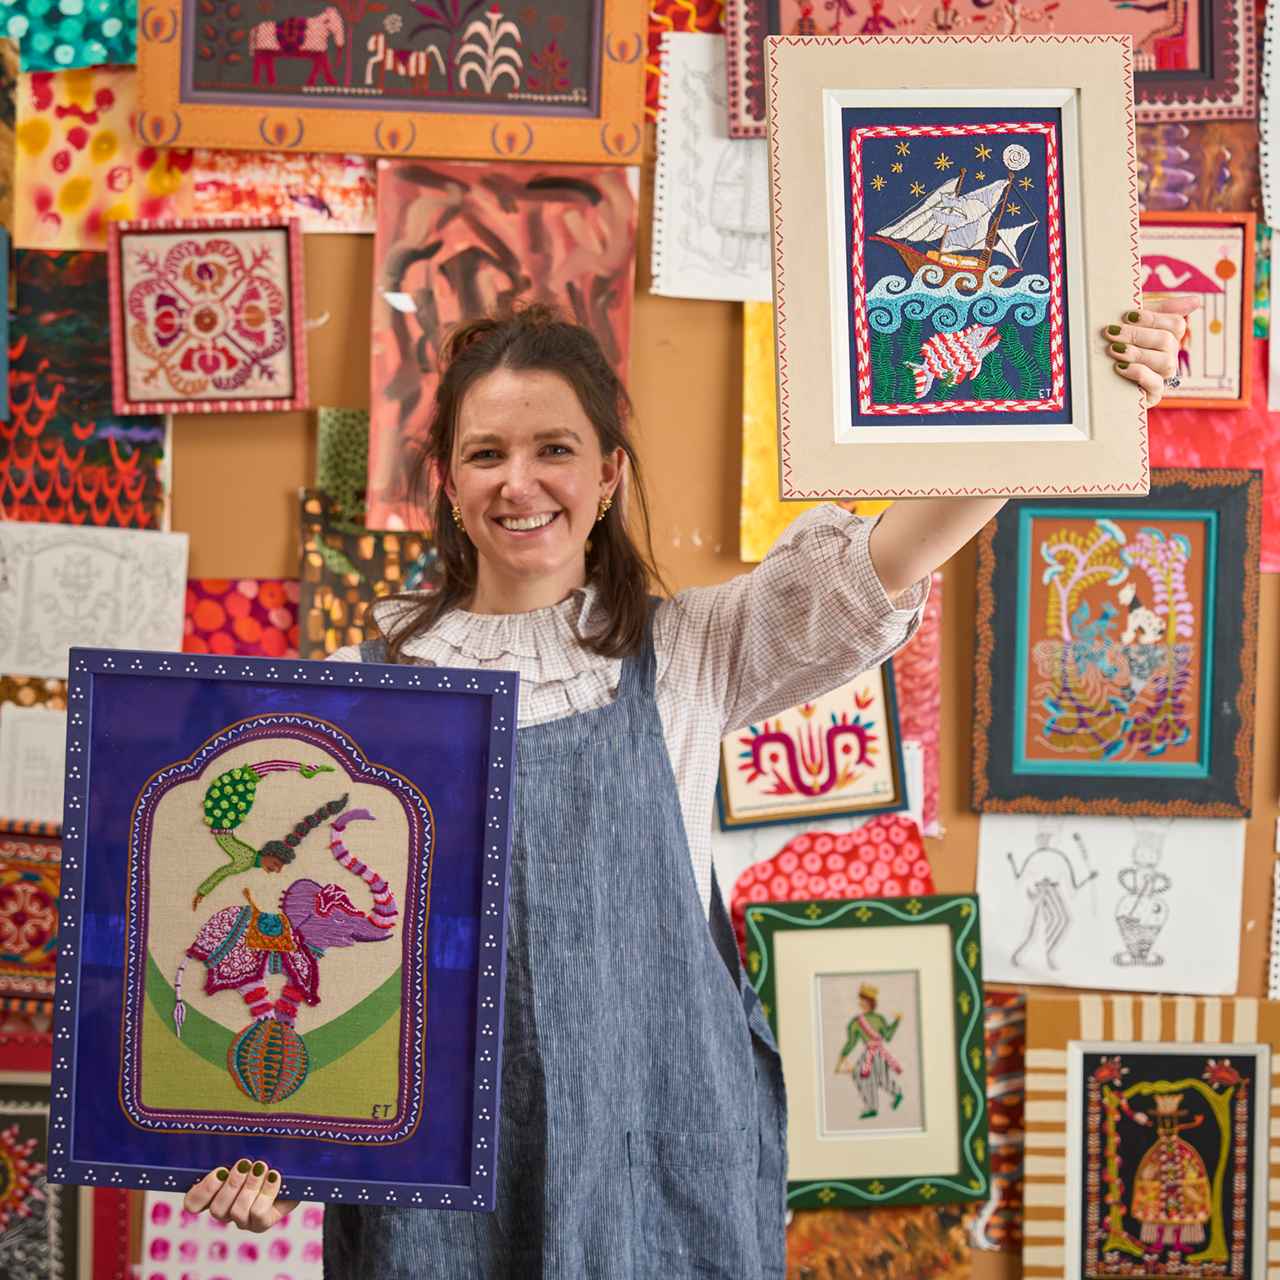
Once you’ve created your stitch plan, you’ll have your own kit, ready to stitch, with no need to think any more or make further decisions. At this point, you should feel happy with your design, and be confident that you don’t want to make any changes. You can then translate the design to your fabric. Take a look at the tips in this article if you haven’t done this before.
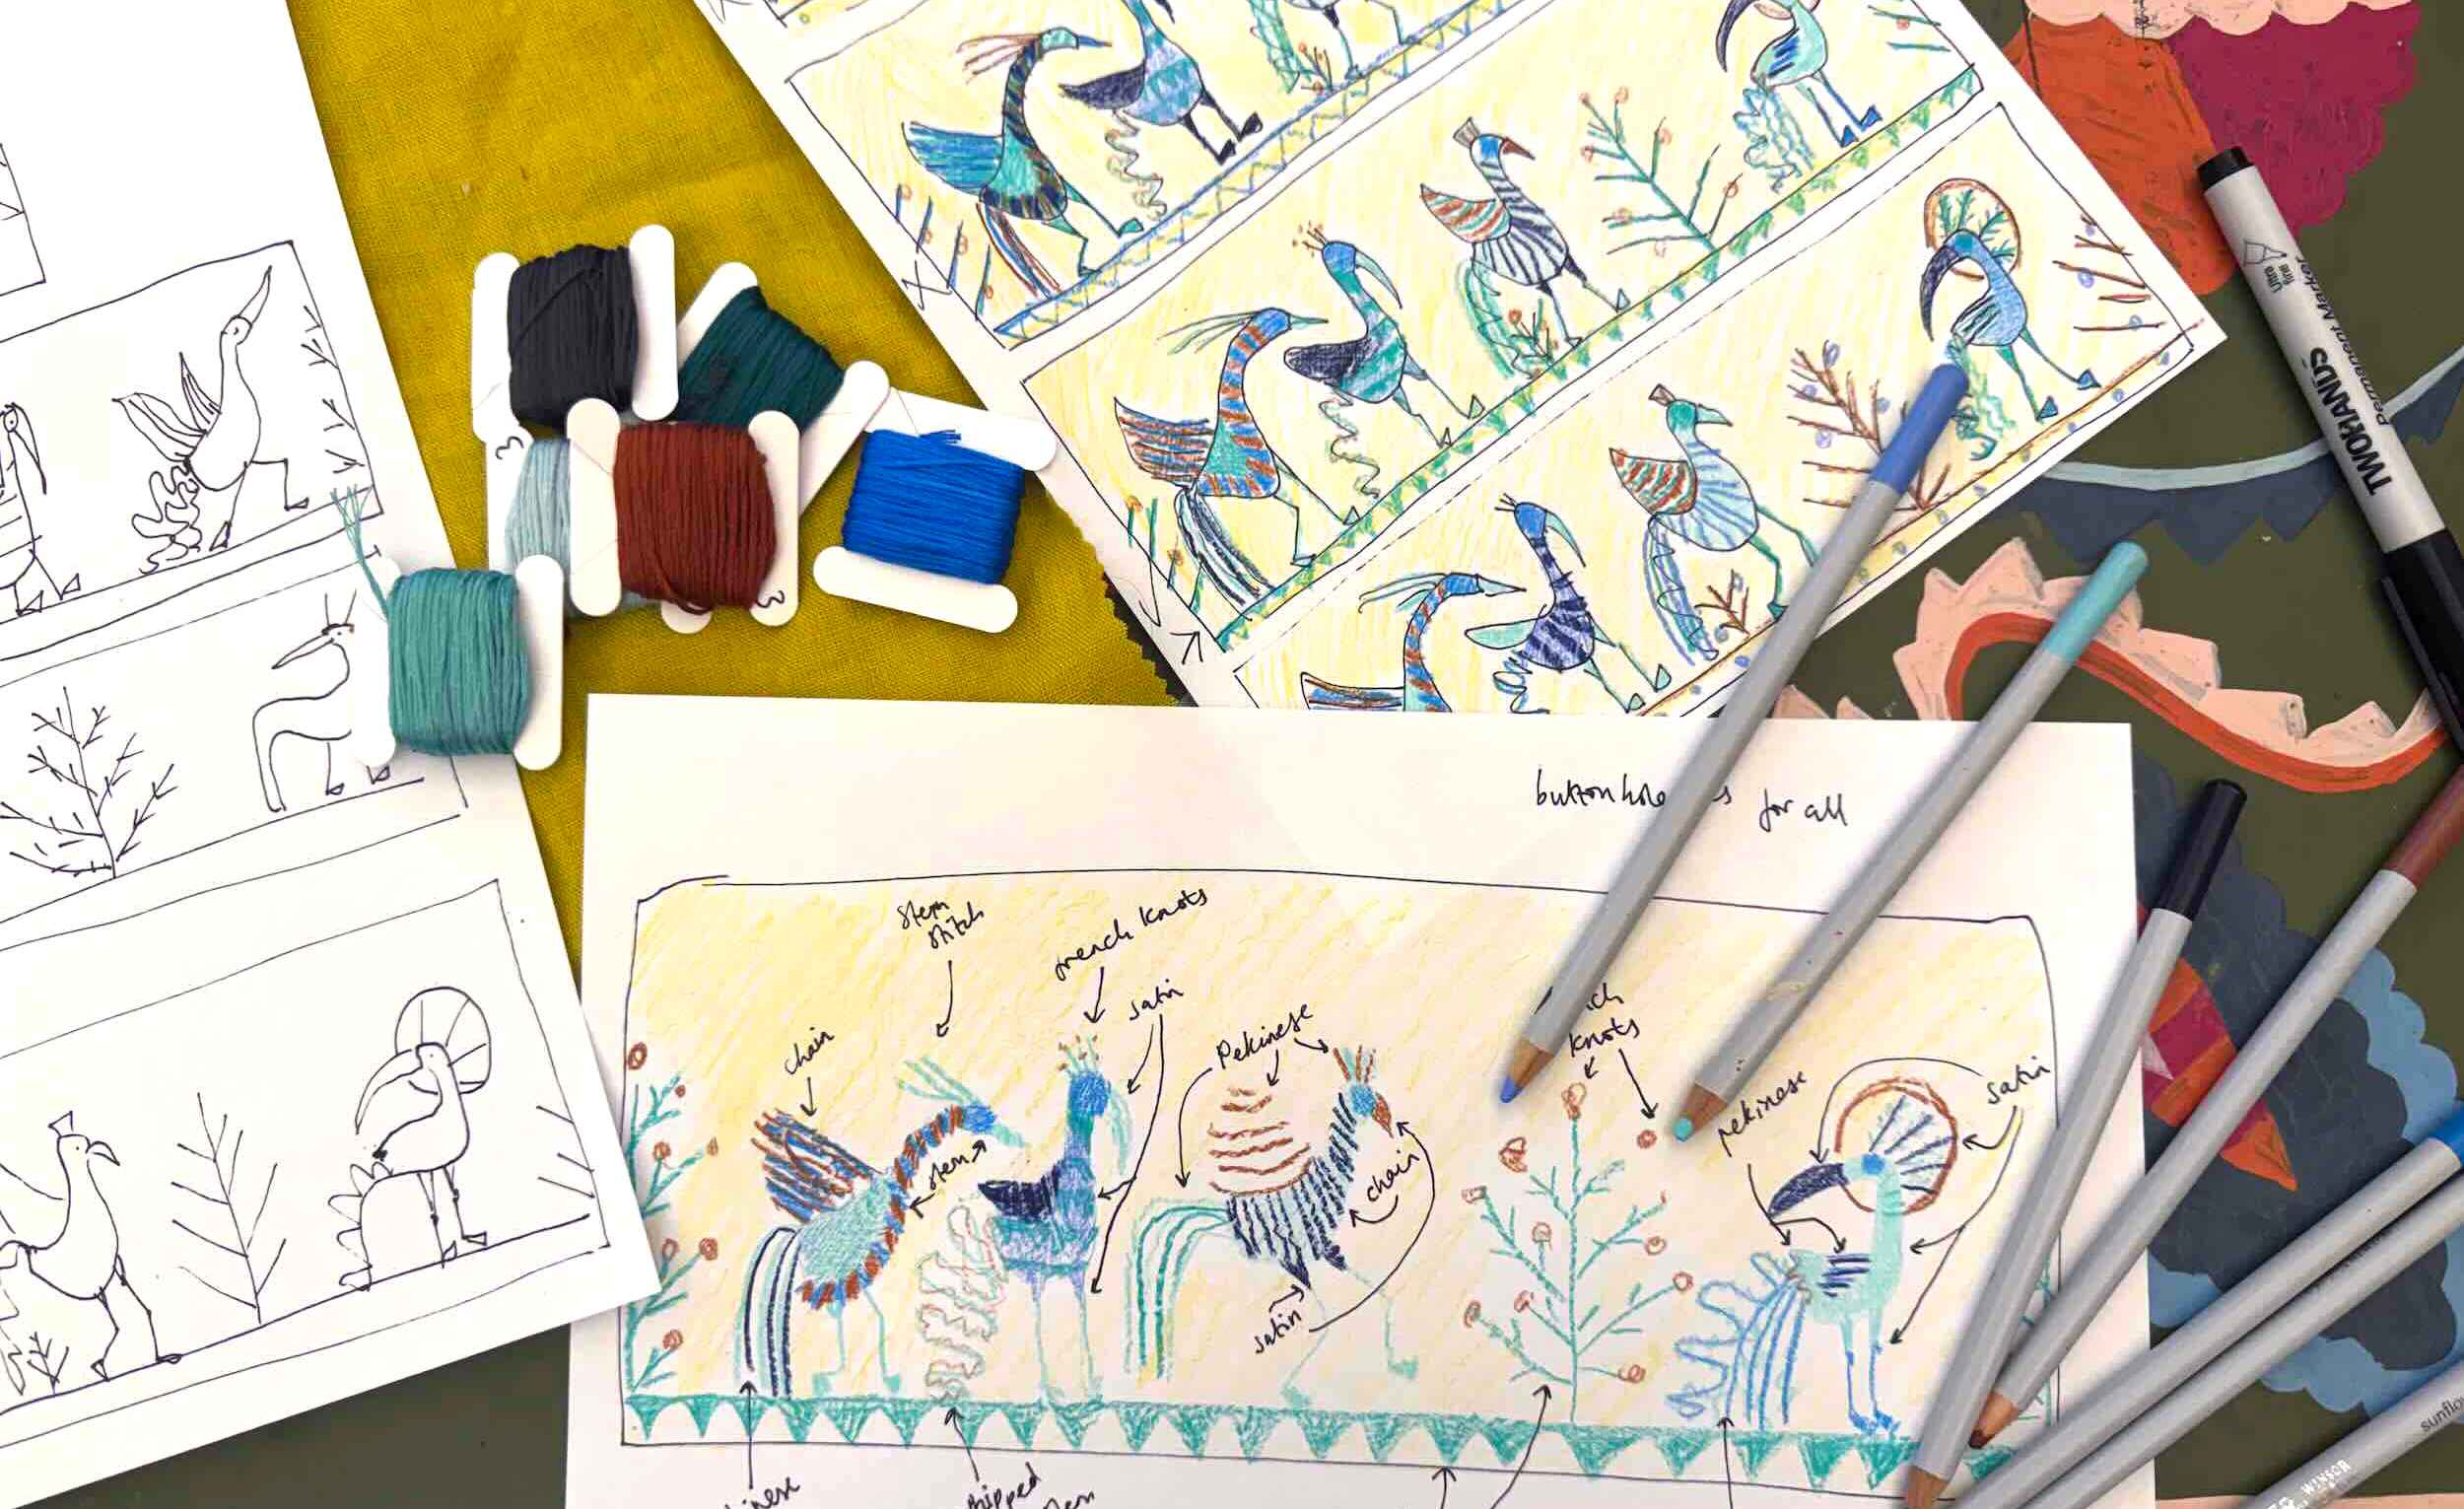
Why You Should Stick to Your Stitch Plan
It can be easy to second guess your design part-way through the stitching. At that stage it’s often tempting to shift away from your initial stitch plan, but it’s important to push past those doubts and stick to your stitch plan. When you’ve only stitched part of your design, you can’t see the full effect, and so it may not look how you had hoped, but that is no reason to deviate from your original plan. Changing your design or colours mid stitching can be confusing, since it’s hard to make a judgment when you haven’t finished the design yet.
So just keep stitching! It’s impossible to judge a piece too early on. The full picture only starts to emerge towards the end. You made your design and colour choices for a reason, and if you start changing things now, you’ll never really learn from what you originally planned, and you might undo something that was actually working. The truth is, you probably won’t feel confident that your design is working until you’re about 80% of the way through. Until then, you’re mostly operating on faith and just trusting that it will all come together.
Often people find themselves wanting to add background details, but remember that you don’t need to fill the whole piece of fabric. A bit of breathing space in your design makes the final framed piece look even more striking.
Try to remember that it won’t all come together until right at the end. If there’s anything you don’t like or that you wish you’d done differently, you can always bring in those elements in your next embroidery.