Embroidery 101: How to Mount your Embroidery
When you’ve finished stitching your embroidery kit, the next step is to mount your embroidery onto foamboard before placing it into your frame.
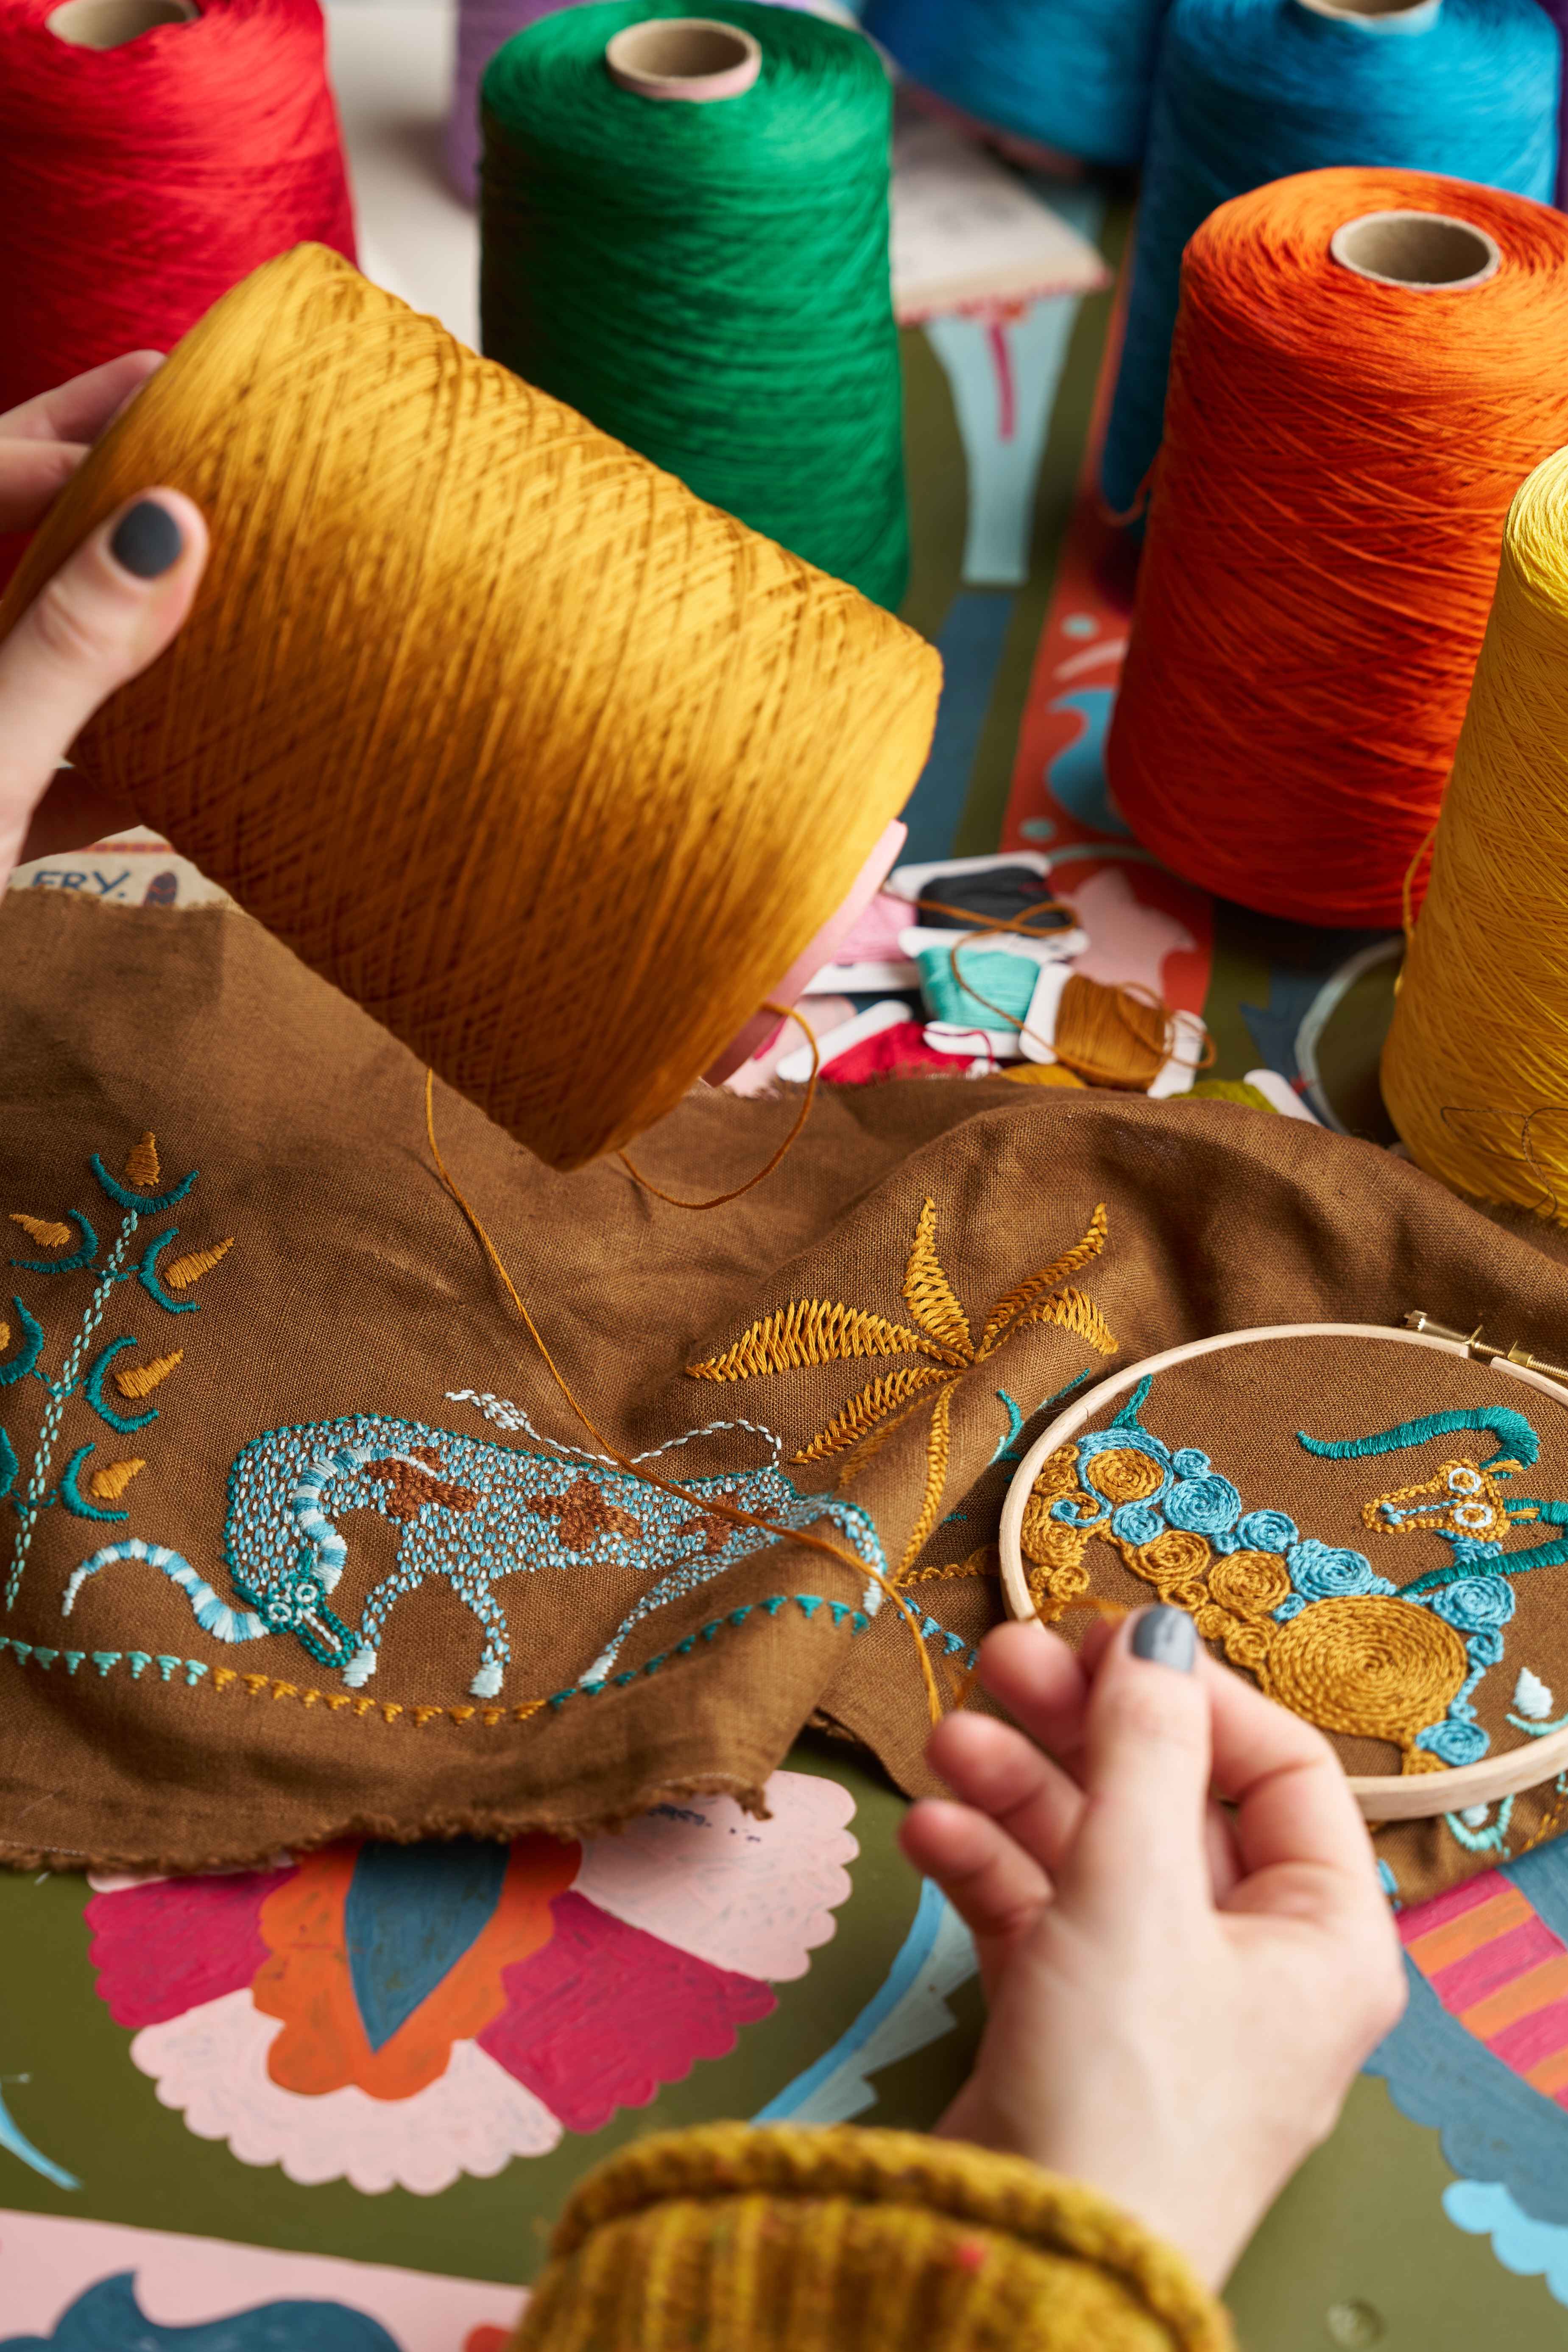
This is a key part of the process that shouldn’t be rushed - we know how exciting it feels to be near the finish line and getting close to displaying your work, but taking your time here will make a big difference to the finished piece. It’s a very satisfying process that honours all of the hard work, time and effort you've put into stitching your embroidery.
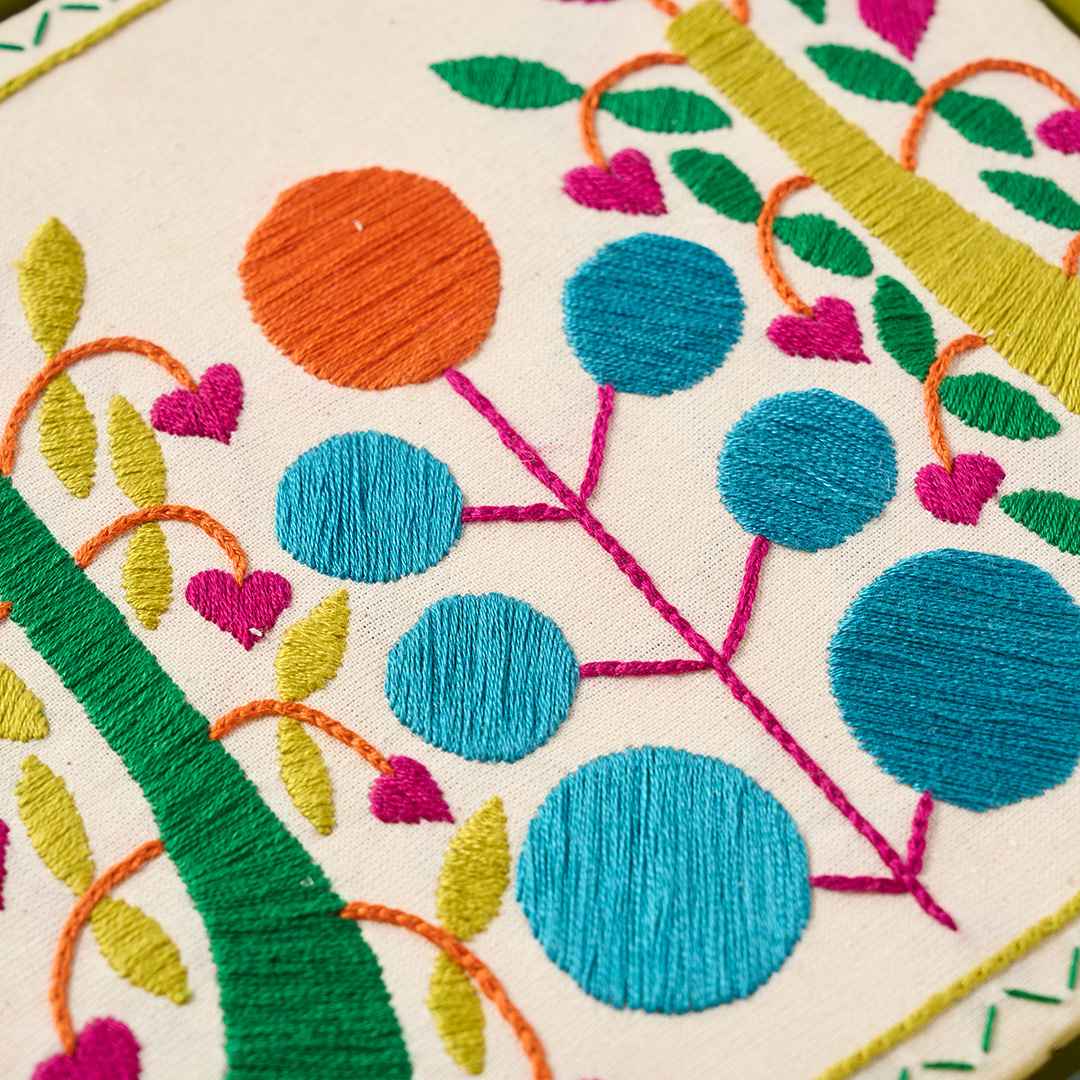
By mounting your embroidery, you’ll make it look delightfully professional, stretch out all of the unwanted creases and the best part - make the stitches pop!
If, like me, you sometimes procrastinate a little (or a lot) when it comes to the ironing - thankfully, there is no need to iron your finished embroidery!
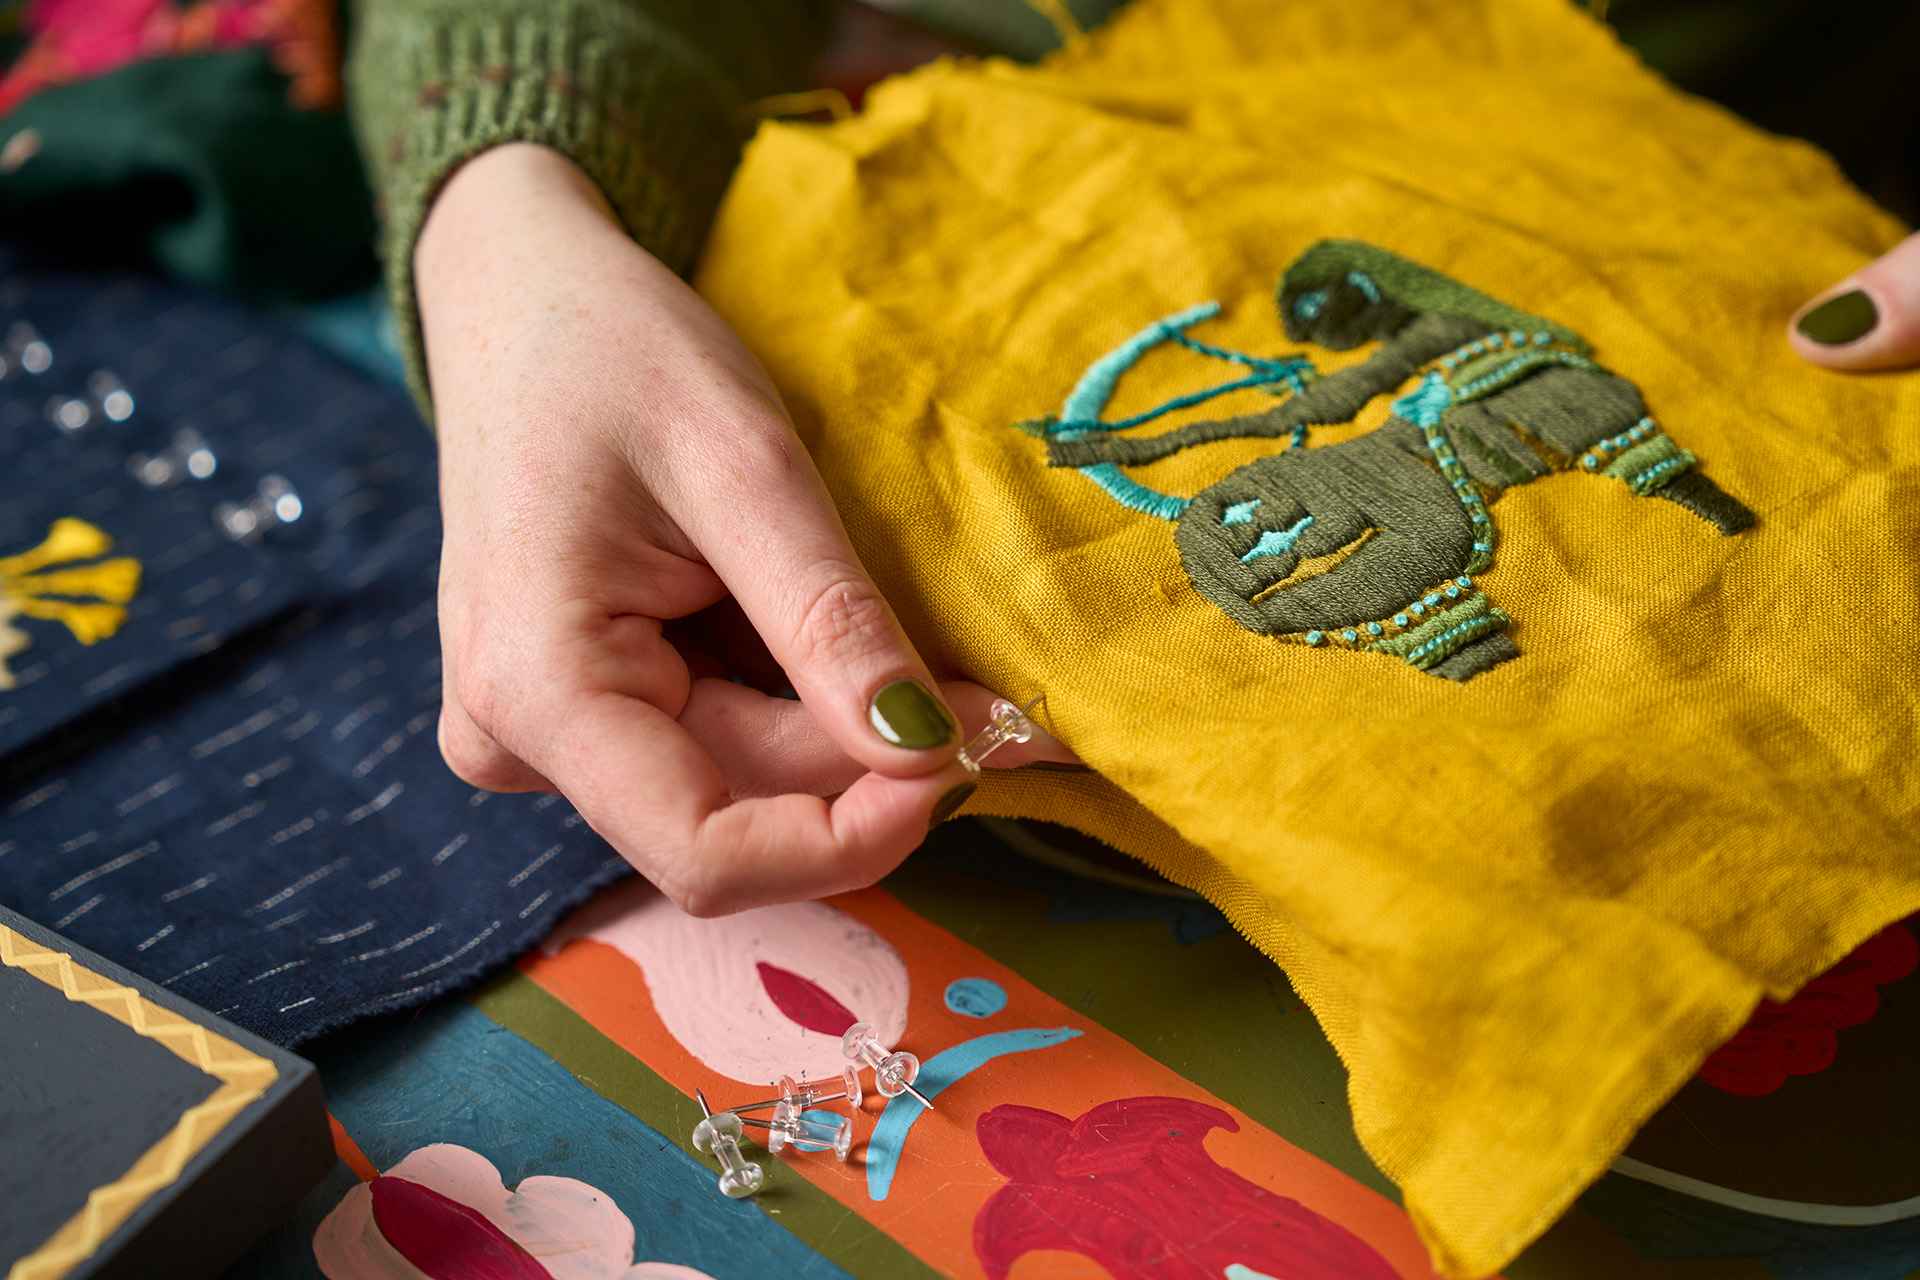
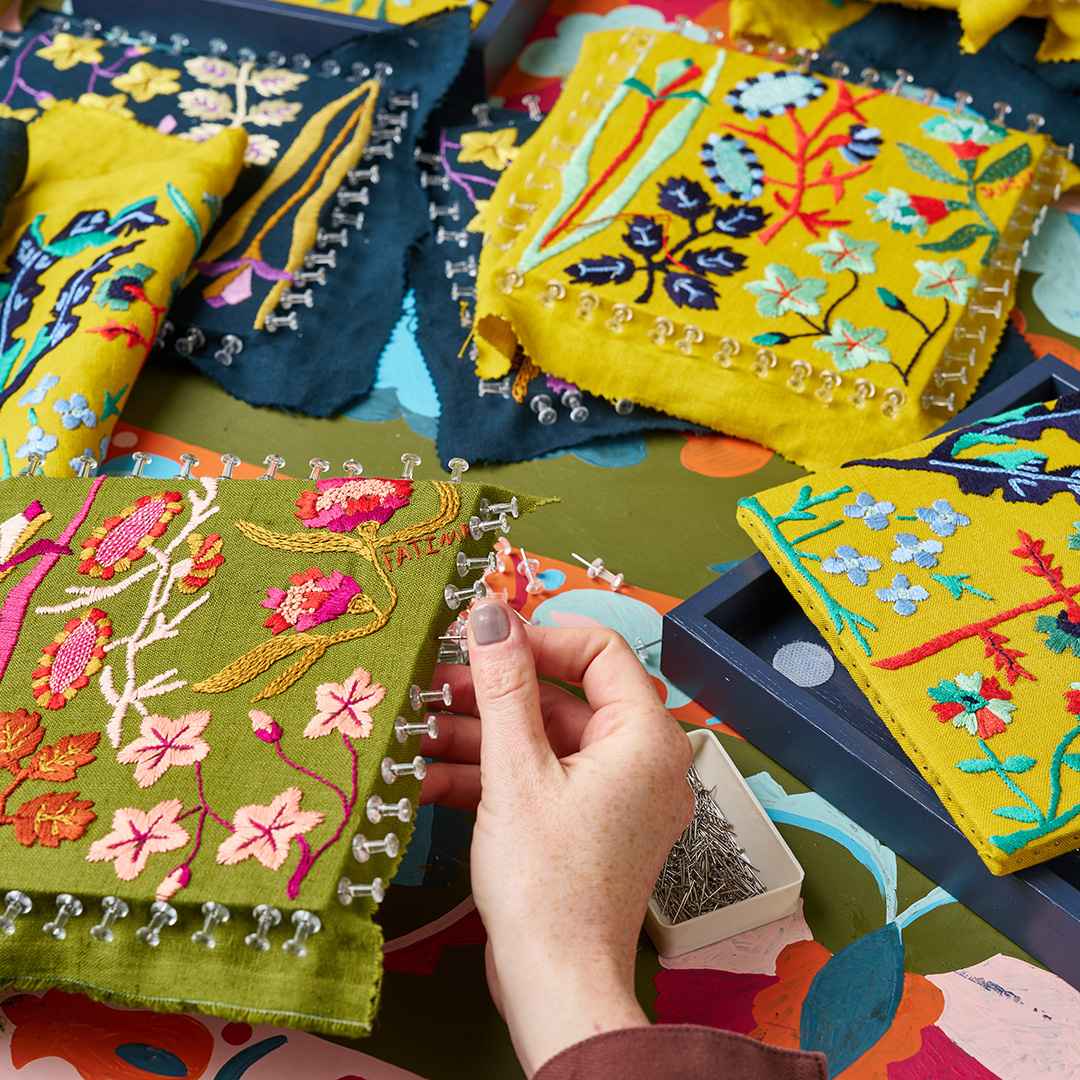
The mounting process eliminates the need for ironing by simply pinning your embroidered fabric taut. Using pins also means there’s no need to sew the back of the fabric together, and you don’t need to moisten your embroidery at any stage.
The advantages of our embroidery mounting method are that it’s quick to do, the pins won't damage the fabric, and they can be easily removed if you want to change the embroidery, add more to the design or change the frame shape at a later date.
In our range of frames, we stock a selection of different sizes, mostly in the same style. However, we do have one frame that requires a slightly different step in the mounting stage - the box frame designed to be used with our Jabberwocky kits.
Every step of the mounting process is the same, except that instead of a backing board, the box frame is a floating frame. It uses velcro circles, which you stick onto both the frame and the back of the embroidery before securing into the open front of the frame.
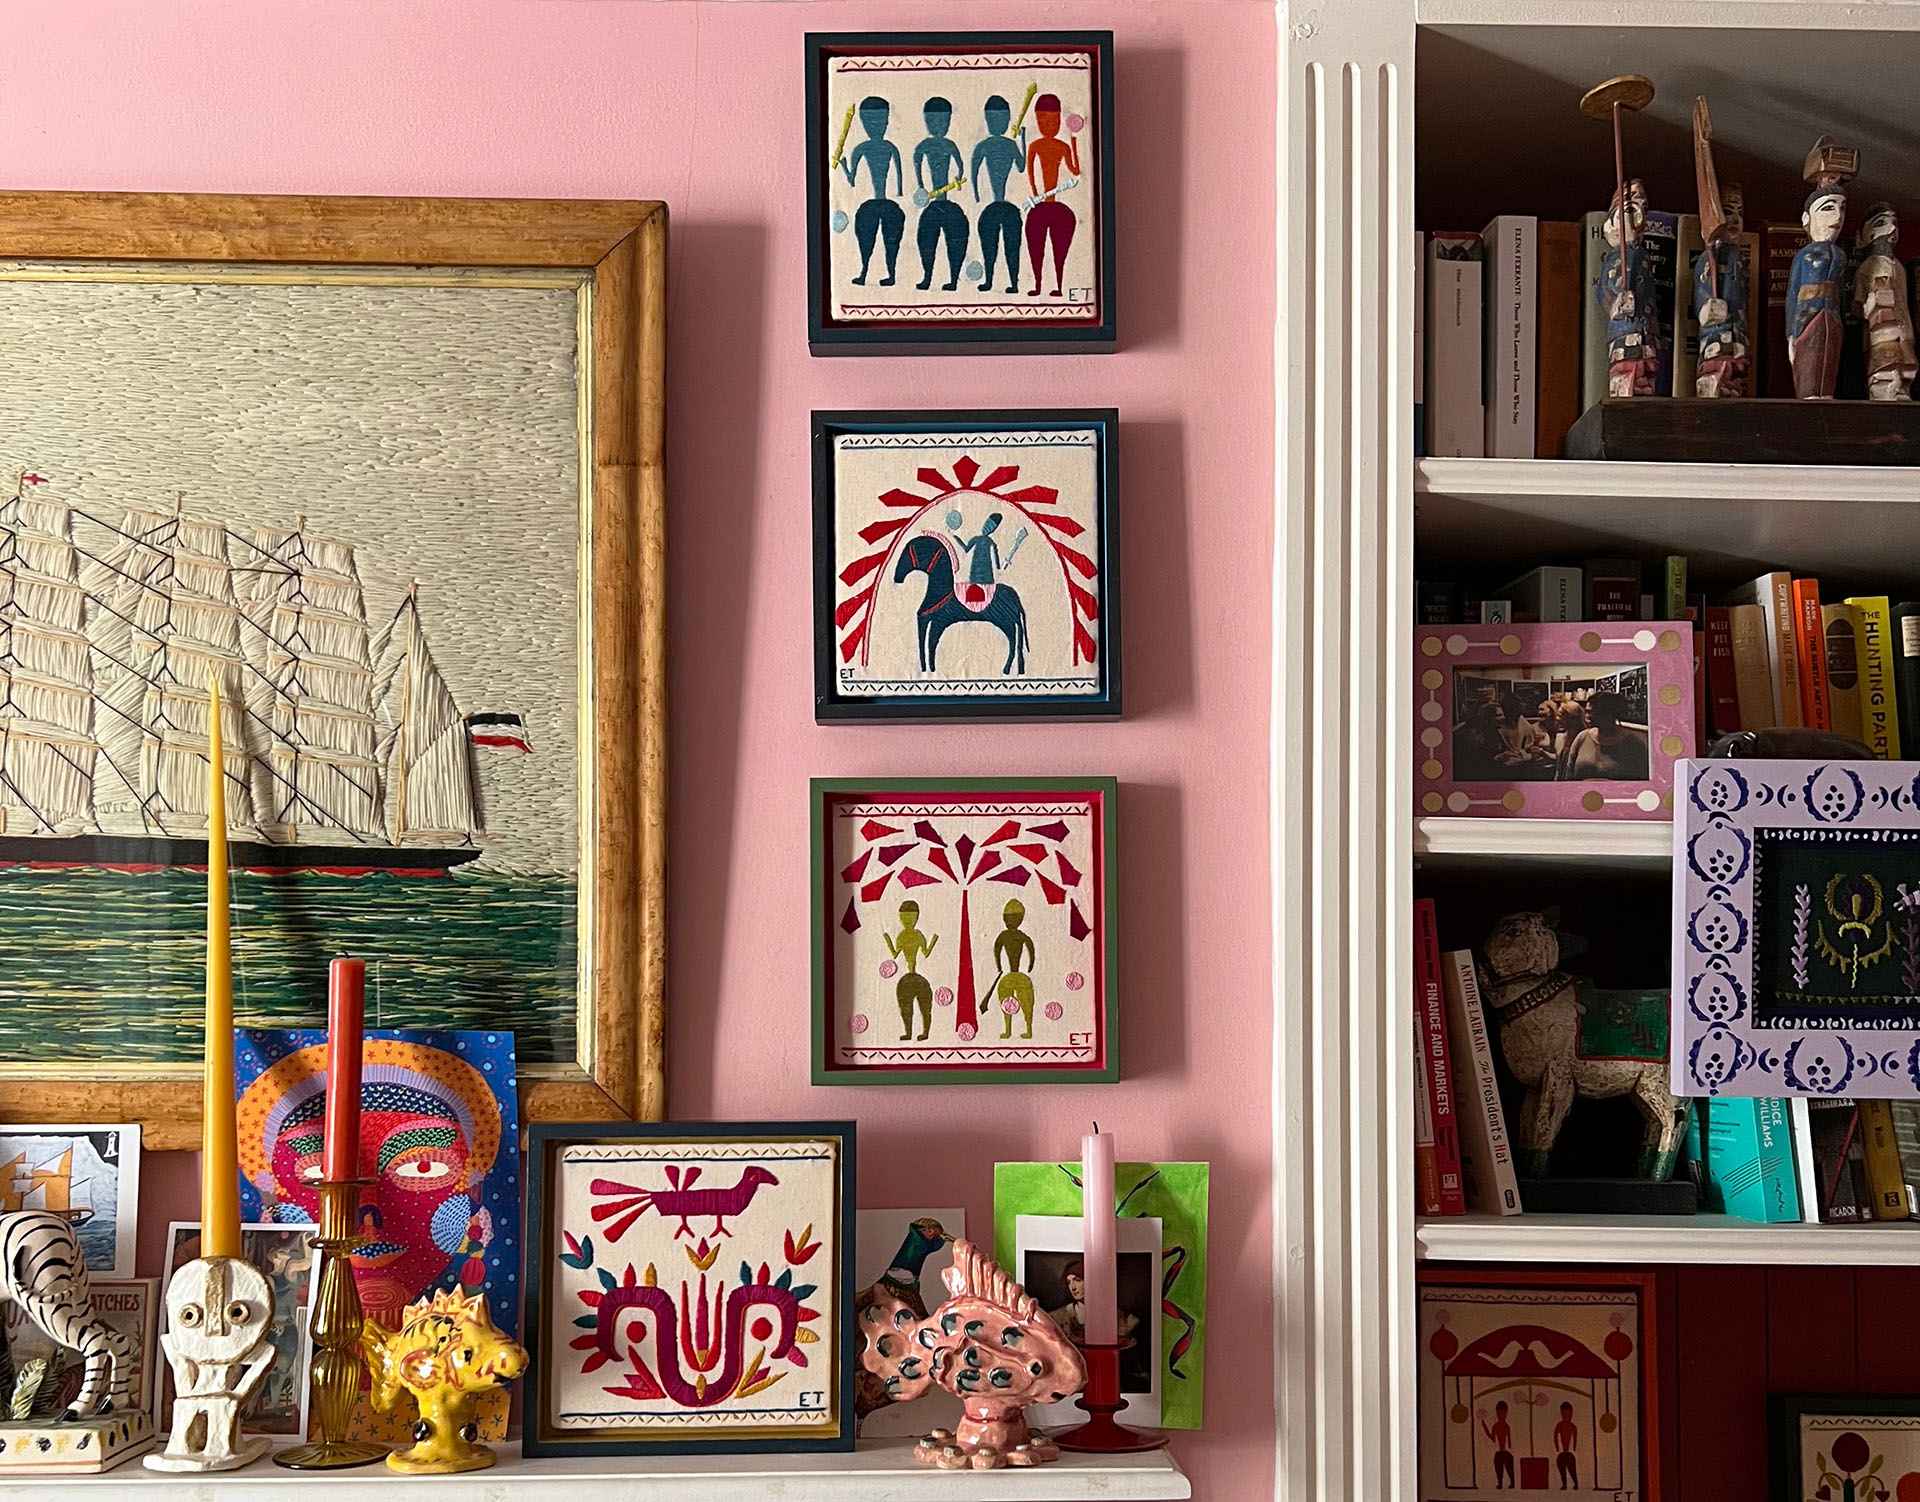
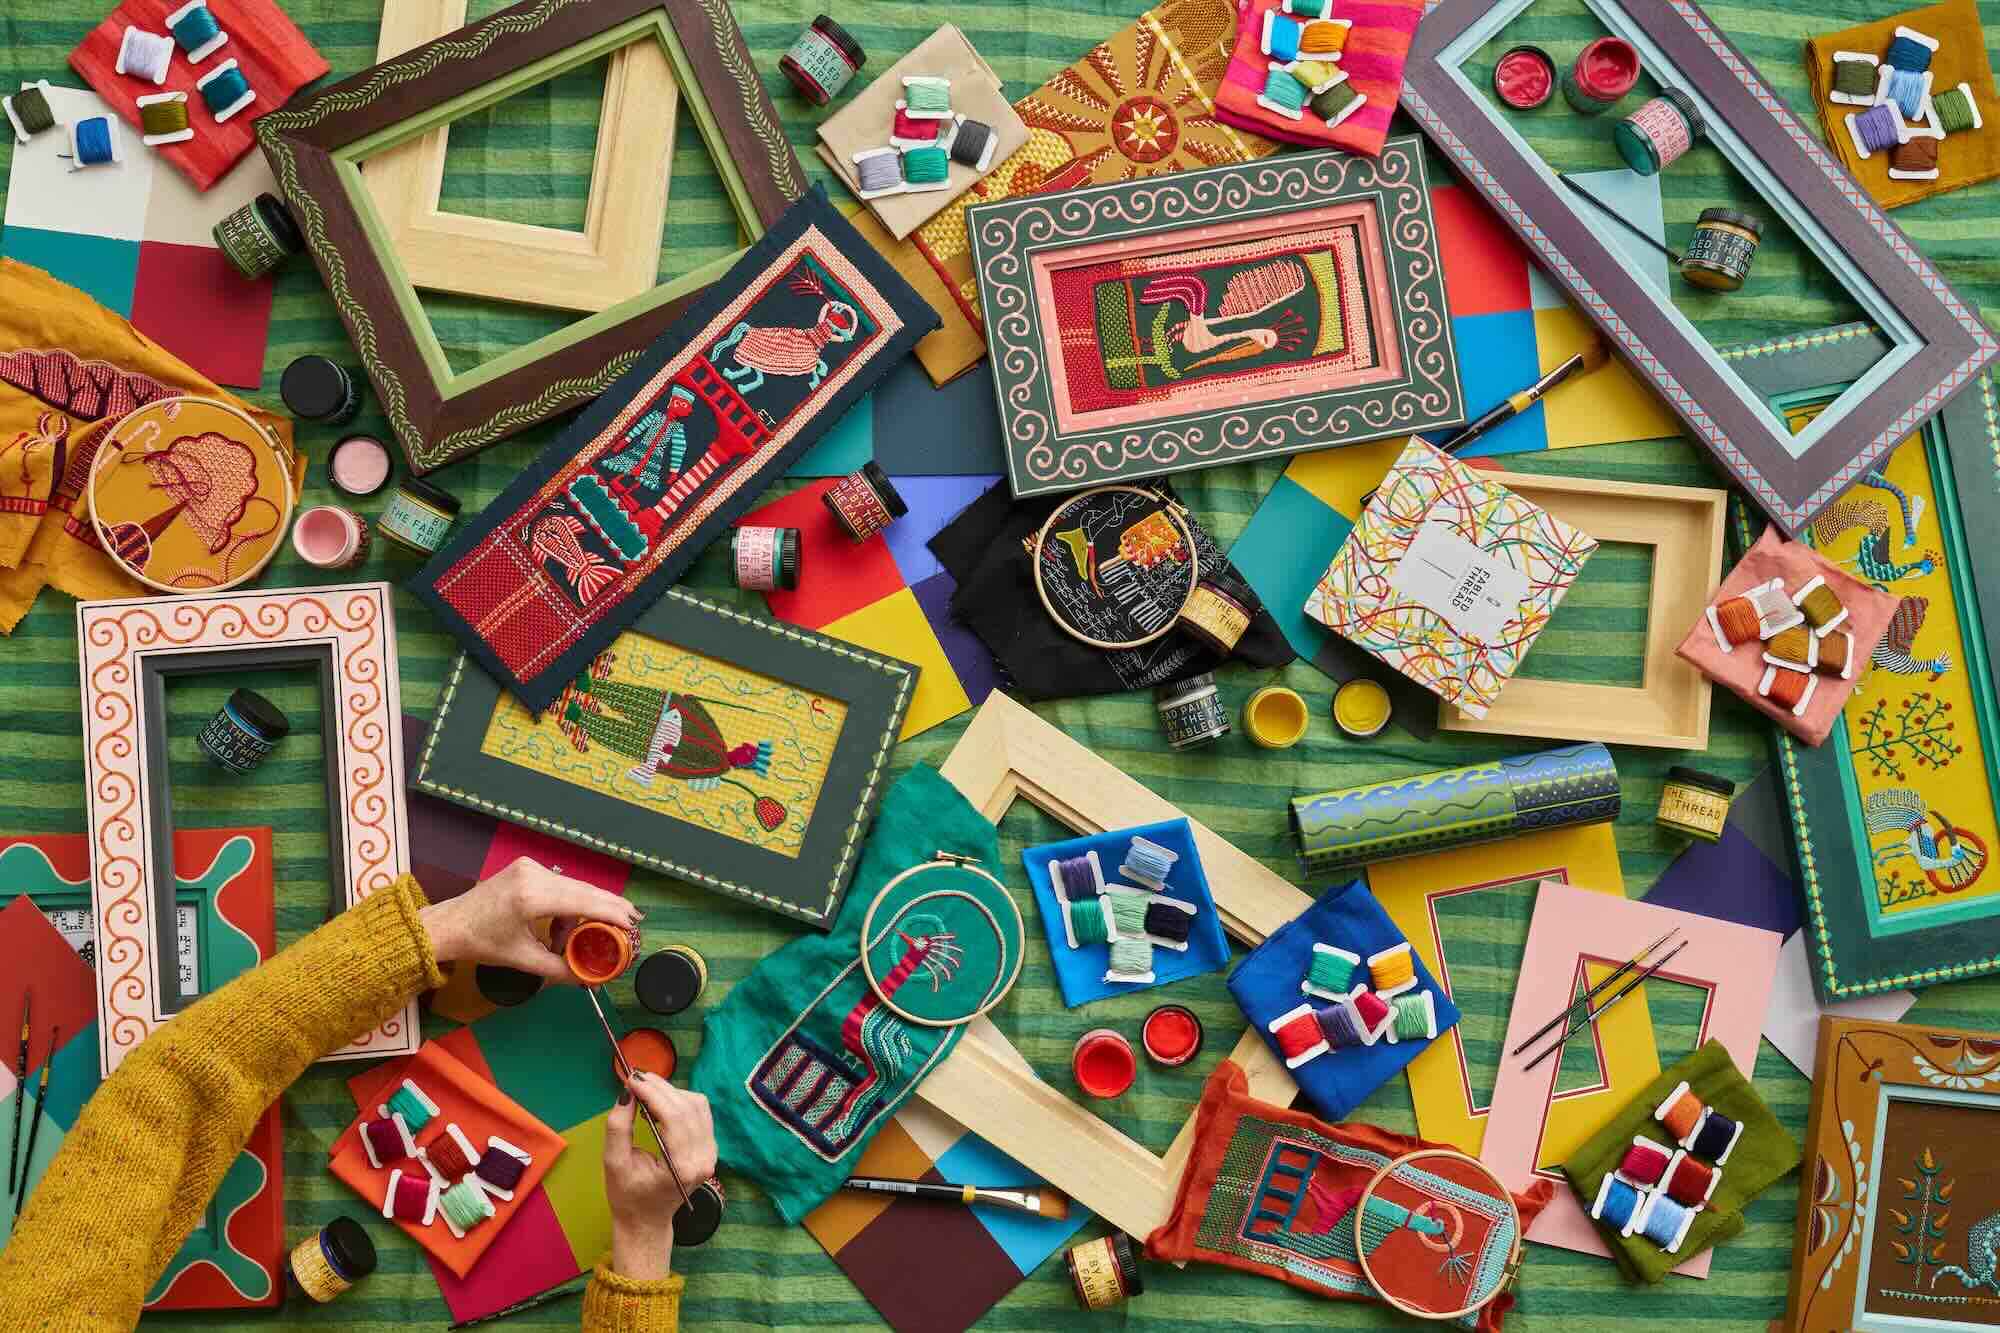
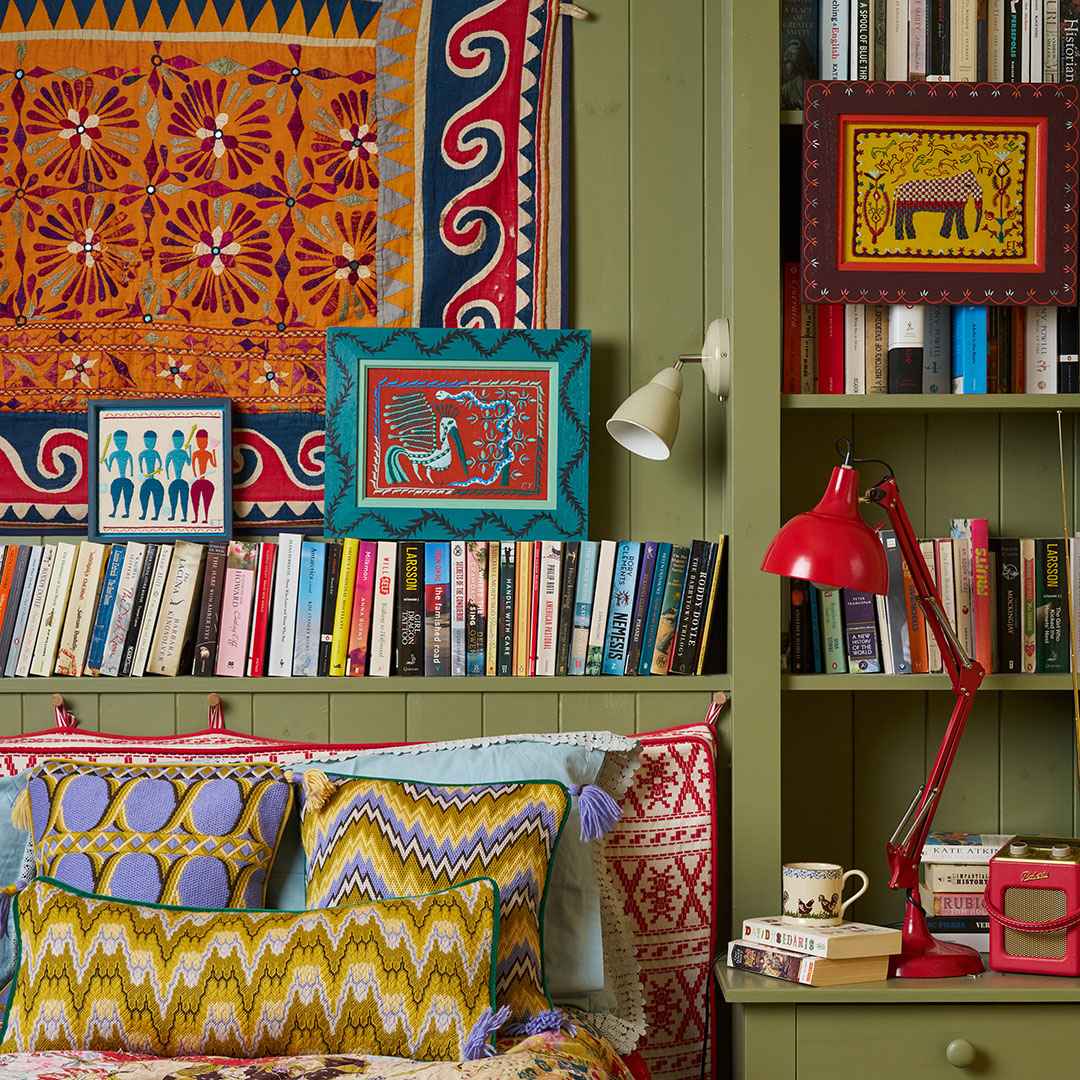
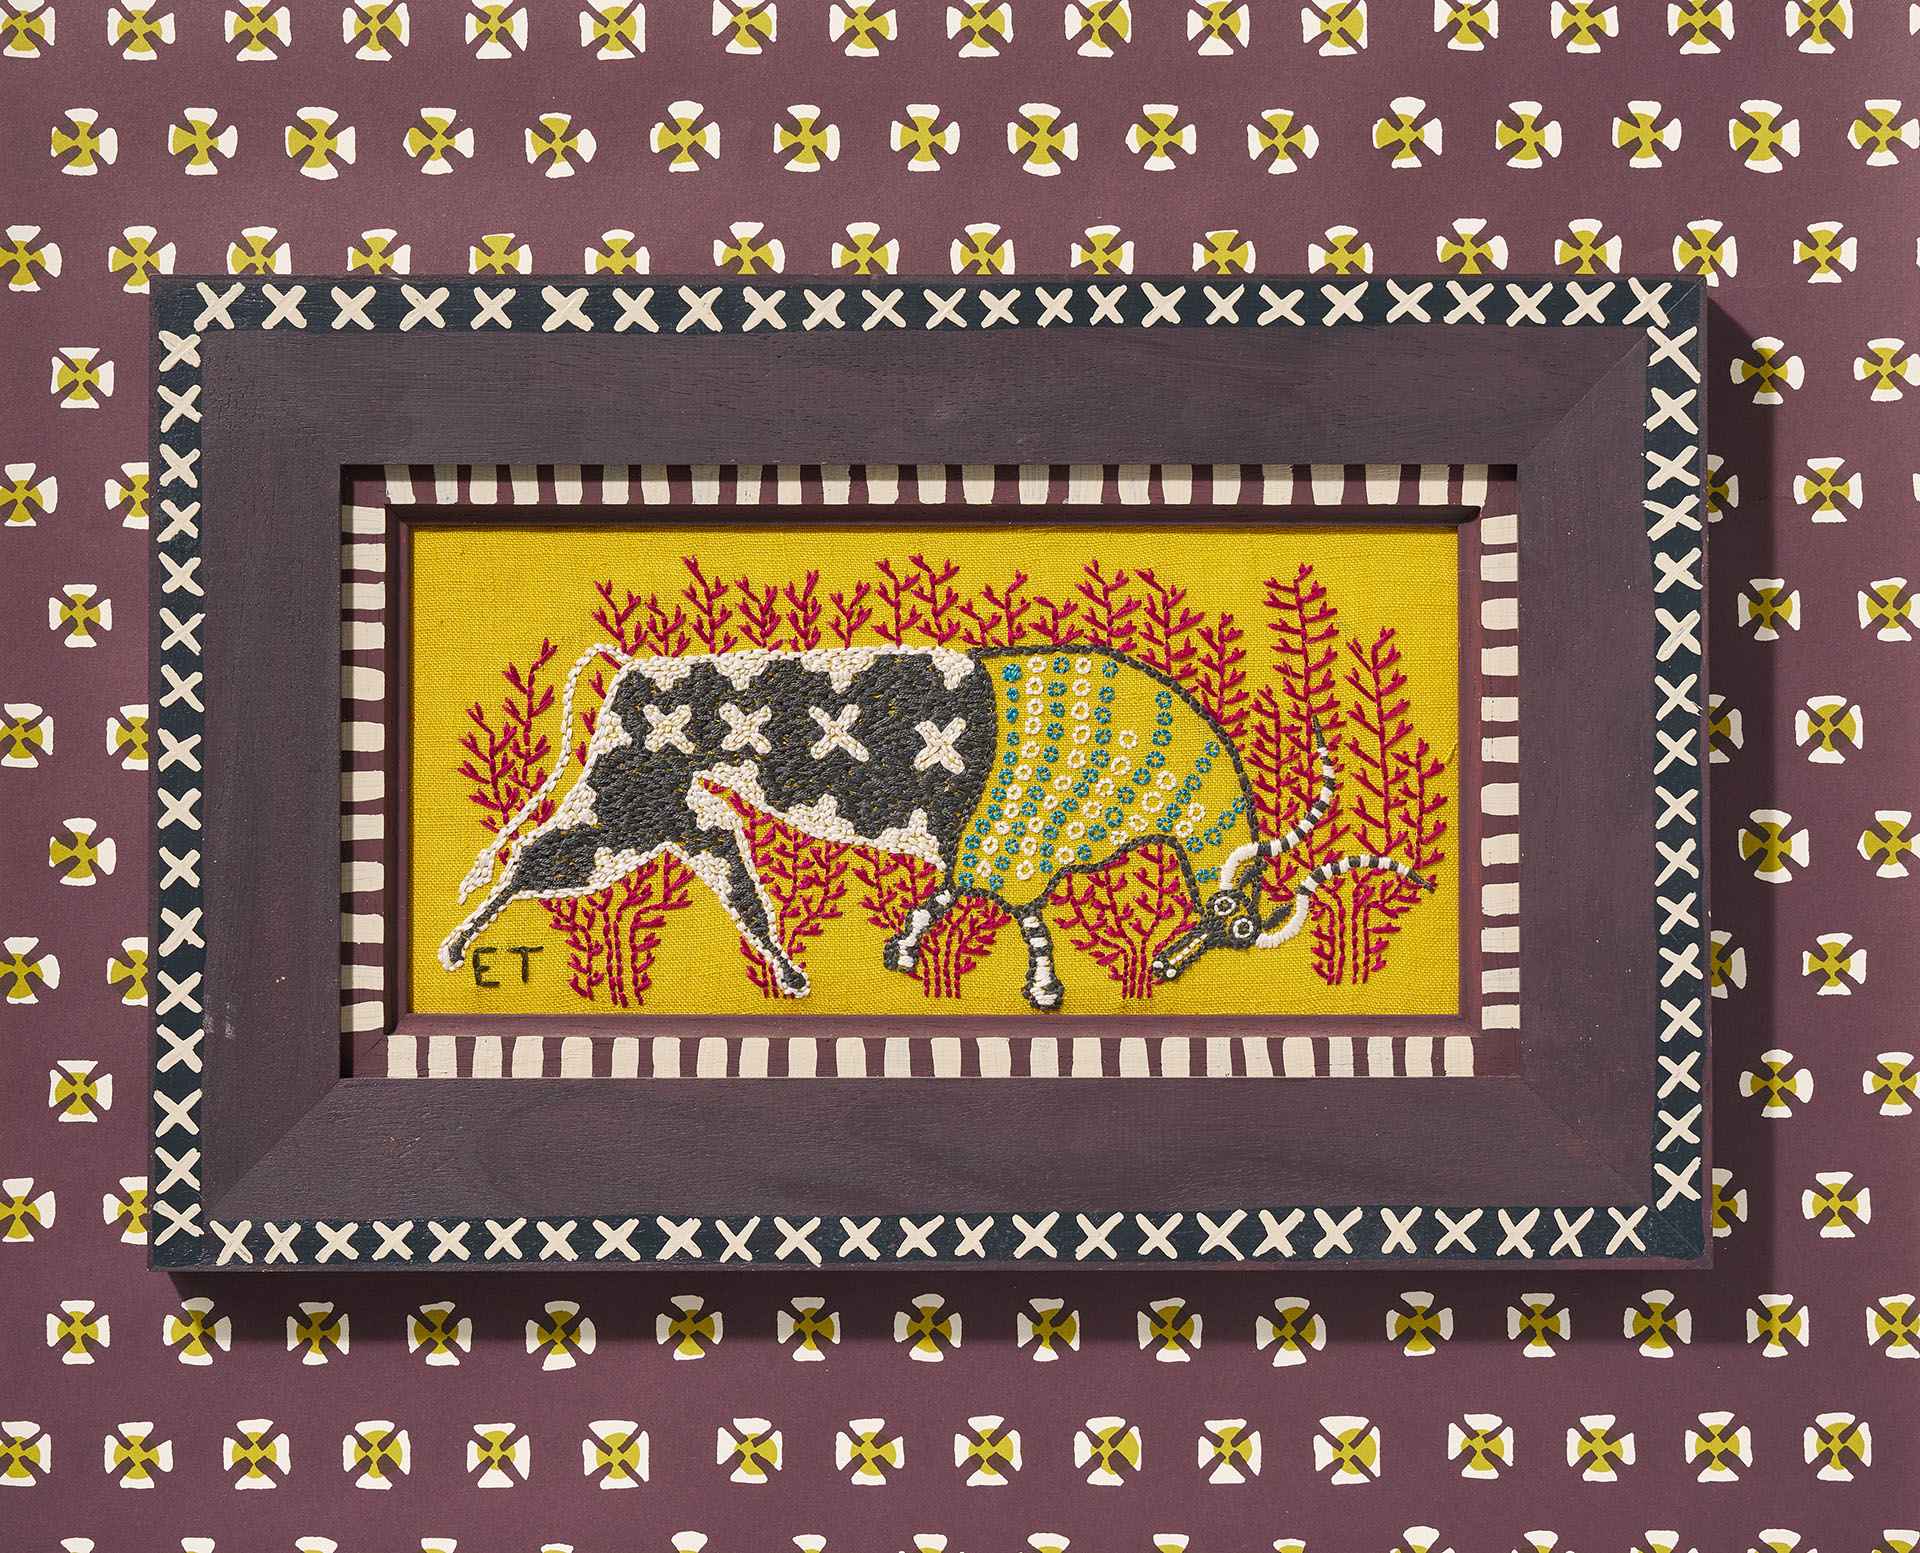
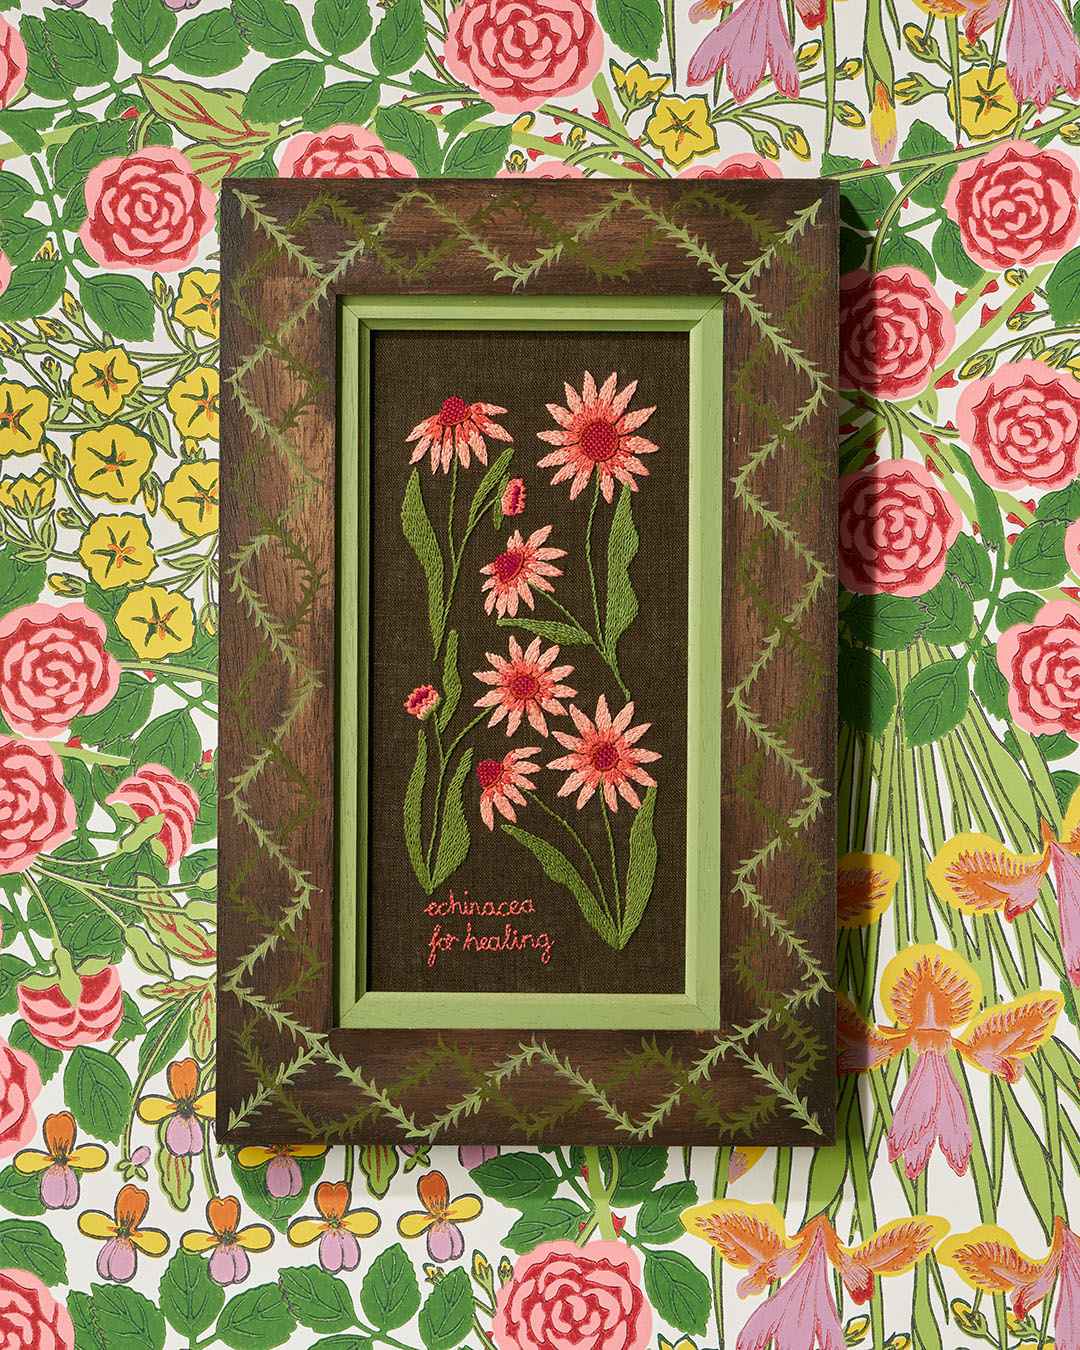
We believe that once you've spent hours carefully stitching, your finished piece deserves to be celebrated, and the best way to do that is by hanging it proudly on your wall. Framing adds the finishing touch to an embroidery, elevating it into a piece of art and allowing it to last for generations. But frames can be more than just plain squares of wood or plastic - they can become part of the art itself.
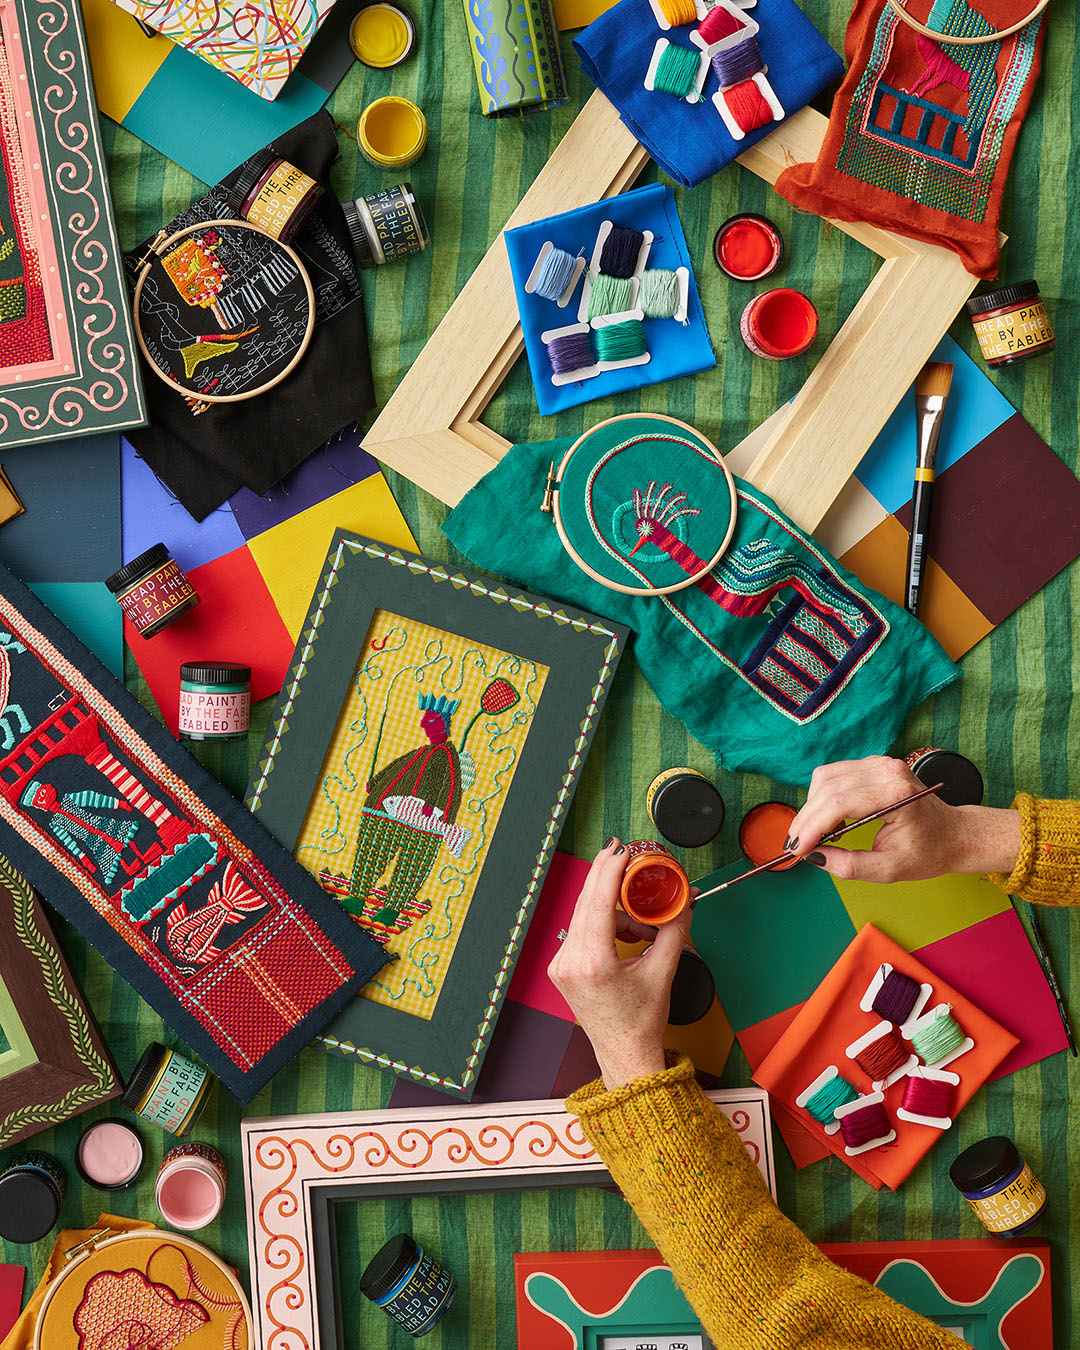
We have a dedicated Journal article which features our top ten tips for decoratively painting your frame. We're aware that many of you will feel more comfortable with a needle and thread than paintbrush and paint, so we wanted to give you some guidance to ease you through the process of decoratively painting your own frame.

Our frames all come with mounting kits


- Why does my embroidery look wrinkled in the frame?
This could be because the fabric hasn’t been pulled tight enough during the pinning stage, try repinning it a little tighter. - Can I remount embroidery if I’ve already framed it?
Absolutely! By using our method of pinning, this means it's adjustable. The pins won't damage the fabric, and they can be easily removed if you want to change the embroidery. - Can I stretch the fabric too tightly?
When you're mounting your embroidery, it's really important not to distort the fabric by over-stretching it. You just need to pull it taut enough to make it lie flat and smooth out any creases. - How do I centre embroidery in a frame?
Once you’ve mounted your embroidery on the foamboard, you can place it into the frame and, while holding it in position, turn it over to see how it looks once fitted. Using small adjustments, you can fine-tune the placement until it’s centred. You may also find it helpful to lay the frame flat on a table while doing this. - Do I need backing fabric when mounting embroidery?
You don't need to use any additional fabric when mounting your embroidery. The backing board will enclose the back of your frame keeping the embroidery secure. - What if my embroidery is bigger than my frame?
Your embroidery should fit neatly within the frame. If it falls slightly under the edge of the frame, this will likely be unnoticeable. However, if you’re unhappy with any parts being hidden, you may want to choose a larger frame. - Can you mount embroidery in oval/weird vintage frames? Sure, why not! It’s possible to mount embroidery in any shape frame - you will just need to cut a piece of foamboard to the correct shape and then carefully pin your embroidery, easing the fabric around any curves or shapes to make sure it is flat and not creased.