Crafts
How to do Metal Embossing
Every Christmas we make embossed metal decorations, which we hang as garlands or individual decorations on the tree. What started as a fun way to use up old tomato puree tubes soon became an annual tradition, and we upgraded the tomato tubes to metal embossing sheets. Although we talk about embossing each December in the lead up to Christmas, we actually sell our embossing sheets all year round, because we think this beautiful artform shouldn’t just be limited to Christmas decorations. Metal embossing is a fantastic, quick way to create bold shapes and stunning textures.
A Little History of Metal Relief
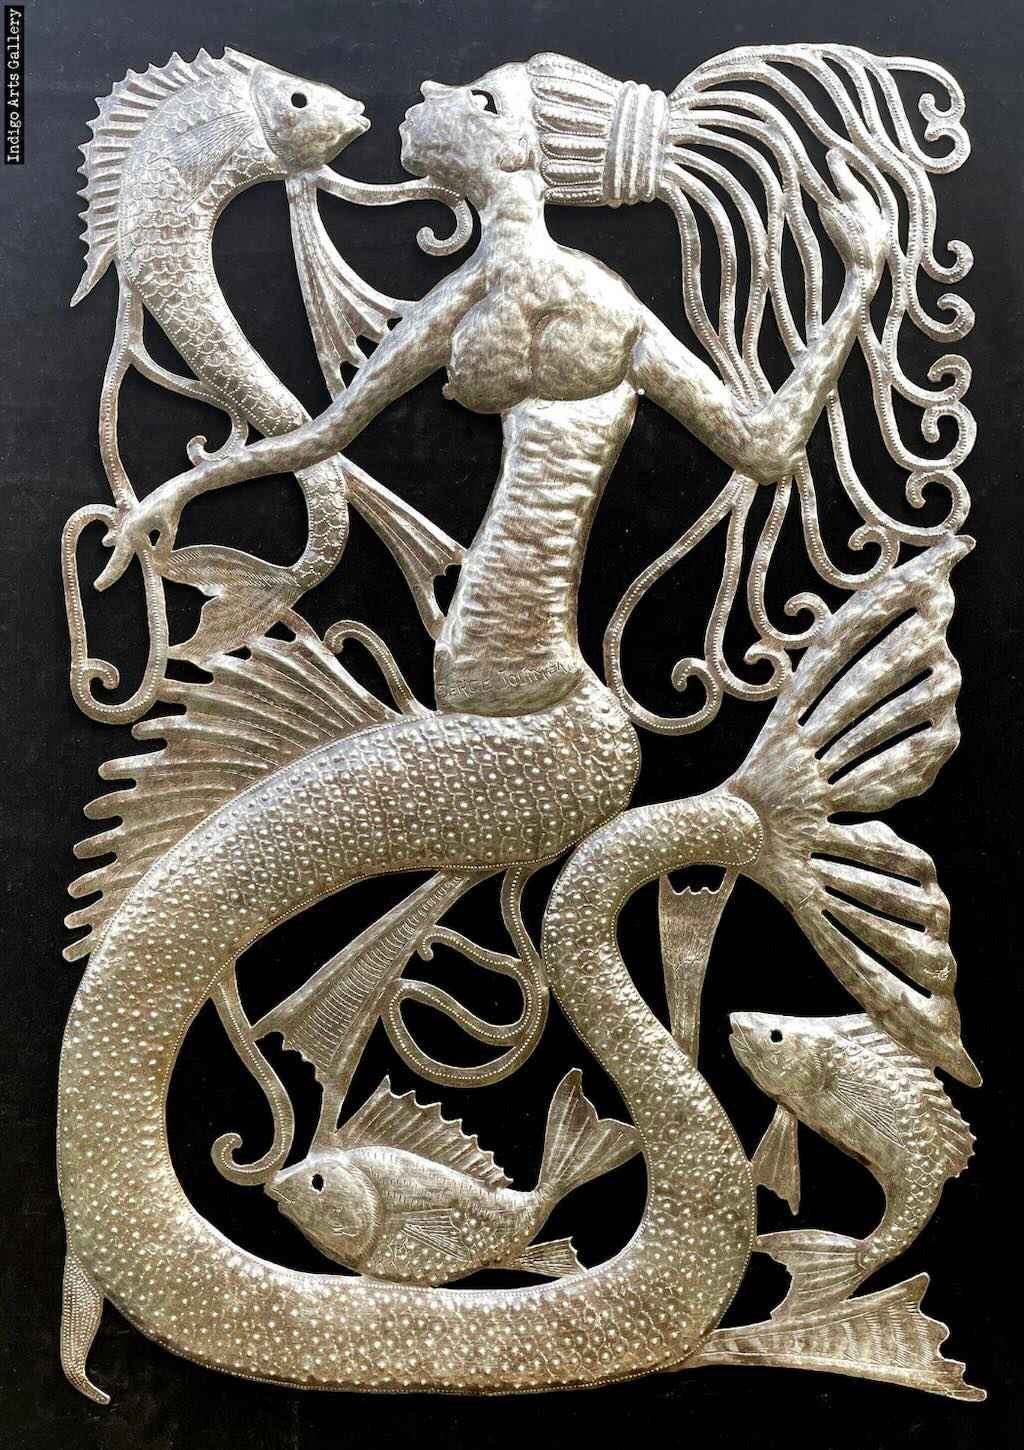
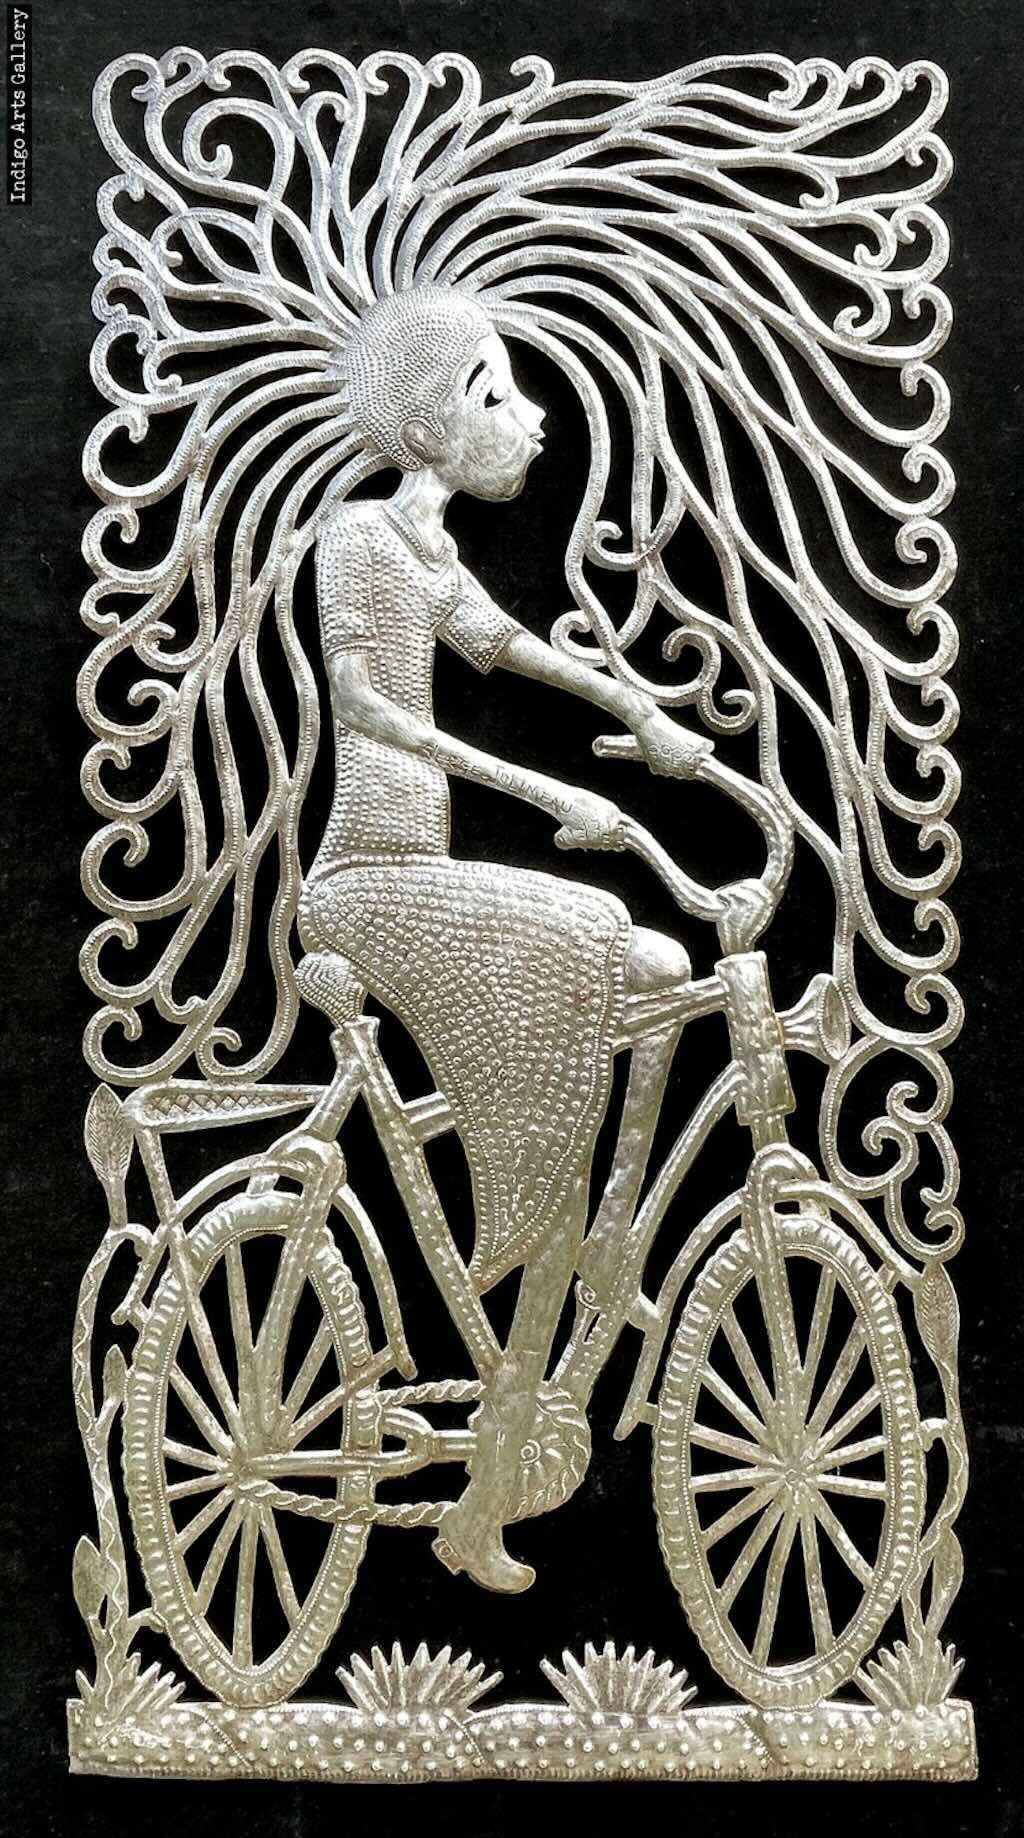
Metal relief art has a long tradition in several cultures. It is usually made with much thicker metal than embossing sheets, with the benefit of being a durable material which is relatively easy to access. In Haiti, metal relief art is made using the metal from steel oil drums, a practice which was pioneered by the blacksmith Georges Liautaud (1899–1991). Liautaud repurposed steel oil drums and other scrap metal to create embossed sculptures. You can explore and buy Haitian metalwork here.
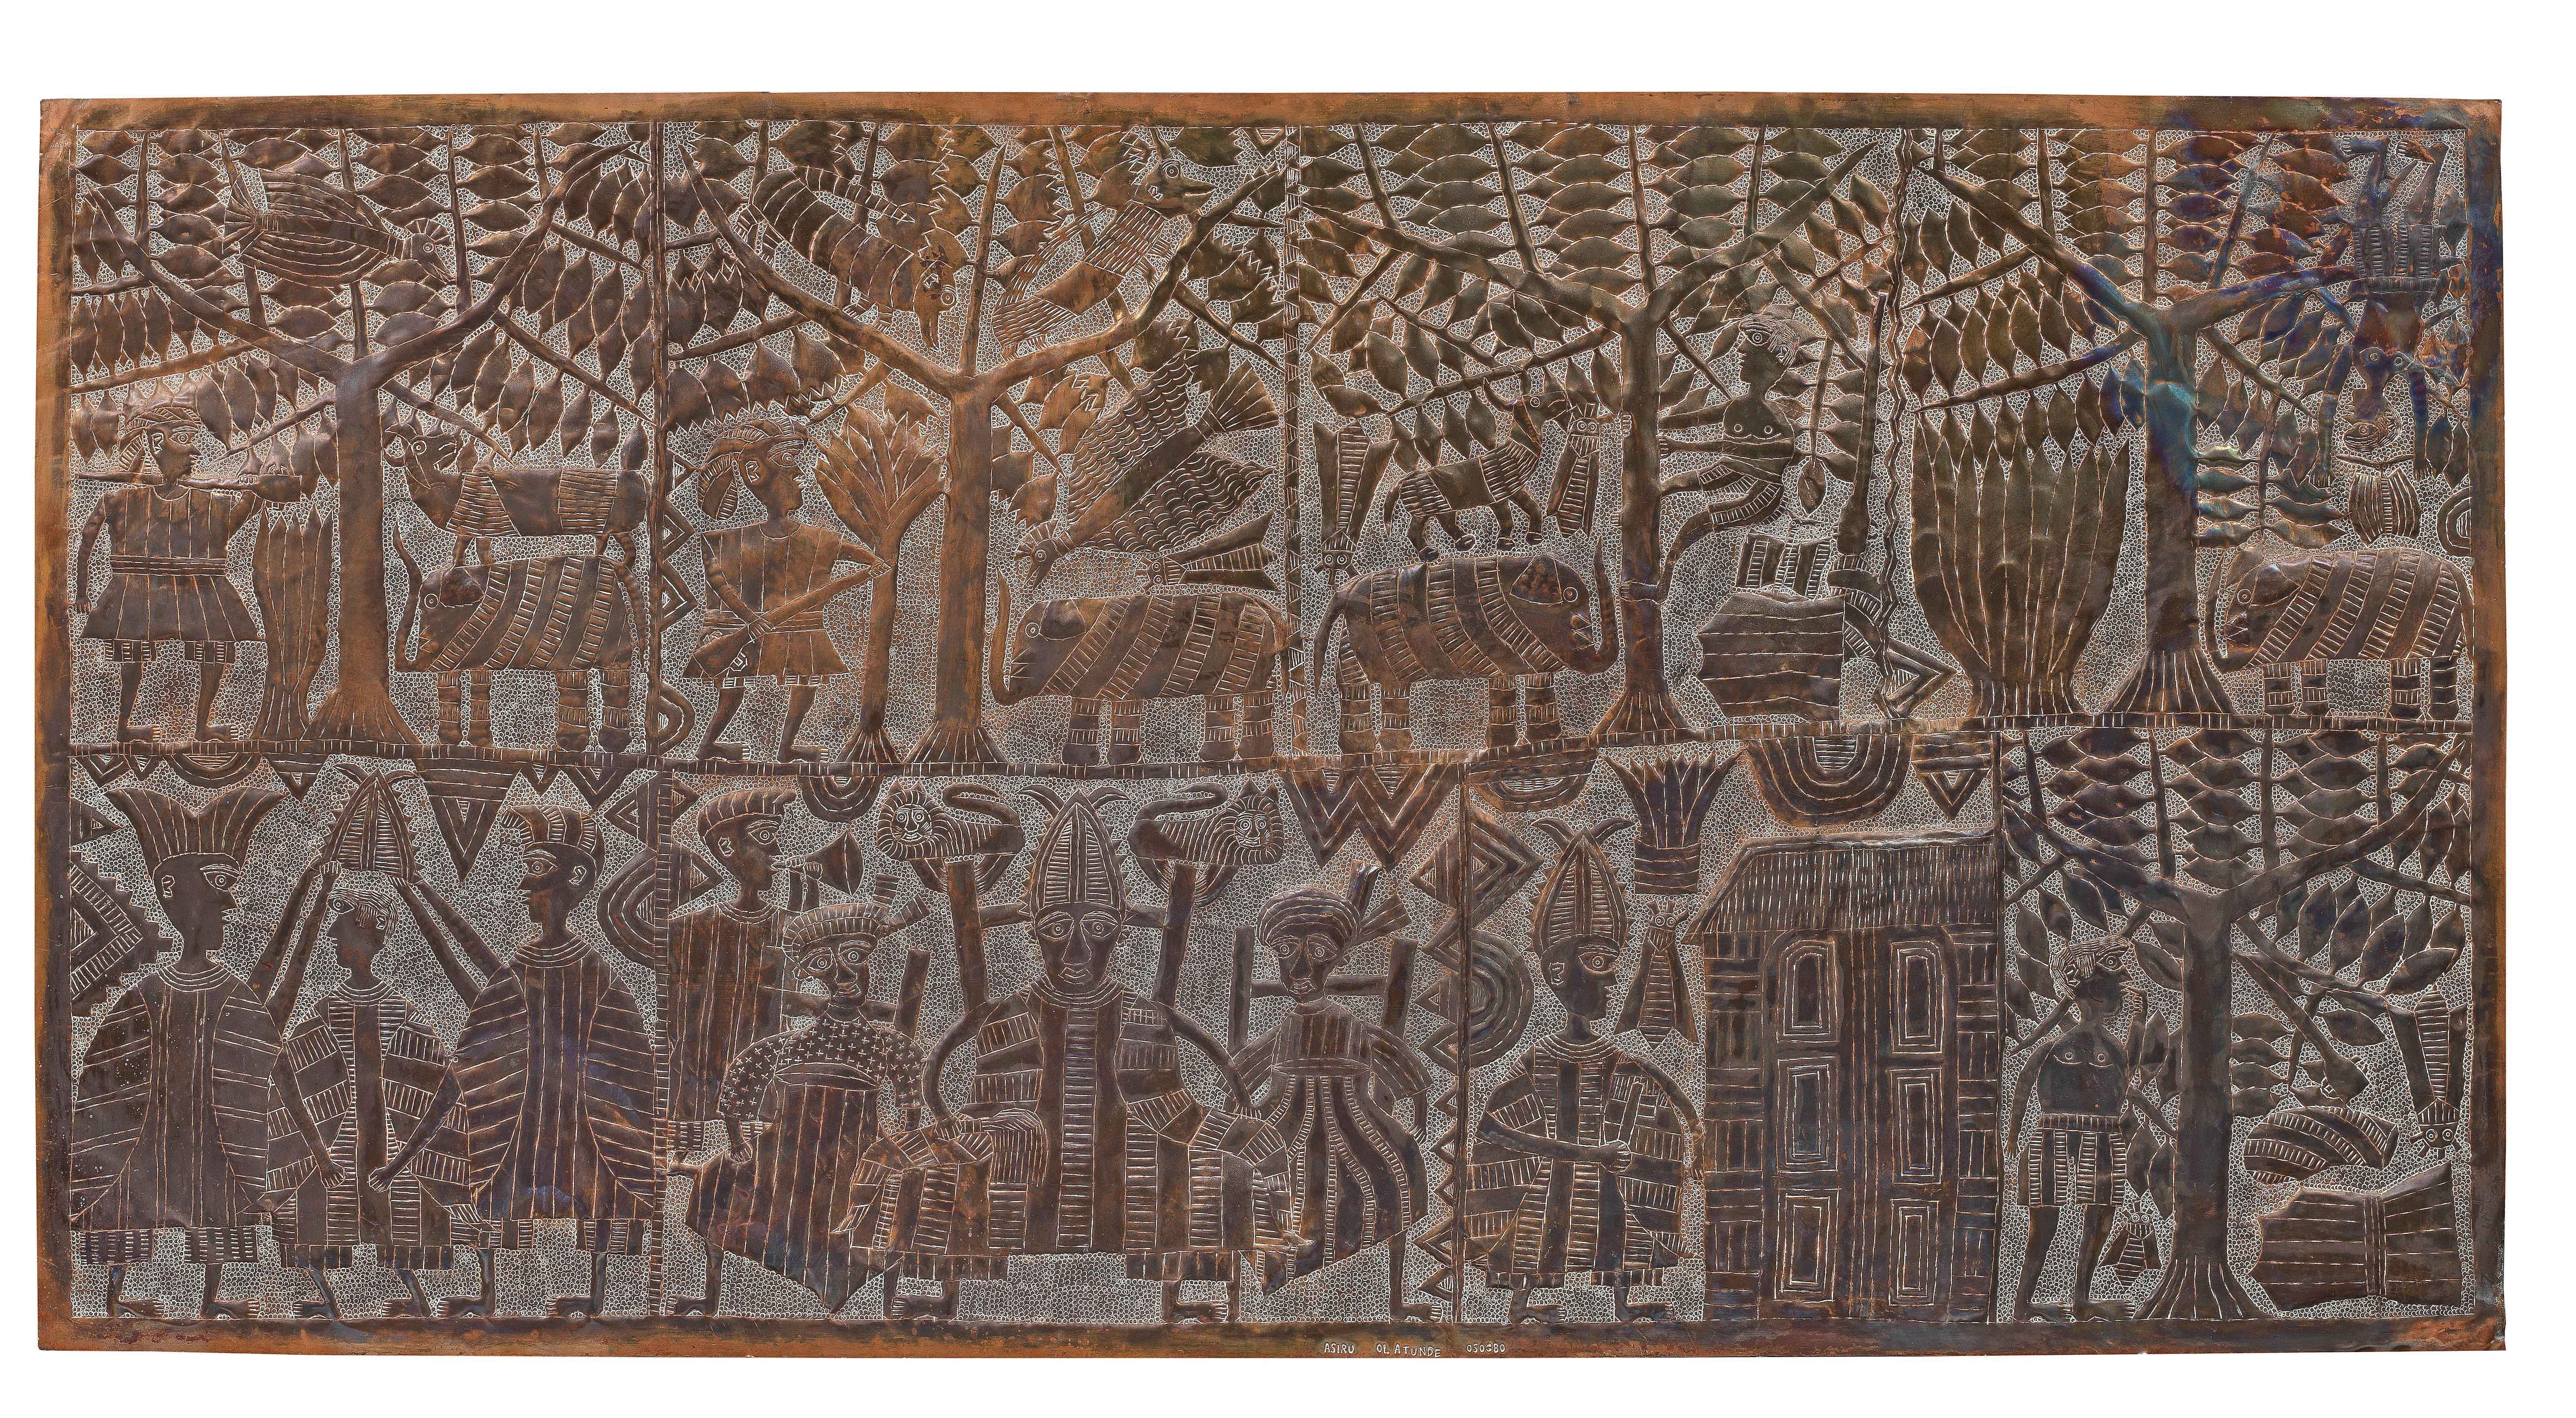
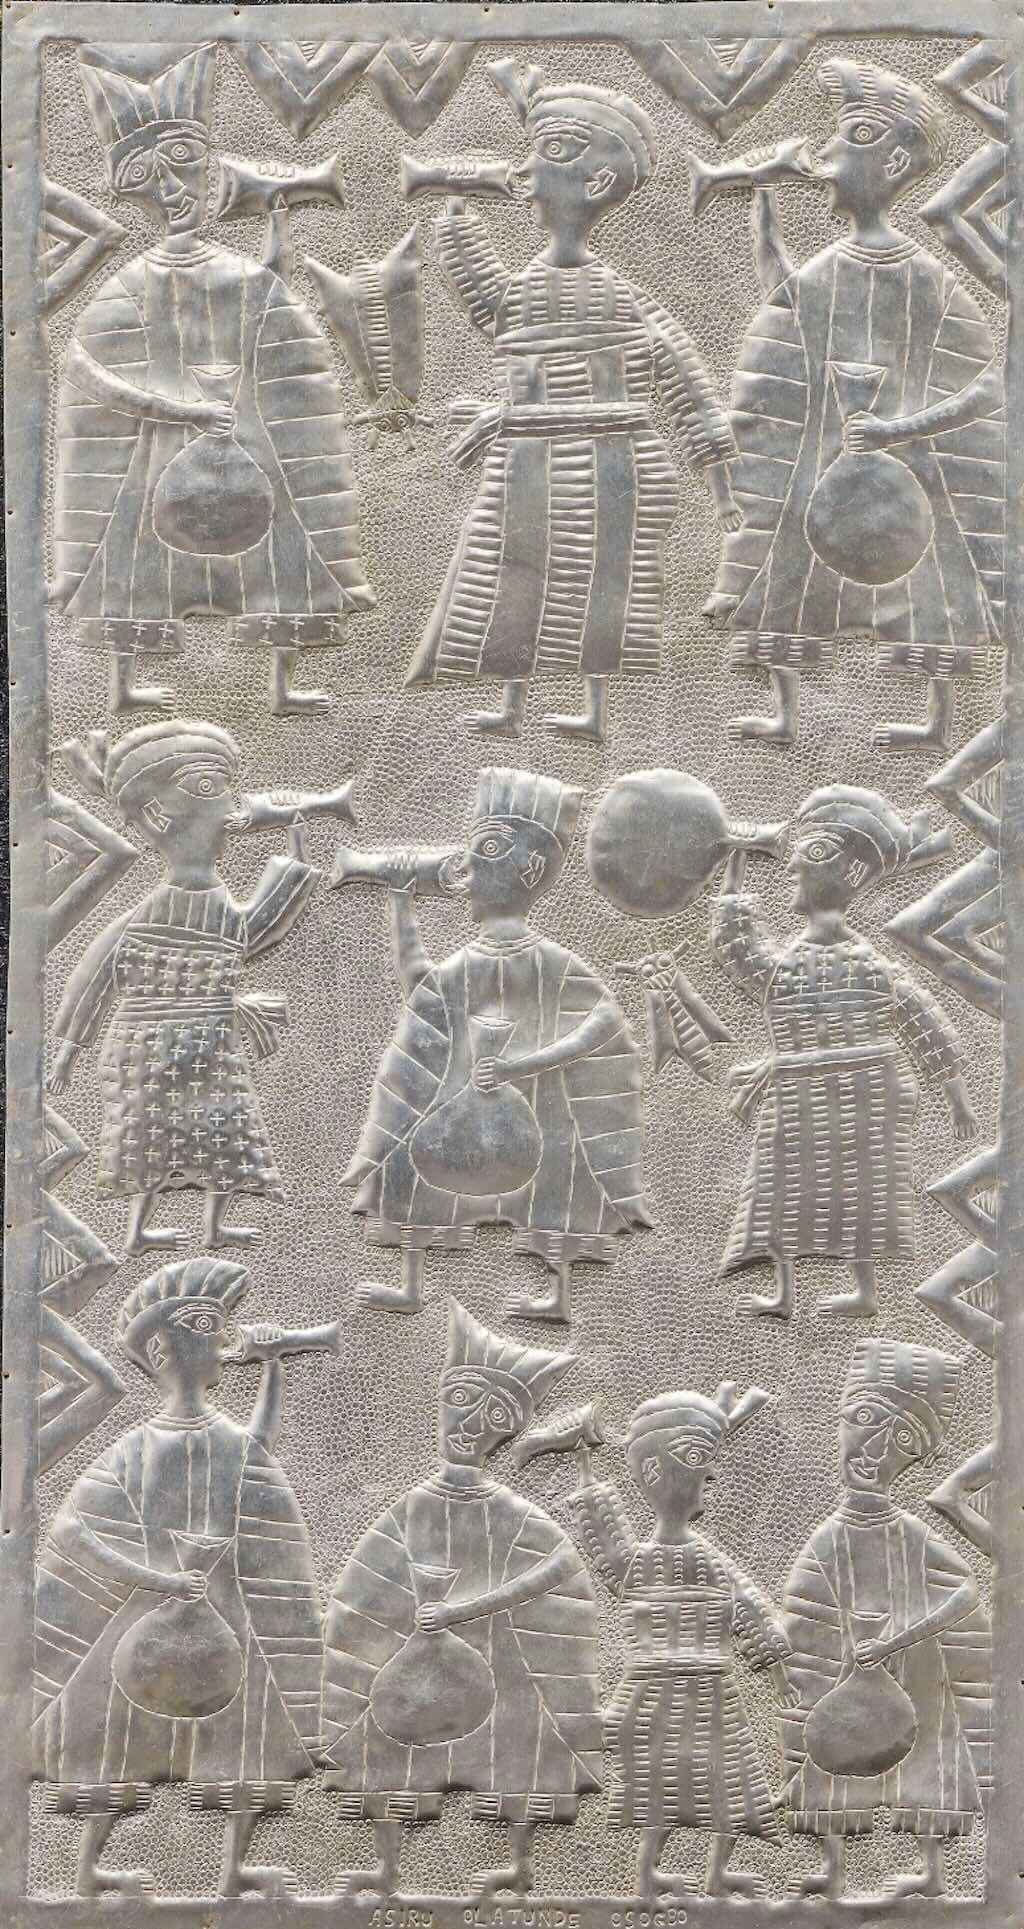
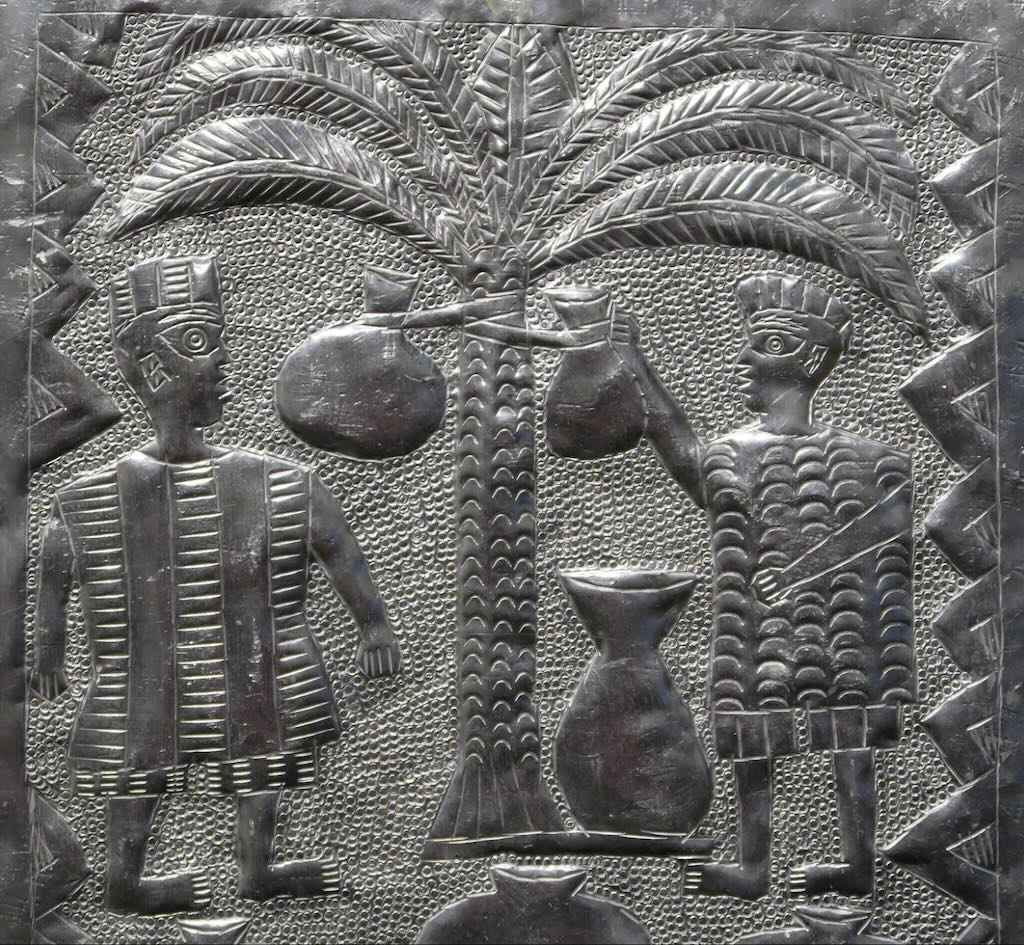
Last century, the Nigerian artist Asiru Olatunde (1918 – 1993), also a blacksmith, developed a form of aluminium art based on metal relief work. Olatunde hammered intricate details and stories into aluminium, creating stunning narrative artwork. He then trained his relatives and other students in the artform (you can see and purchase his students’ work here).
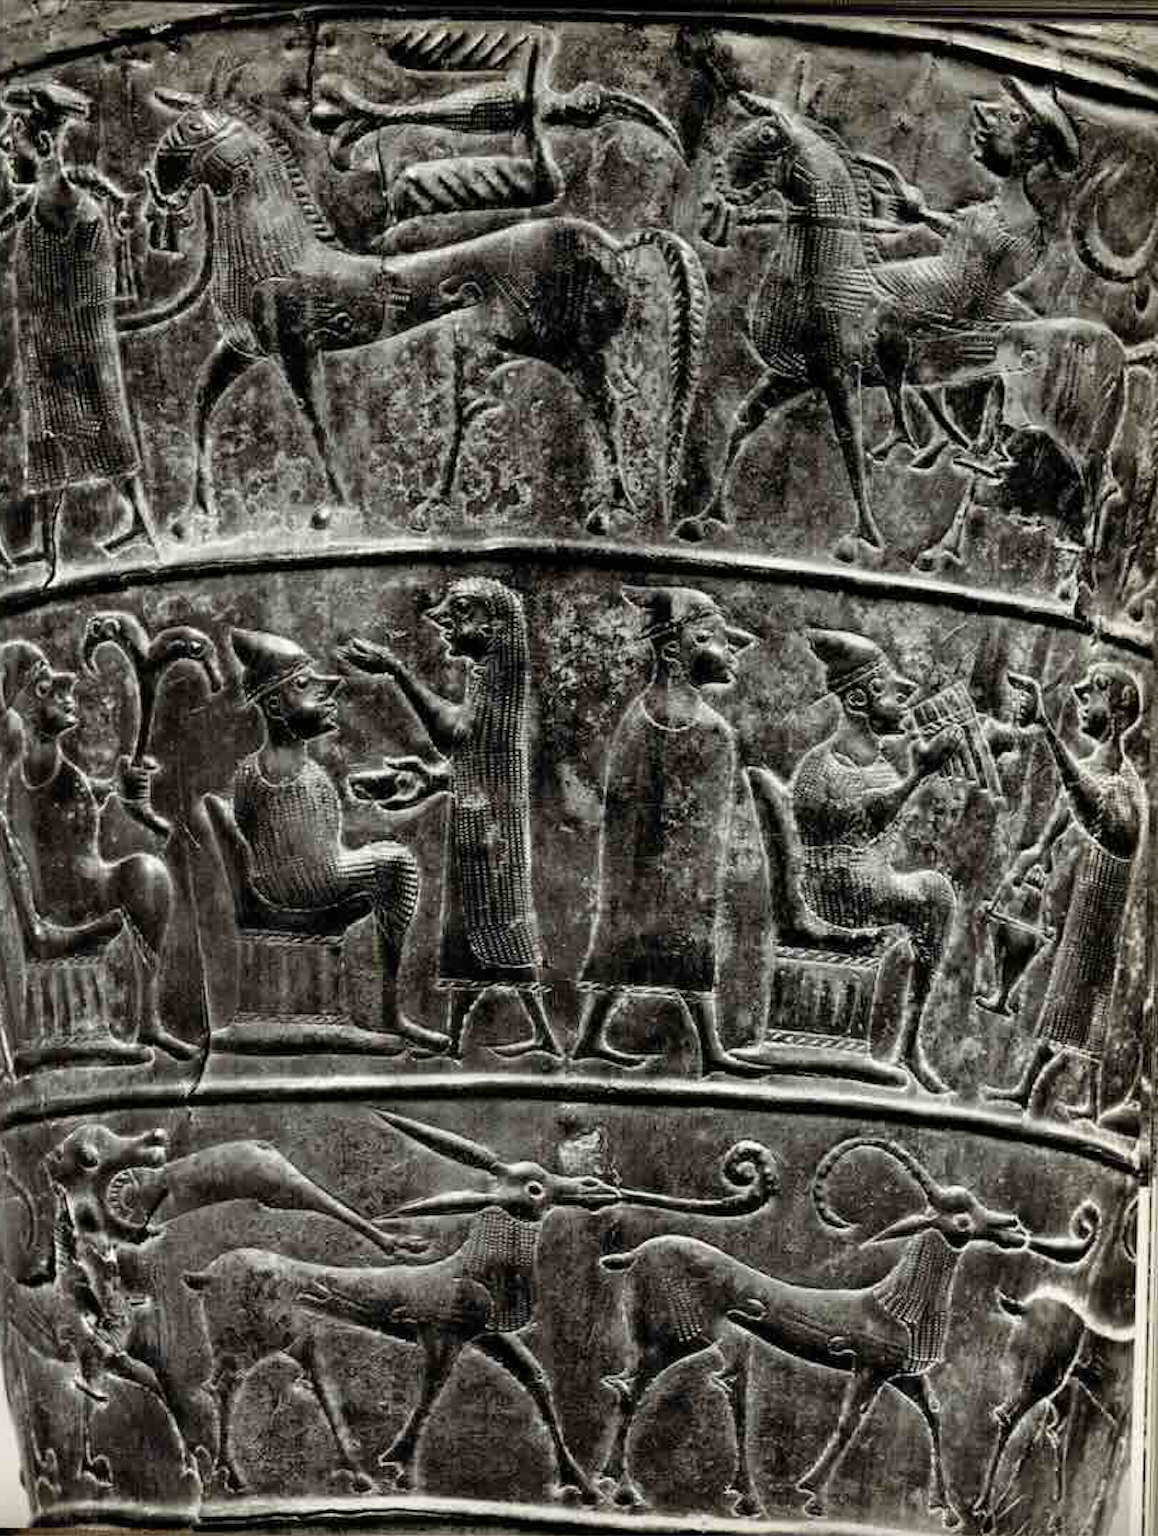
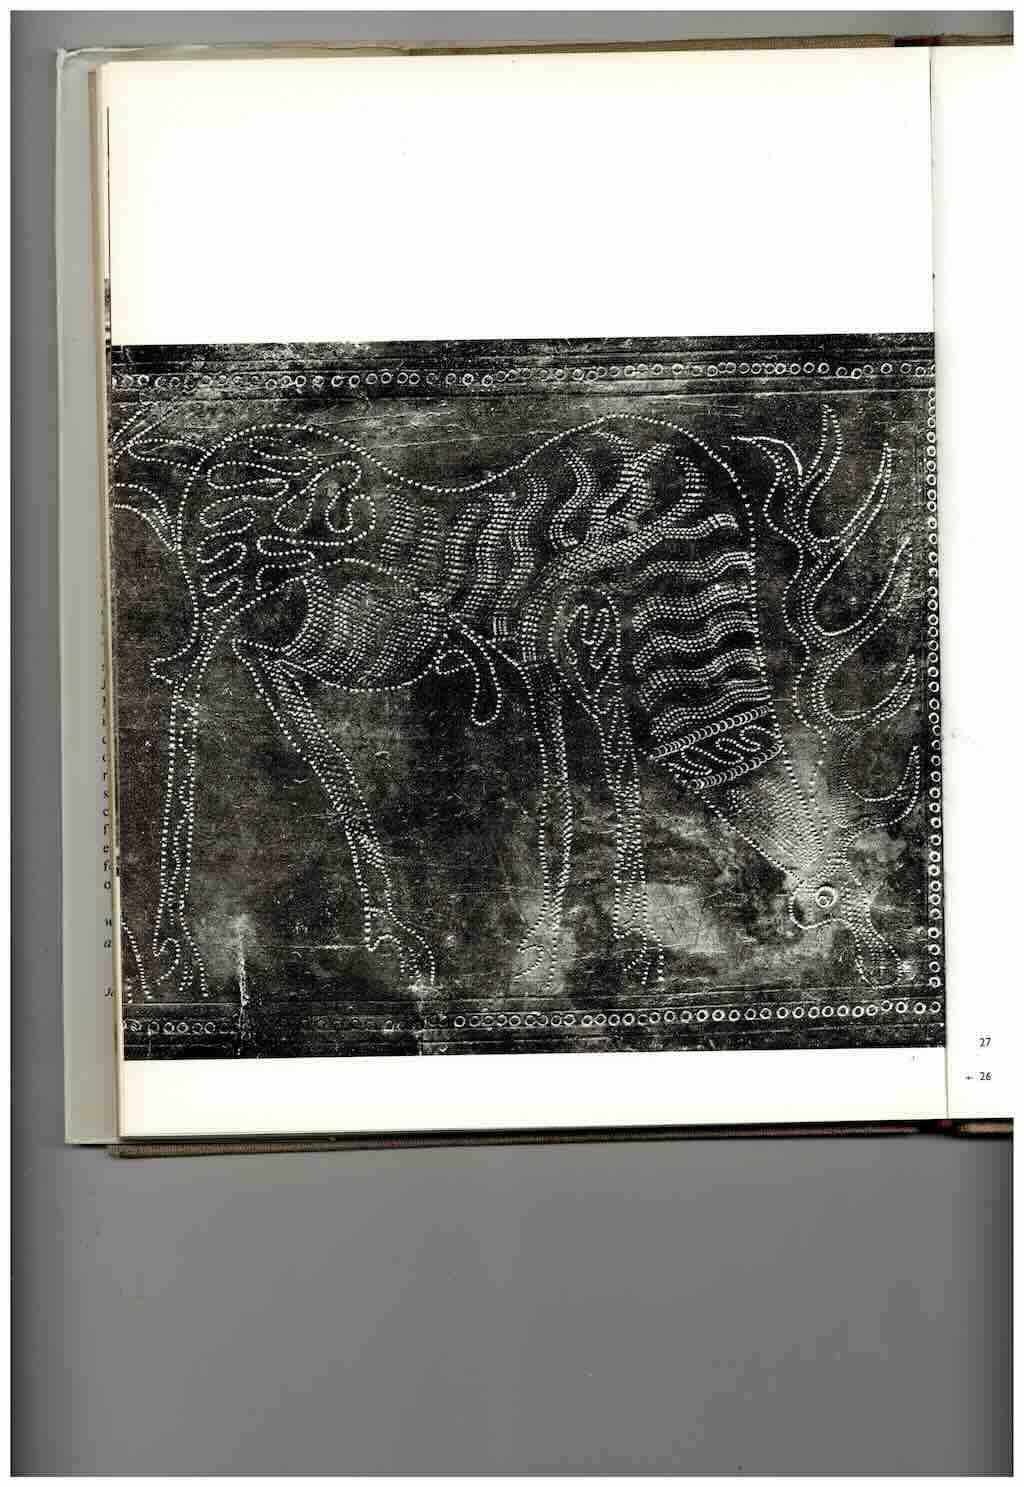
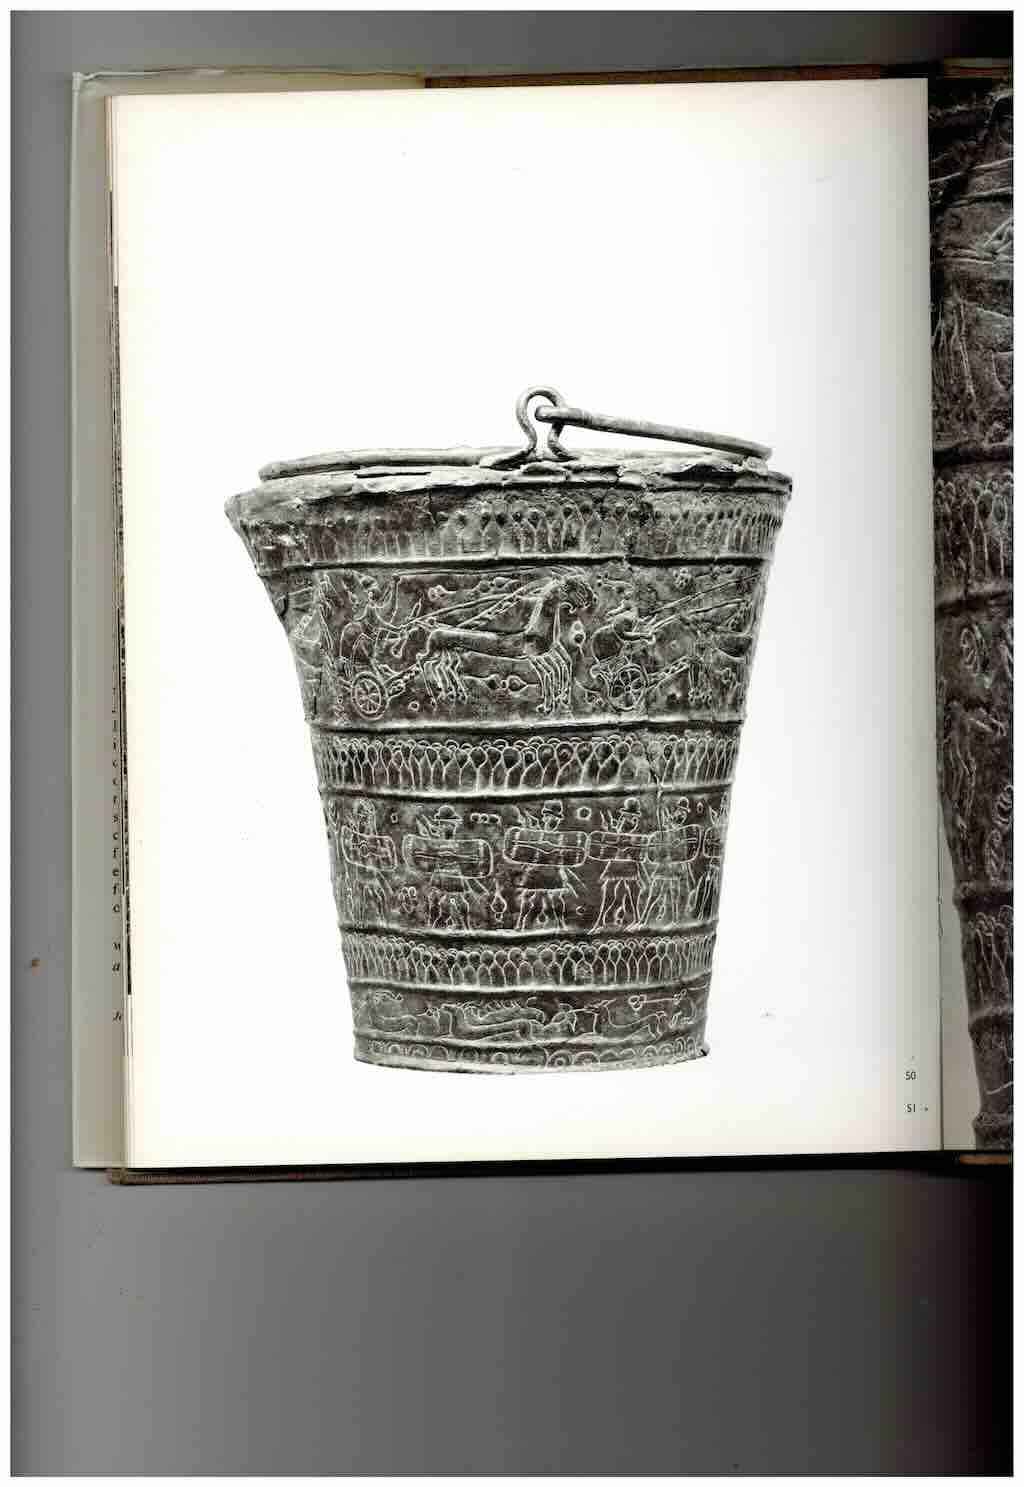
Metal relief work has been widely used for storytelling, with religious or traditional stories being depicted in panels. Studio members may remember our article on Situla art, an Etruscan art form which developed in the Bronze age, where metal vessels were embossed with figures and animals, telling stories of creation.
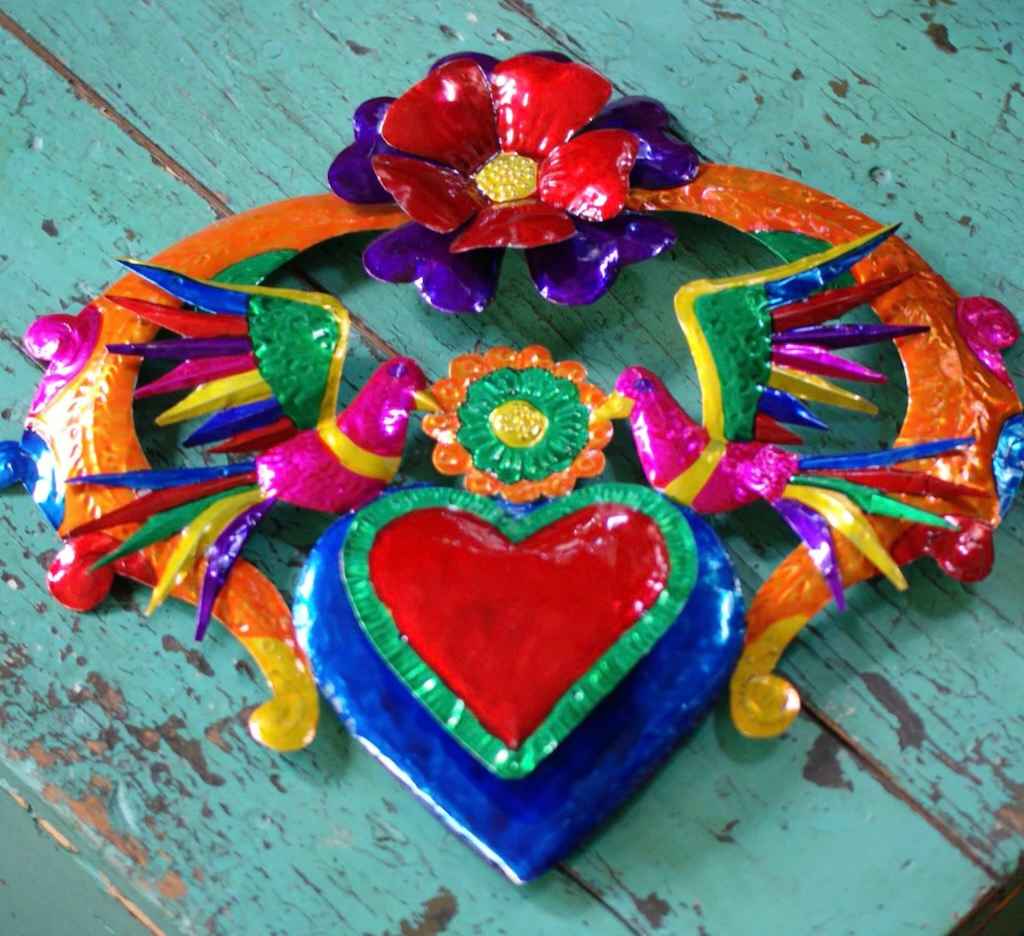
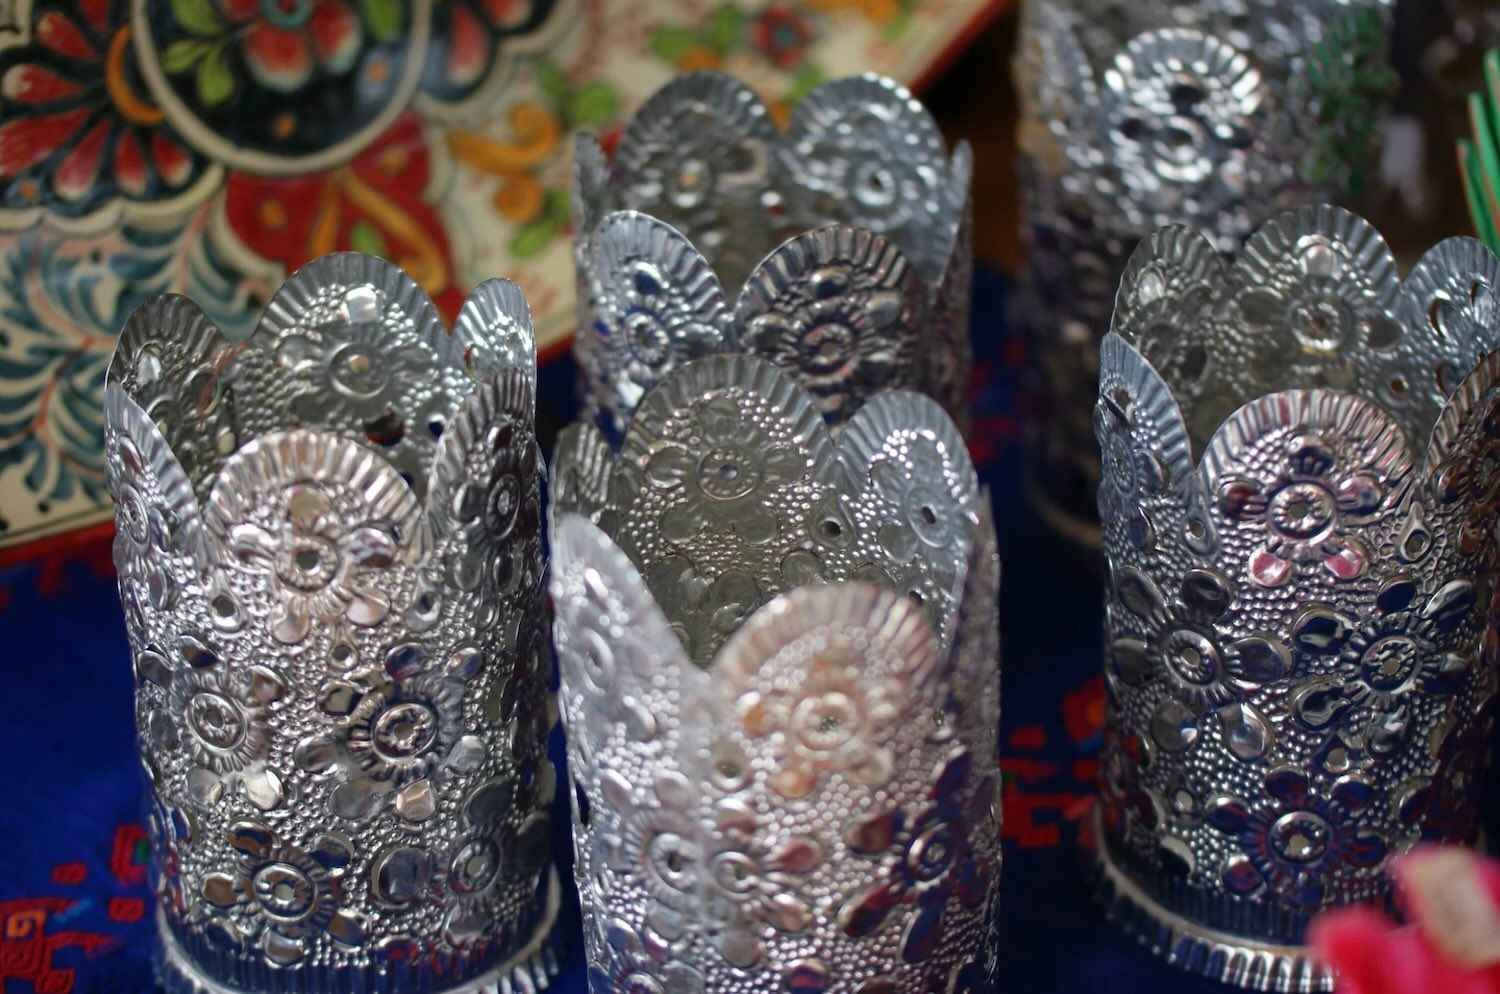
In Mexico, particularly in Oaxaca, tin relief art is a centuries-old art form. The tin pieces are often painted in vibrant colours, and used in jewellery as earrings, candle holders, or as larger decorative hangings.
How to Emboss Metal Decorations
What metal to use to emboss:
- First, you’ll need a base sheet of metal to emboss. Aluminium foil is too light, but you can use tomato puree tubes if you don’t mind your decorations being one-sided. Otherwise we sell sheets of metal for embossing, in gold, silver and copper.

Metal Embossing Foils - Gold
£5.00
Metal Embossing Foils - Copper
£5.00
Metal Embossing Foils - Silver
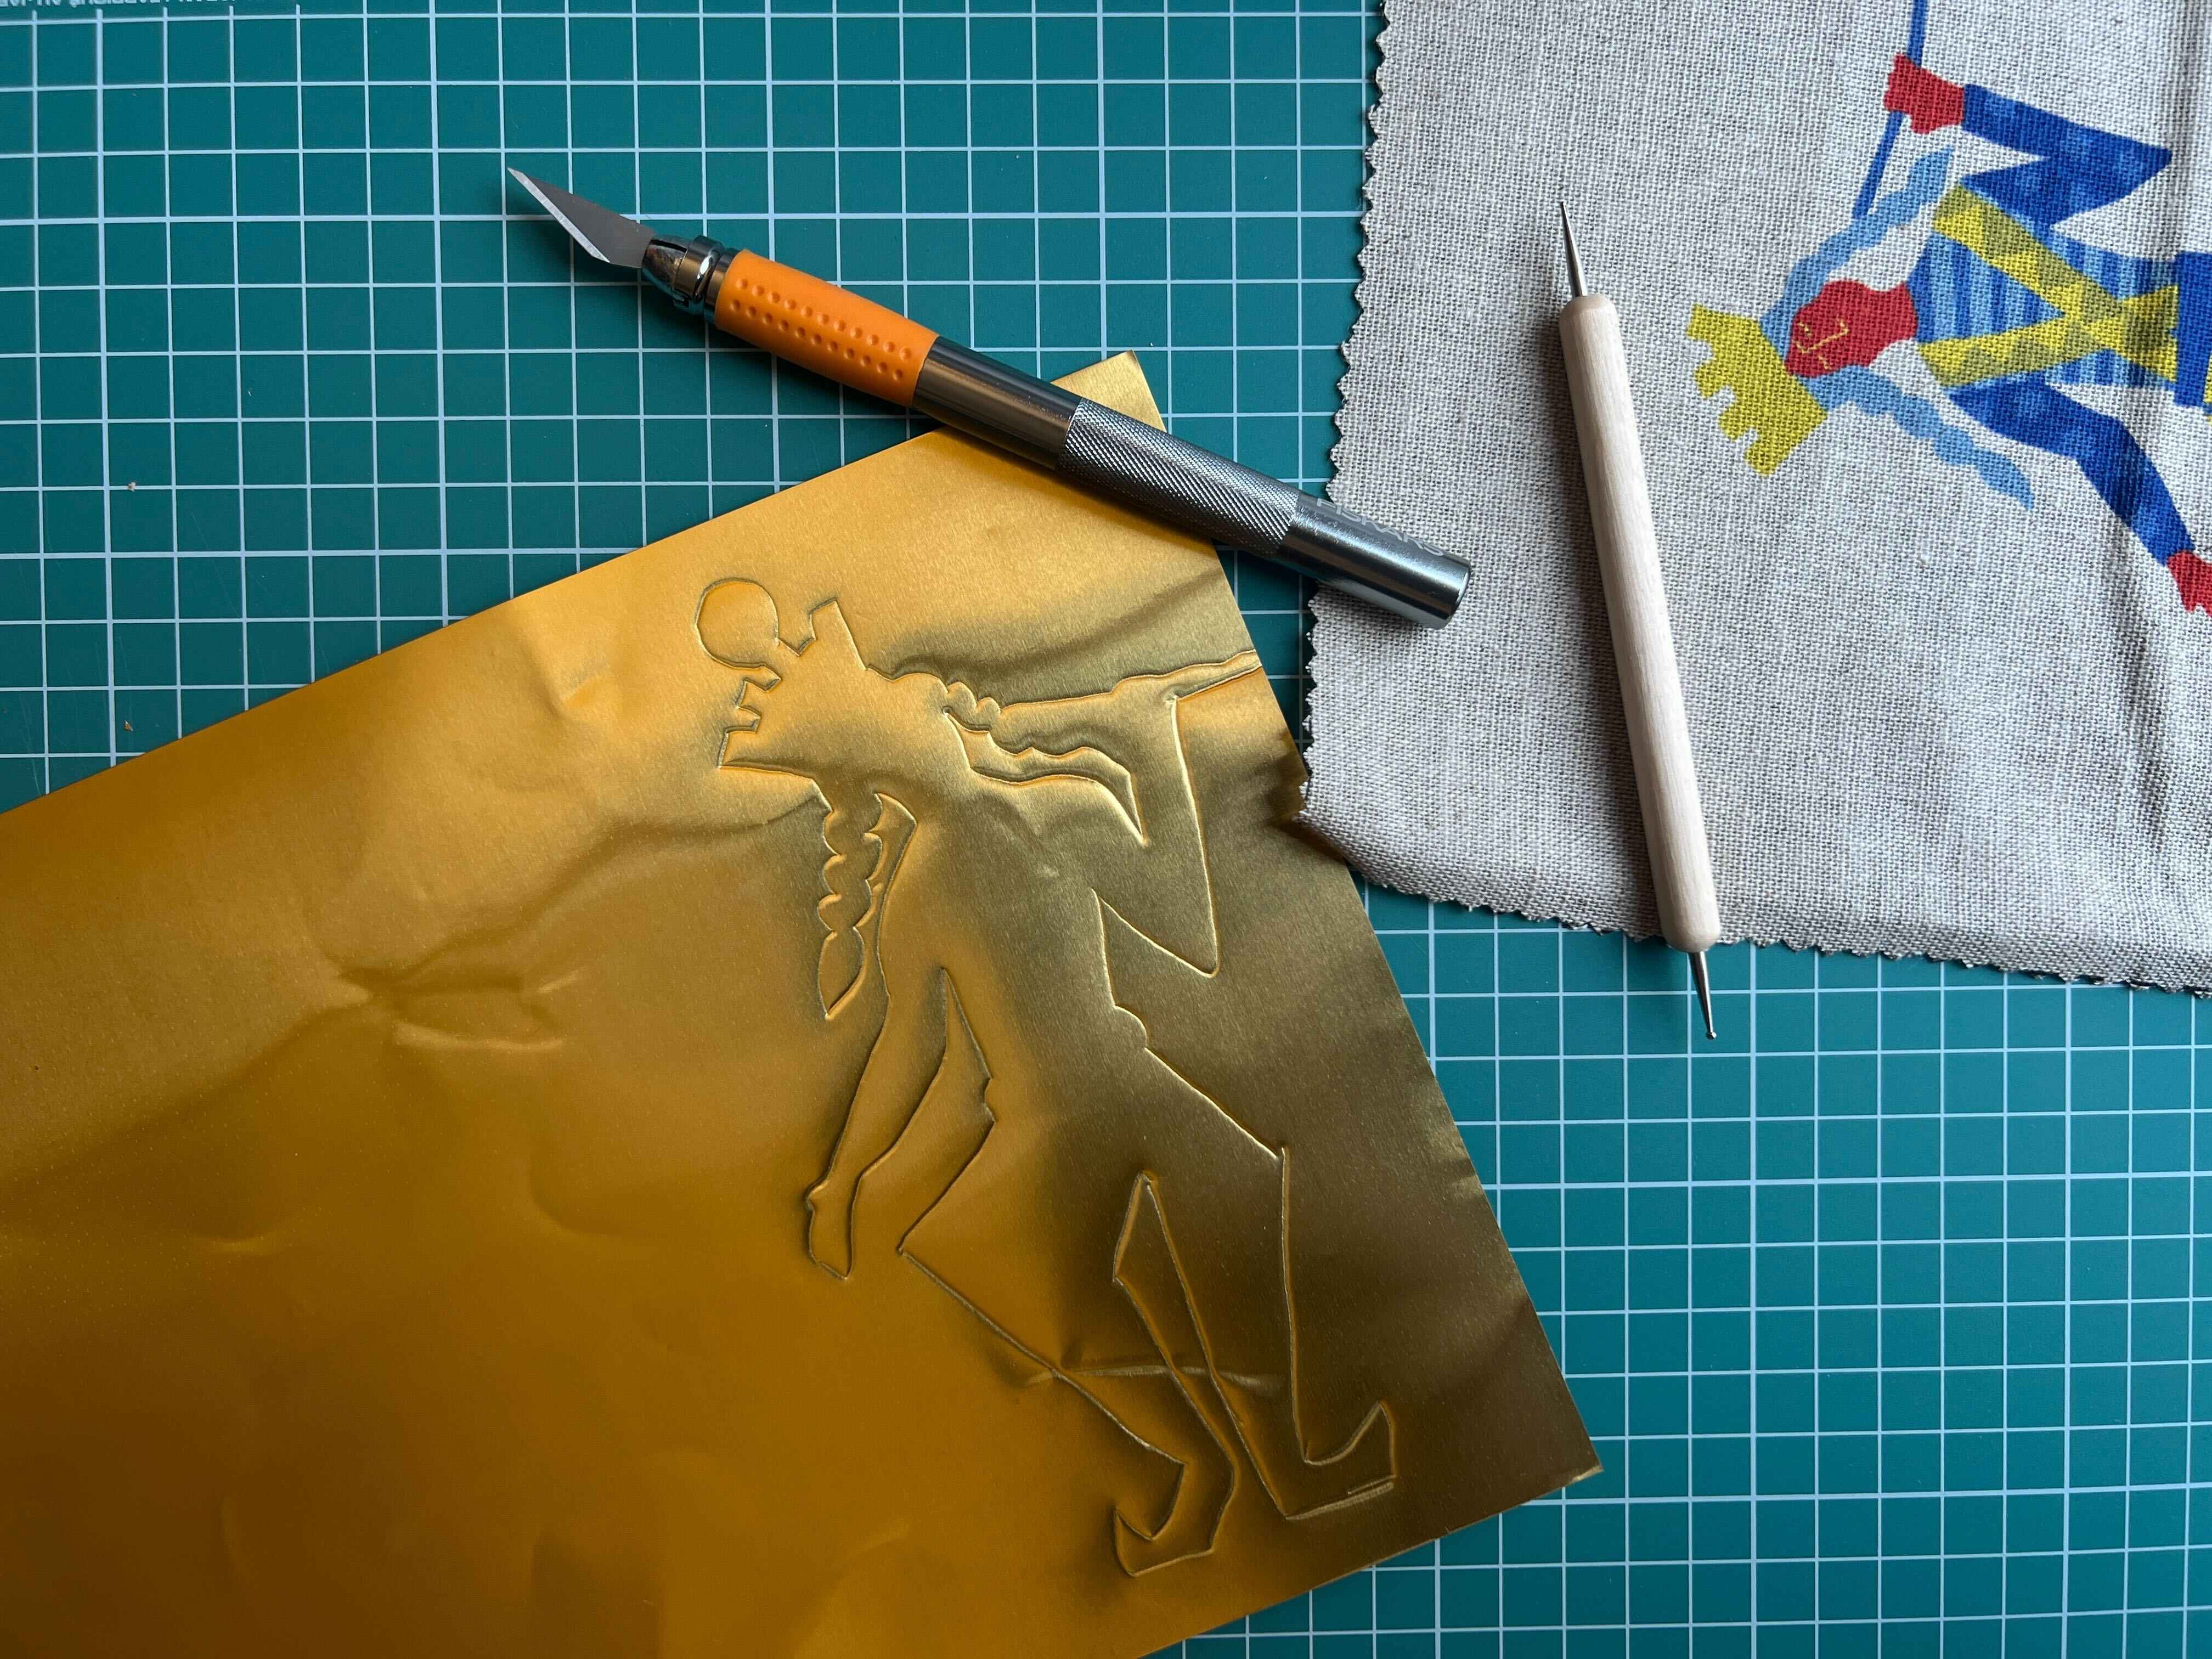
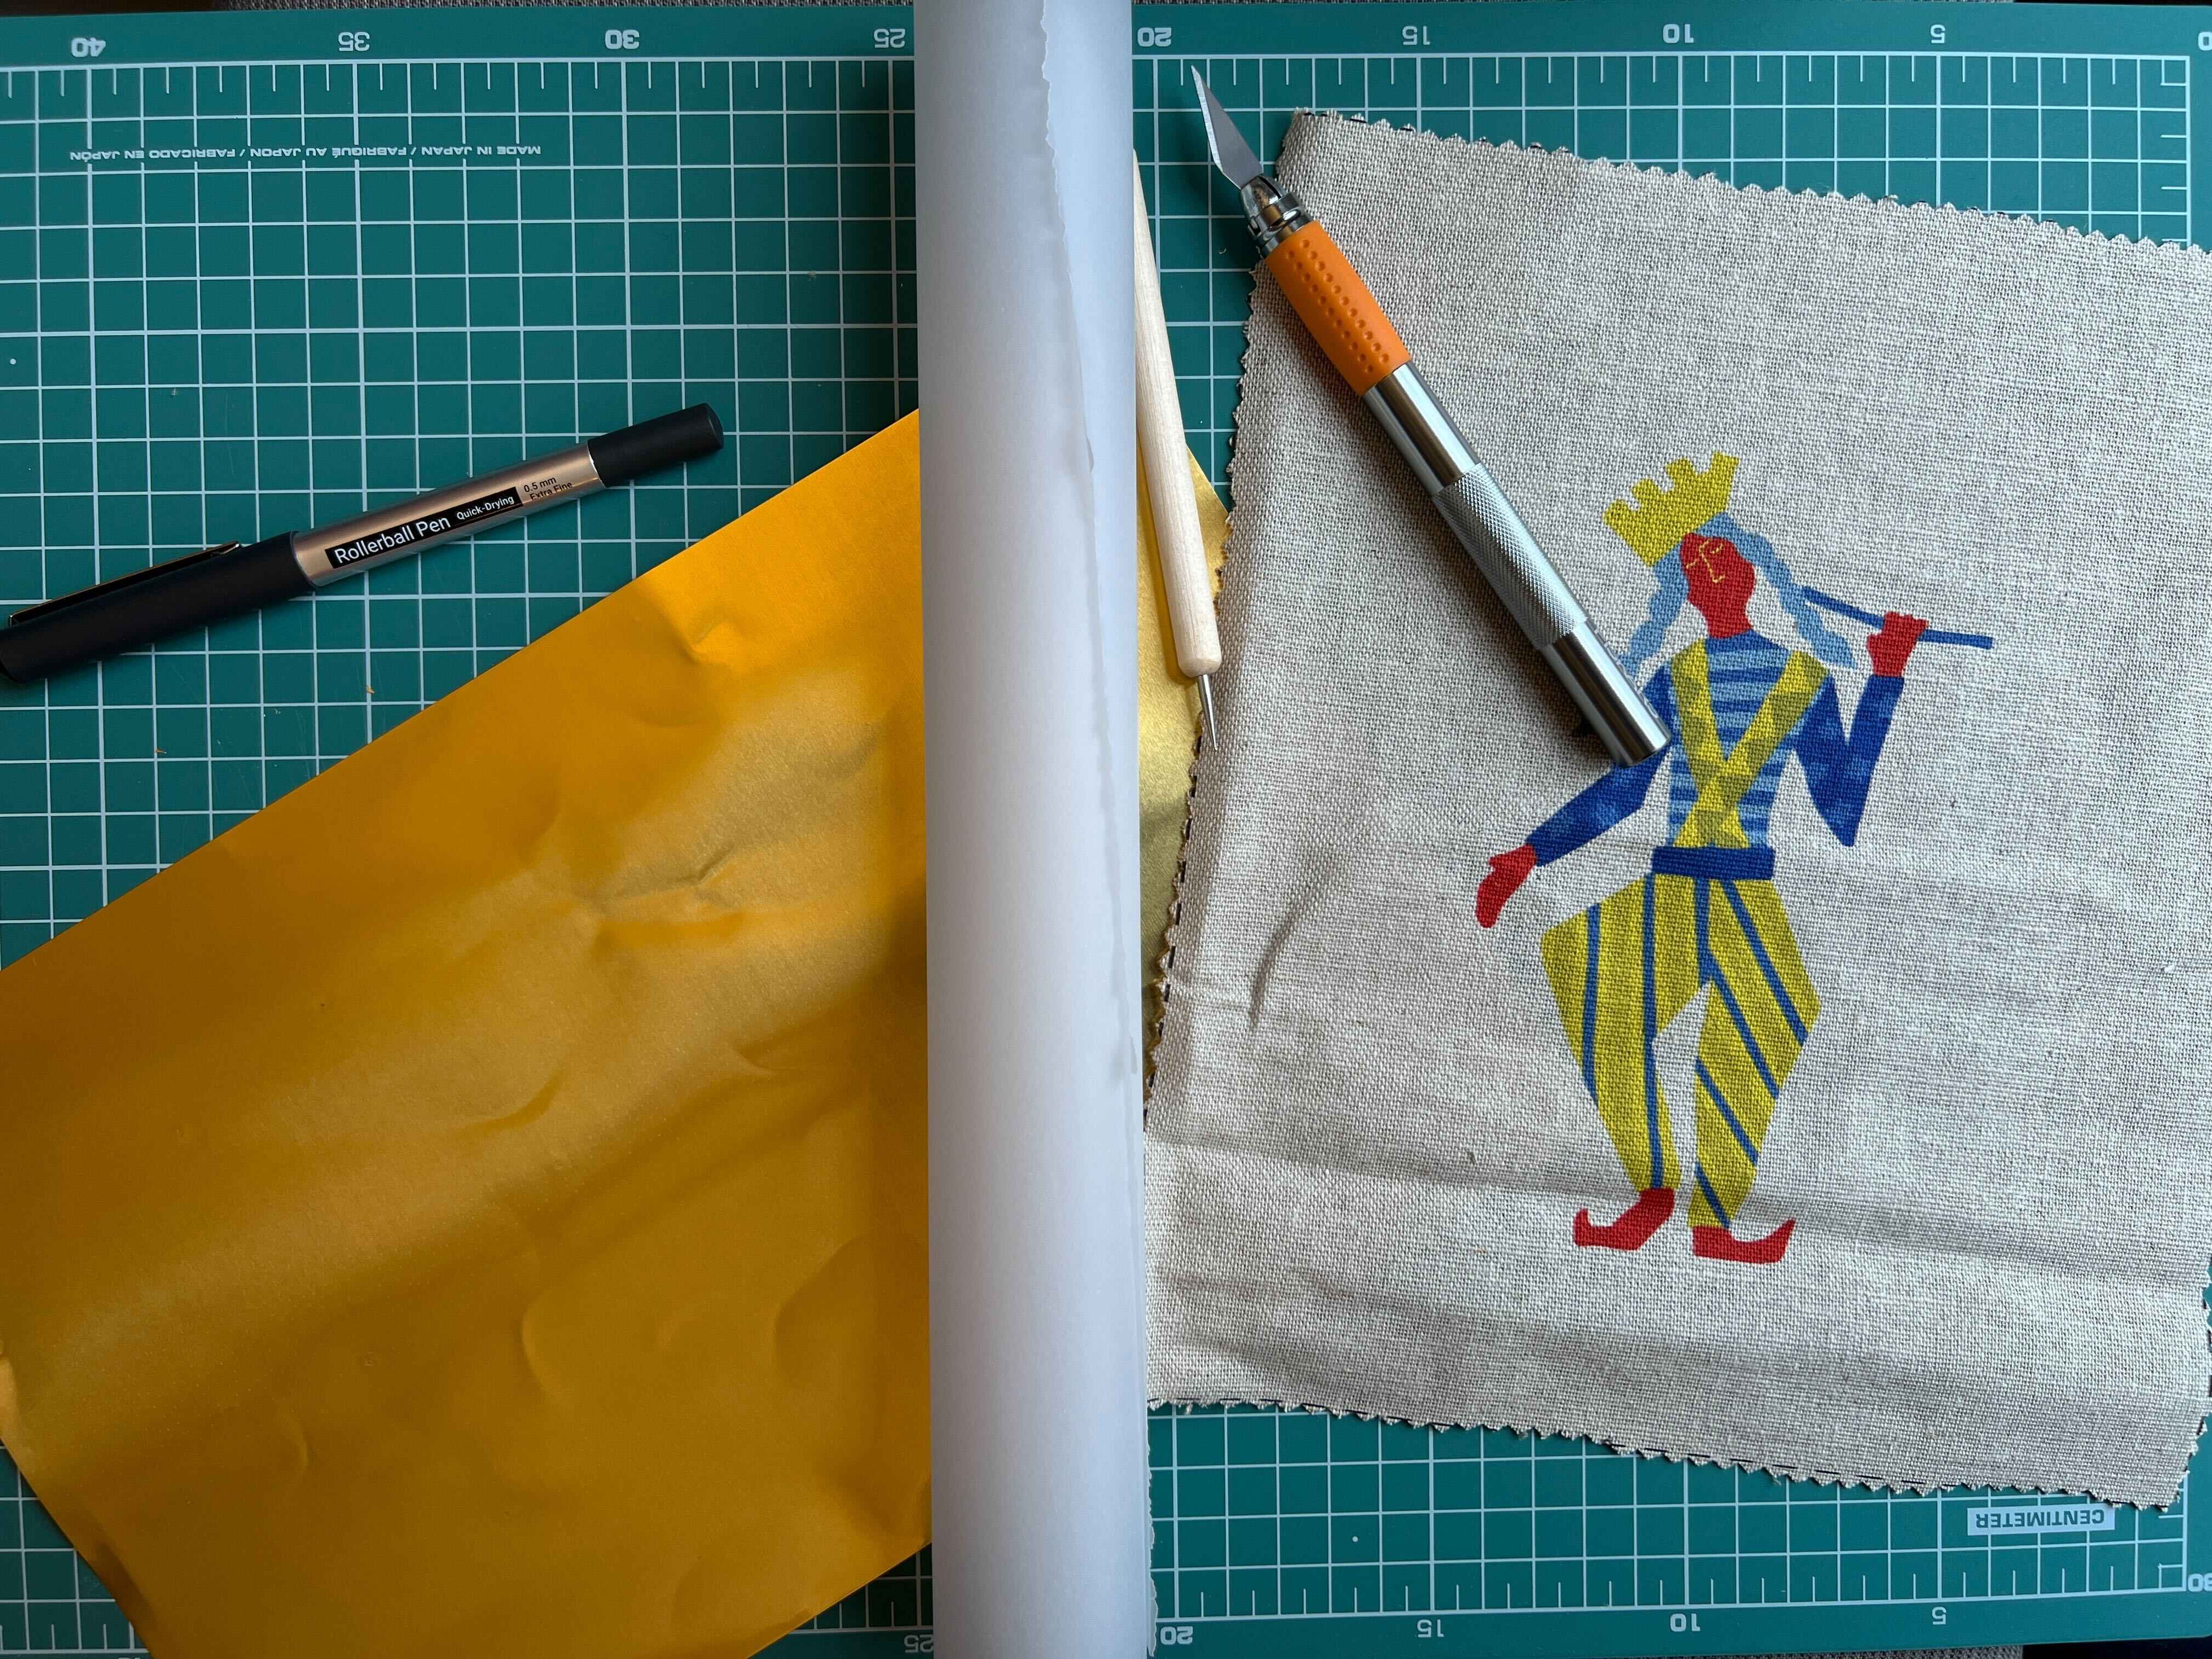
£5.00- For embossing your metal, you just need something with a hard point. Whilst we recommend these embossing tools, you absolutely don't need to invest in these. You can use old ballpoint pens, a nail (i.e. the kind you hammer into a wall), a toothpick... Anything goes for your embossing tool. Just be careful as the sharper the tool is, the more likely you are the pierce the metal. So a nail is very effective for creating a detailed design, but requires care when working with it.
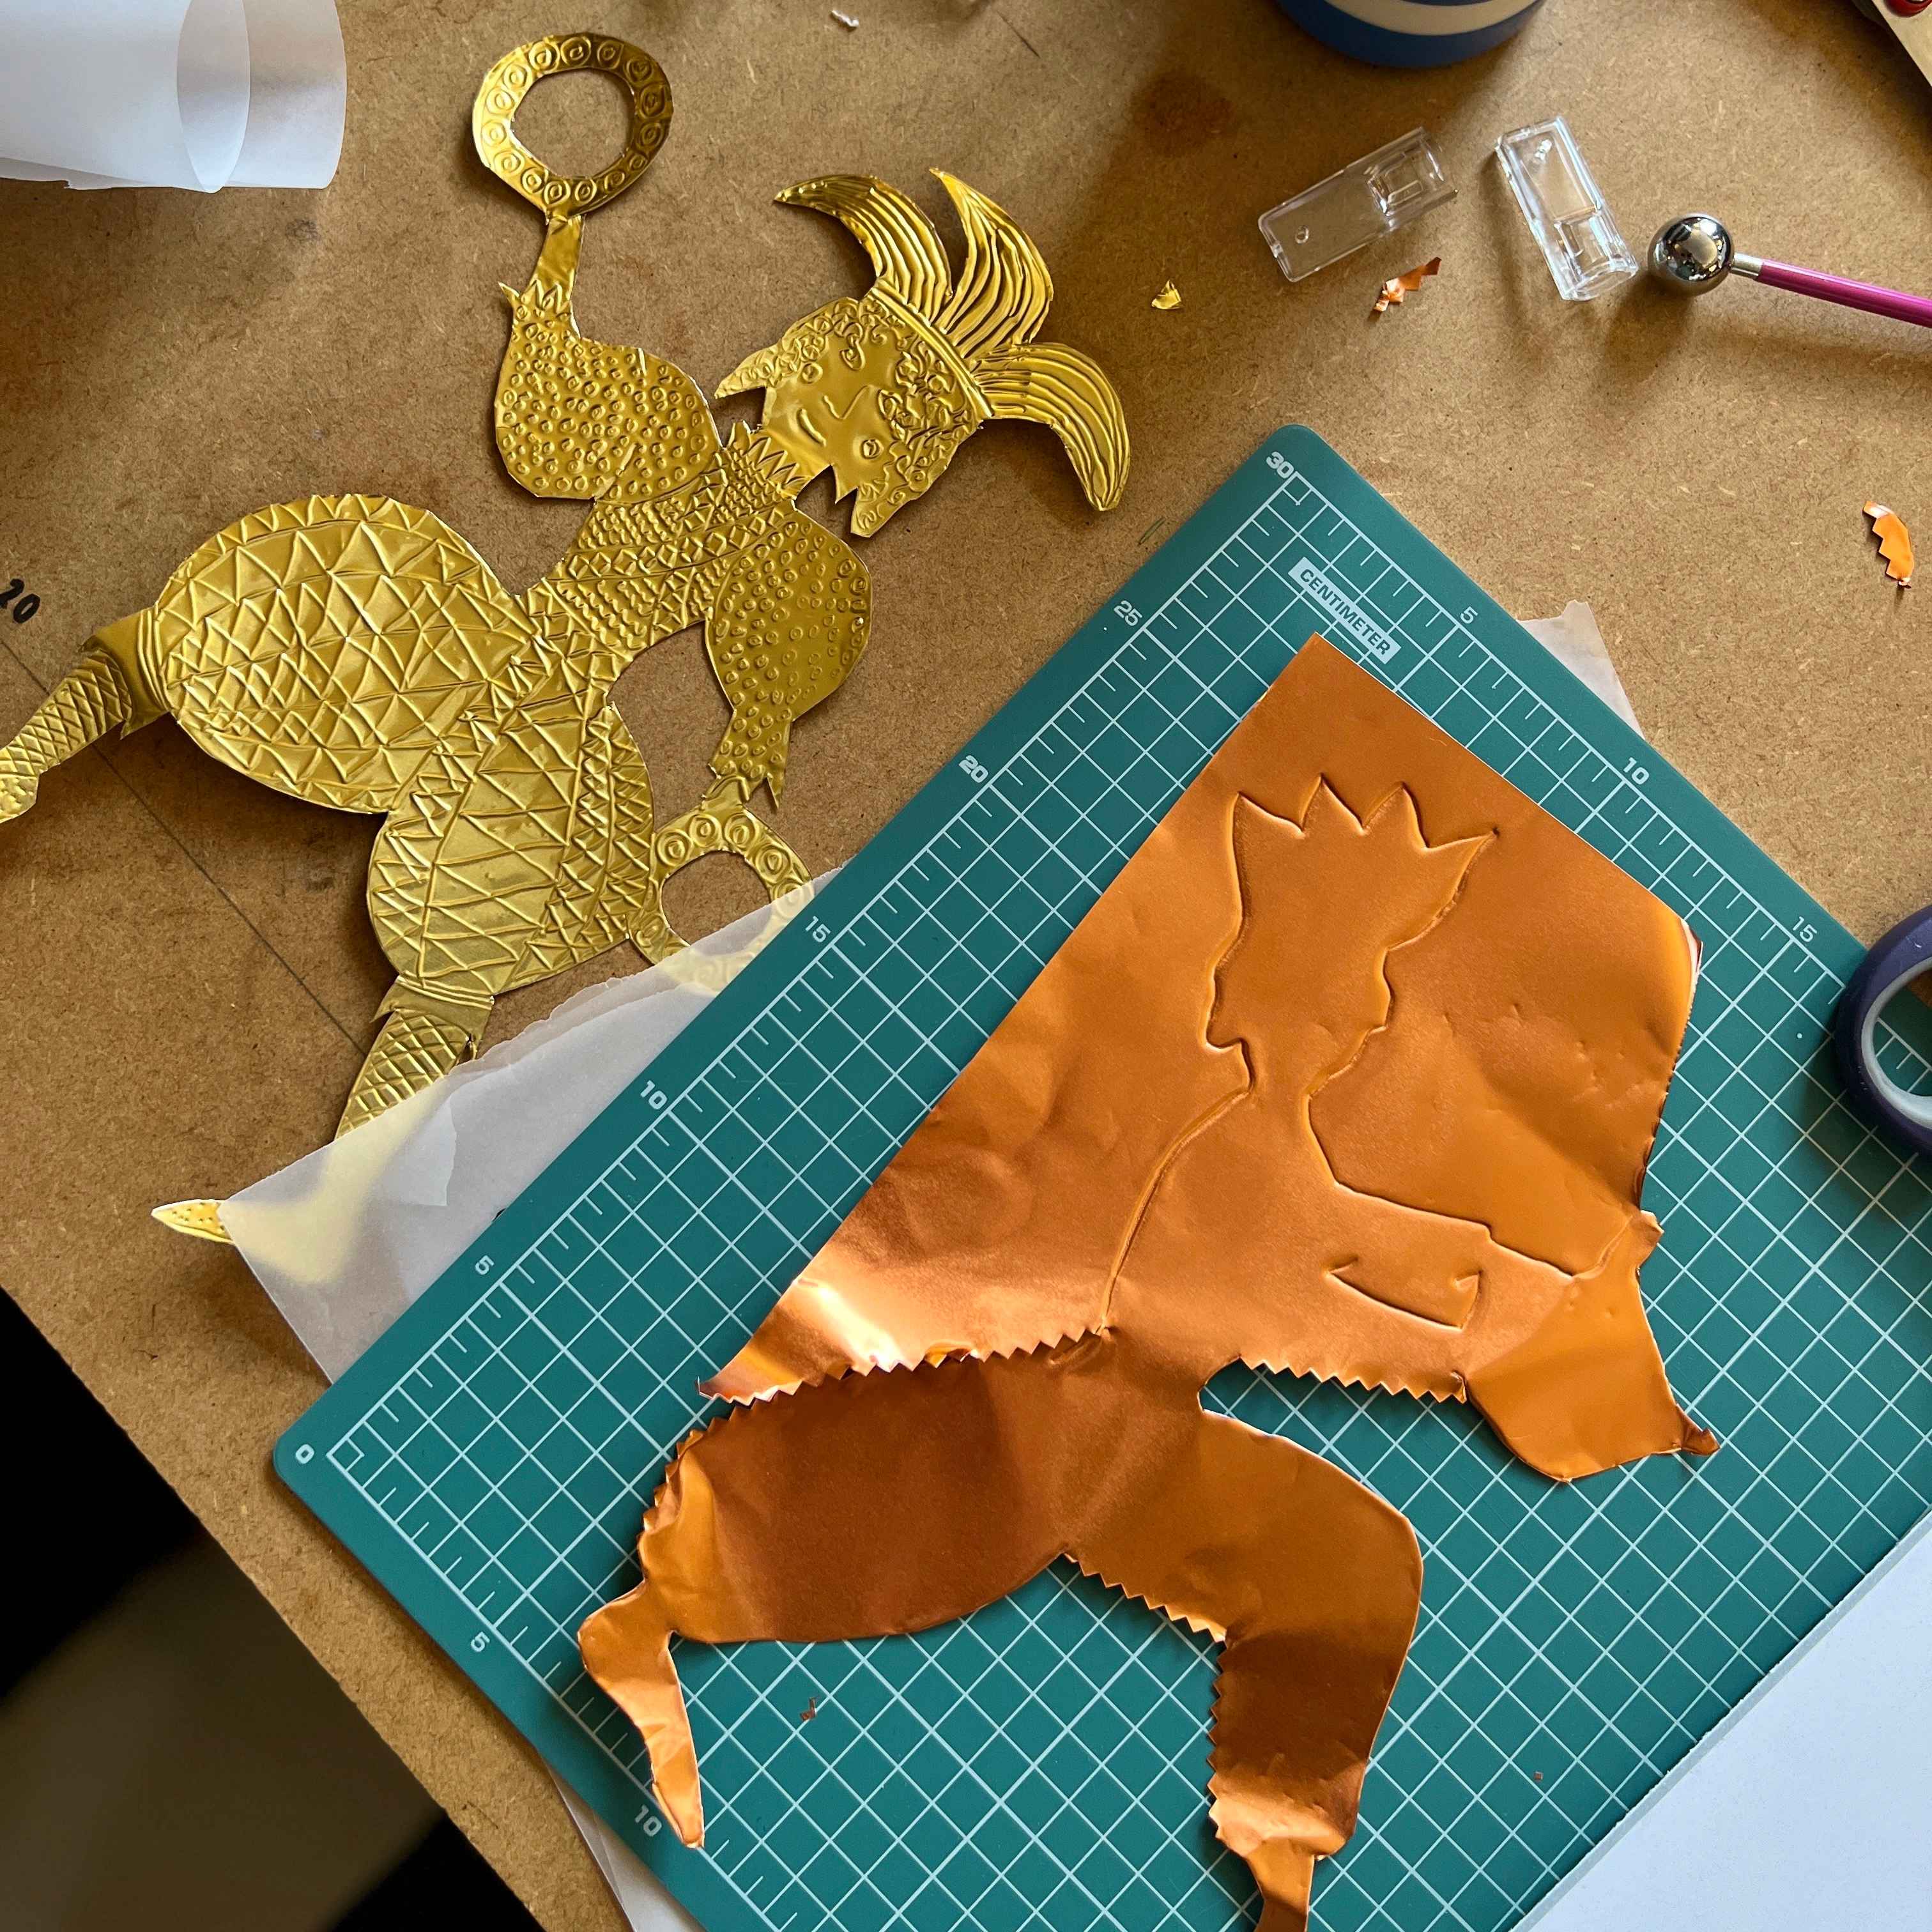
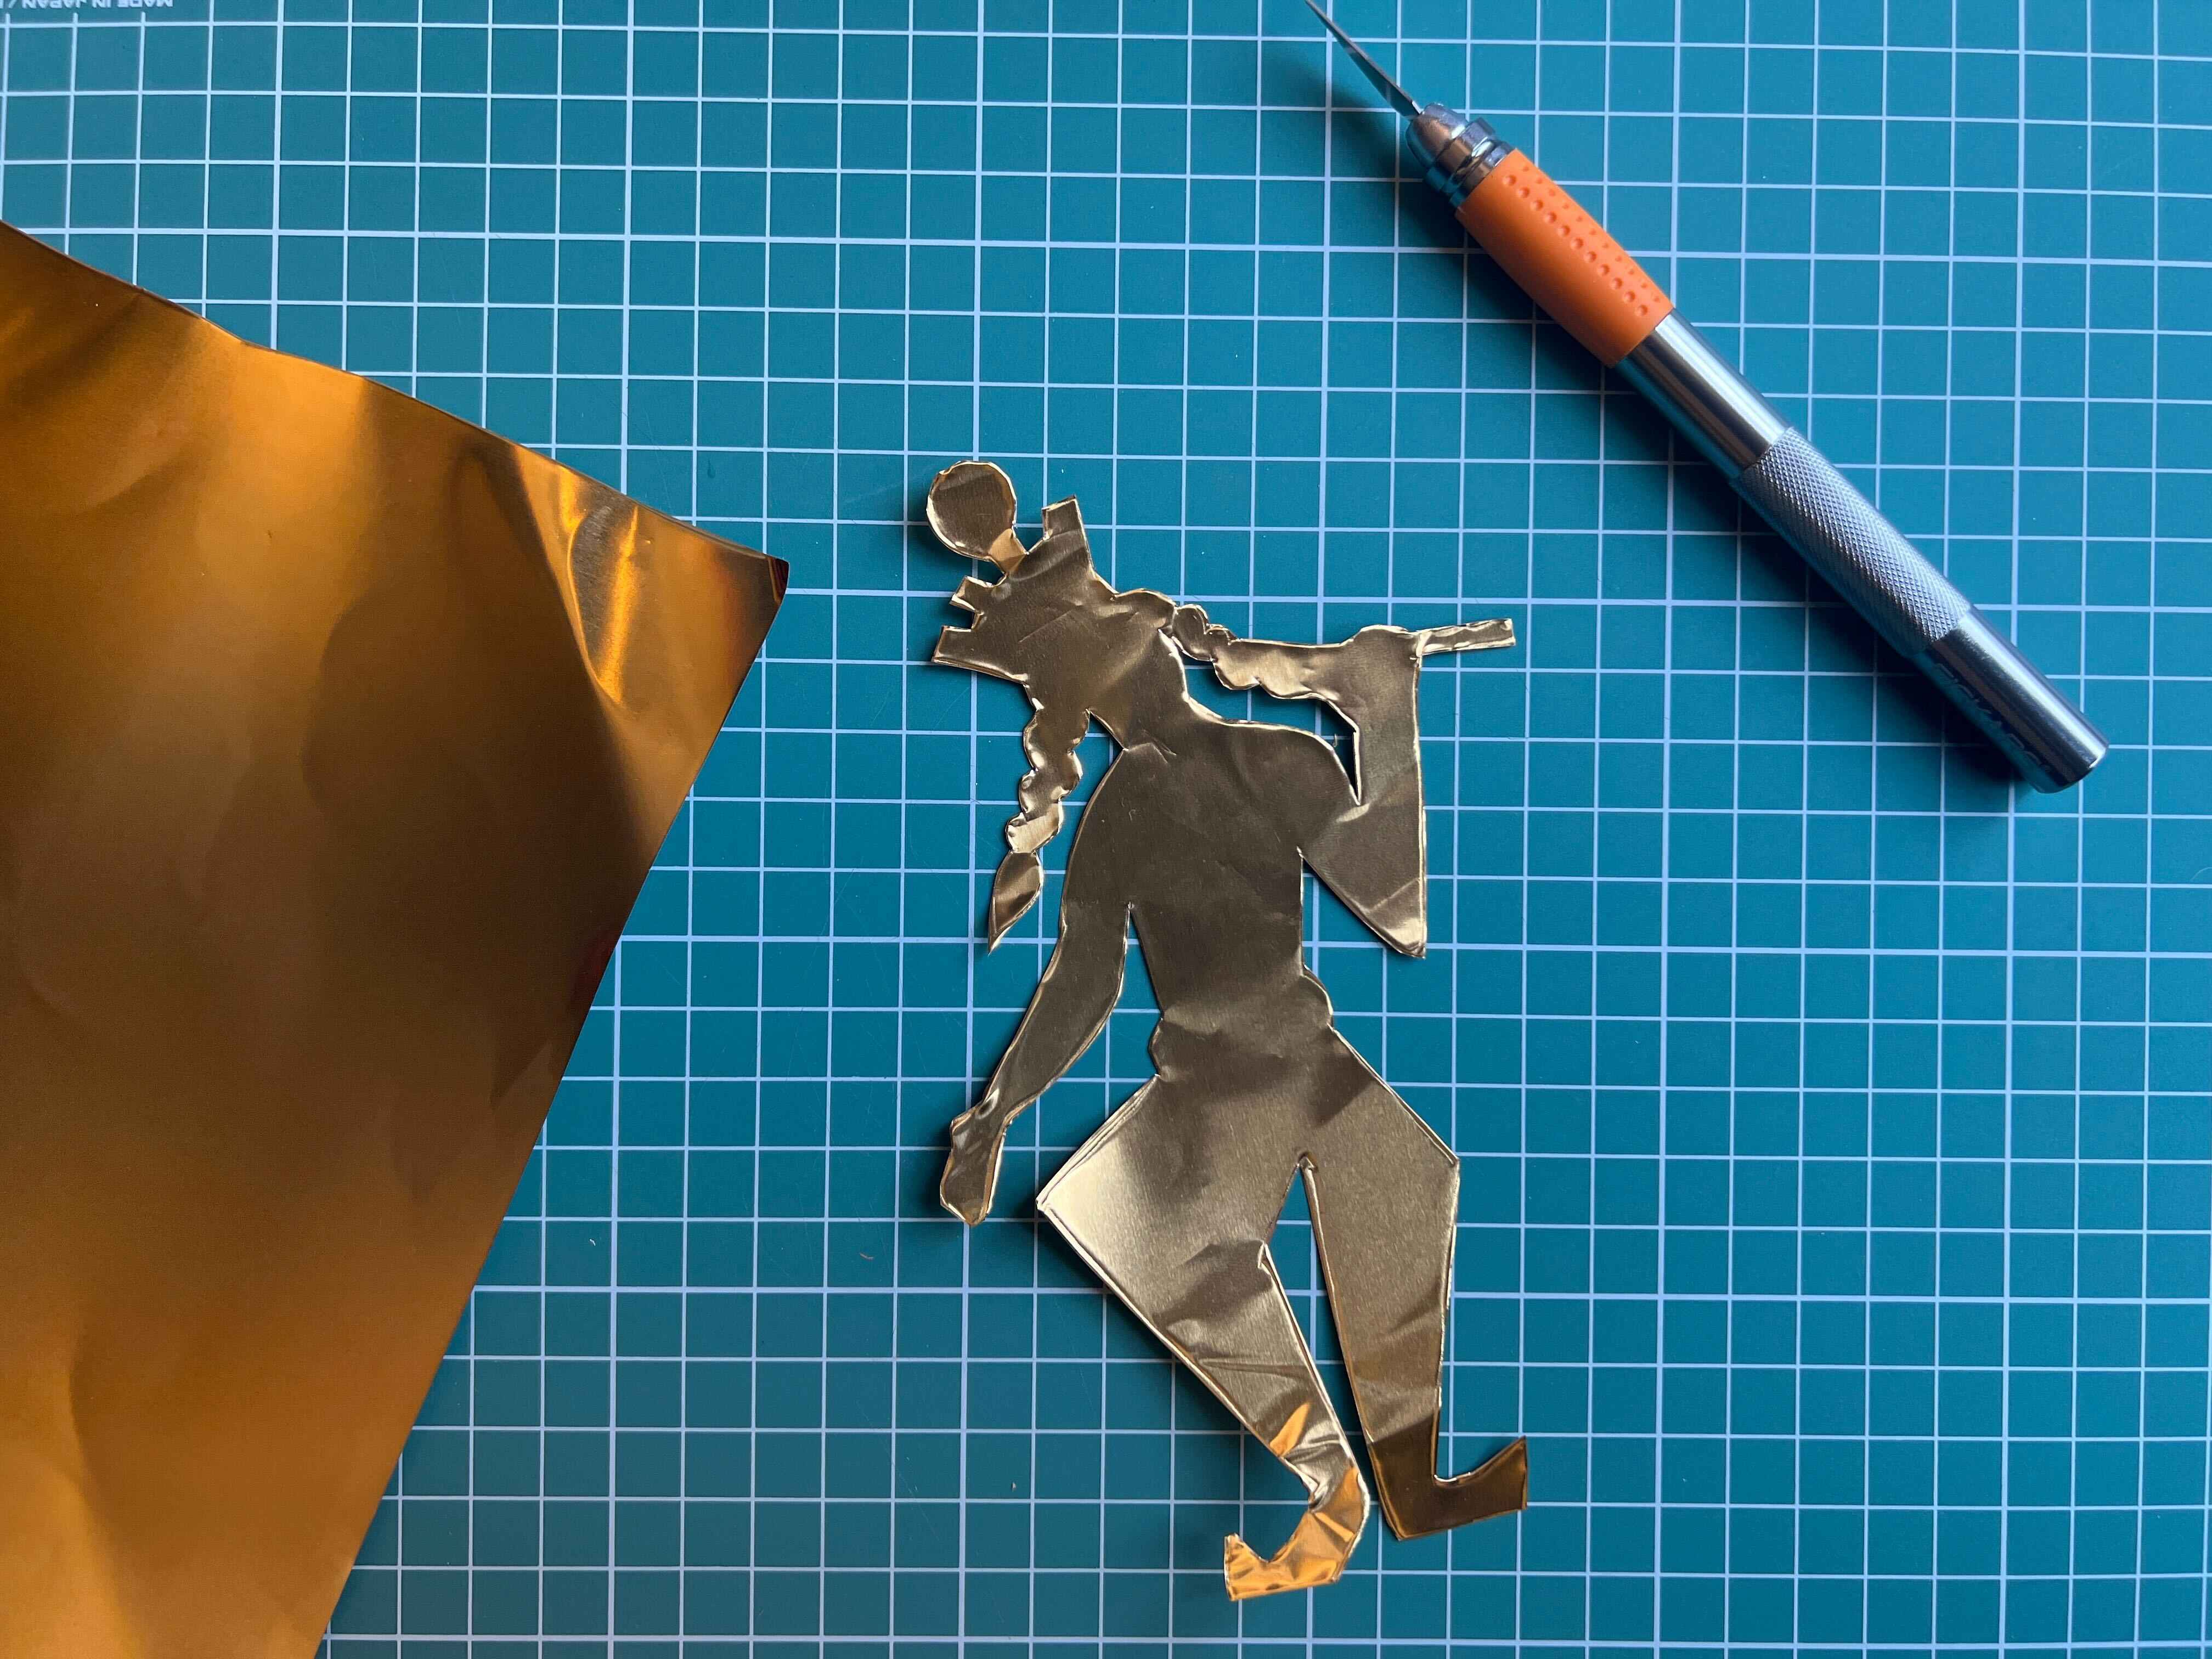
- To cut out your creations you just need scissors, though if you are trying to create a more intricate shape then you will want to use a craft knife. Whilst any craft knife will do the job, we recommend the brand Fiskars. Although they're slightly more expensive, their tools last for years. Note that if you do plan to use a craft knife, make sure you have a suitable surface to do this on. I recommend getting a craft matt, such as these ones by Cowling and Wilcox, though you'll be able to find a craft matt in any art supplies shop.
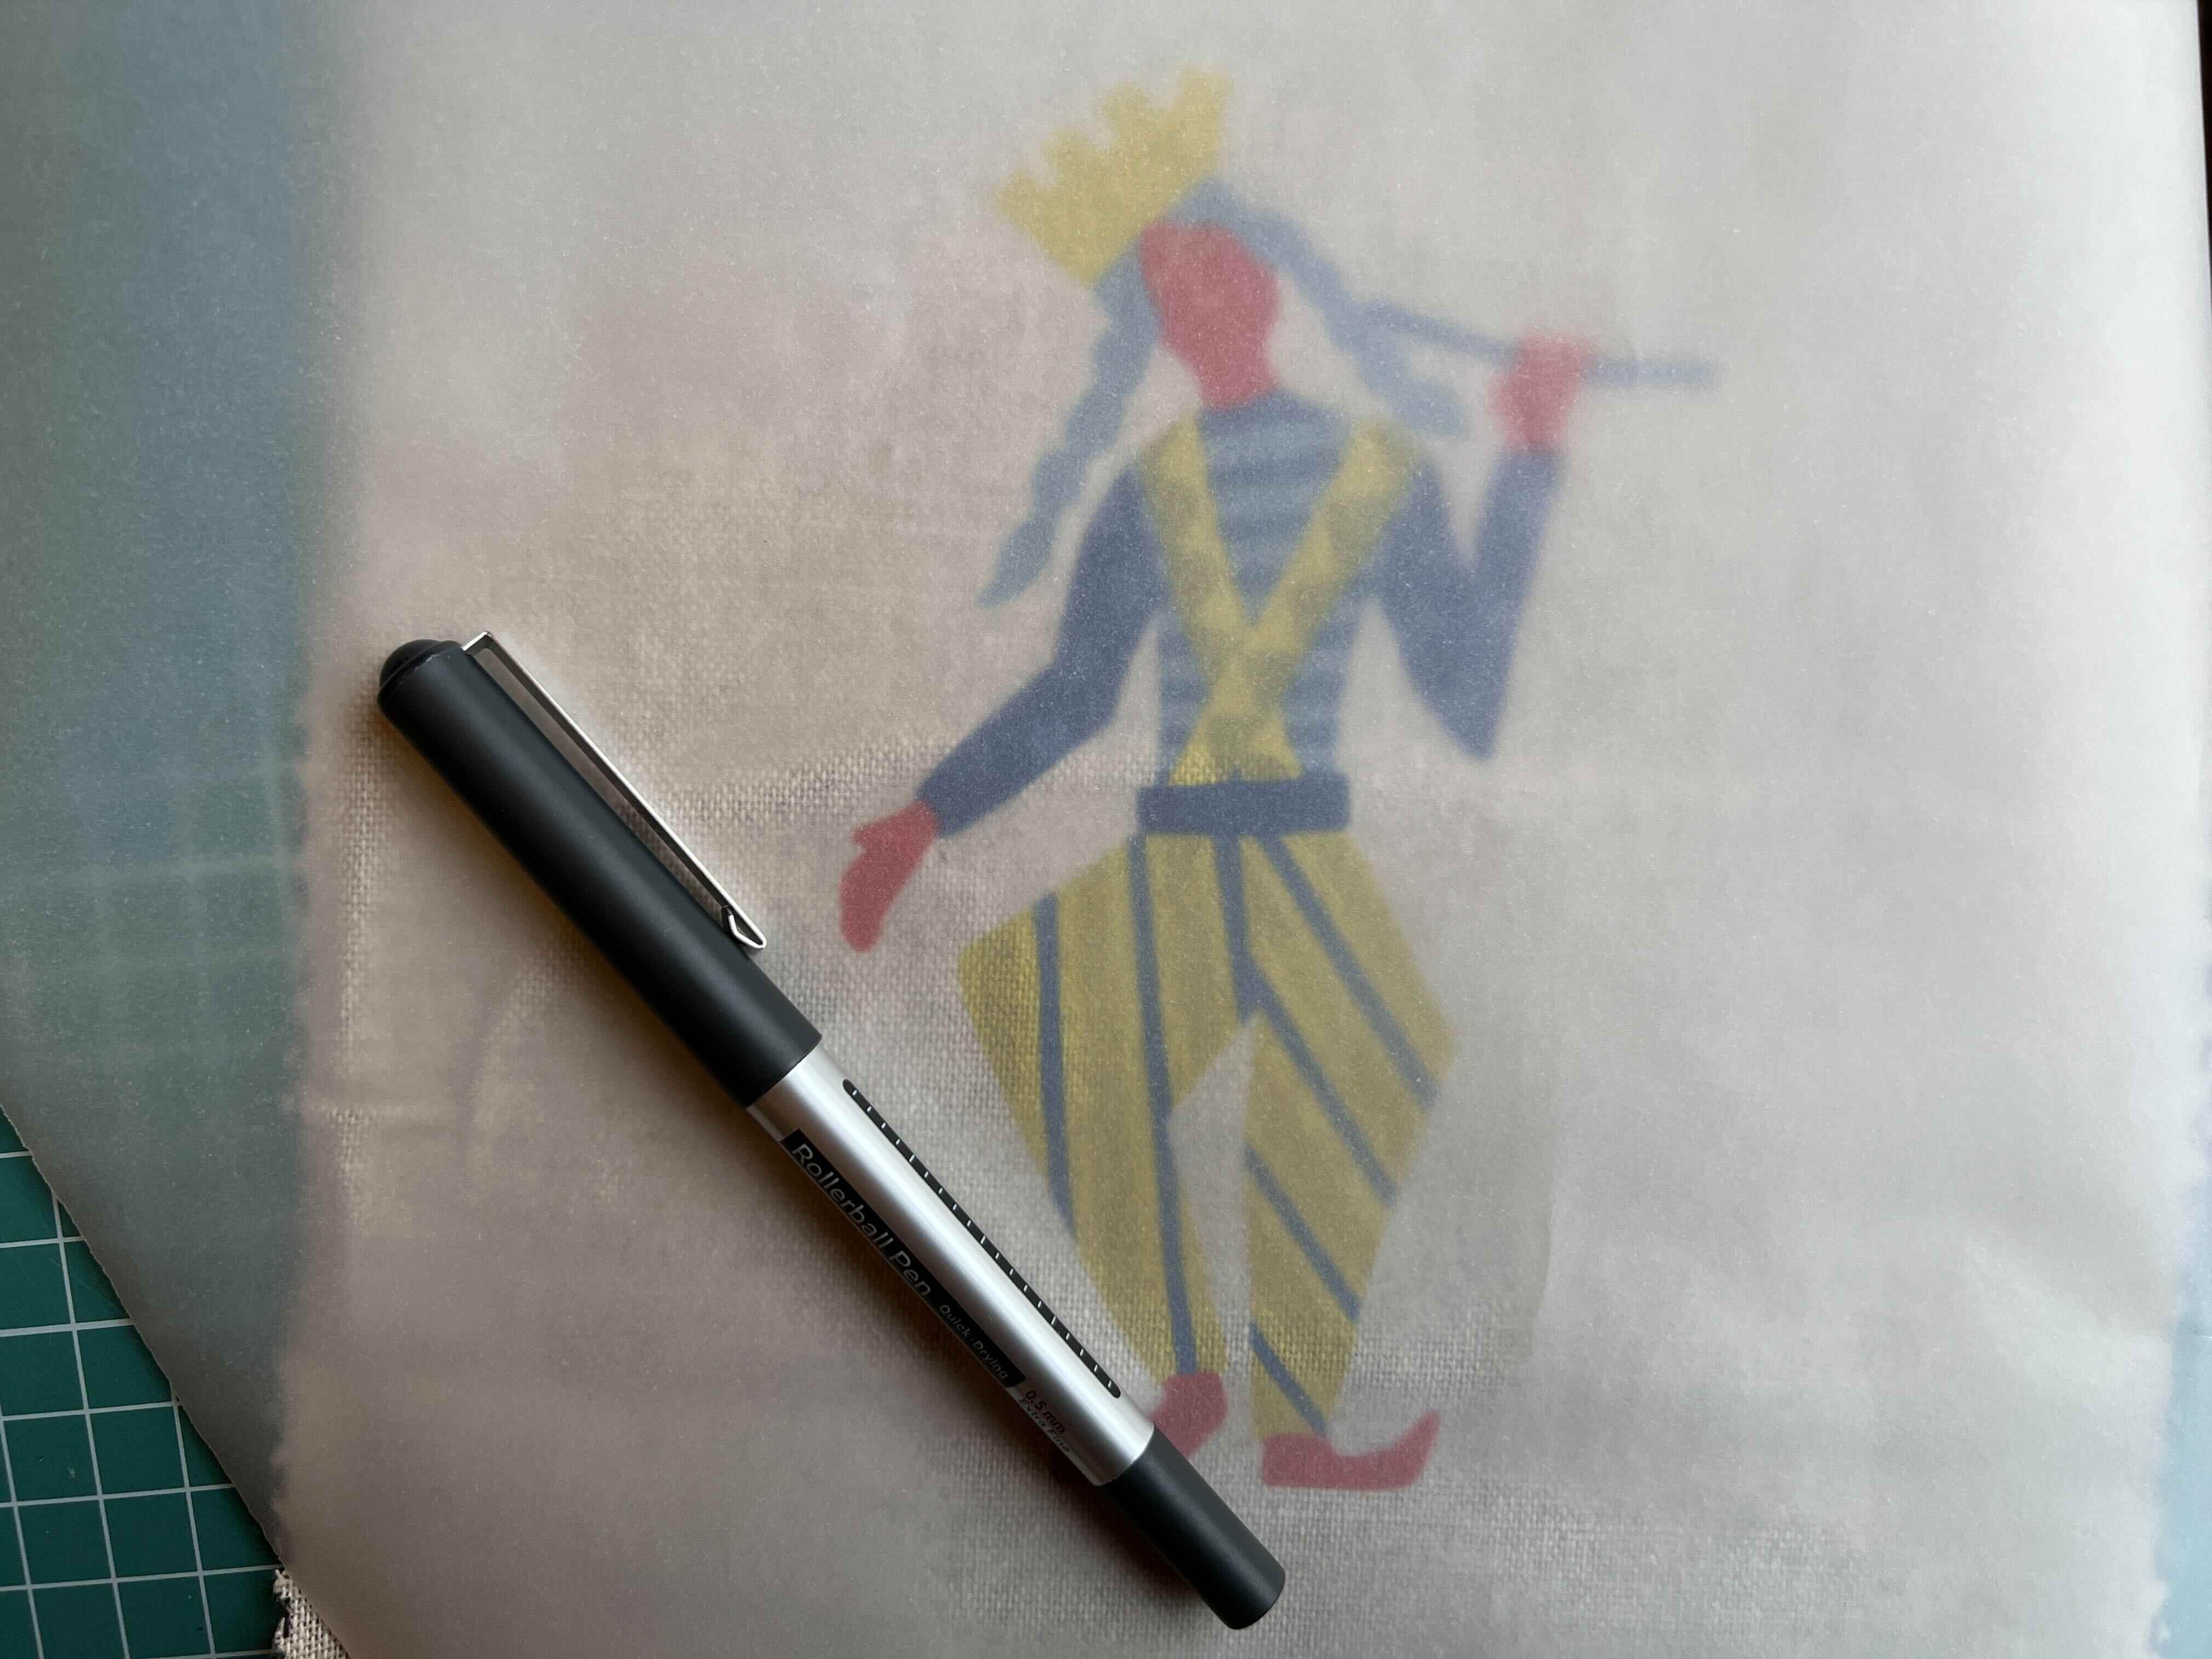
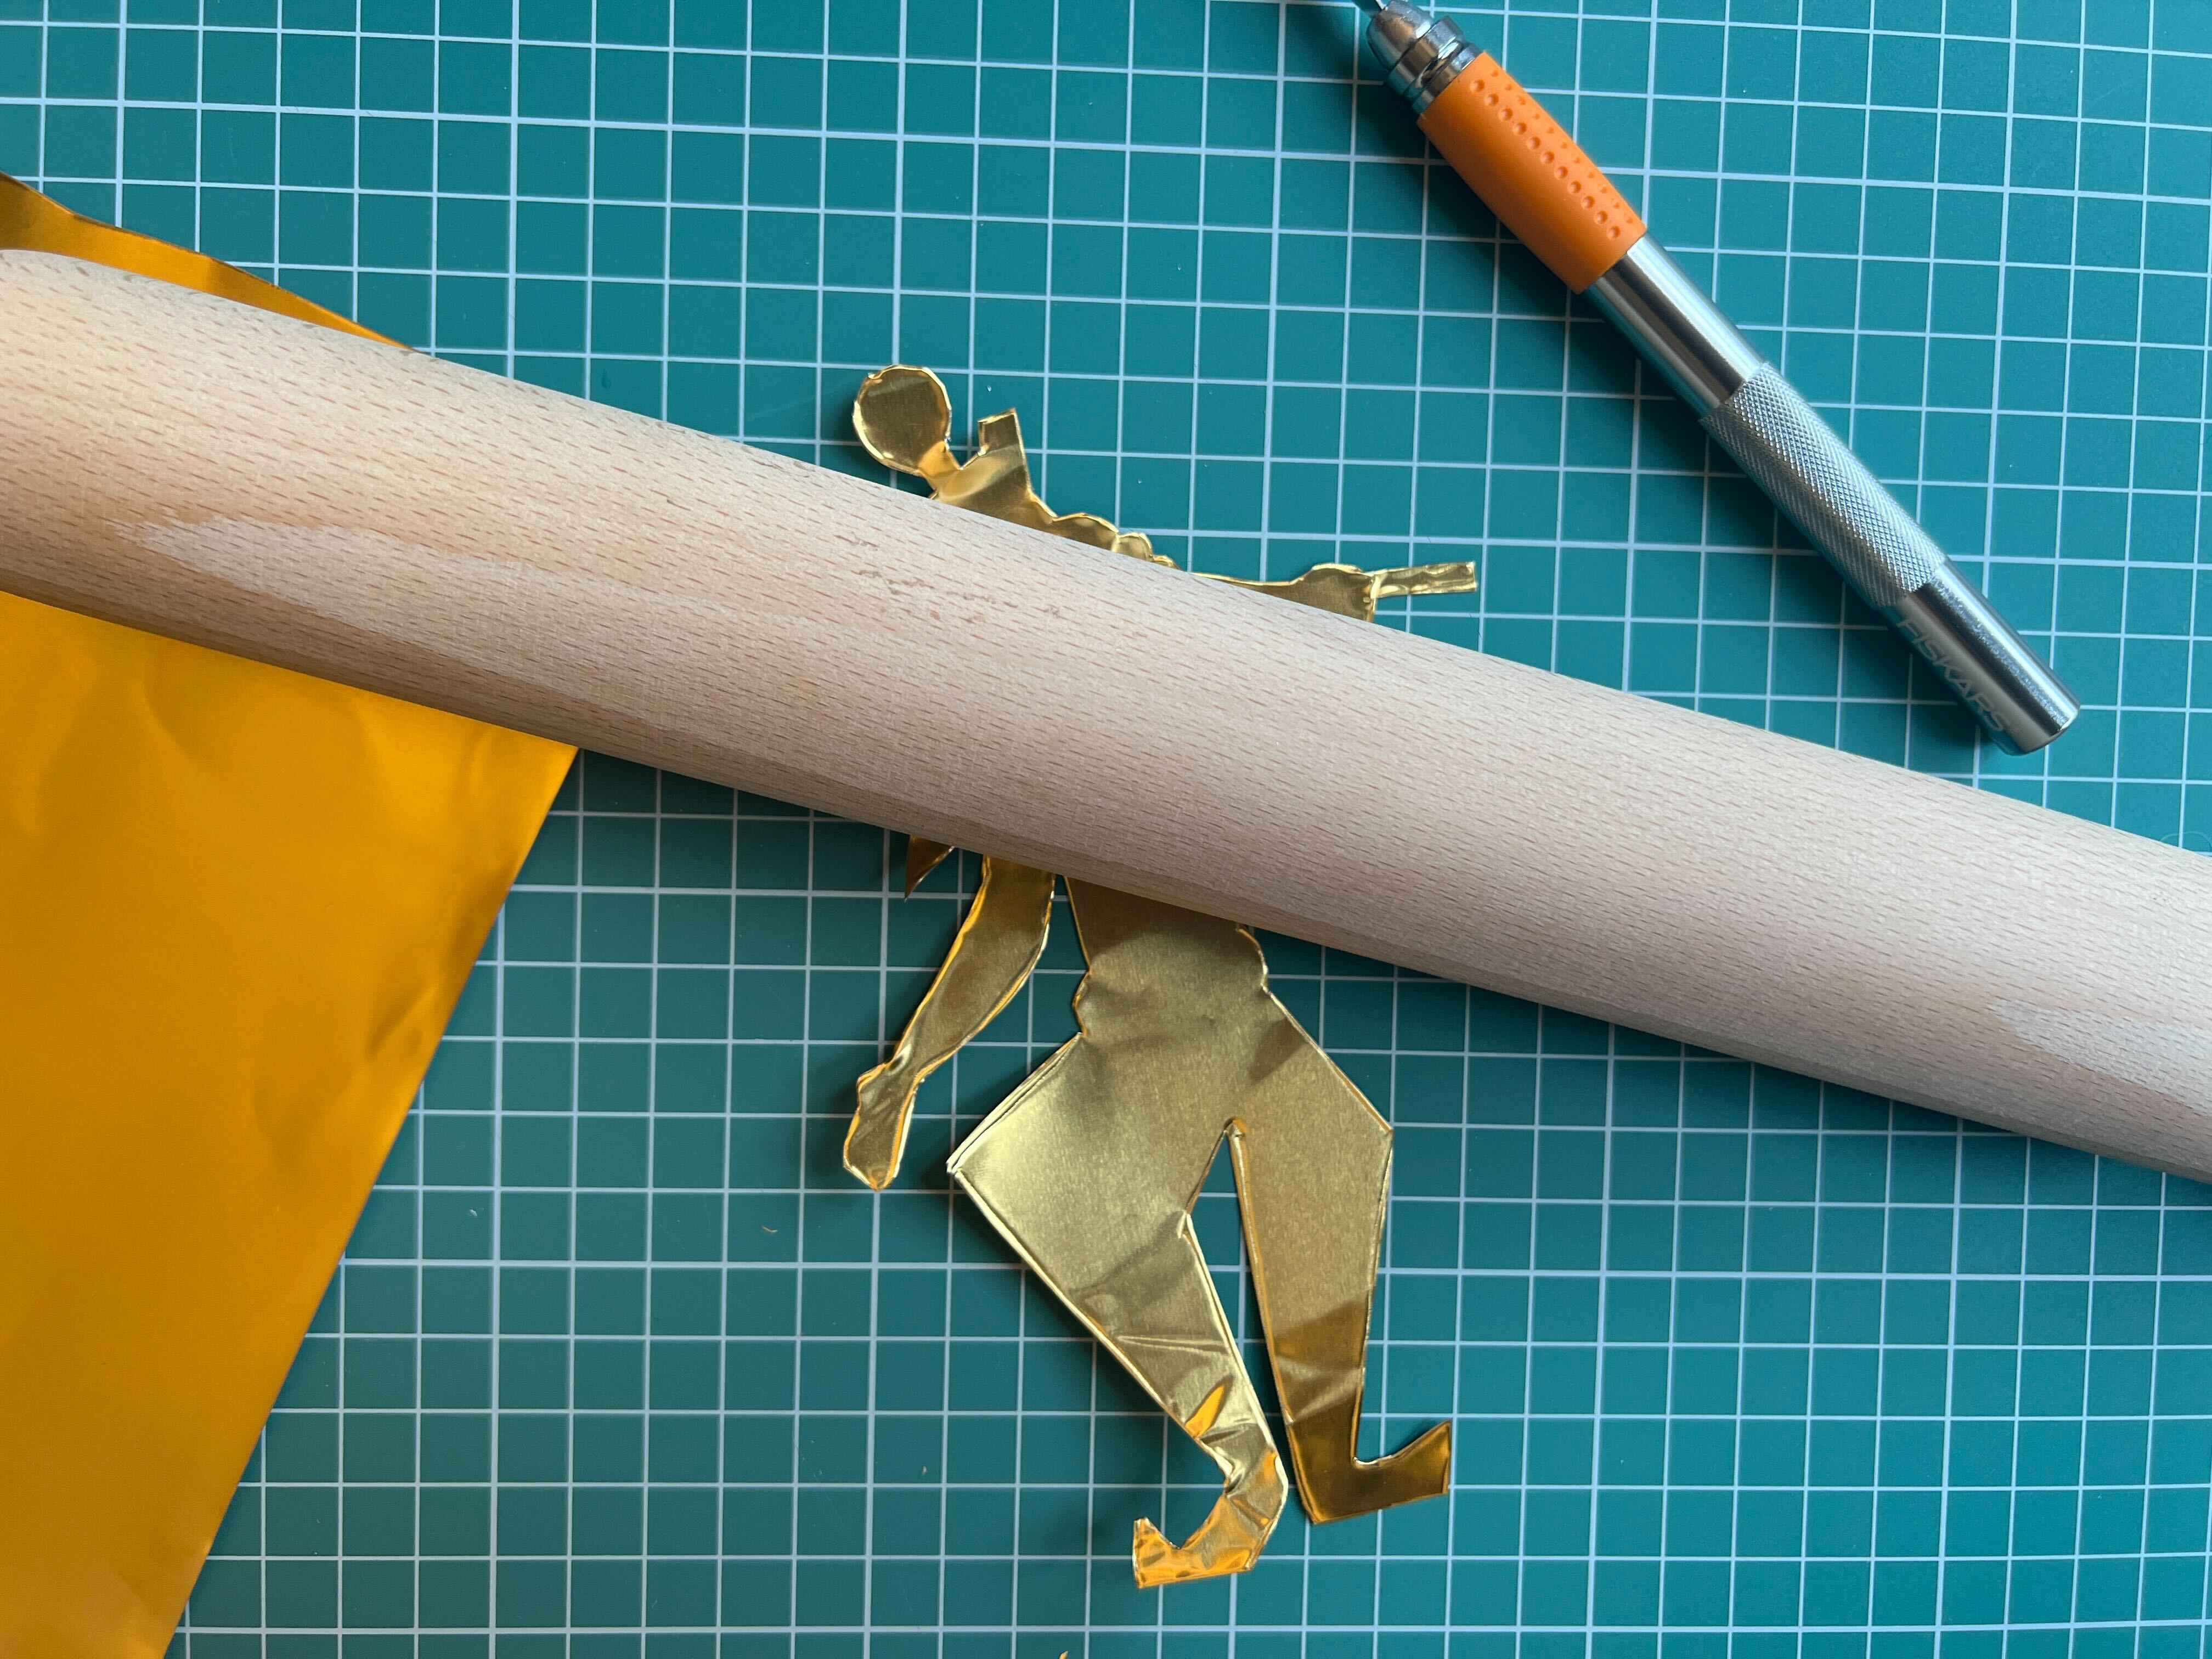
- You can emboss directly, or if you prefer to draw out your design first and trace it onto the metal, then you’ll also need tracing paper and a pencil. It also helps to have a rolling pin to hand to as this is useful for flattening the metal, making sure the design is long-lasting.
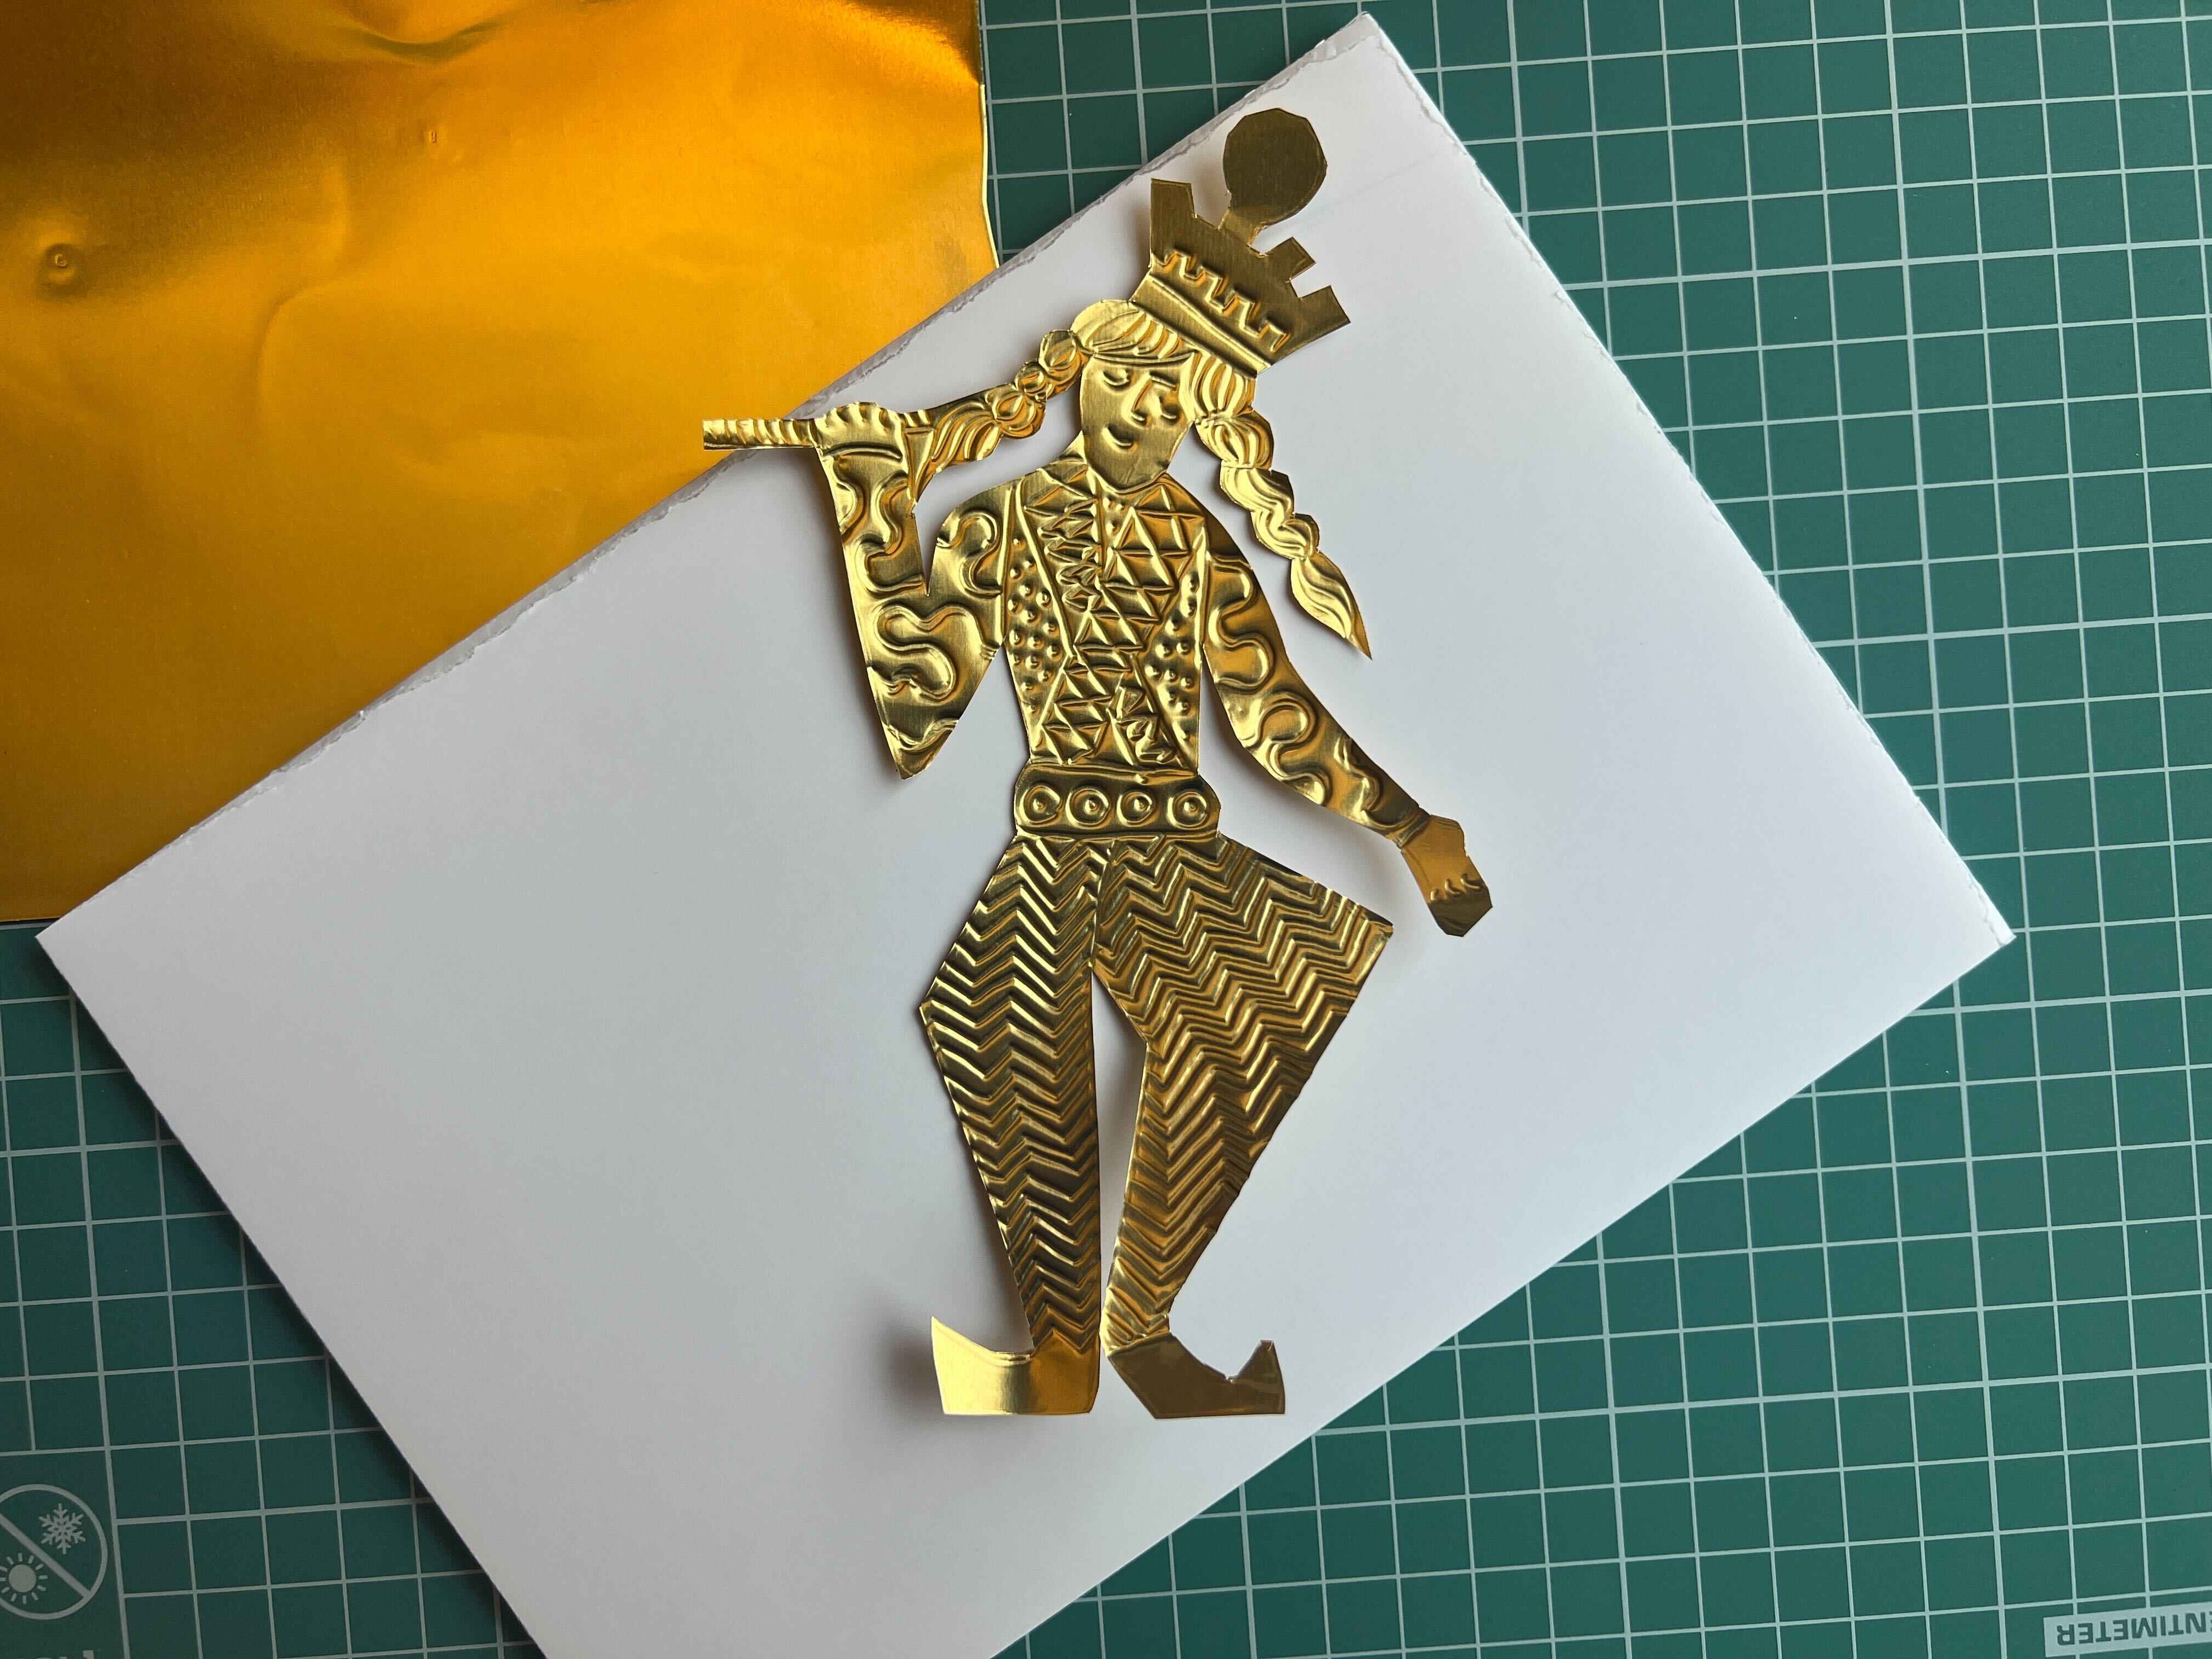
A Step-by-Step Guide For Embossing Metal
Watch our embossing video guide below to learn how to emboss your own metal decorations:
Or here's a step-by-step guide if you prefer written instructions over a video:

Hints and Tips for Embossing Metal
- Start with some really simple shapes to get into the groove of what you are doing, for example you could make some musical notes to add to your garland.
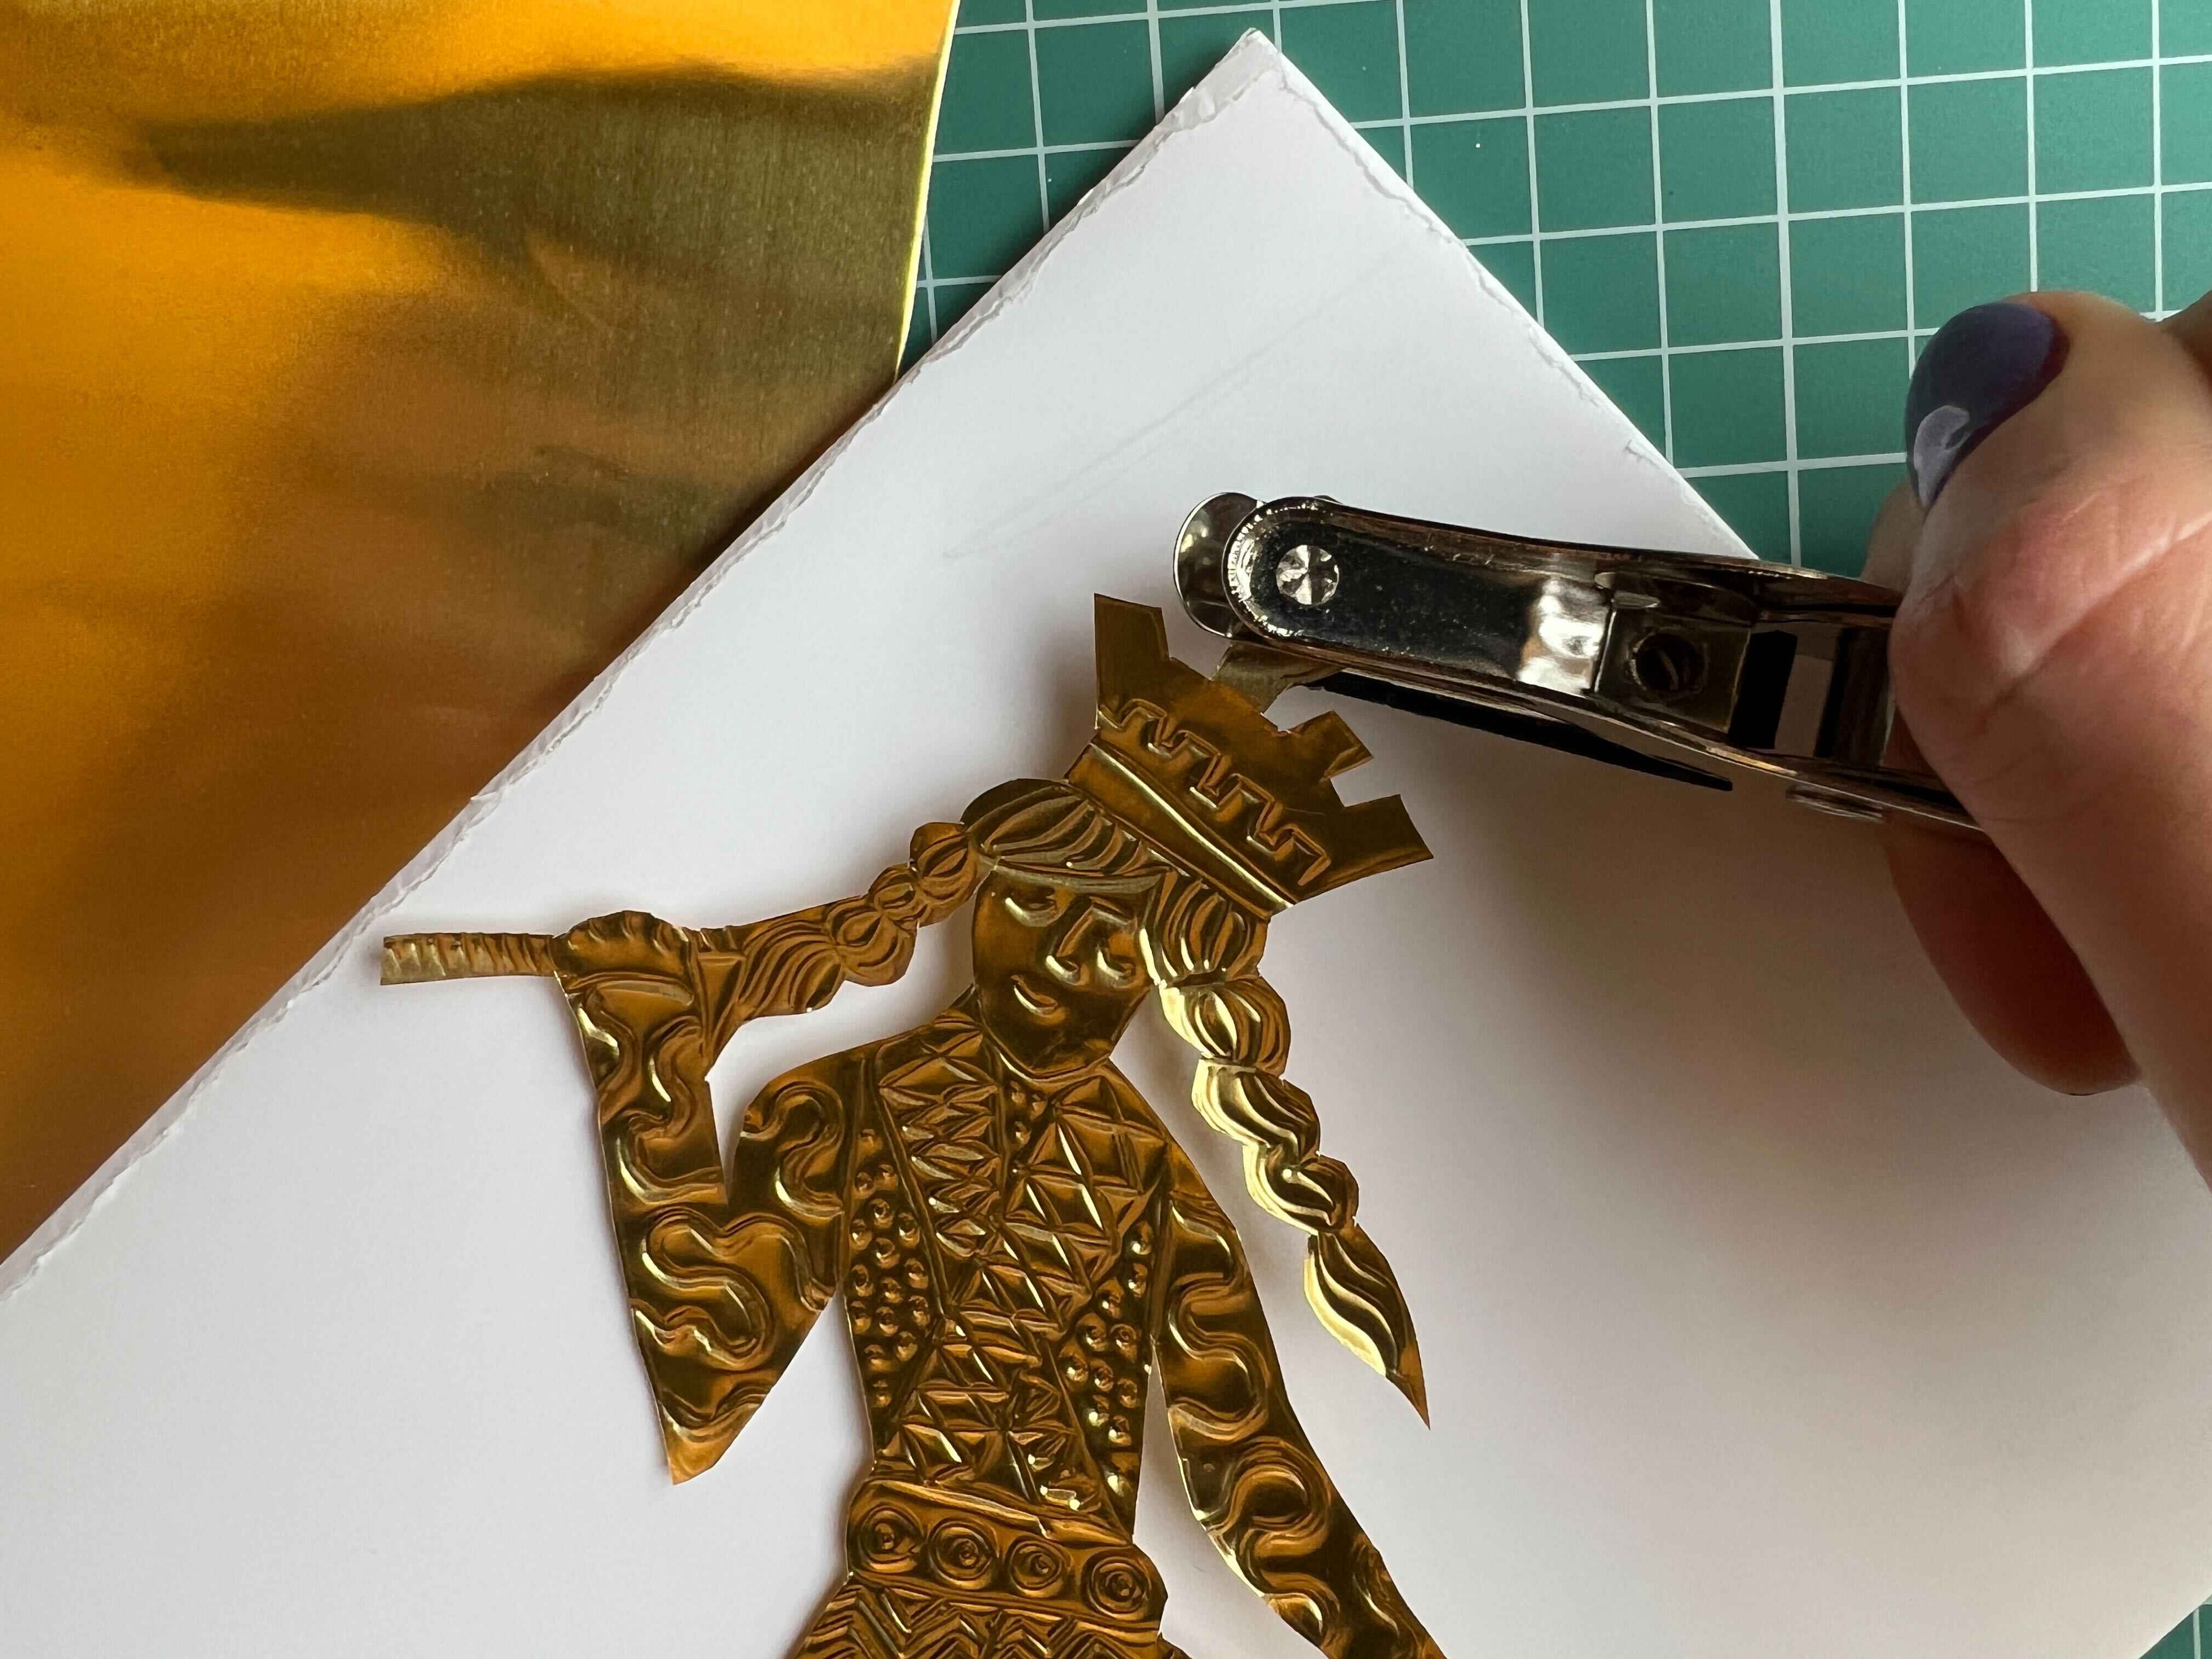
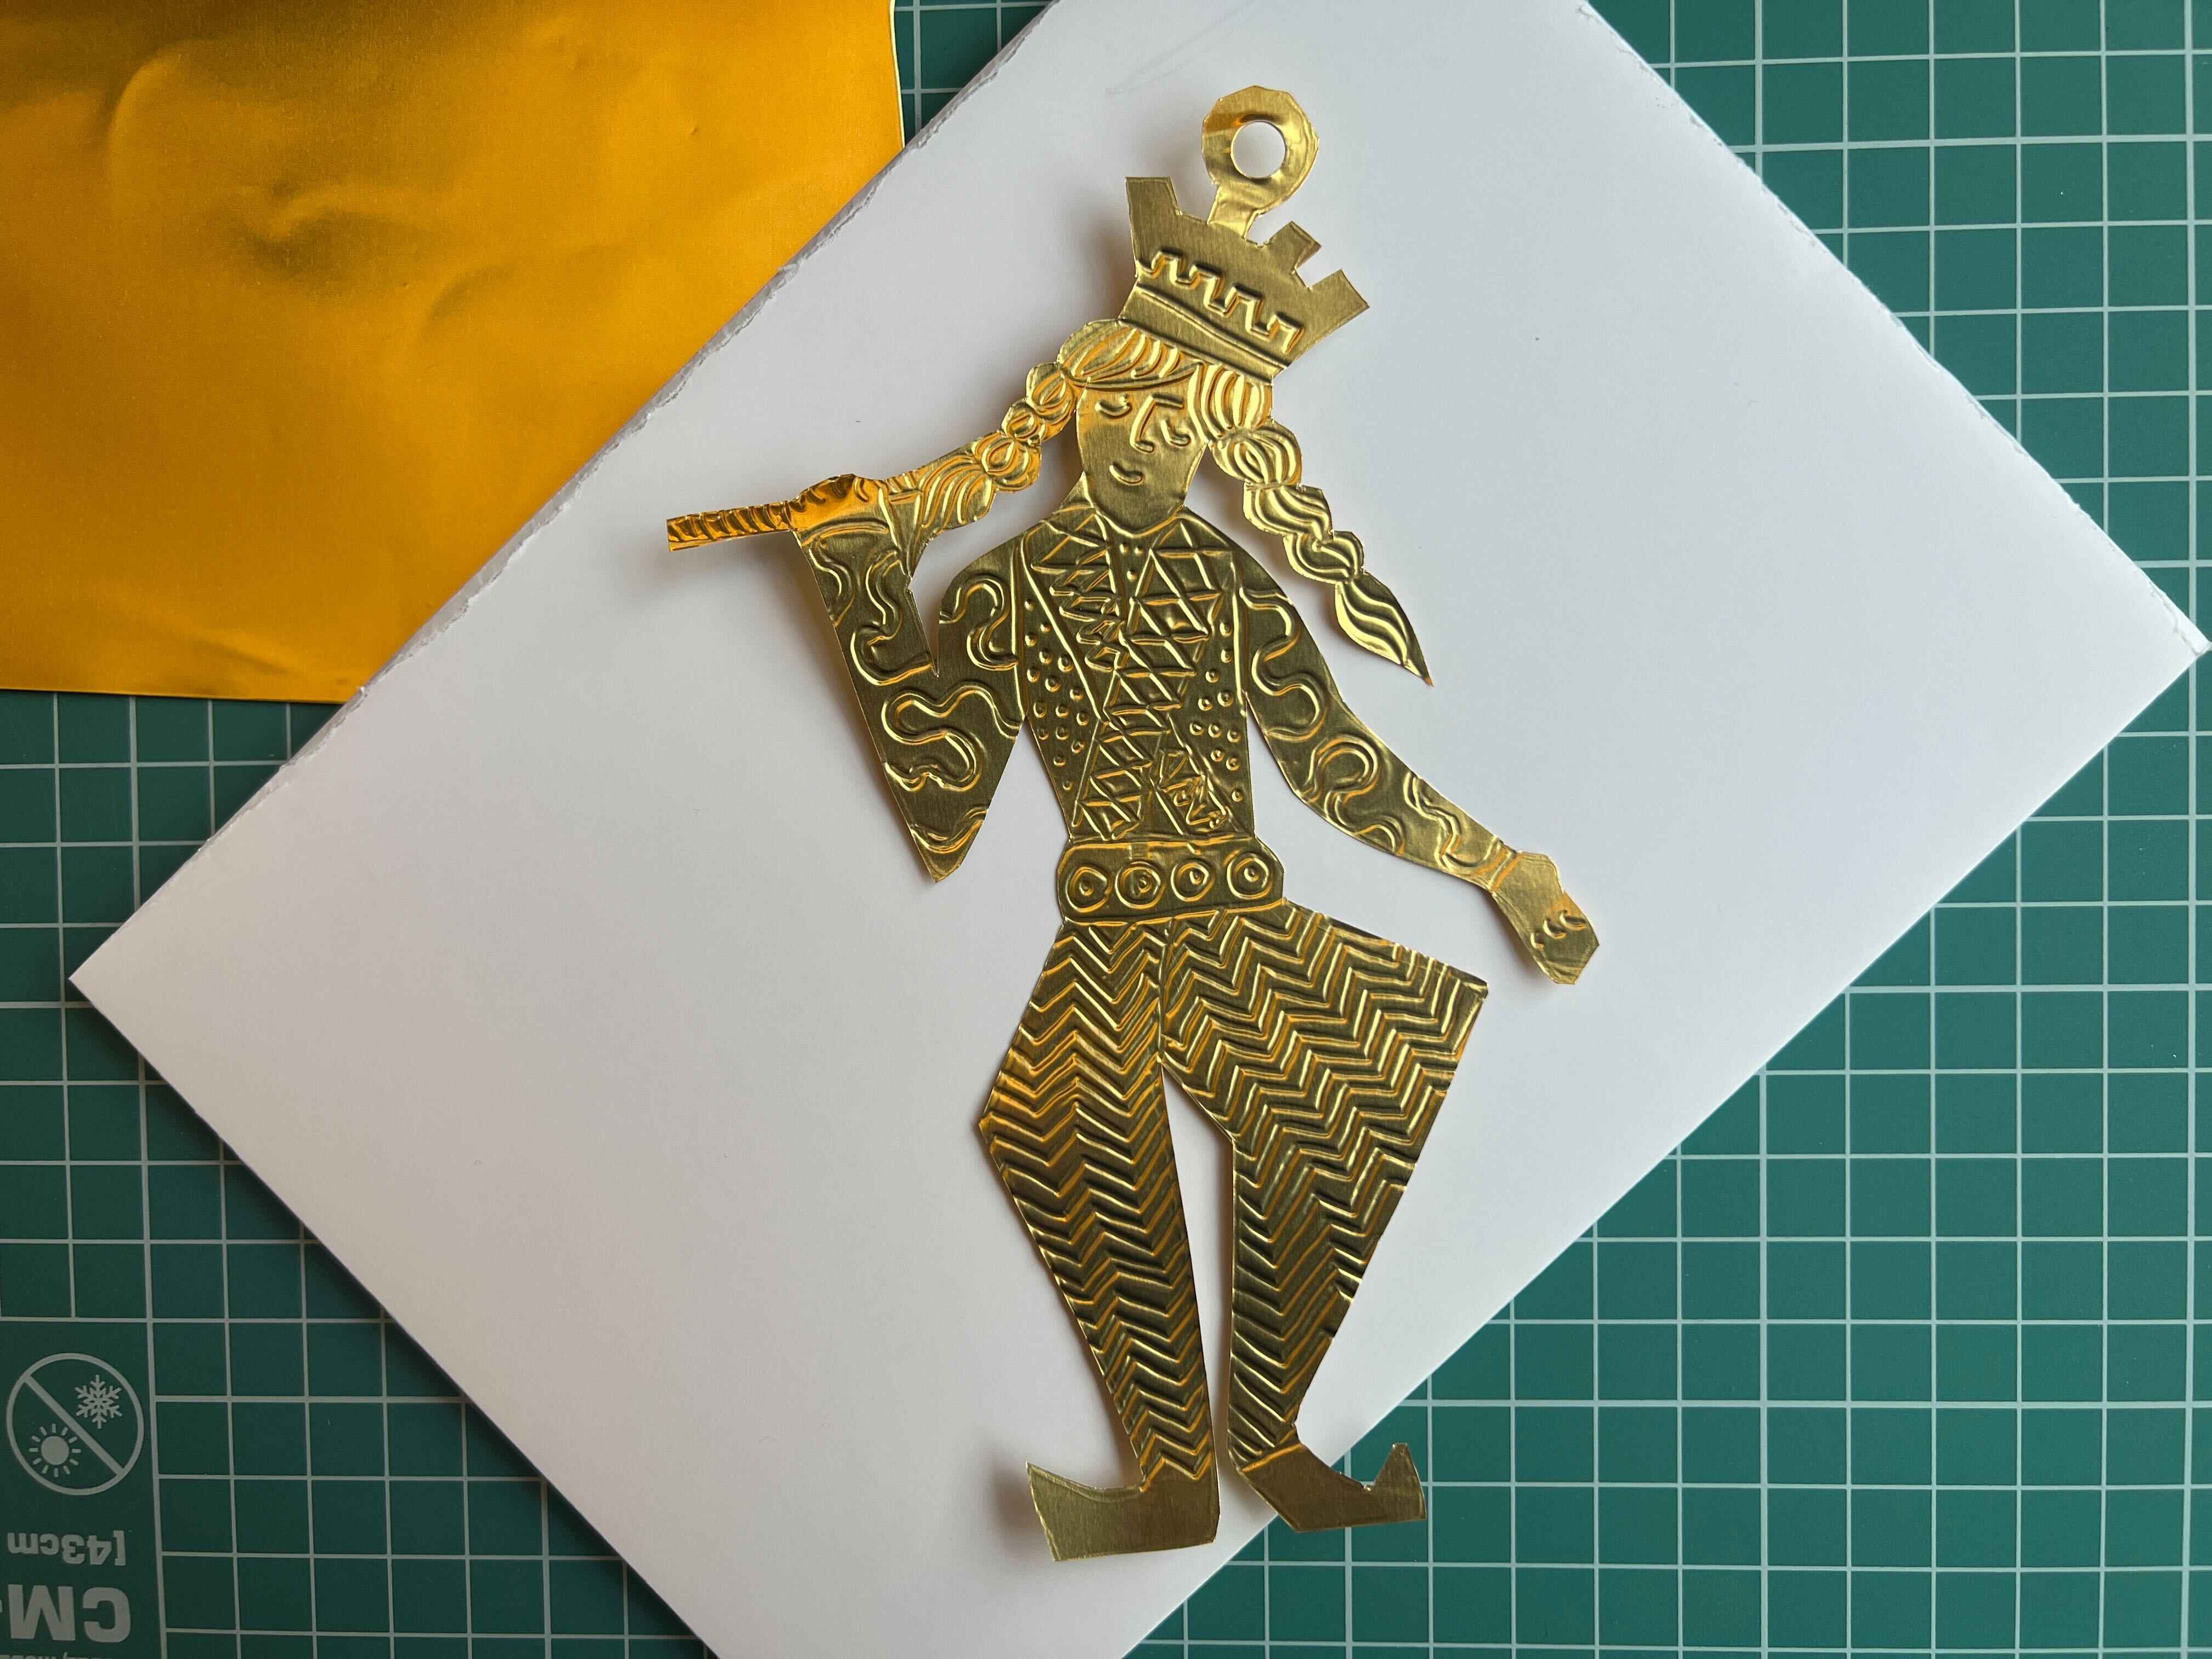
- Remember to cut around an extra little bit of metal if you want to hang your embossed metal as a decoration or garland. Then you can poke a hole through this with a needle or a hole punch and tie a piece of string or ribbon through.
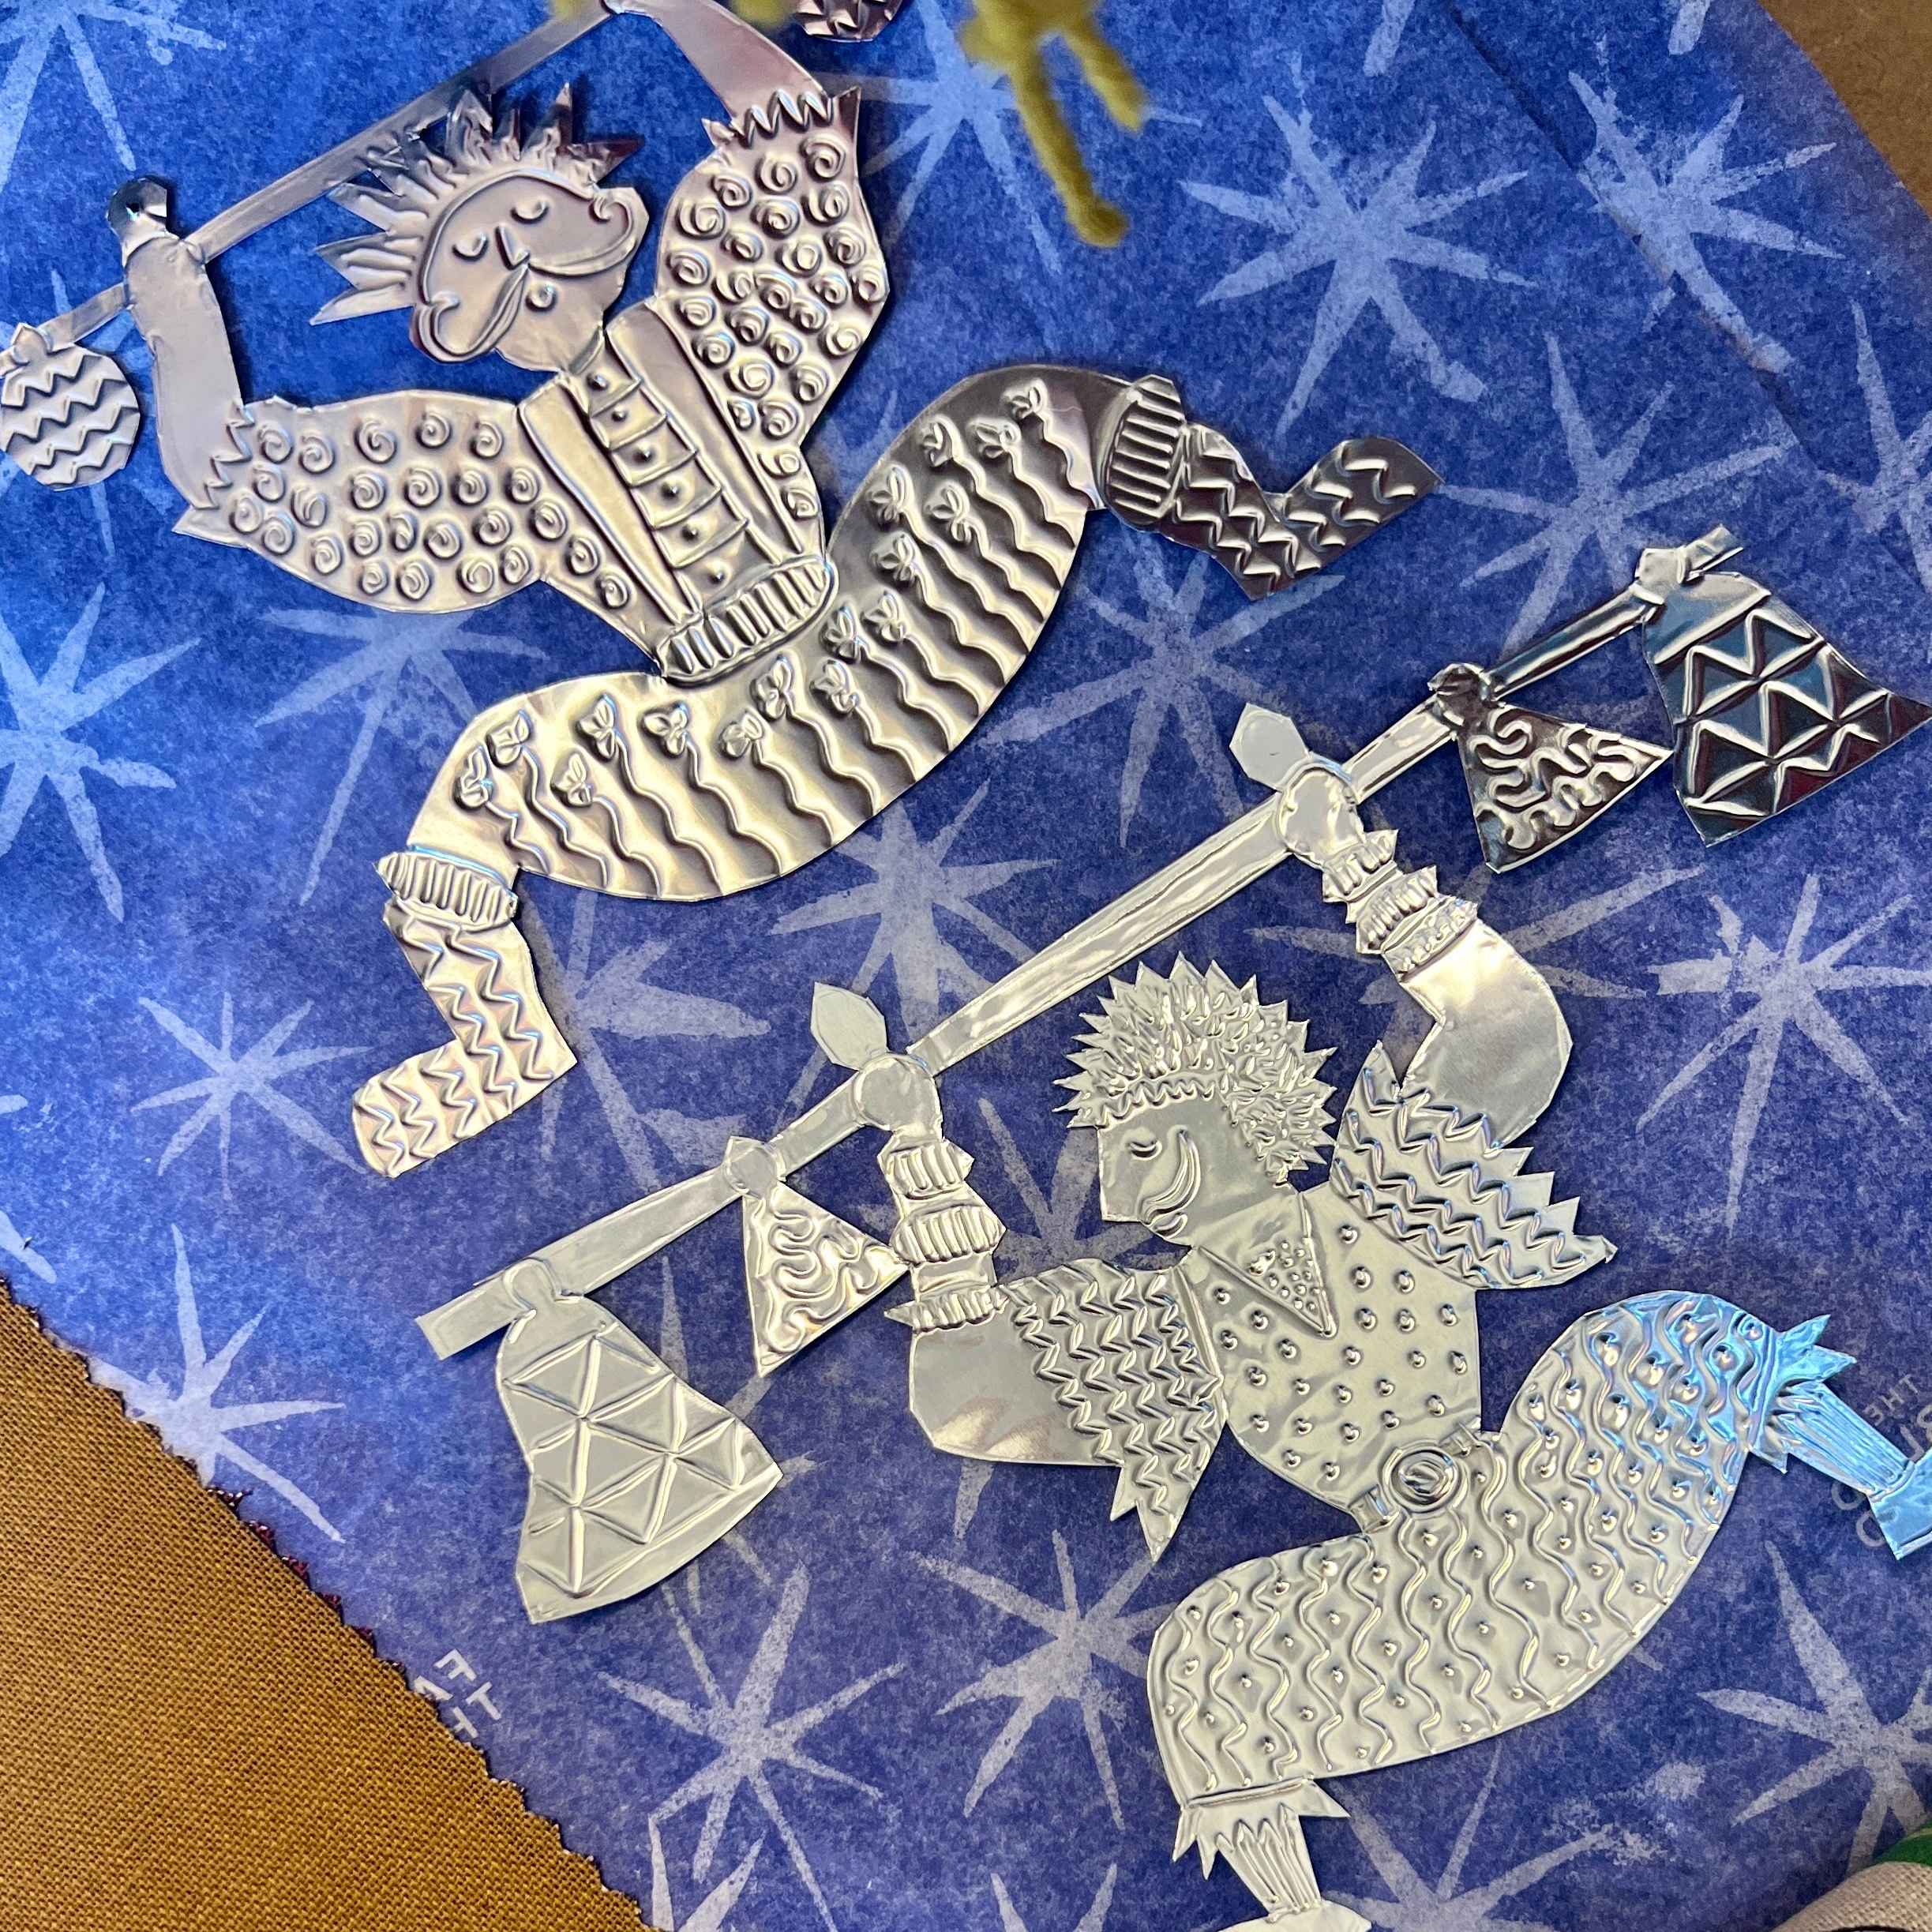
- Be careful about marking the foil in areas you don't want to have lines and also take care when doing the face as you really only have one attempt. Whilst you can get light embossed marks back out of the foil again using the rolling pin, if you have pressed hard you won't be able to get the lines out. Don't let this worry you though... even if it doesn't look exactly how you planned, the expressions are always charming!
- Once you have finished embossing your musicians, roll the rolling pin back across it, applying reasonable pressure. This helps fix the embossing and makes it more permanent.
- Your embossed pieces will last for years, just store them away flat in a box at the end of the year and when you get them out again, give them a light roll with the rolling pin to make them neat again.
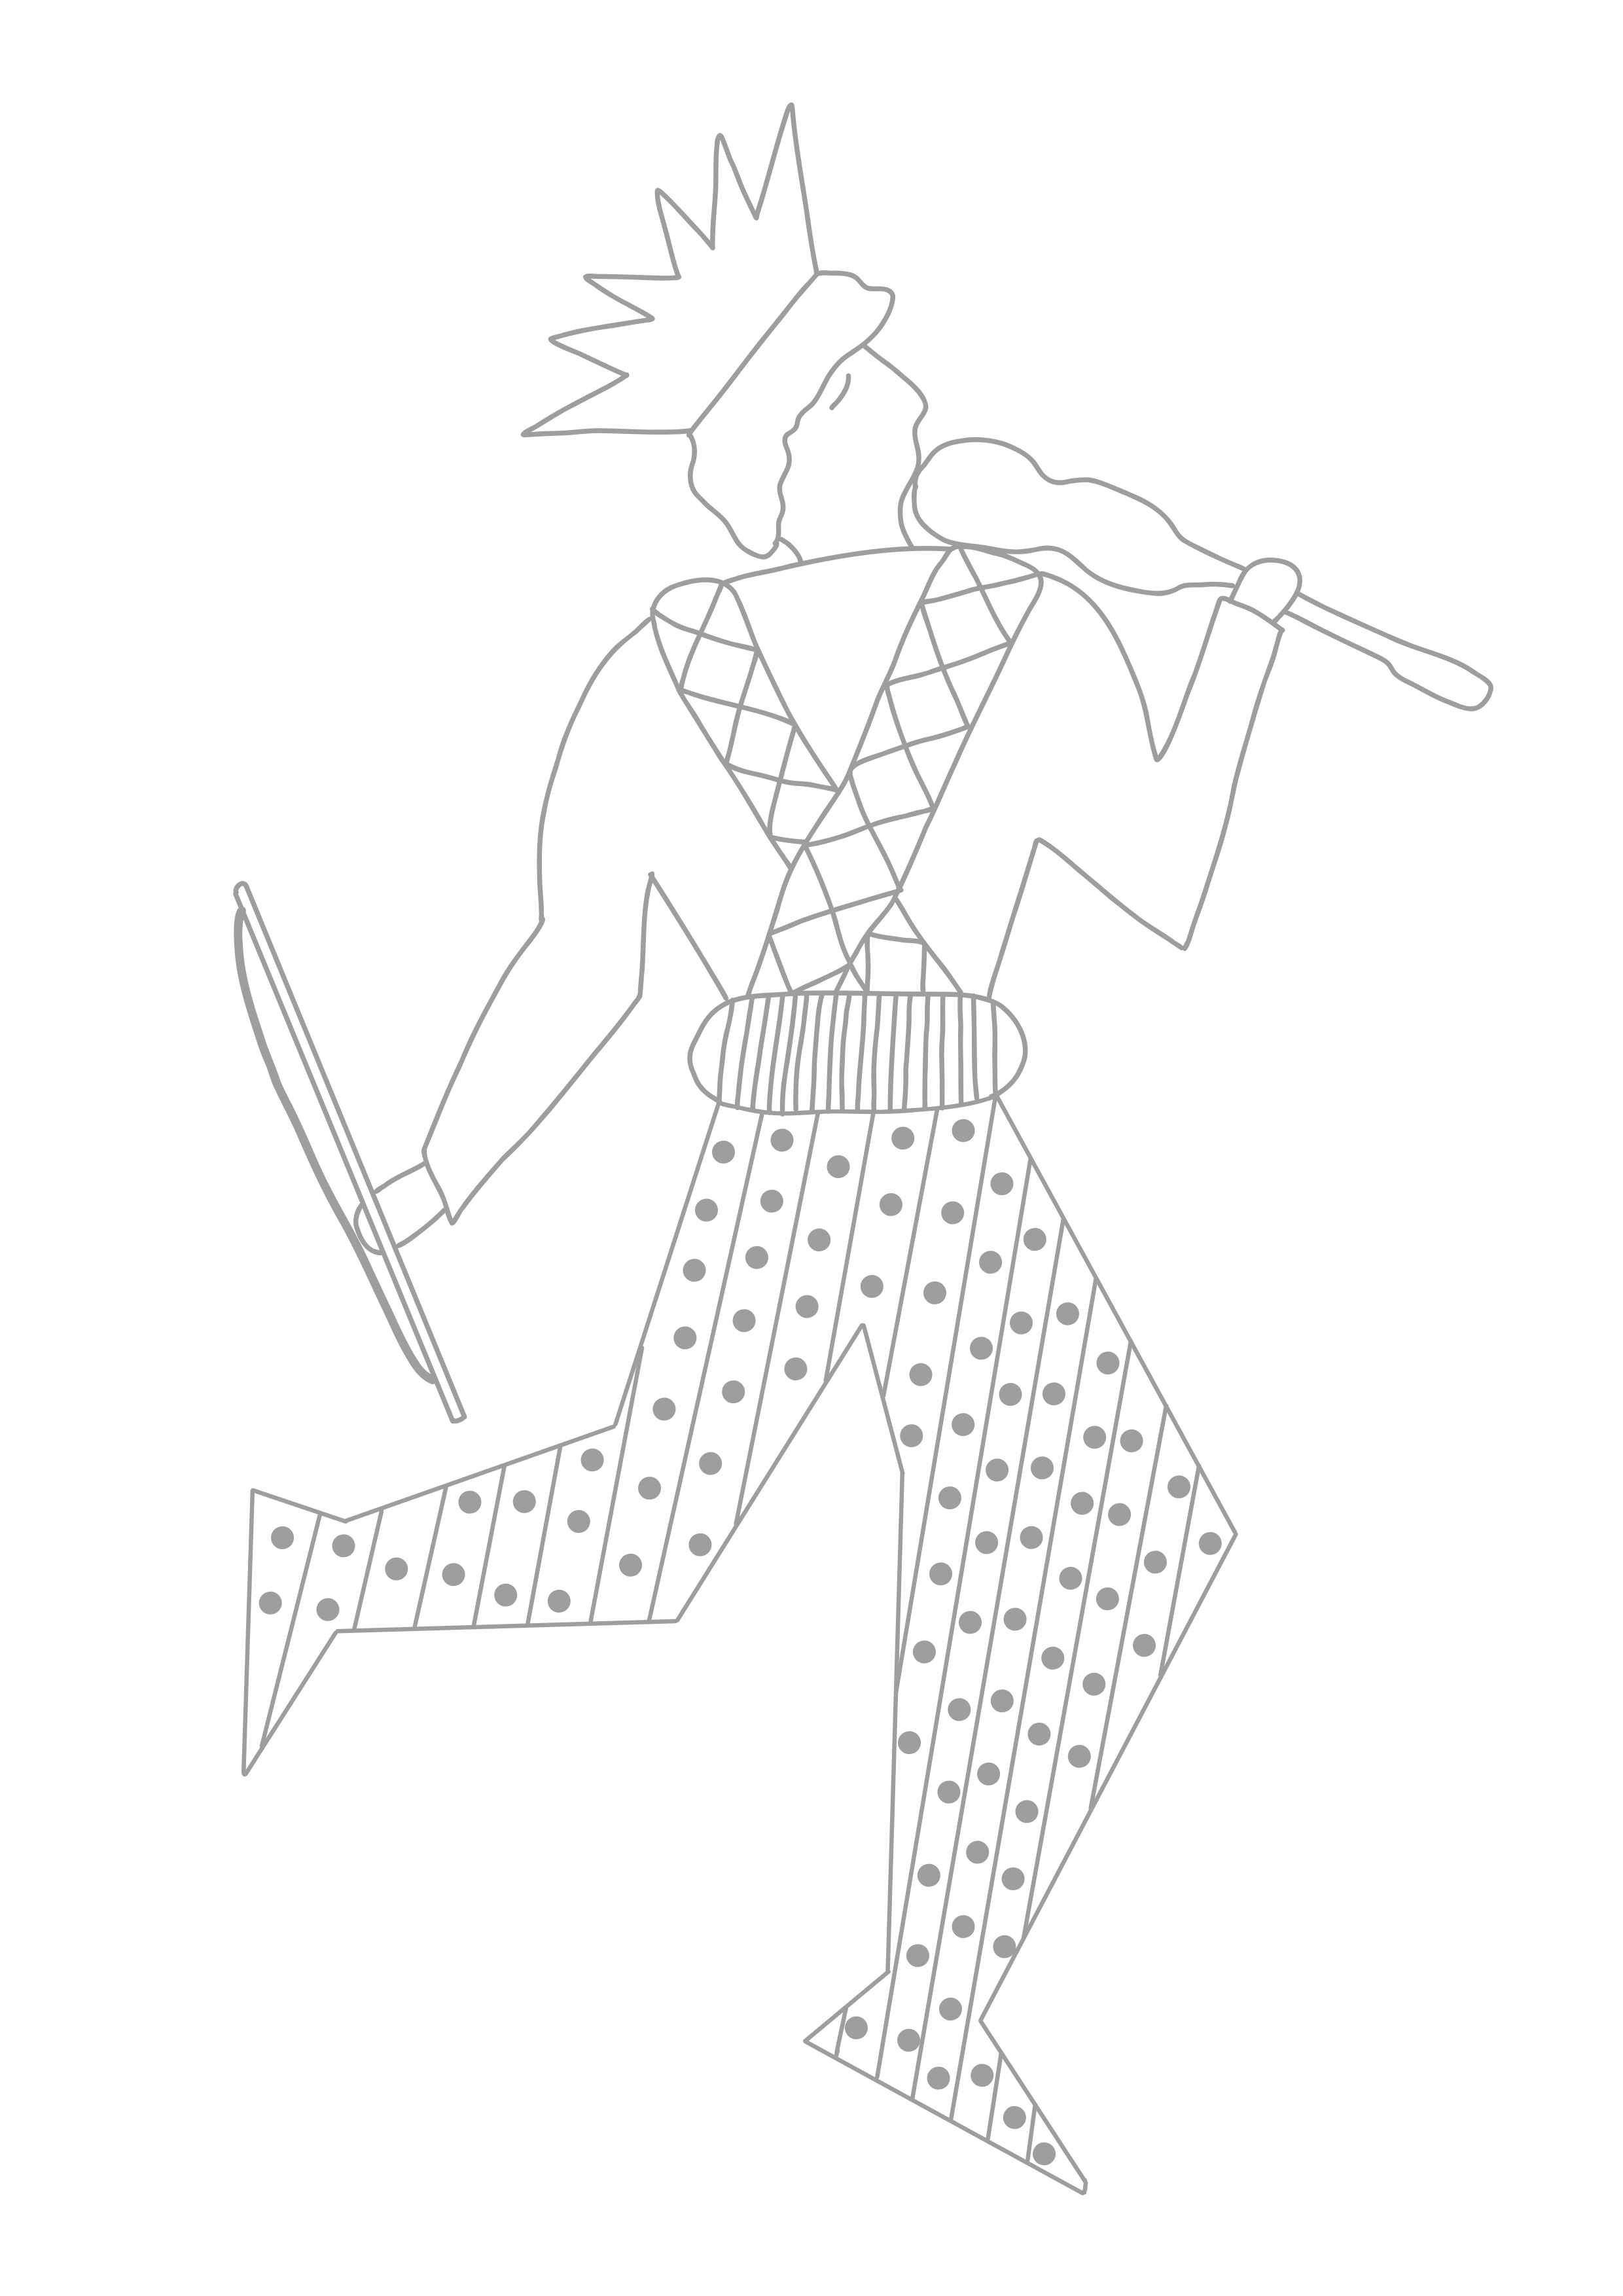
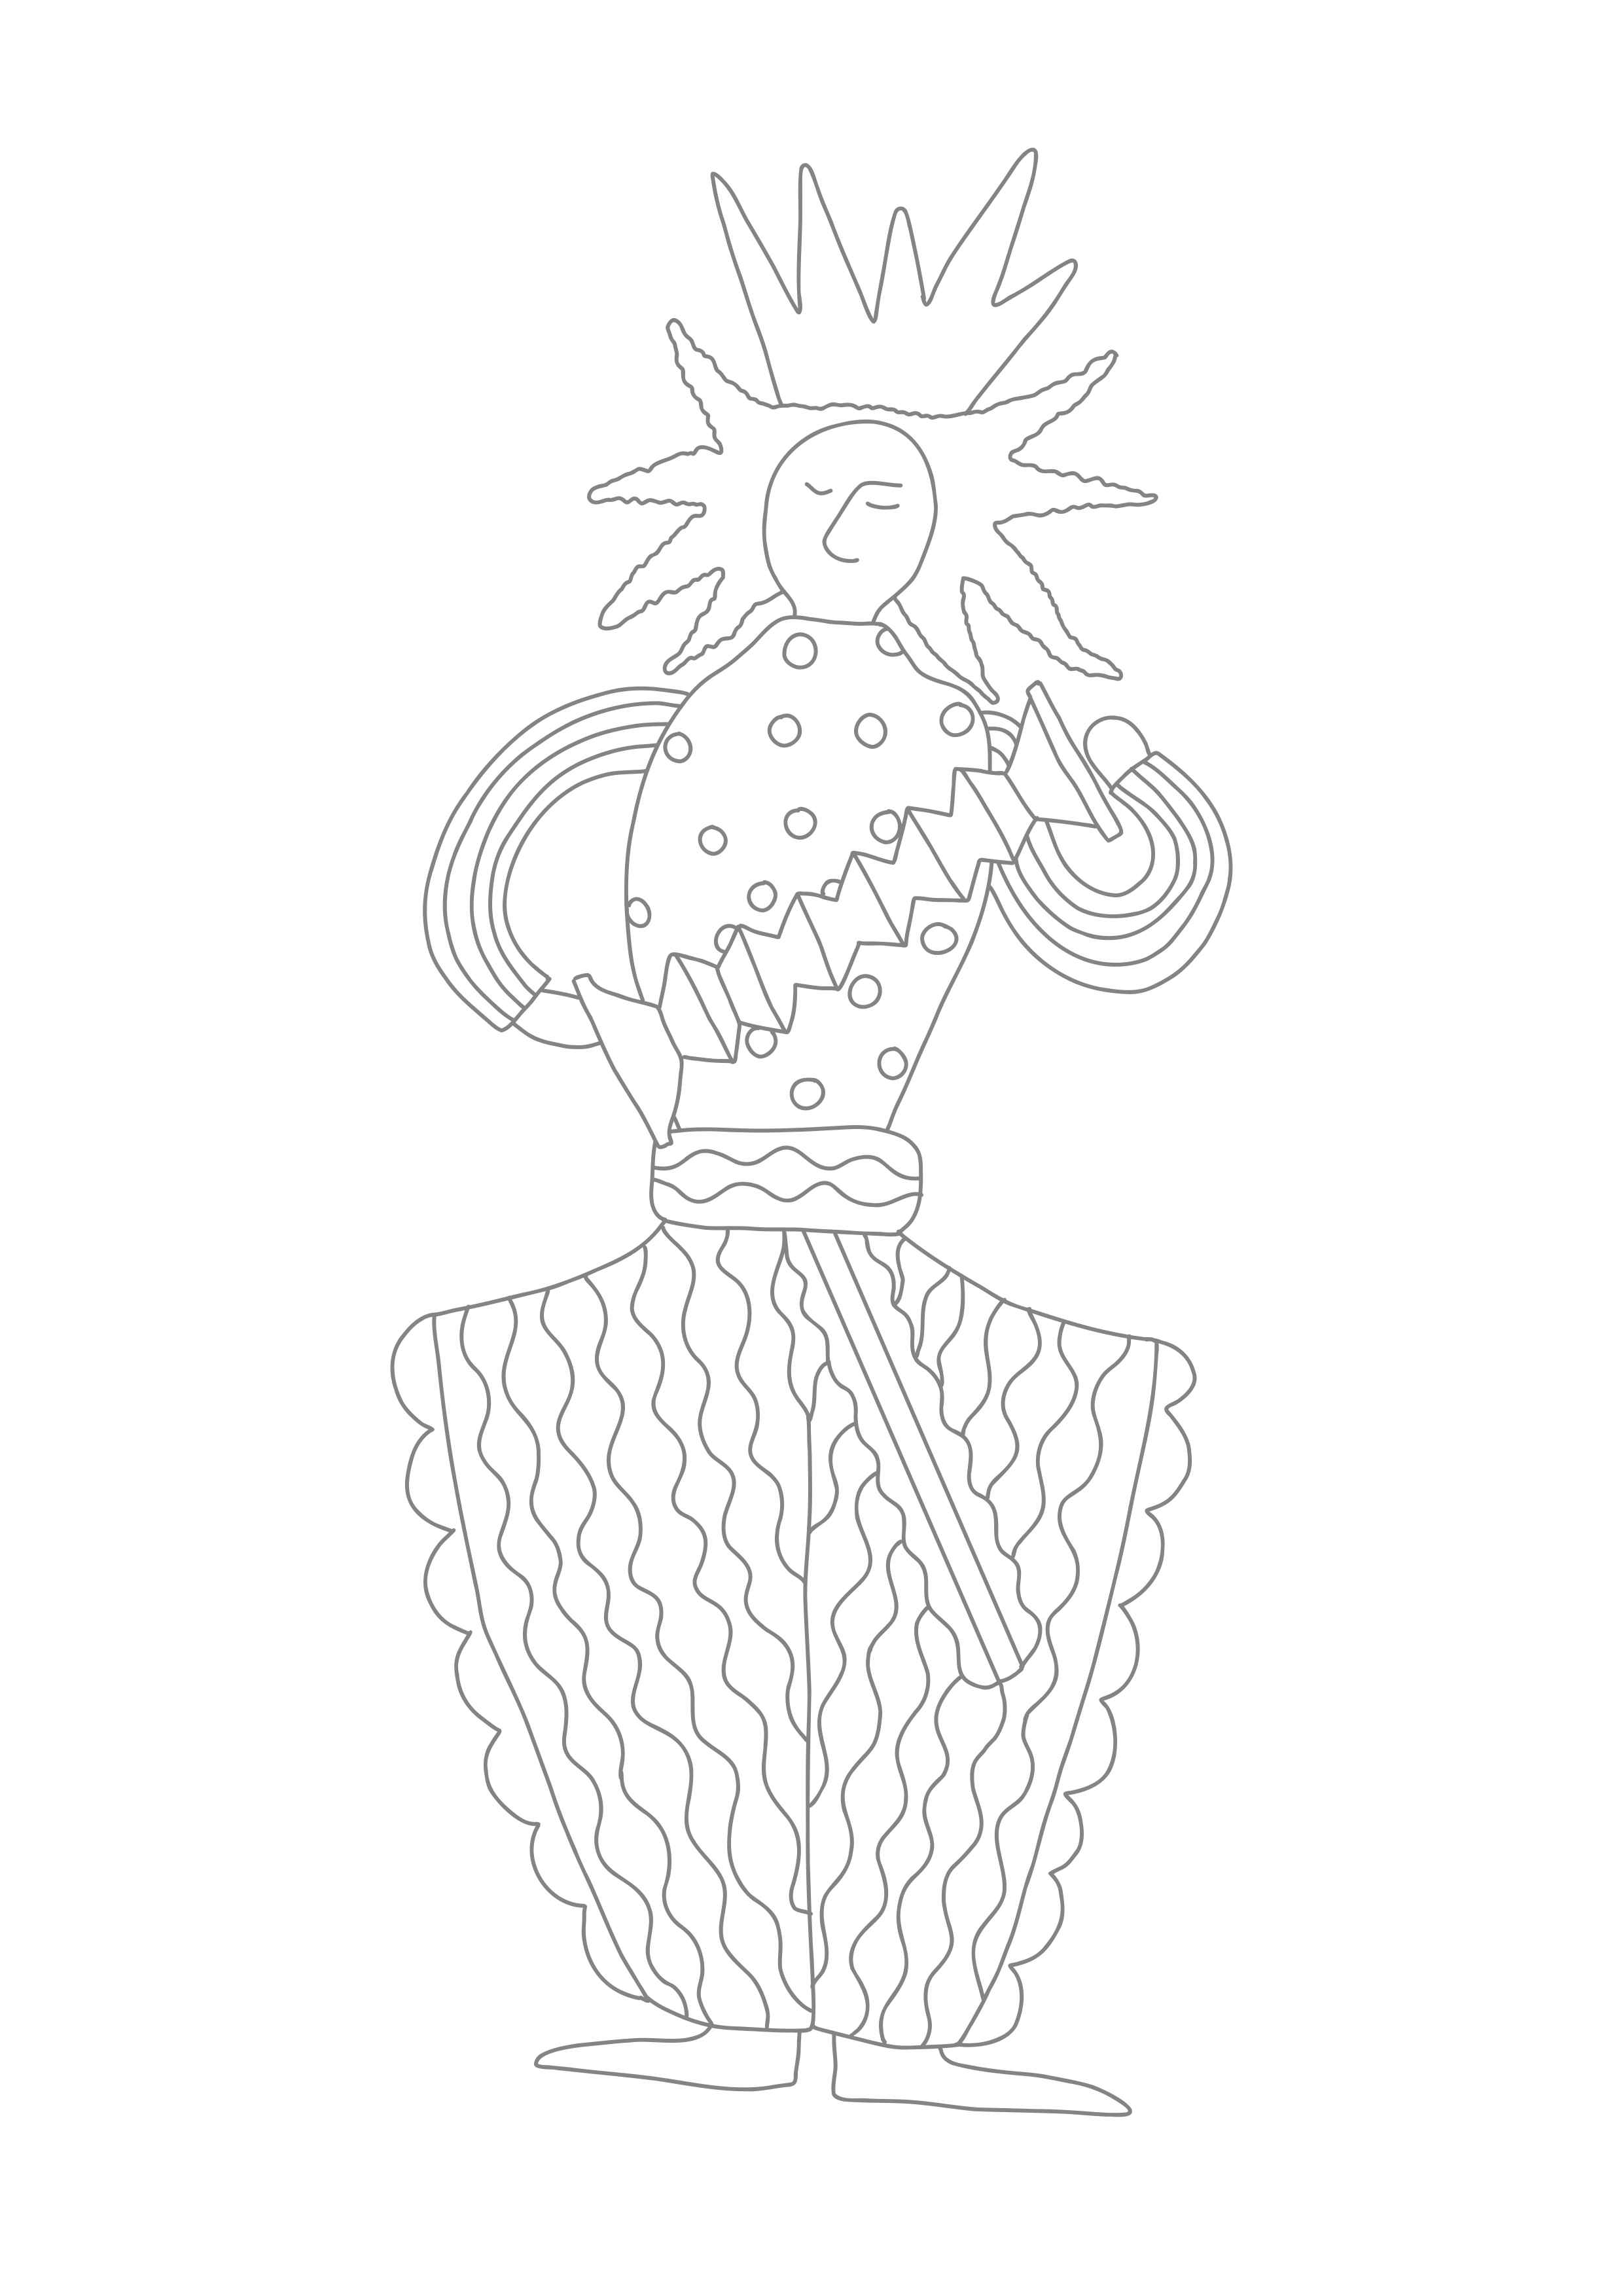
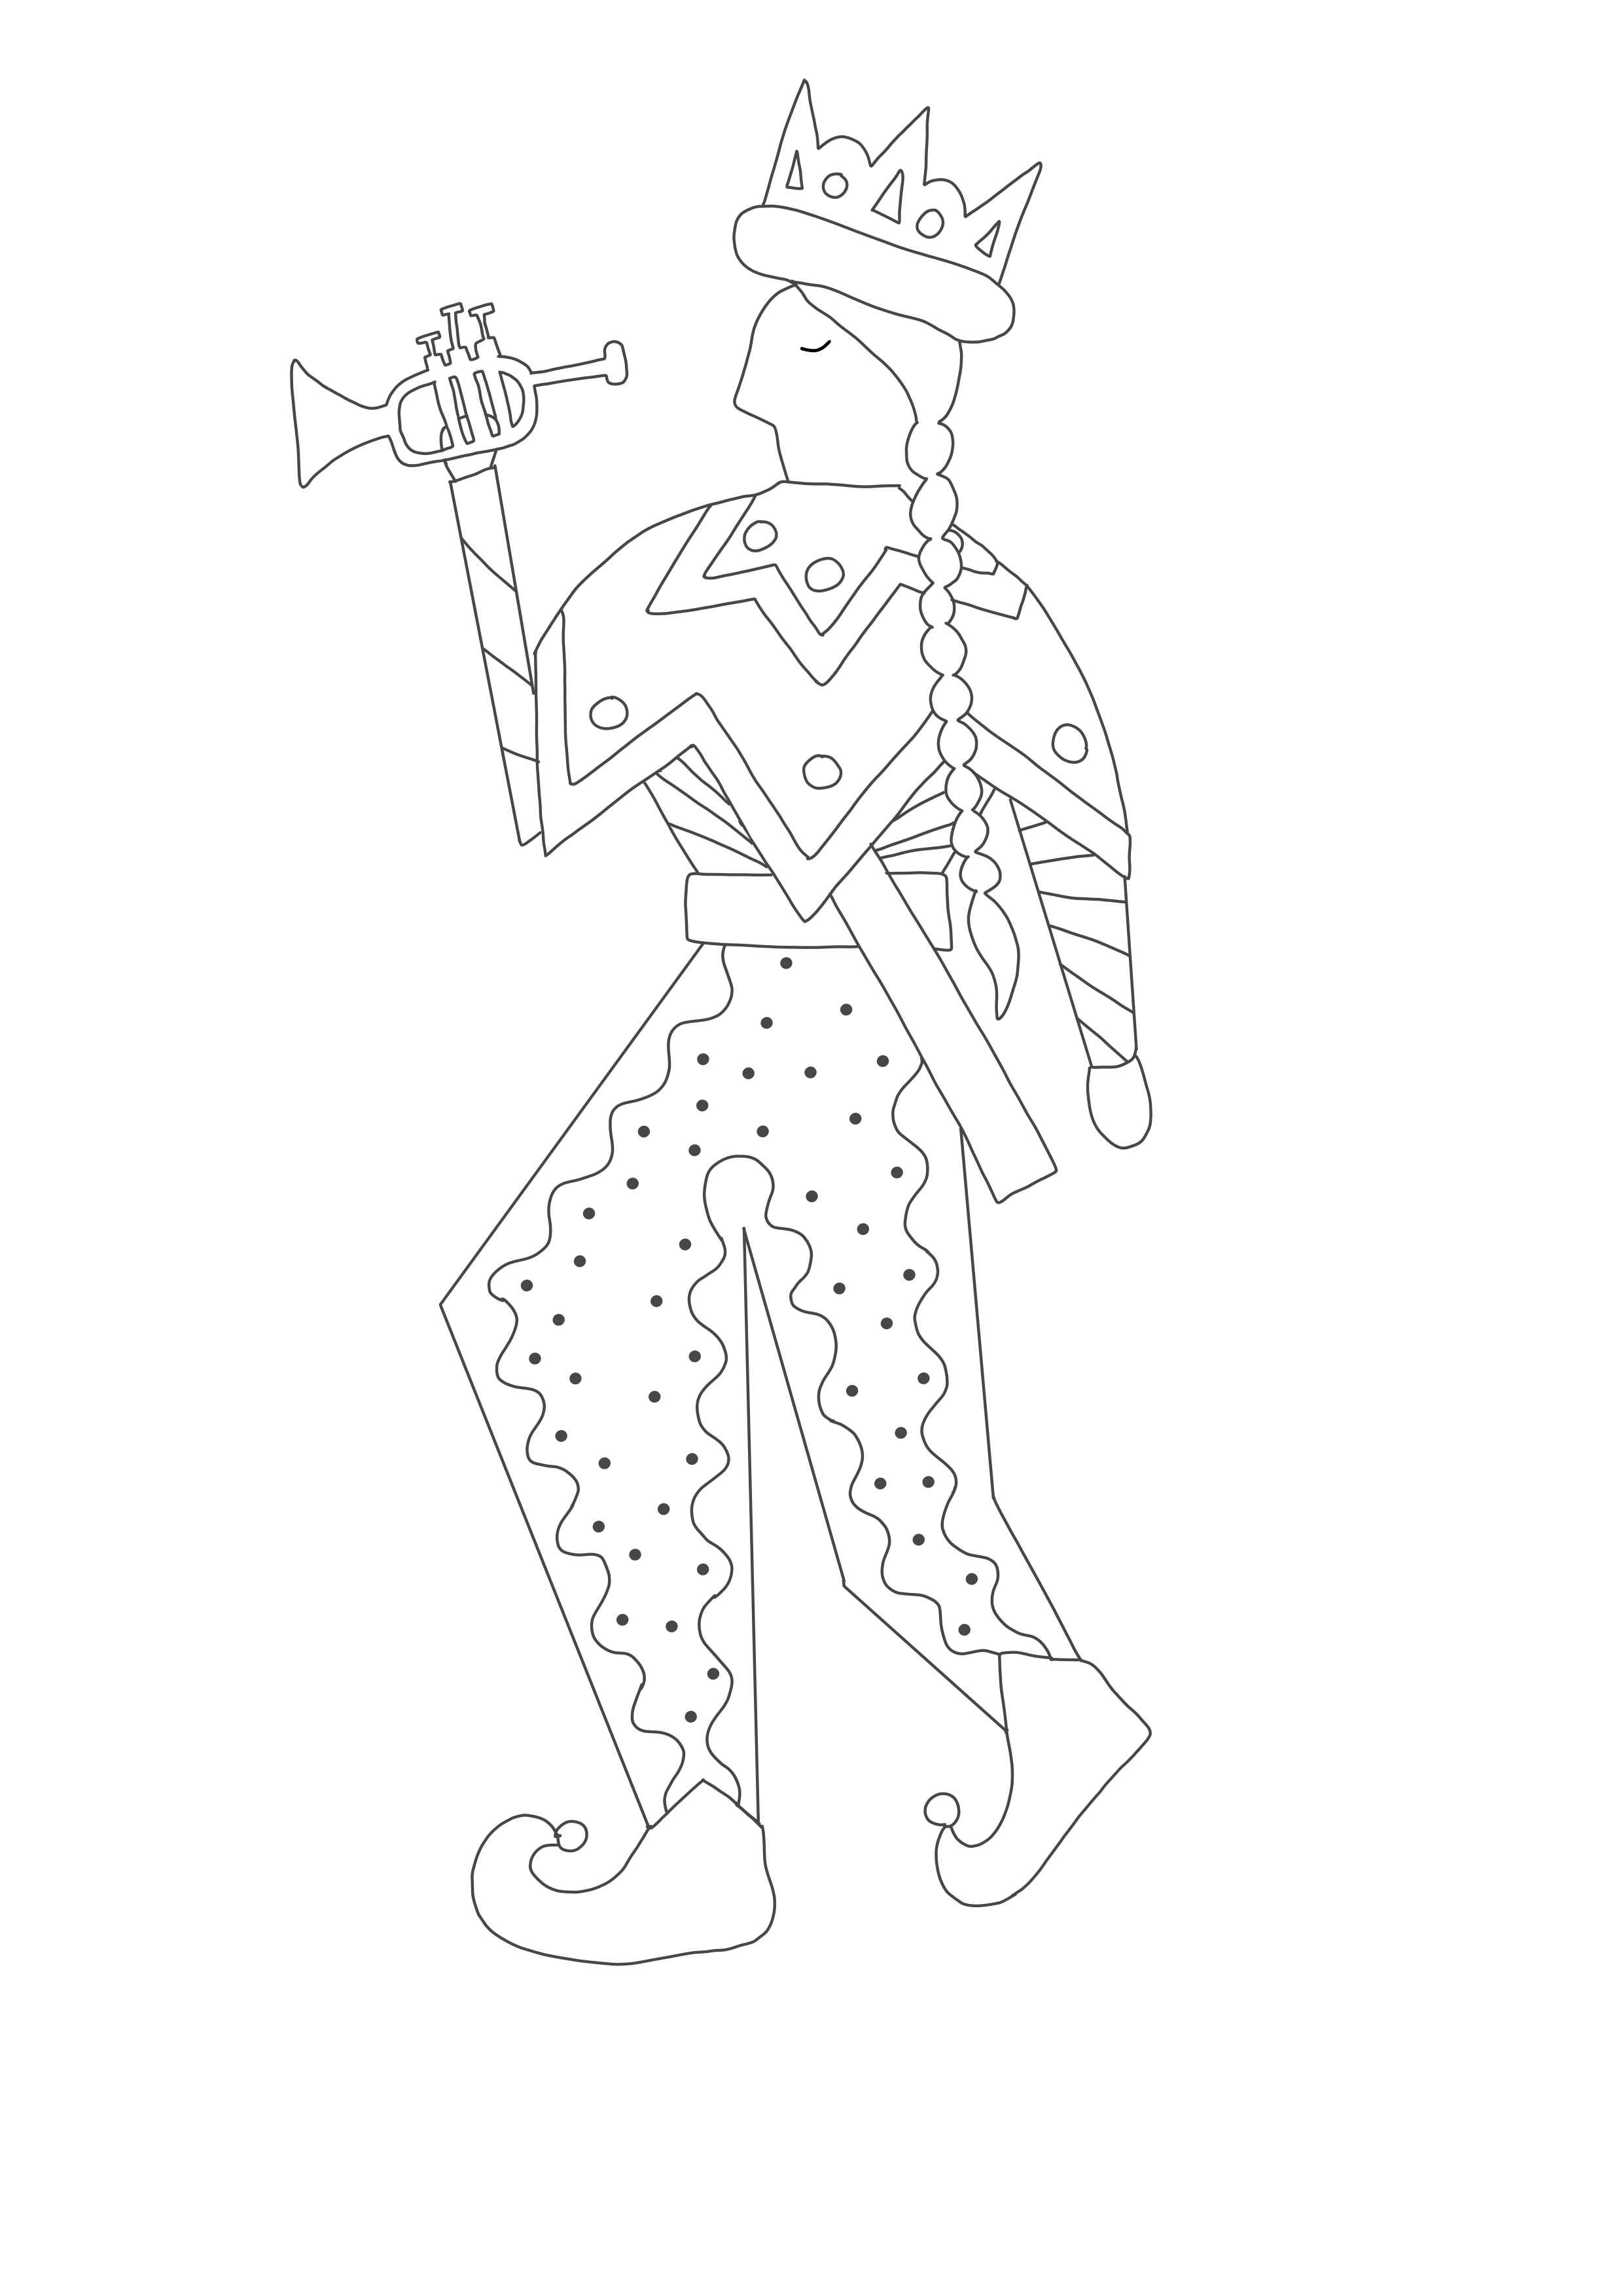
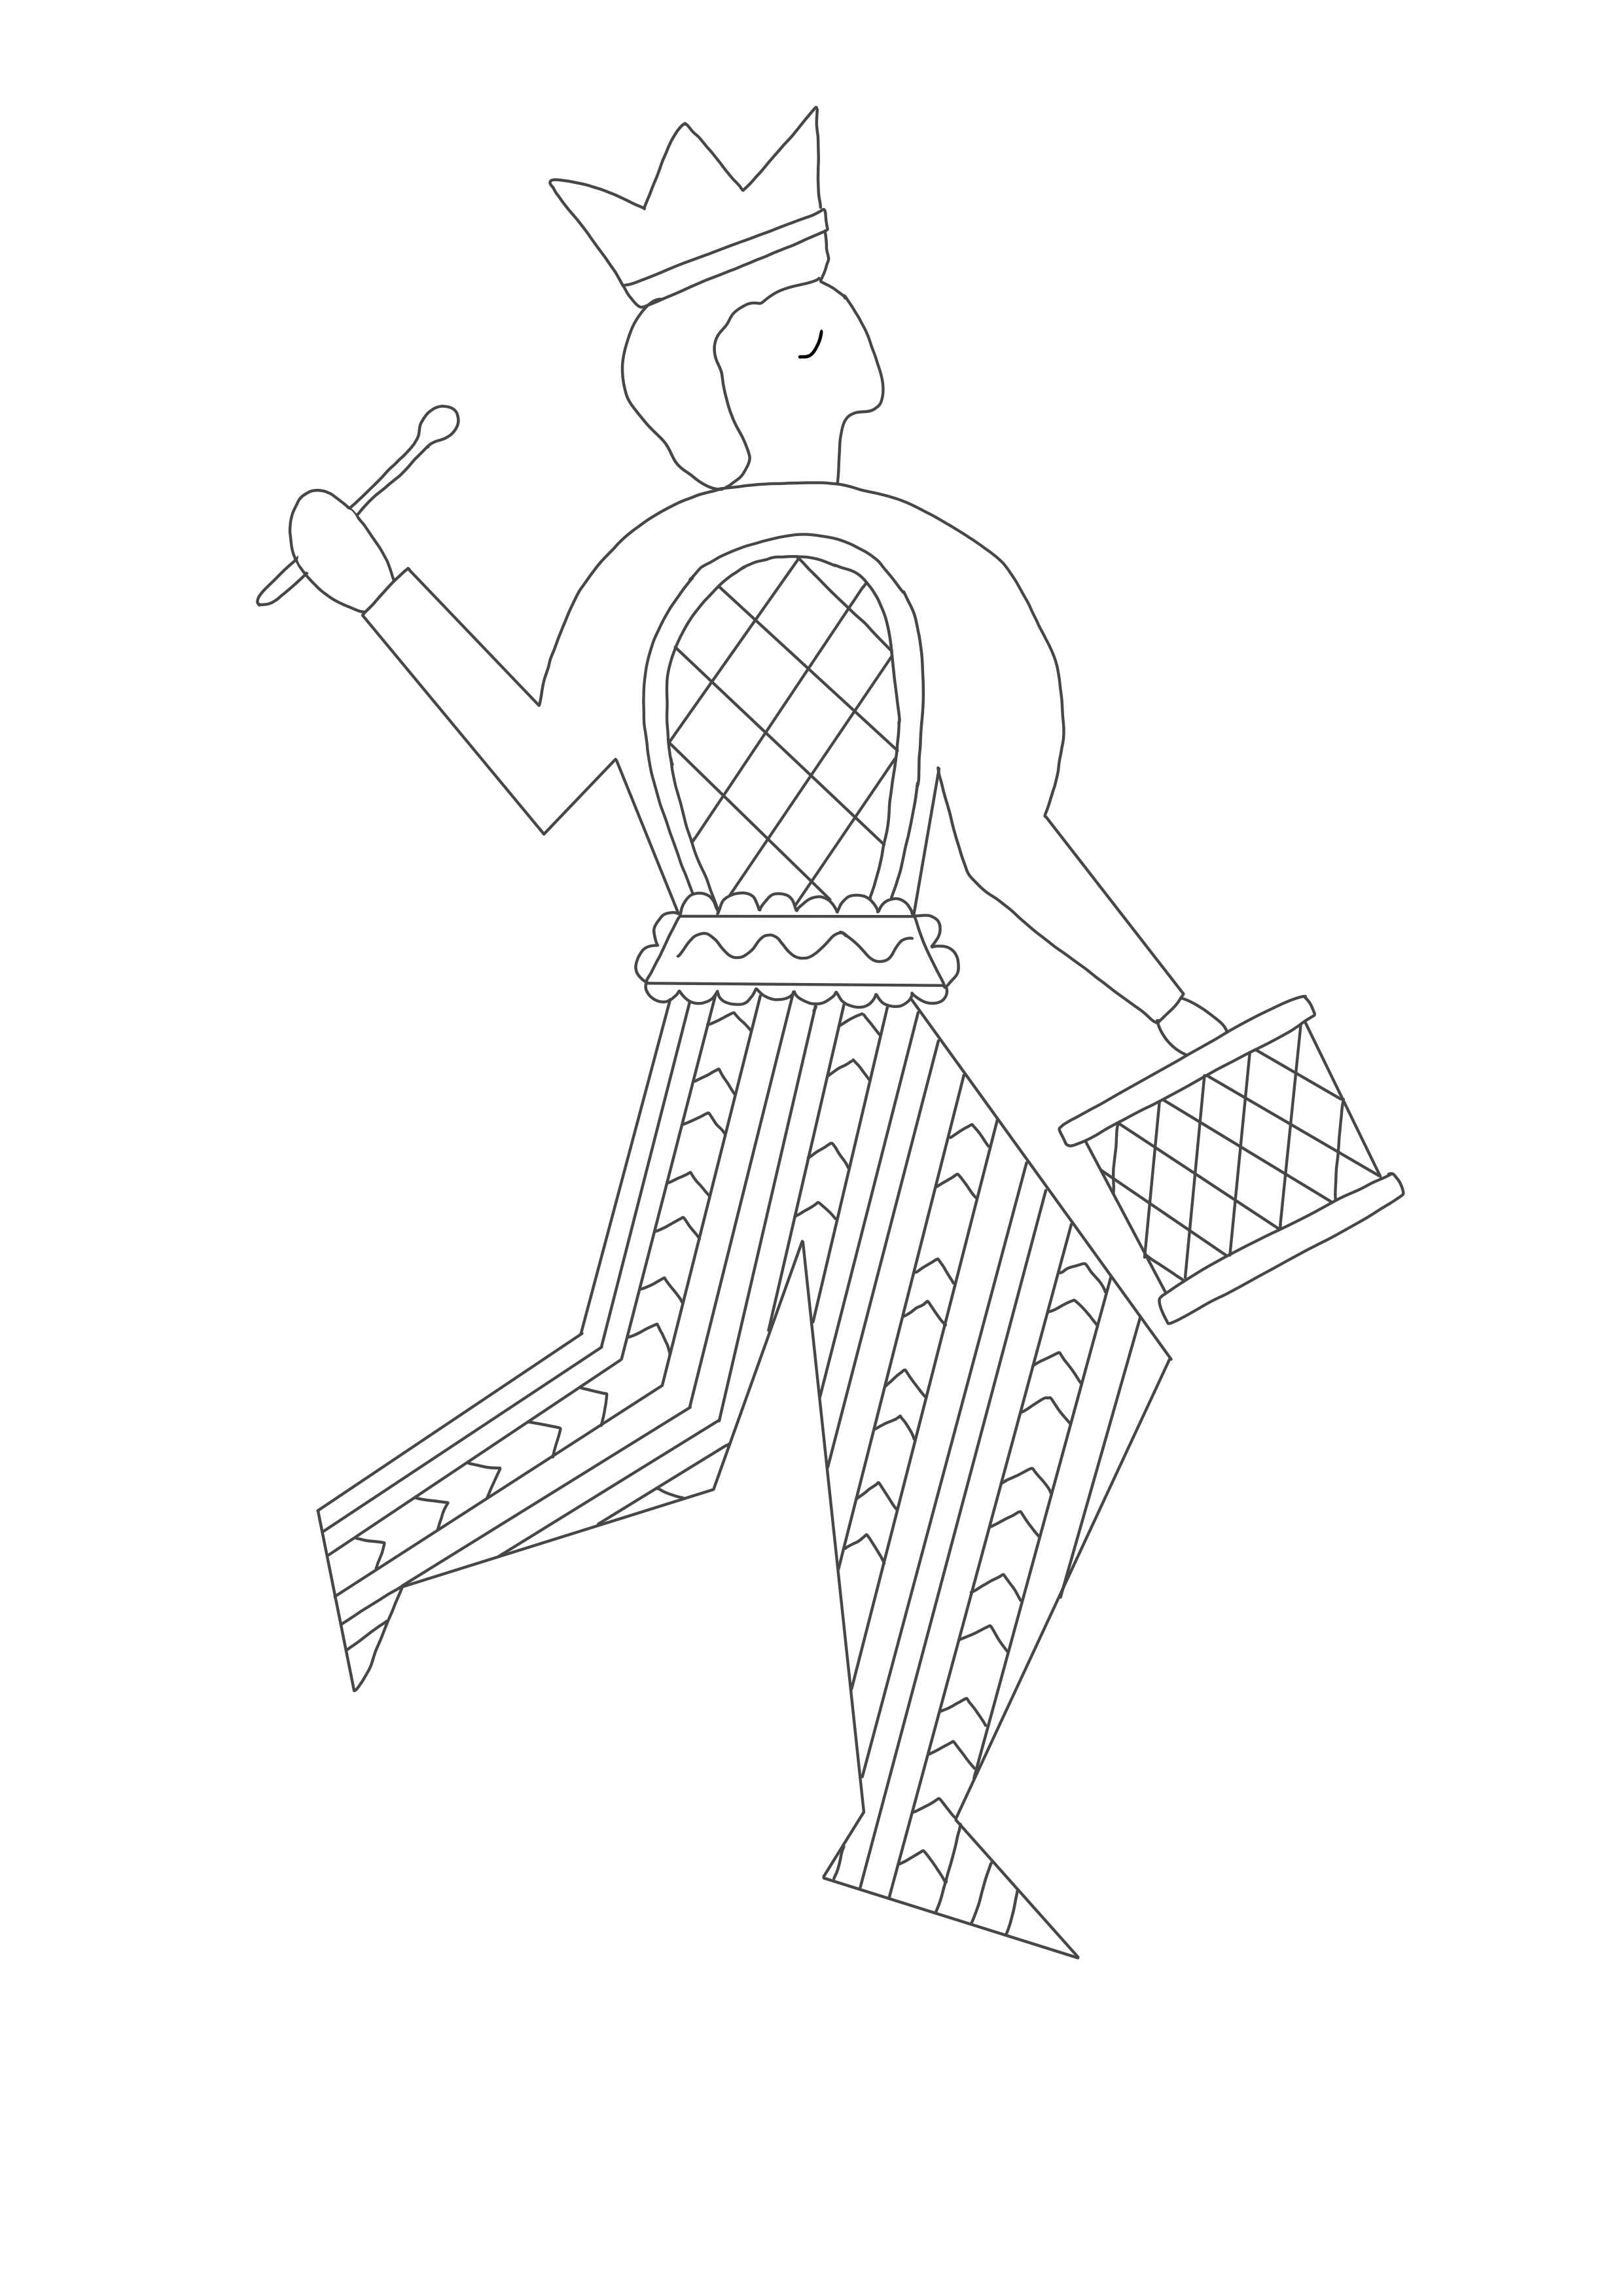
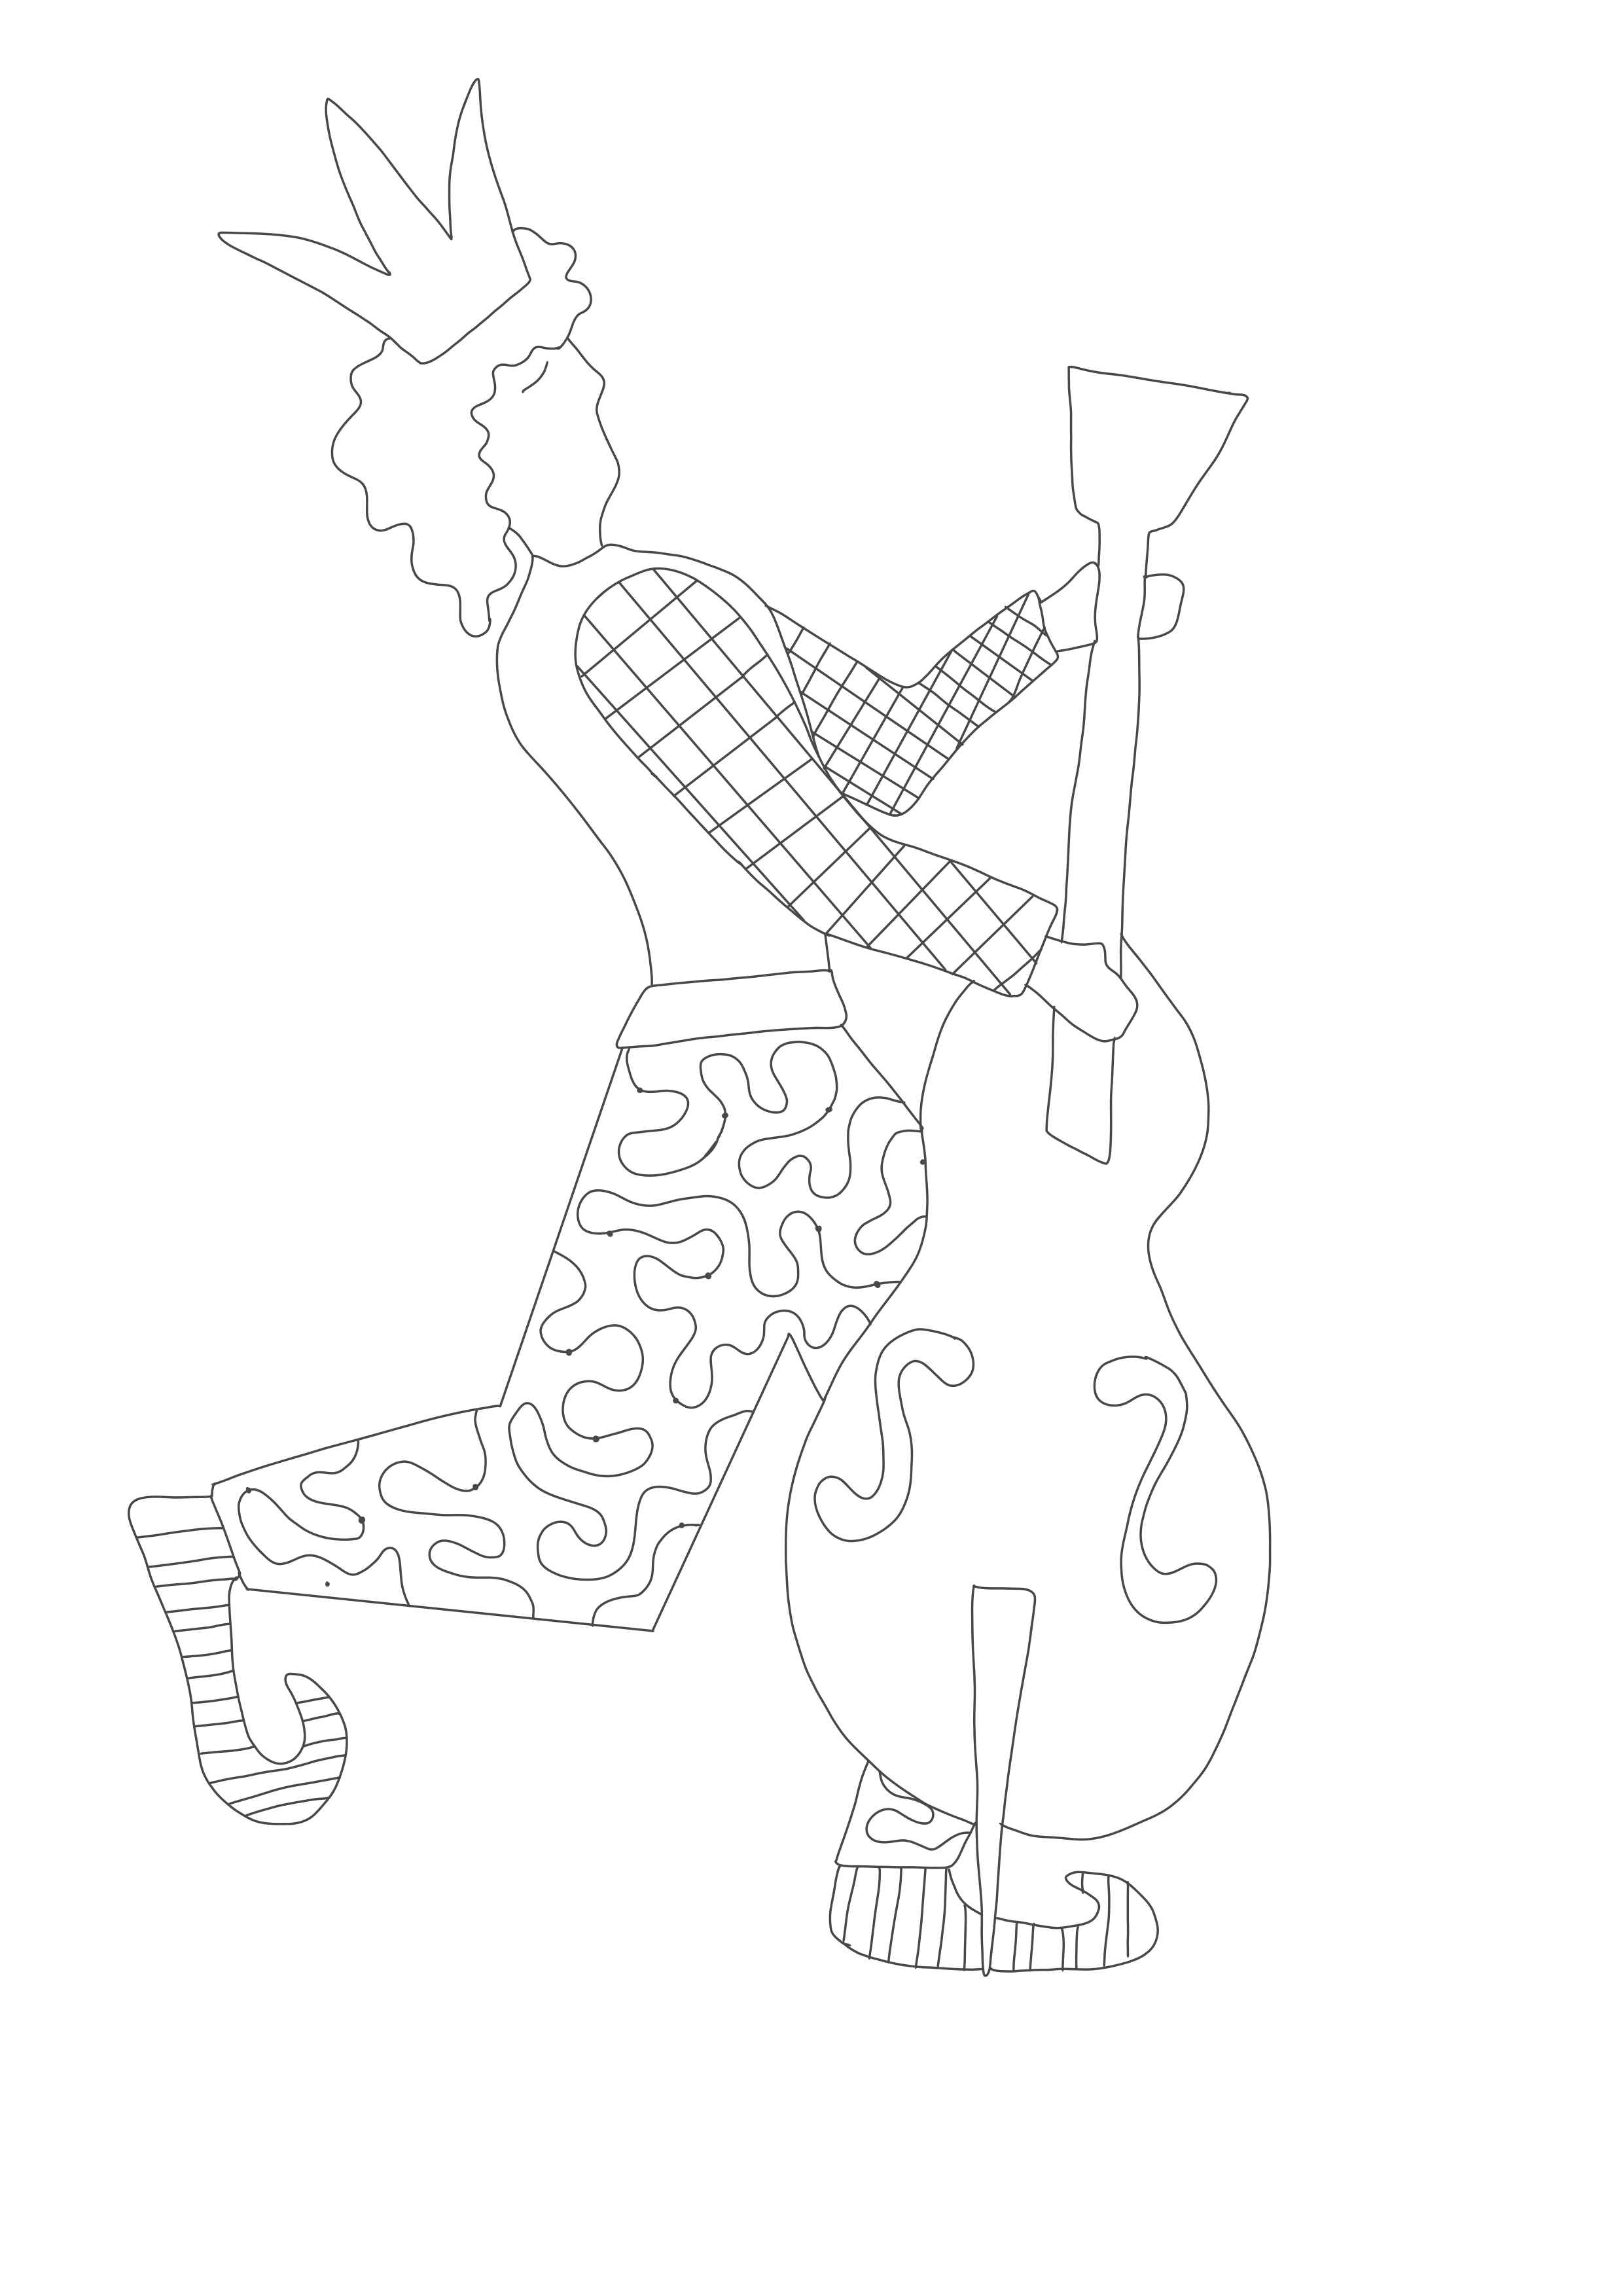
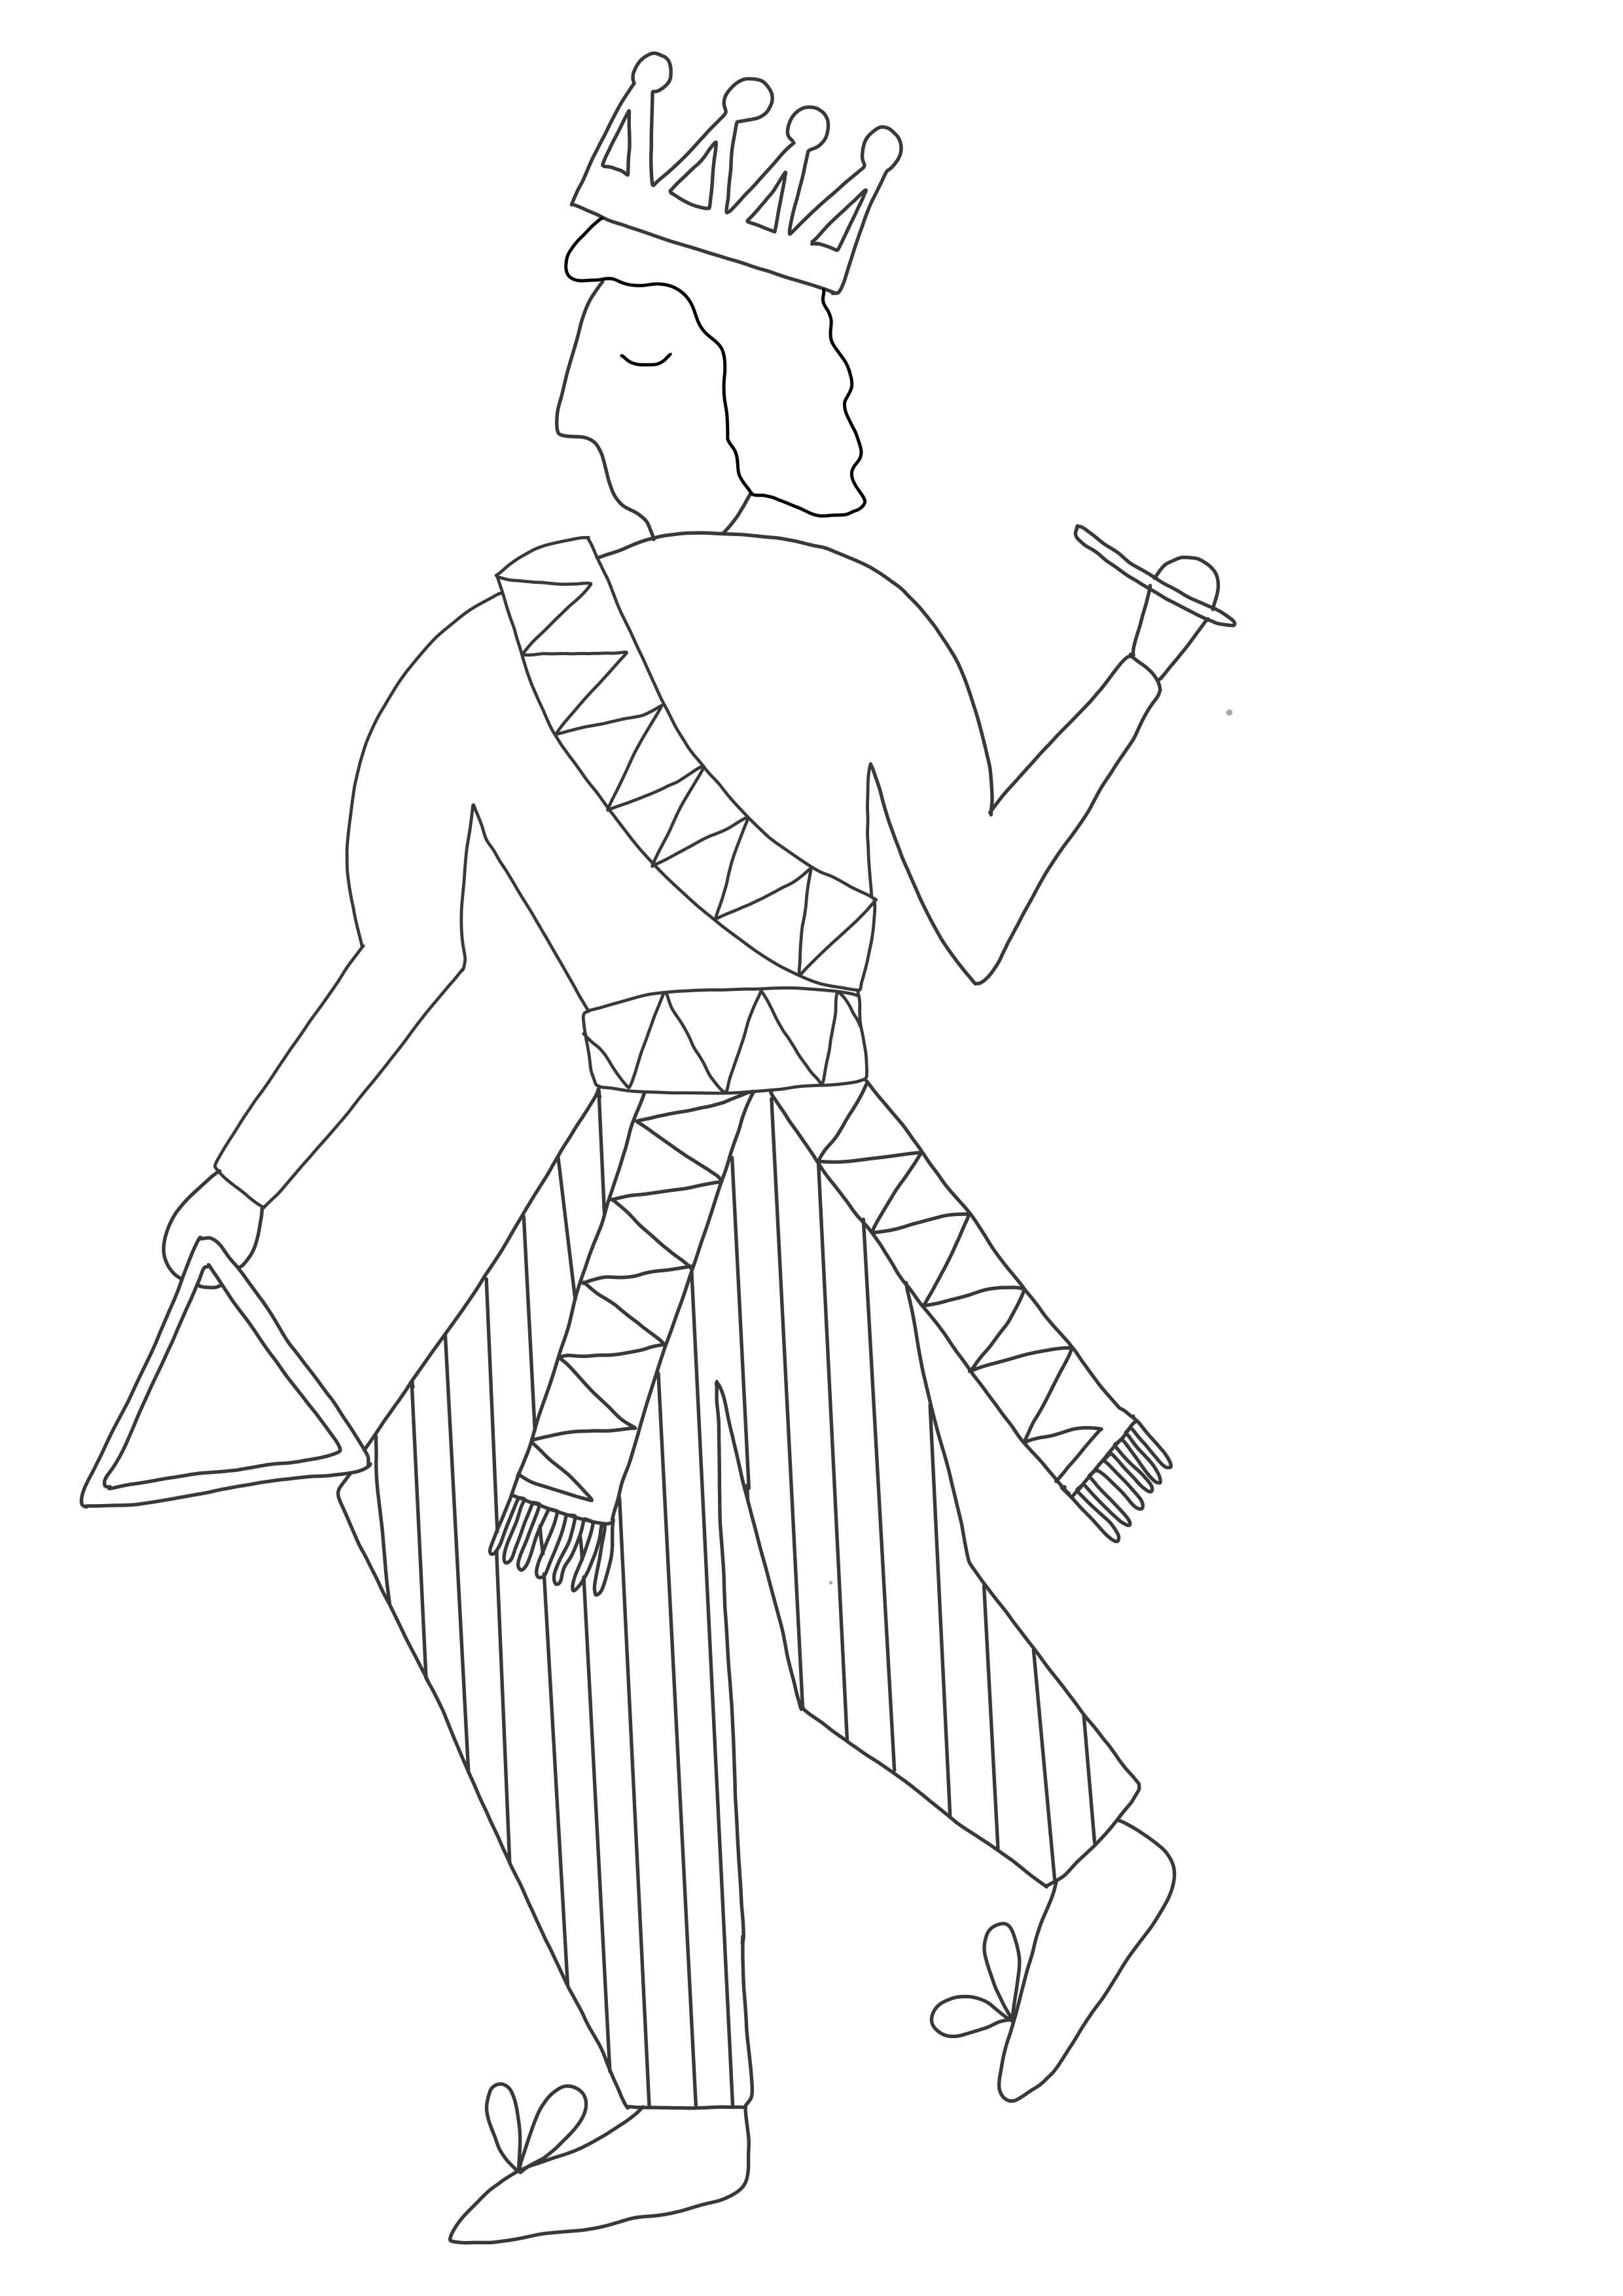
- If you want to explore different patterns to emboss onto your designs, then our Musician embroidery kits are great inspiration as these are filled with layers of patterns. You can find outlines of 6 different musicians below which you can use for your decorations. You just need to save these images and print them out onto paper, before tracing them. You should fit three onto an A4 sheet of paper to create roughly the same size garland as I did. Or if you prefer to make standalone musicians, then you can print them larger creating bigger spaces to emboss. I kindly ask you not the reproduce these for any other use than these decorations.
Common Questions About Metal Embossing
What kind of metal do you use for metal embossing?
- Use recycled aluminium for an eco-friendly option, just making sure it's relatively thick, rather than tin foil. Tomato purée tubes, drinks cans, or chocolate coin foil all work well!
- You can also buy our craft aluminium sheets specifically for metal embossing
- If you're planning on using a thicker kind of metal, you’ll need different tools, since it’s harder to mark the surface to show your designs.
Is metal embossing safe?
- Metal embossing involves cutting the metal to your desired shape, which creates sharp edges. For this reason, you should take care when handling any metal and make sure that children are supervised to prevent injury.
- Take care if you're using a craft knife, making sure to use a cutting mat and to cut away from your other hand.
What tools do you need for metal embossing?
- You’ll need scissors, a sheet of metal to emboss, and a sharp tool for embossing. If tracing a design first you'll also need tracing paper and a pencil
Can you emboss metal without special tools?
- Yes! You can emboss with any tool that will mark grooves in the metal sheets. You could use a pen, a knitting needle, a spoon or fork...
- You don't have to buy embossing metal either. You can recycle tomato puree tubes if you don't mind having one-sided decorations. Chocolate coin foil also works well if you want small, round decorations.
How do you hang or display embossed metal?
- You could hang your decorations individually or as a garland by poking a hole through the top and threading a string or thin ribbon through.
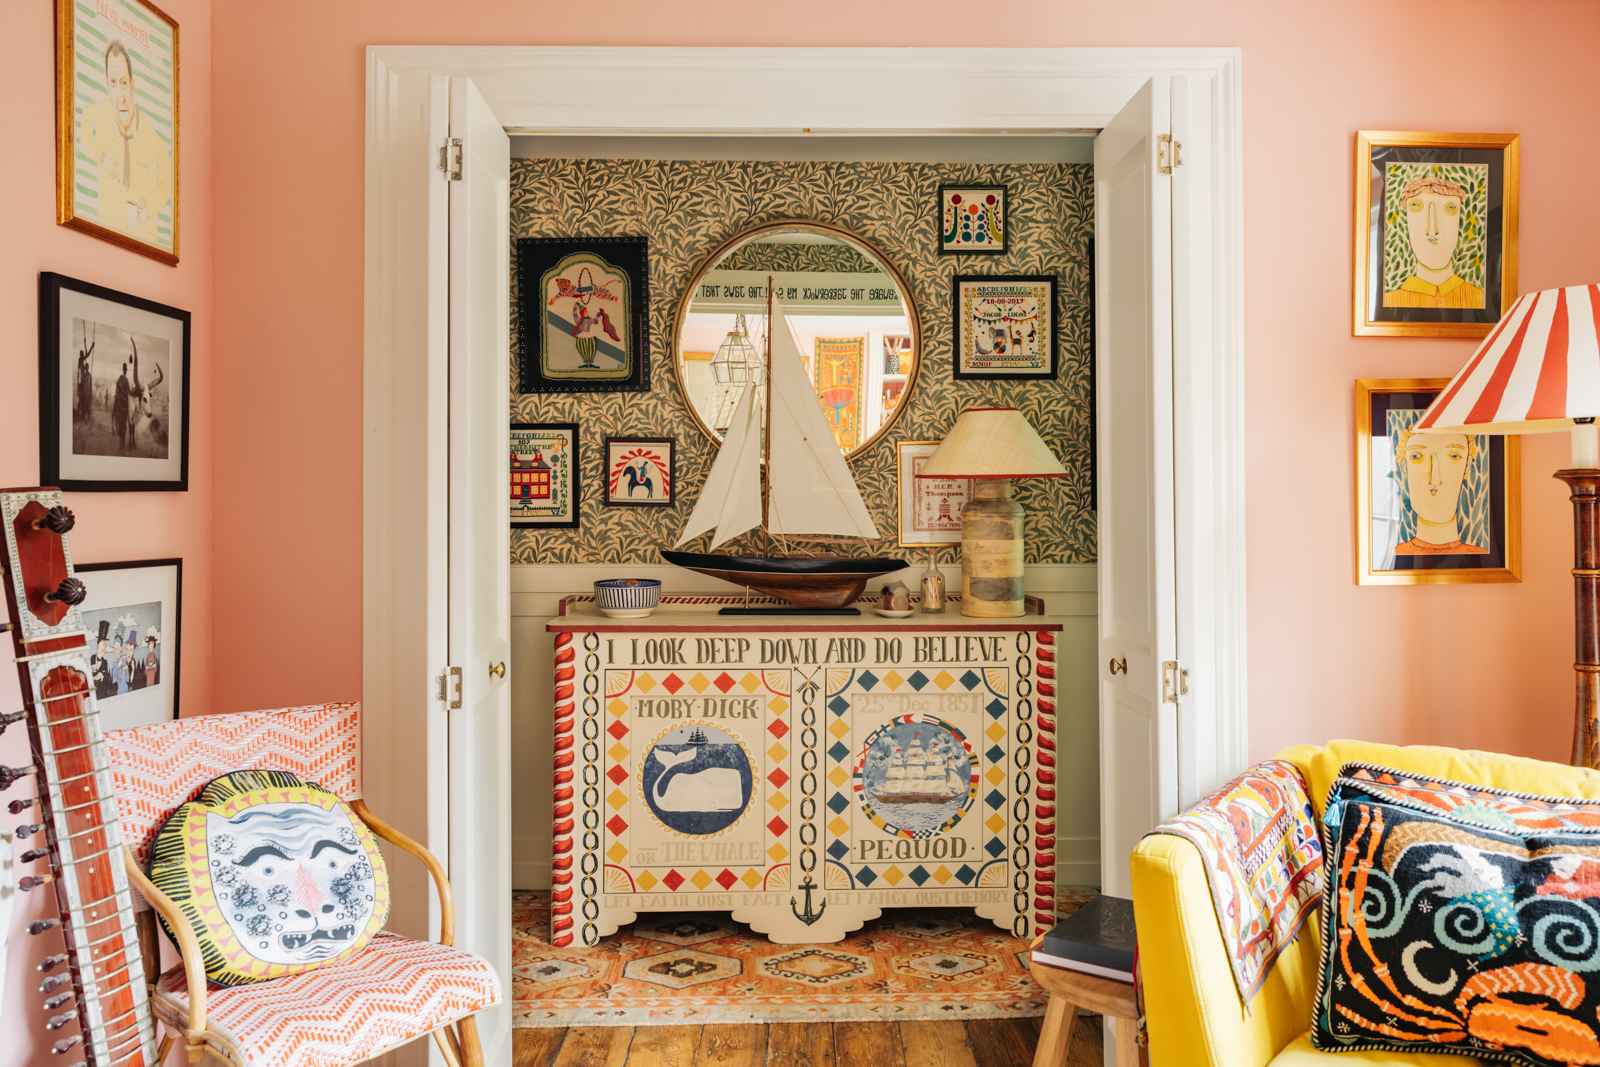
- You could even frame your embossings and display them in your very own painted frame. See our guide for tips on painting your frame here!
- If you want to mount your embossed metal in a frame, you'll need to place it in your frame in reverse order so that your embossing lies flat in the frame. So first place your finished metal inside the glass of your frame, then lay a sheet of coloured card on top. The card will be the background of your framed embossing. Then place the frame's backing board on top and close the fastenings of your frame.
Can embossed metal be painted?
- Yes! In Mexico, embossed tin decorations are usually painted in vibrant colours.
- You can use acrylic paint or glass paint to add some bright colour to your embossed metal.
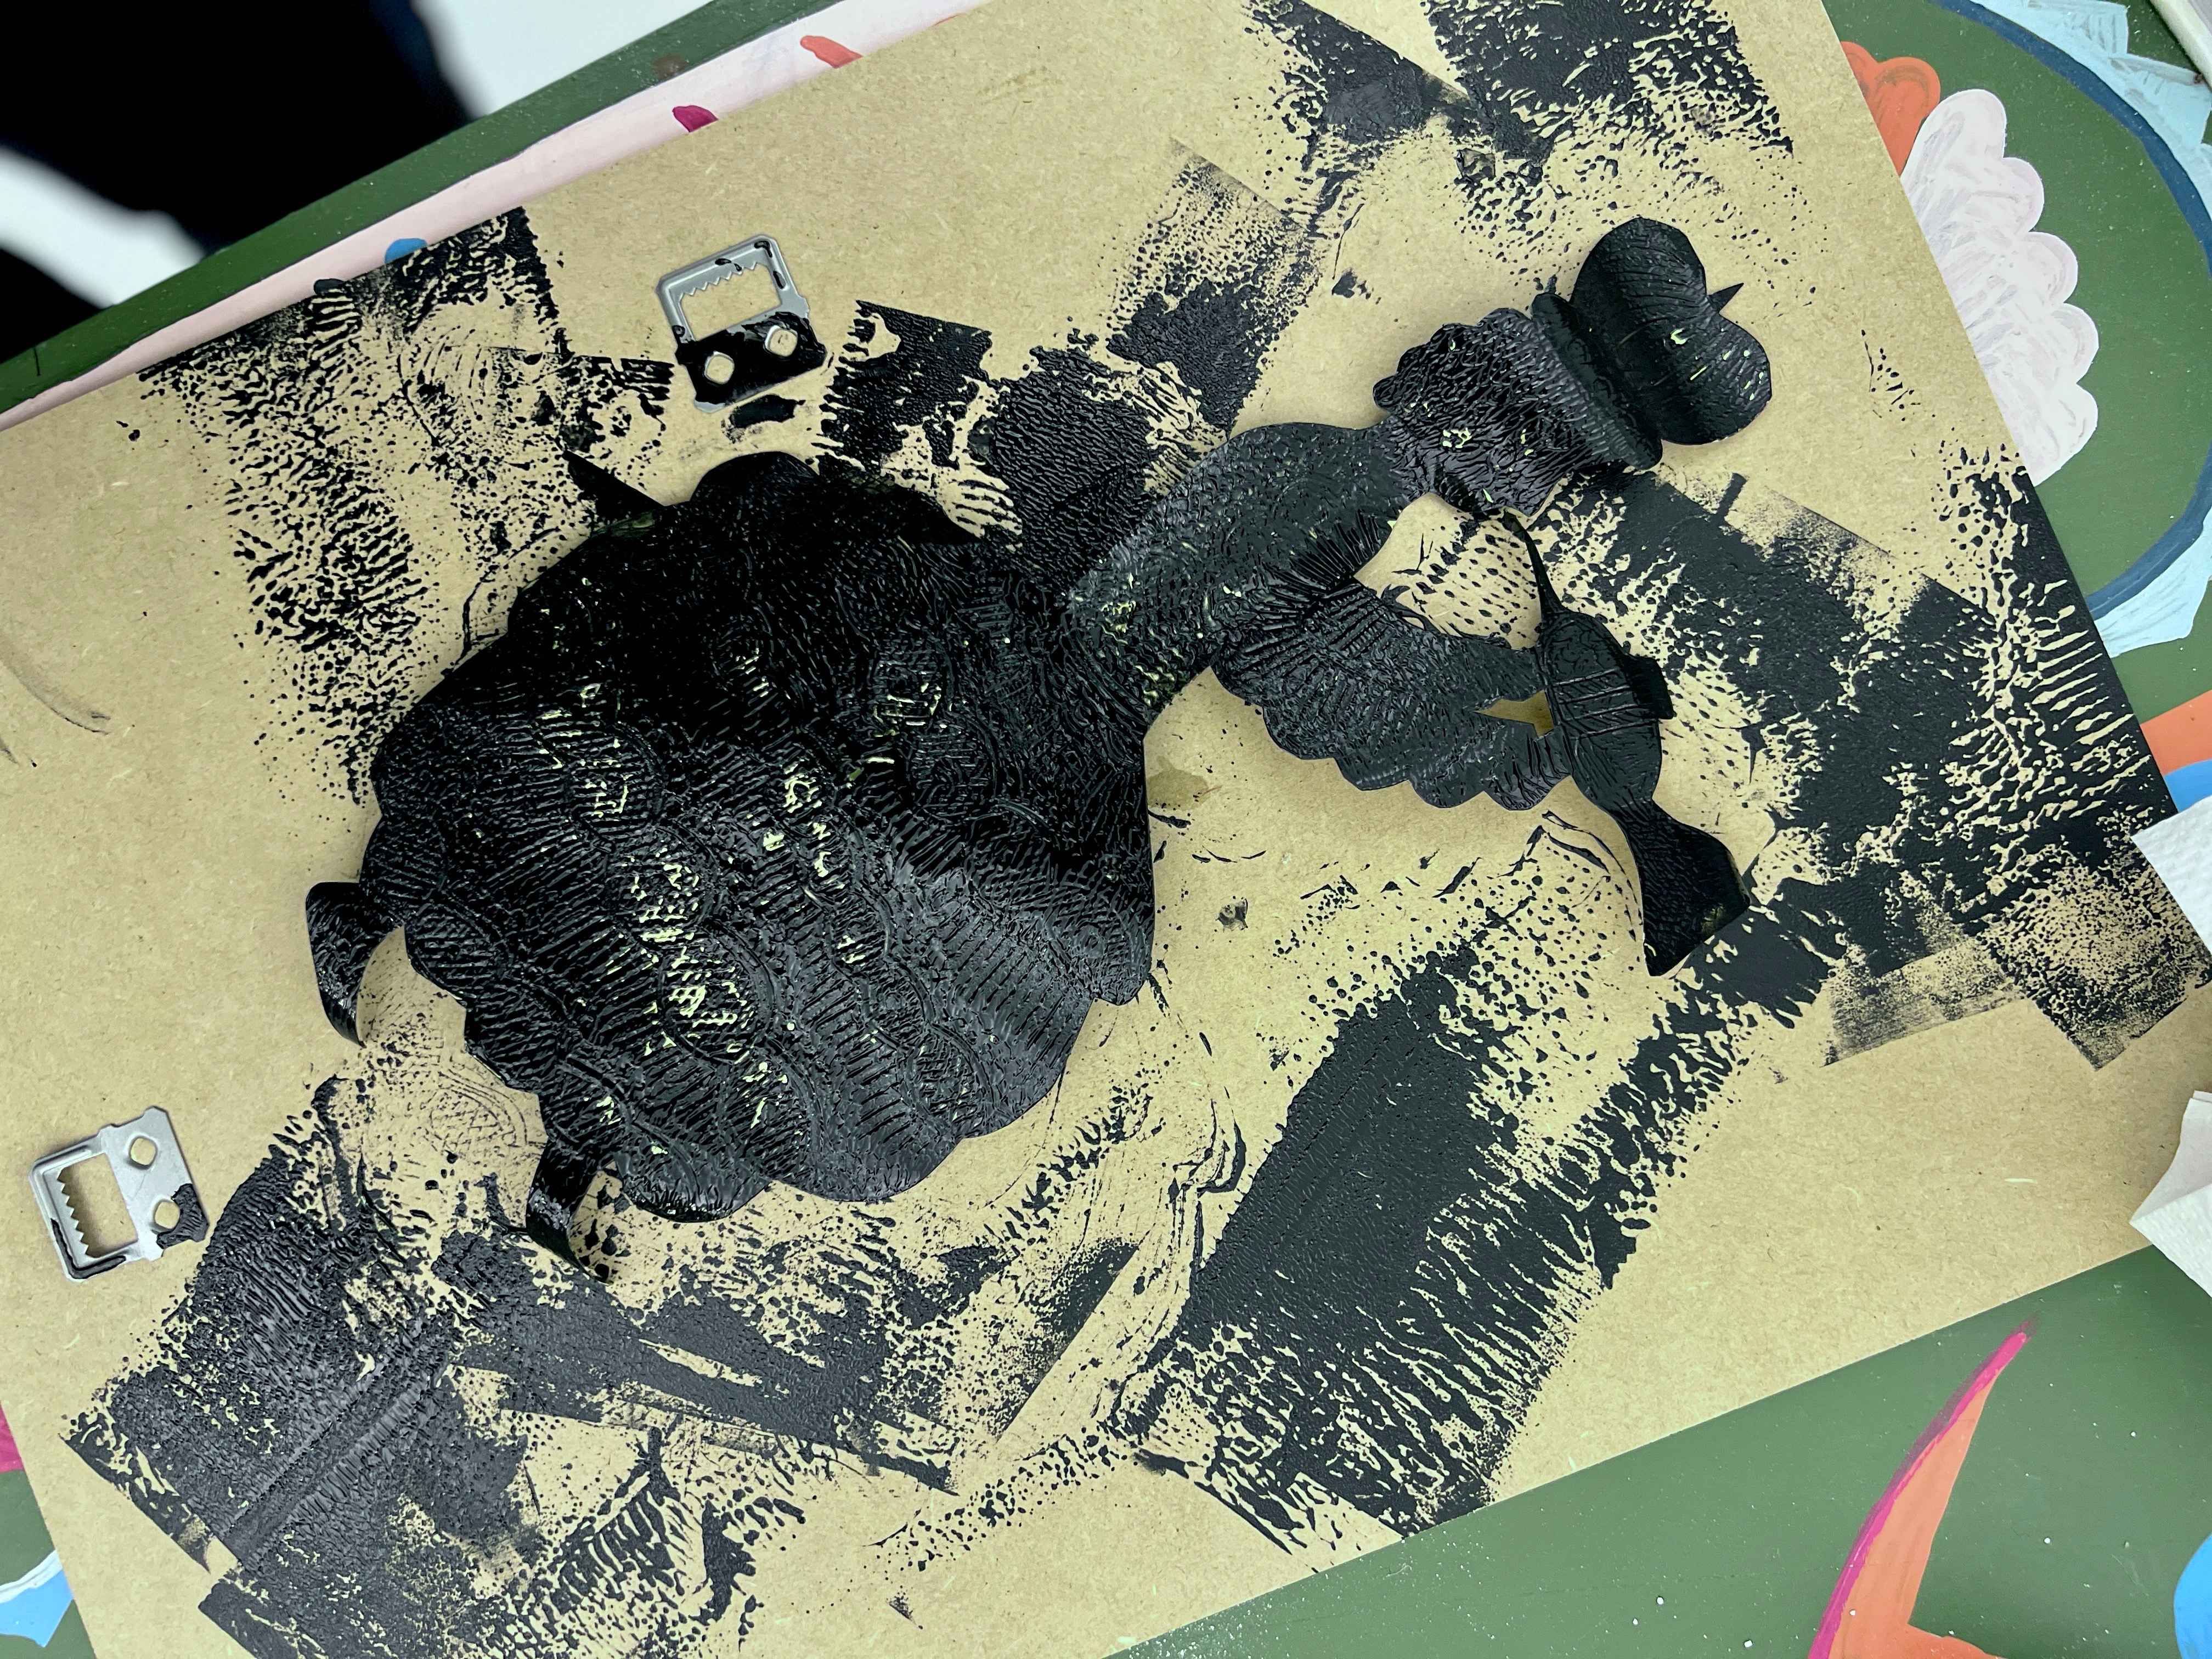
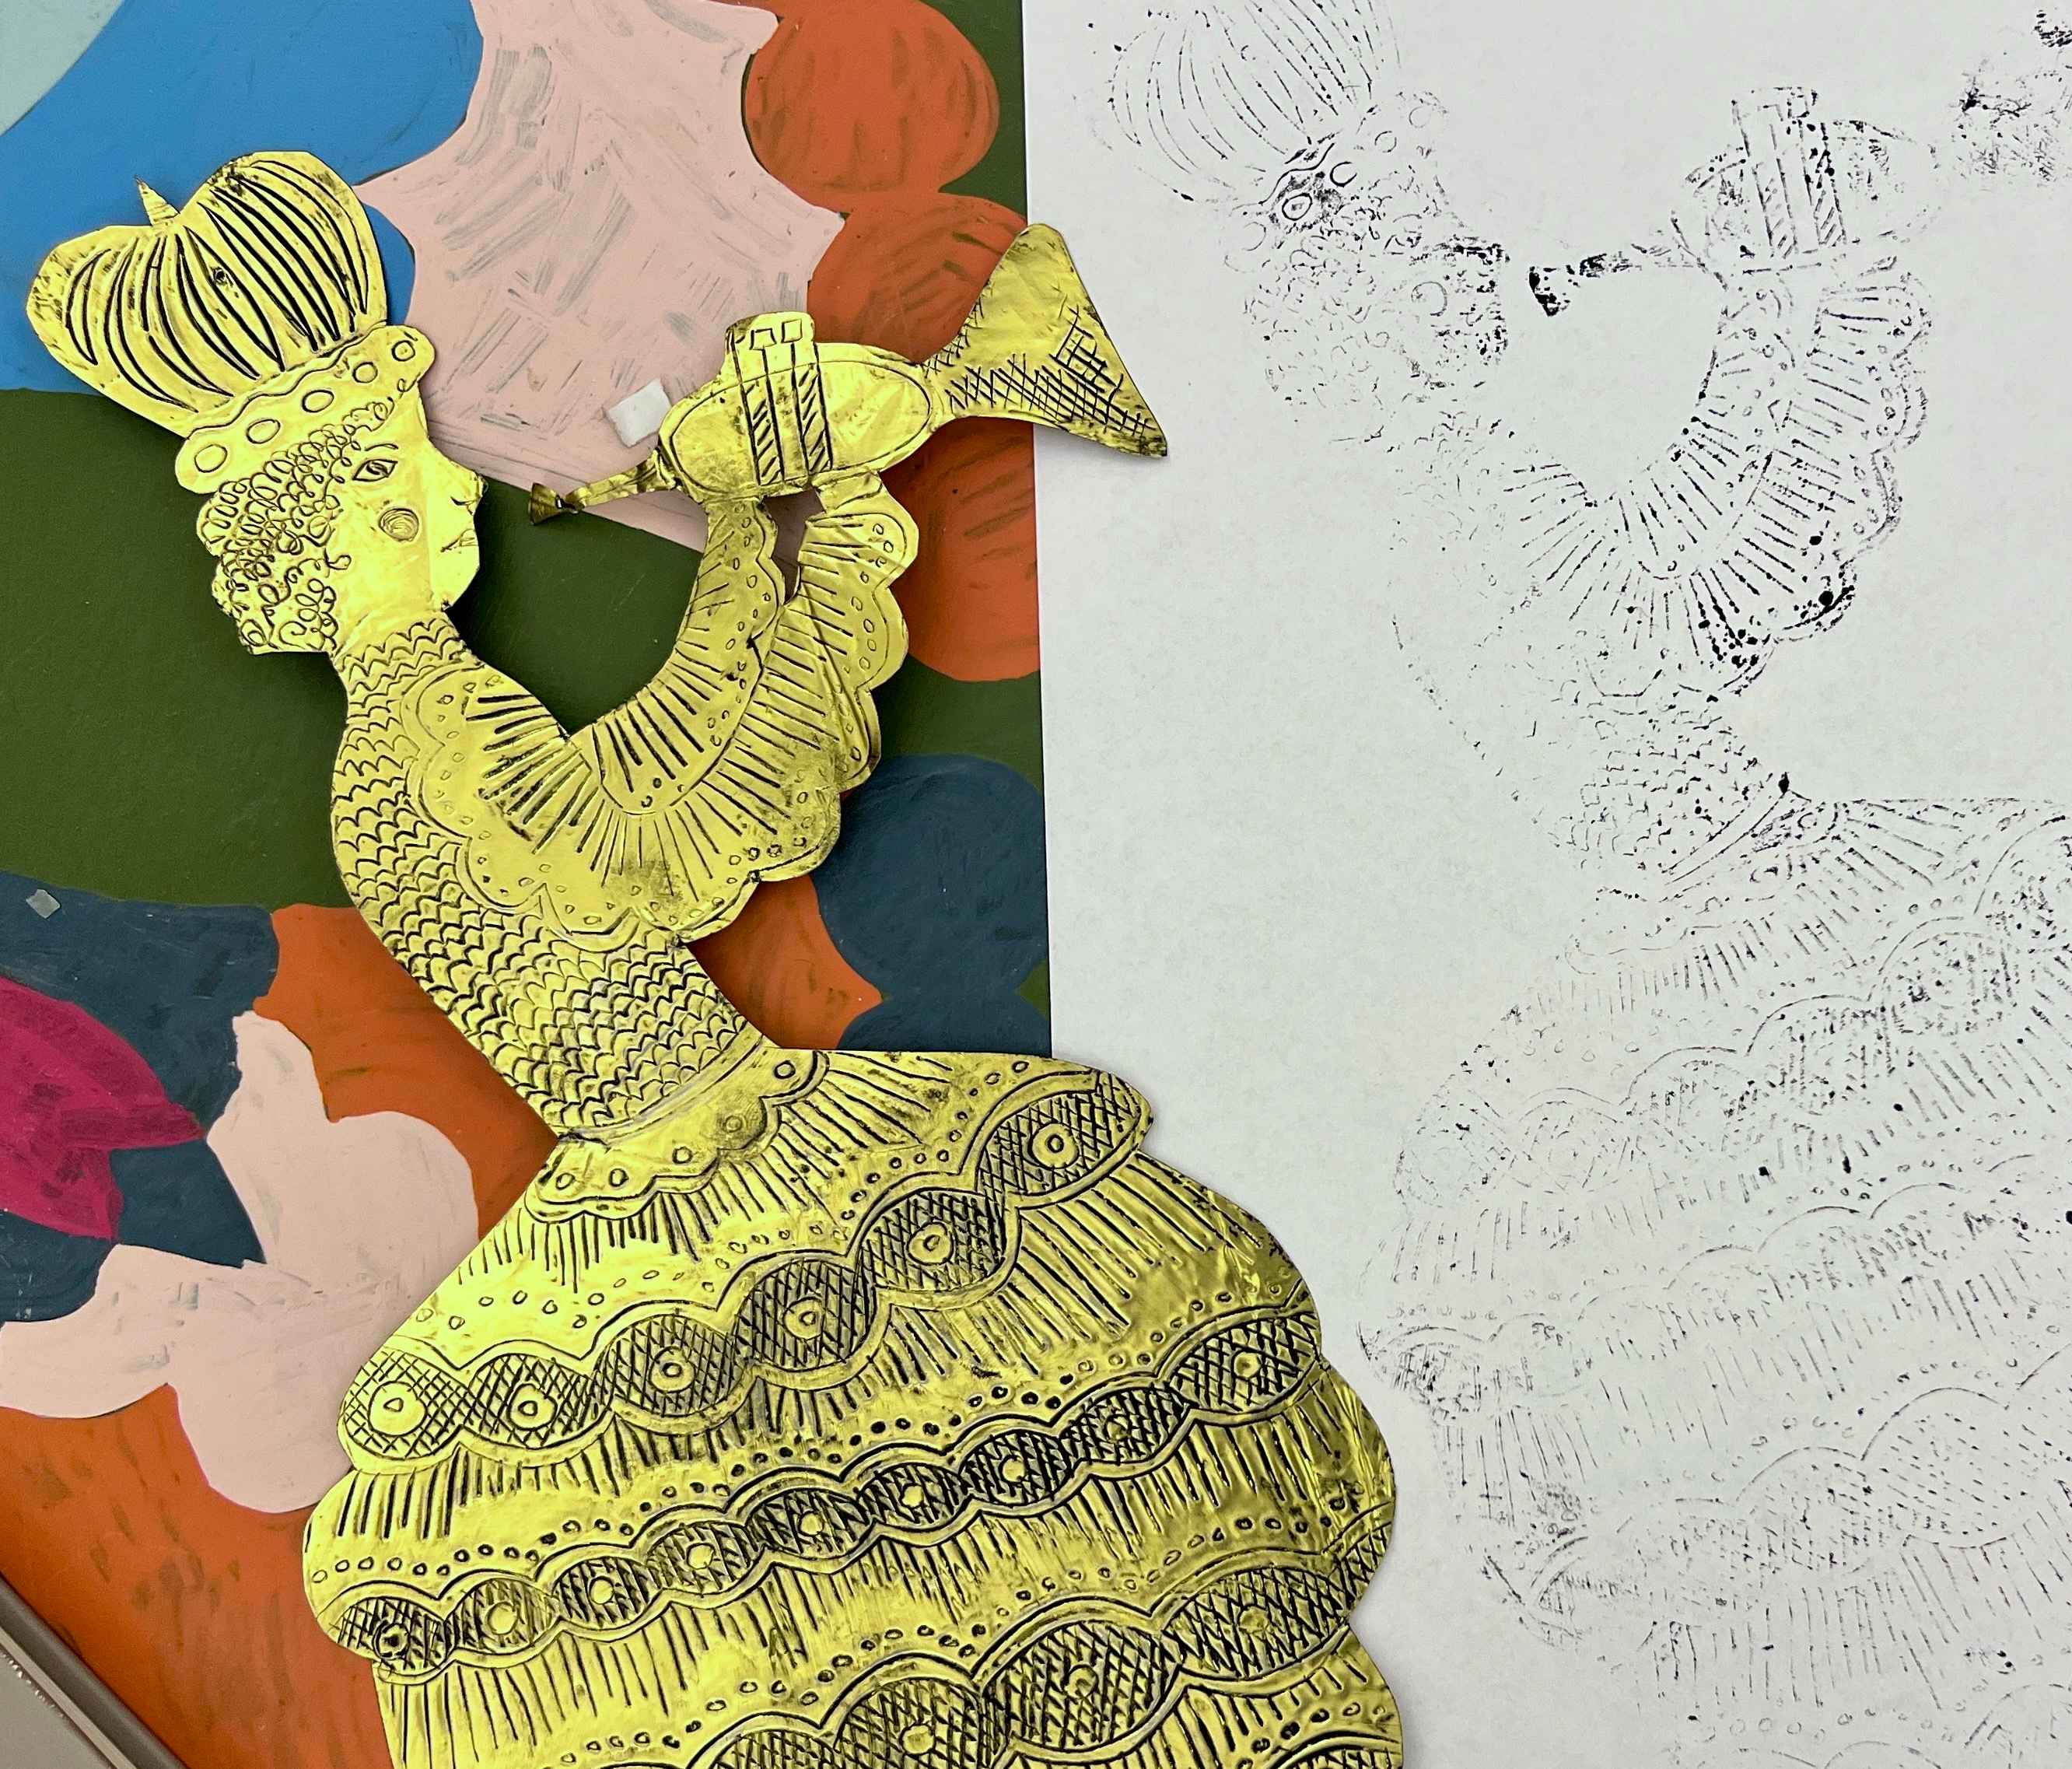
- You can also roll ink over your embossings and then wipe it away so that the ink only sits in the grooves you've made. This makes it easier to see the embossed marks from a distance. For this you will need to use a standard lino-printing ink which you will sponge on and then rub back off with kitchen roll, so it only stays in the cracks.