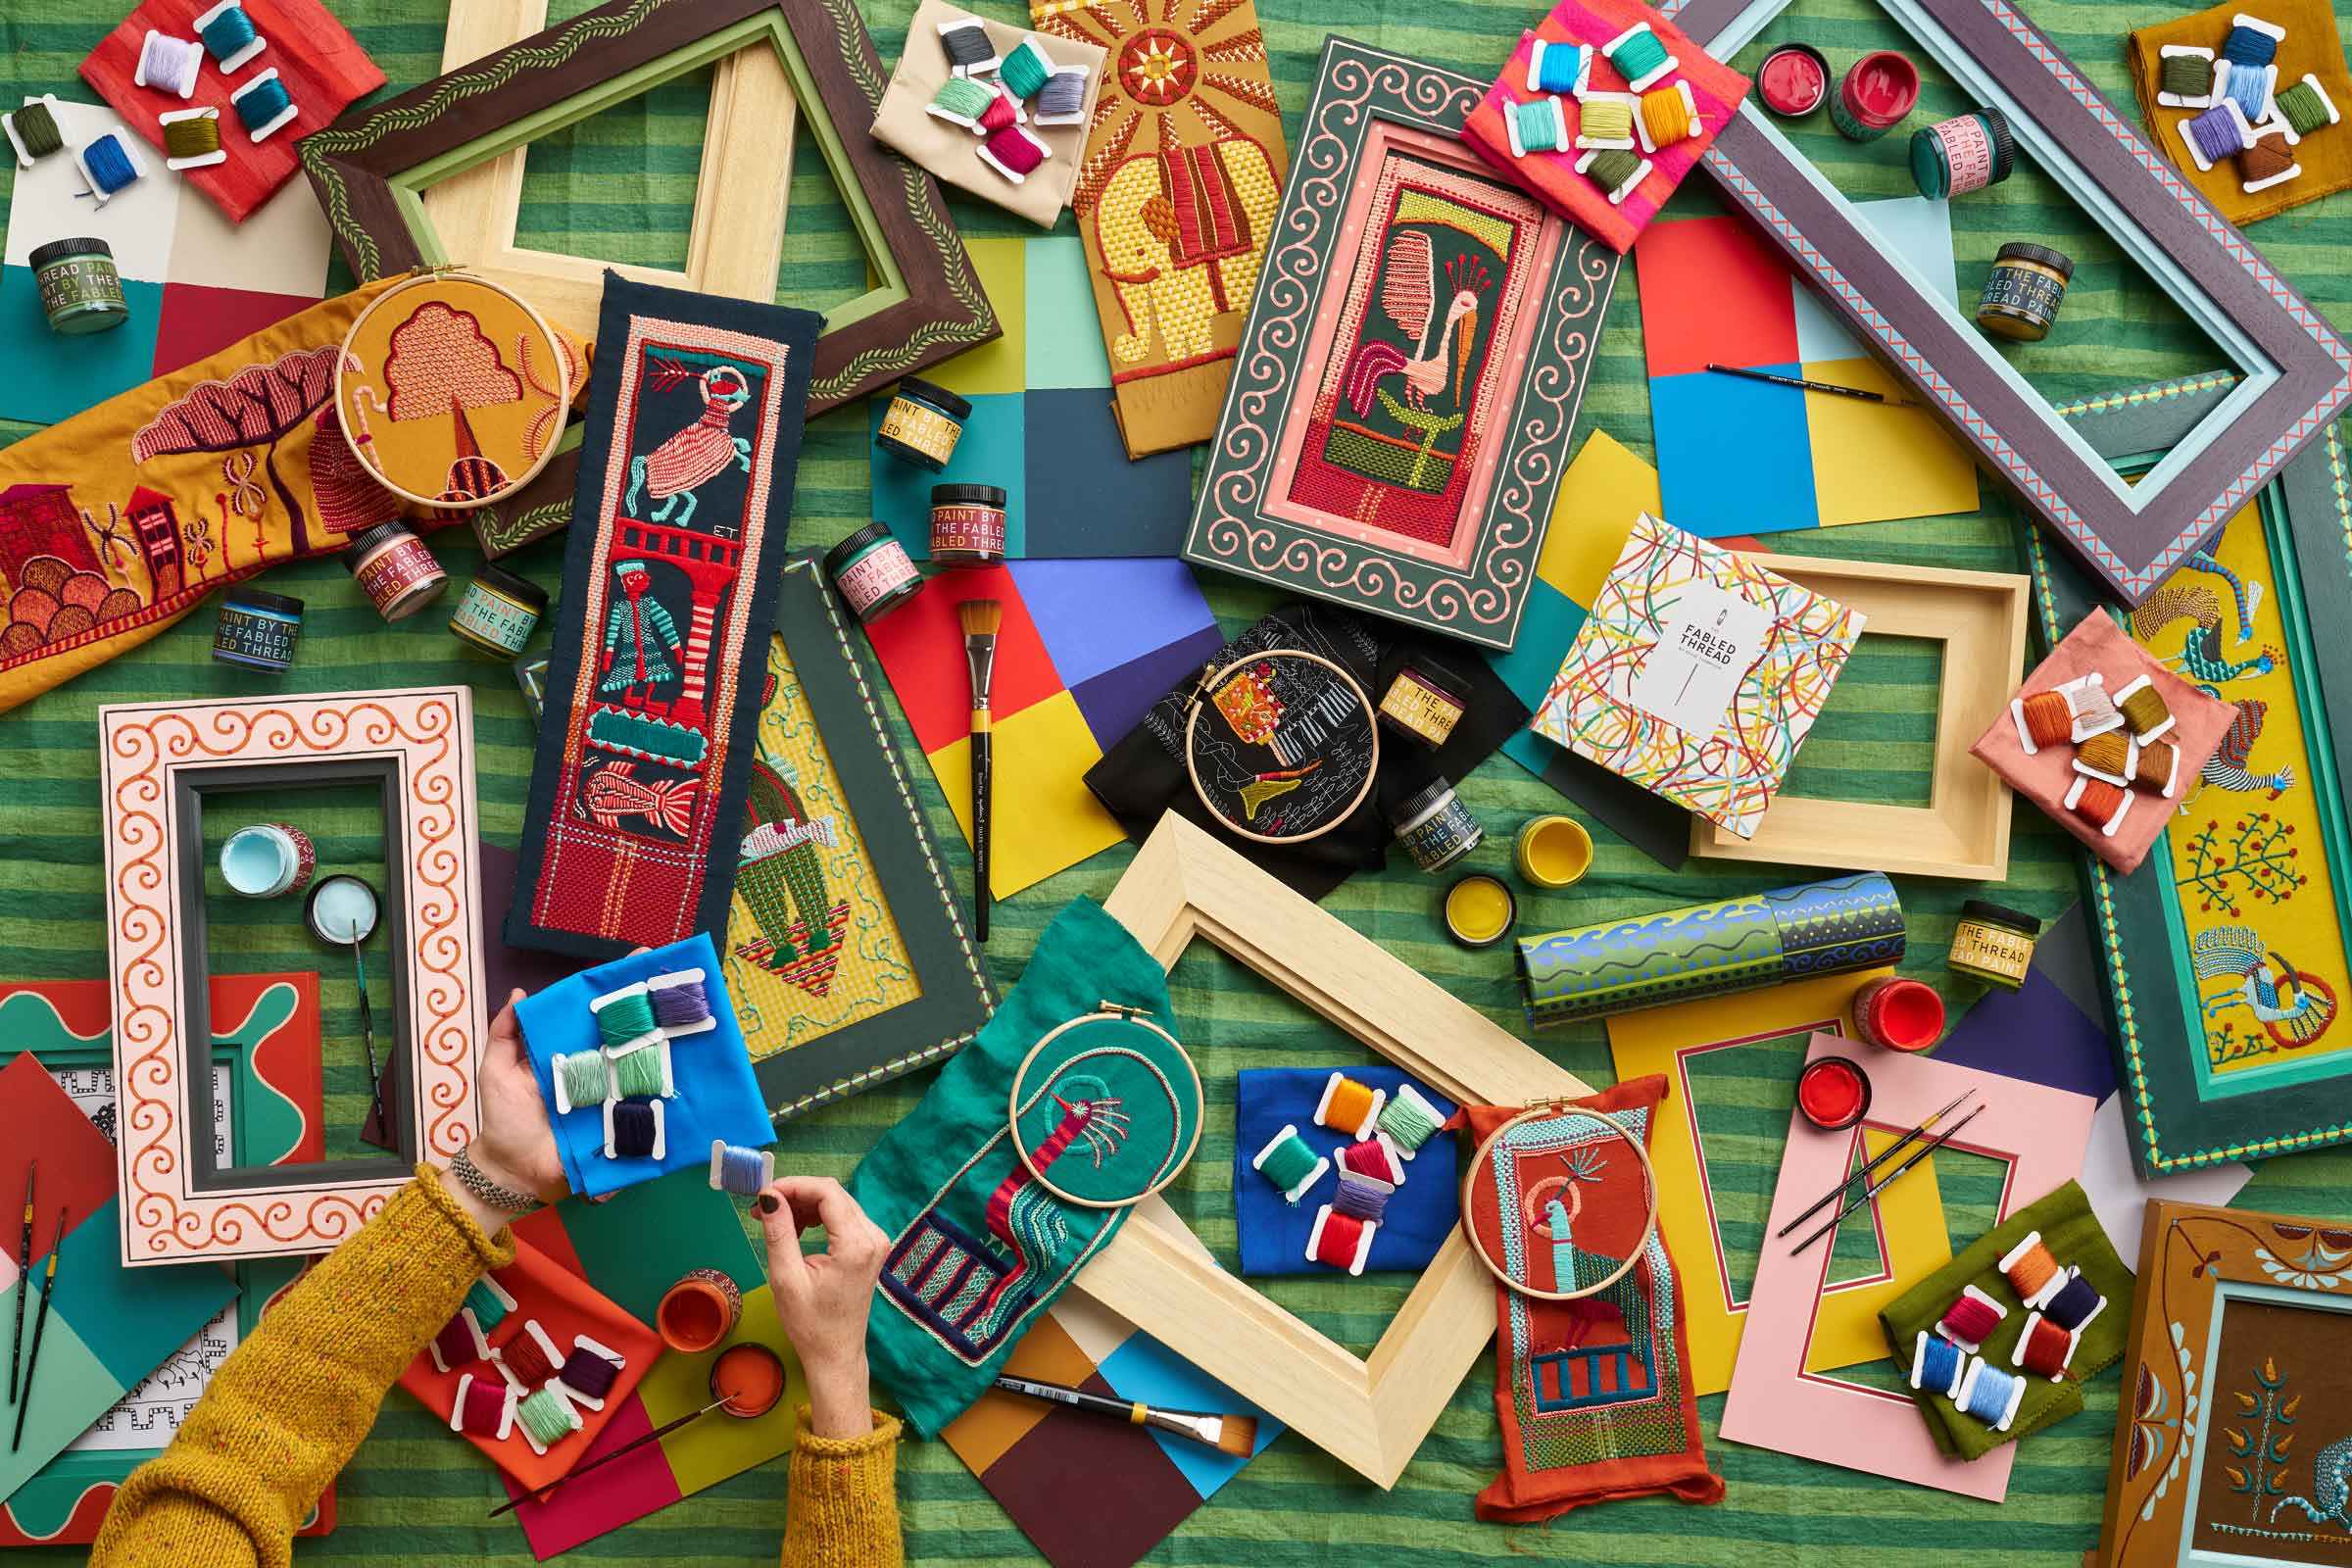
Design your own embroidery
We are passionate about empowering creativity and believe the best way to do this is to make it as easy as possible for you to explore your own ideas. So, in this section of the website, we have curated a range of materials you need to start designing your own embroidery. Follow the steps set out below to put yourself together your own embroidery kit - all that's missing is the design! We can't wait to see what you come up with...
Where should you begin
Whilst embroidery kits are a wonderful way to get started stitching, we don't want you to stay on them forever. We believe the ultimate joy comes the moment you start to design your own pieces. However it take a lot of creative confidence to feel your own ideas are worthy of stitching, so we wanted to break it down for you.
In this guide you'll find the key steps that go into creating your own design. So if you aren't too sure about whether you feel ready, take a read. Then dive into the materials below to put together your own bundle!
Step one | Choose one of our freestyle bundles
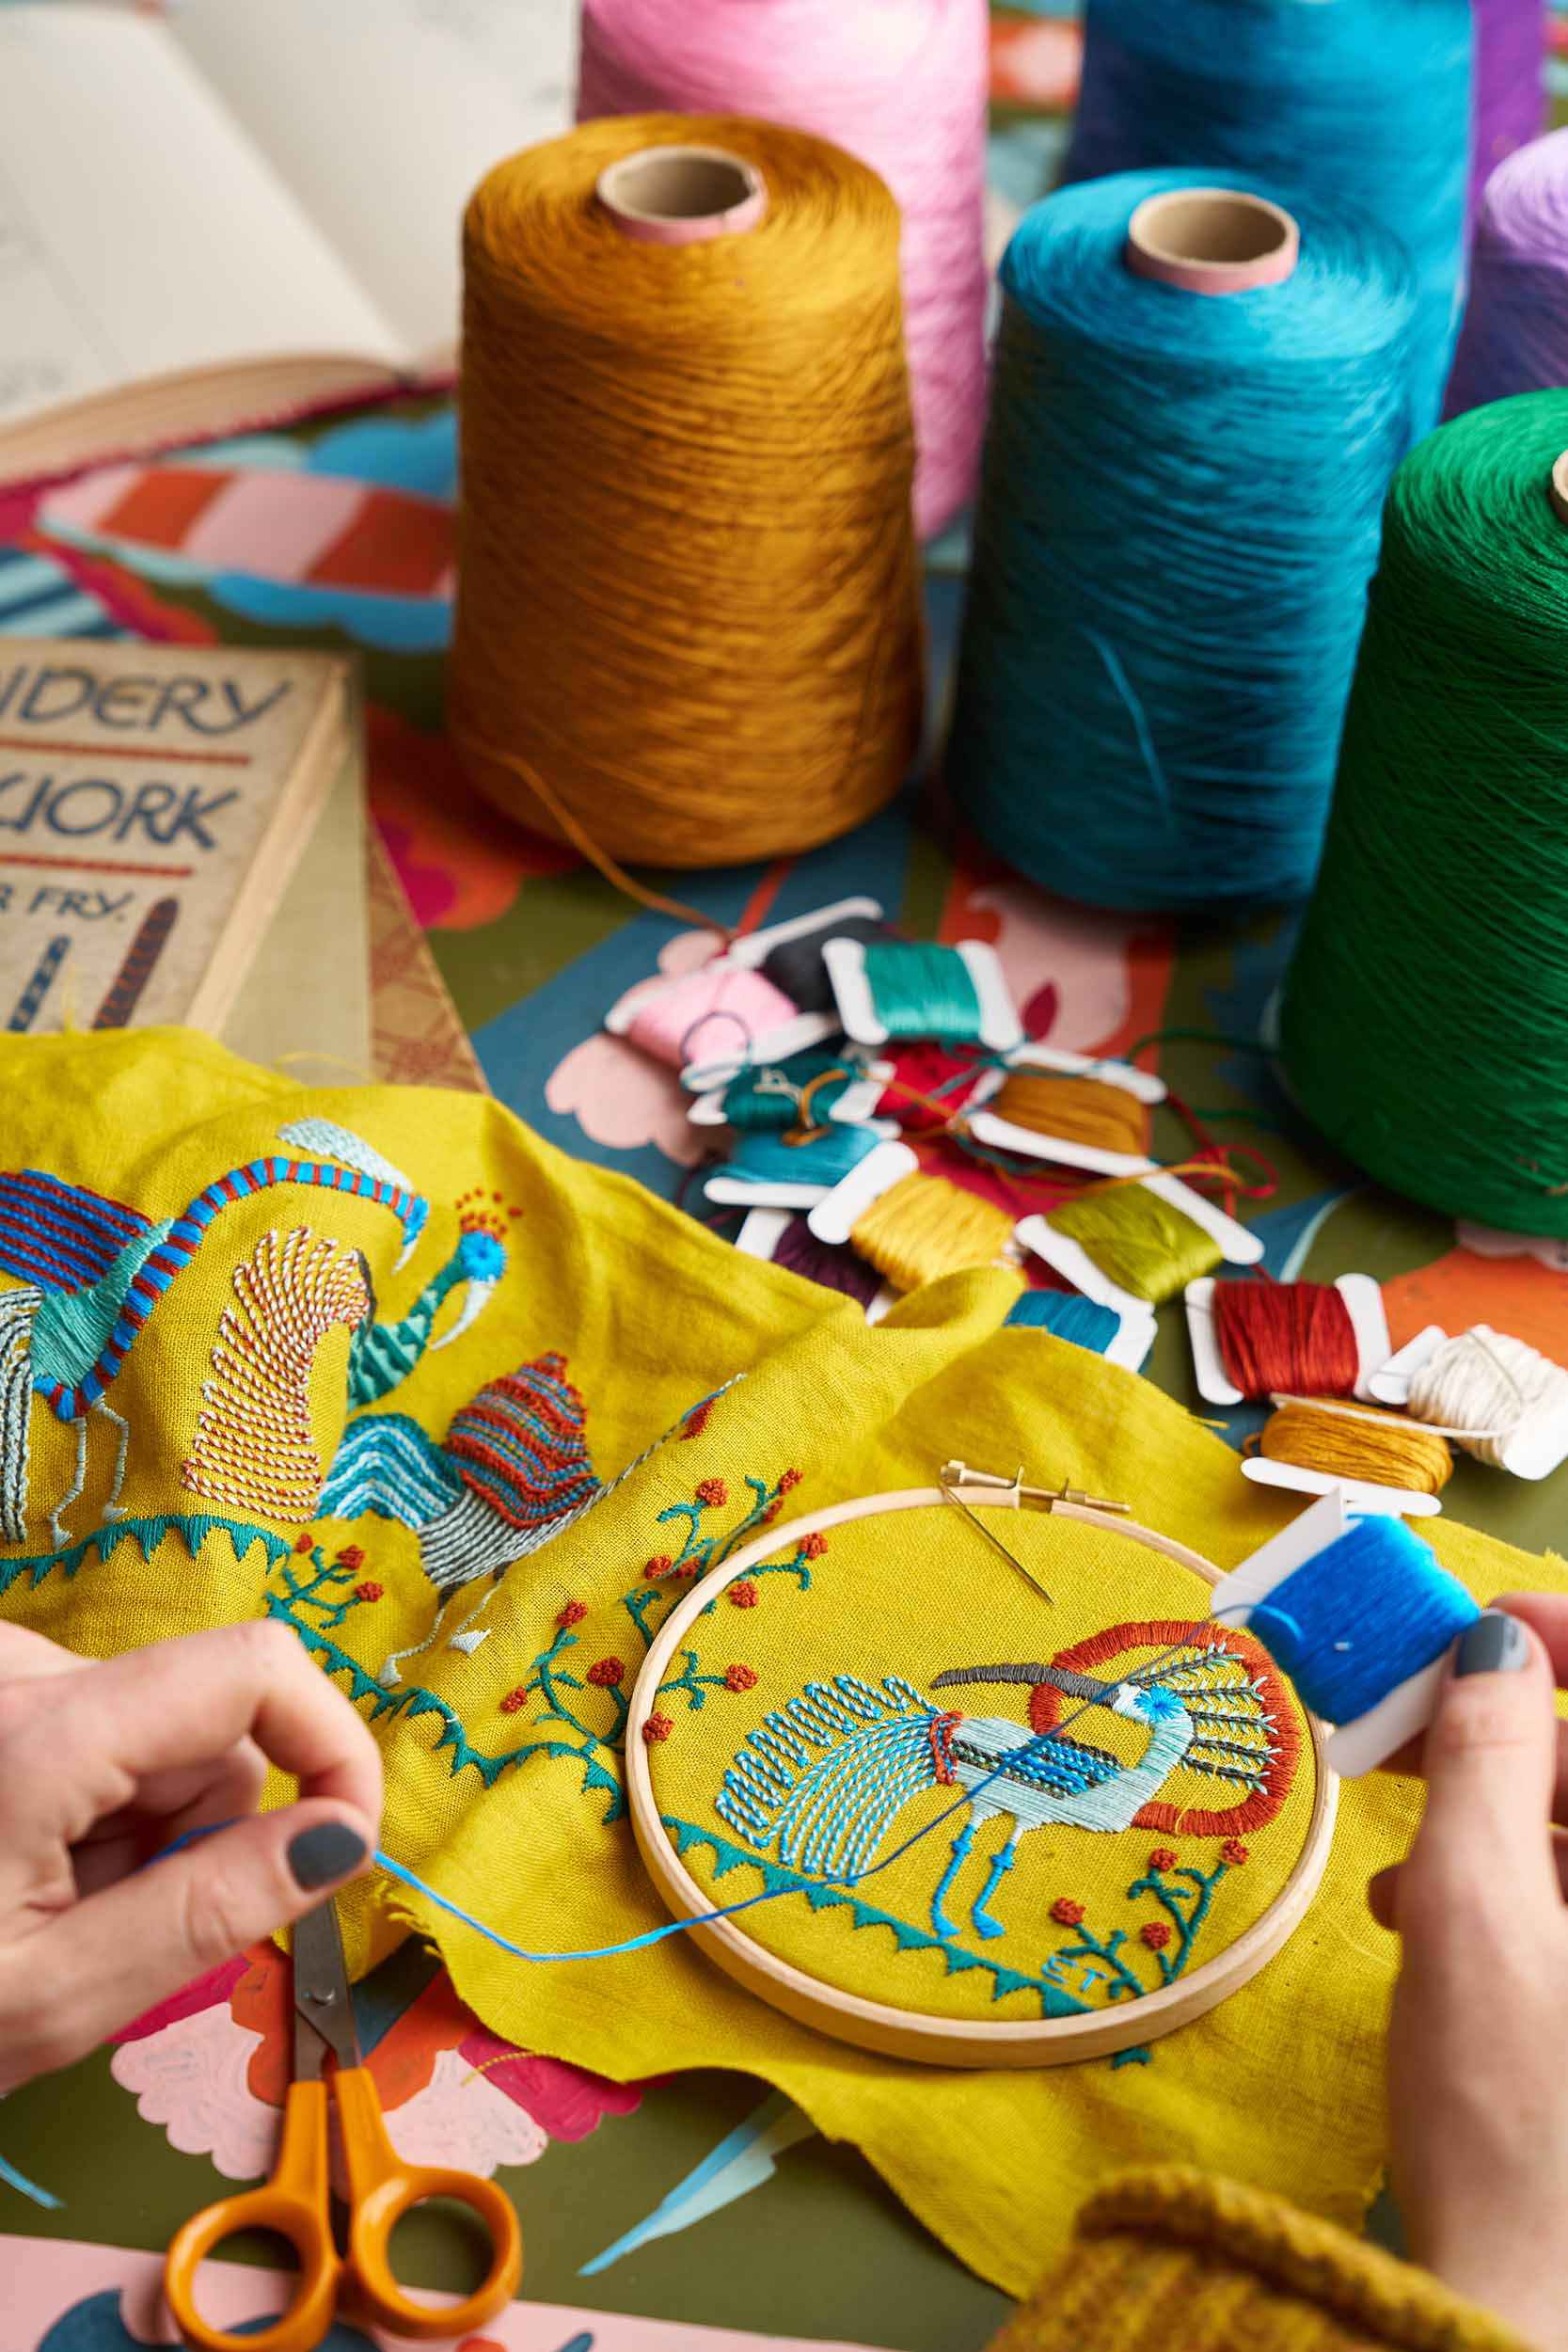
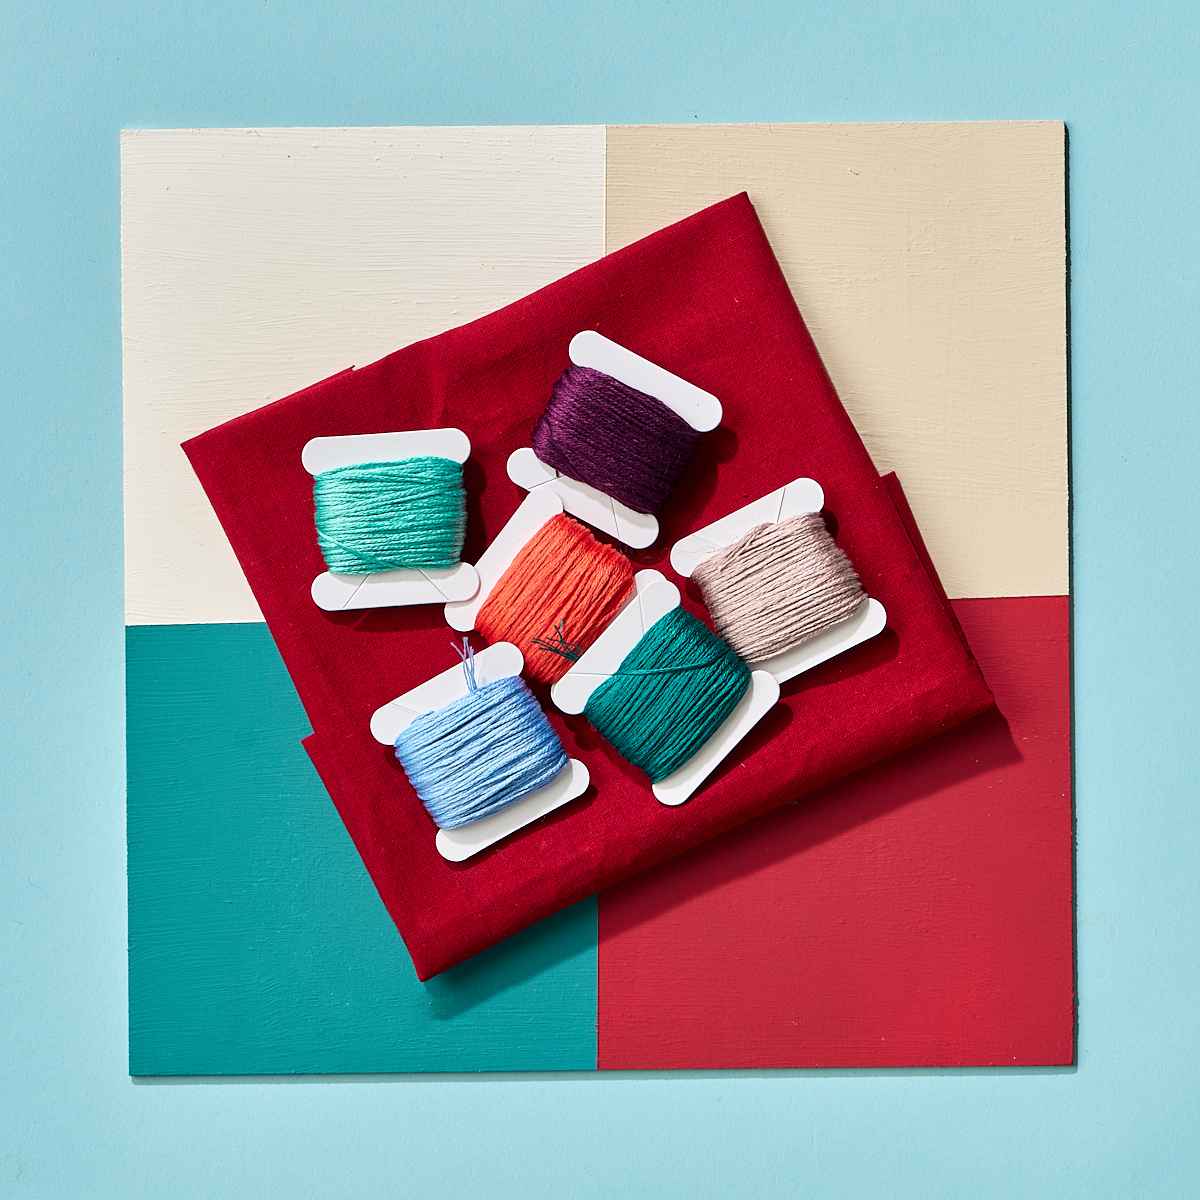
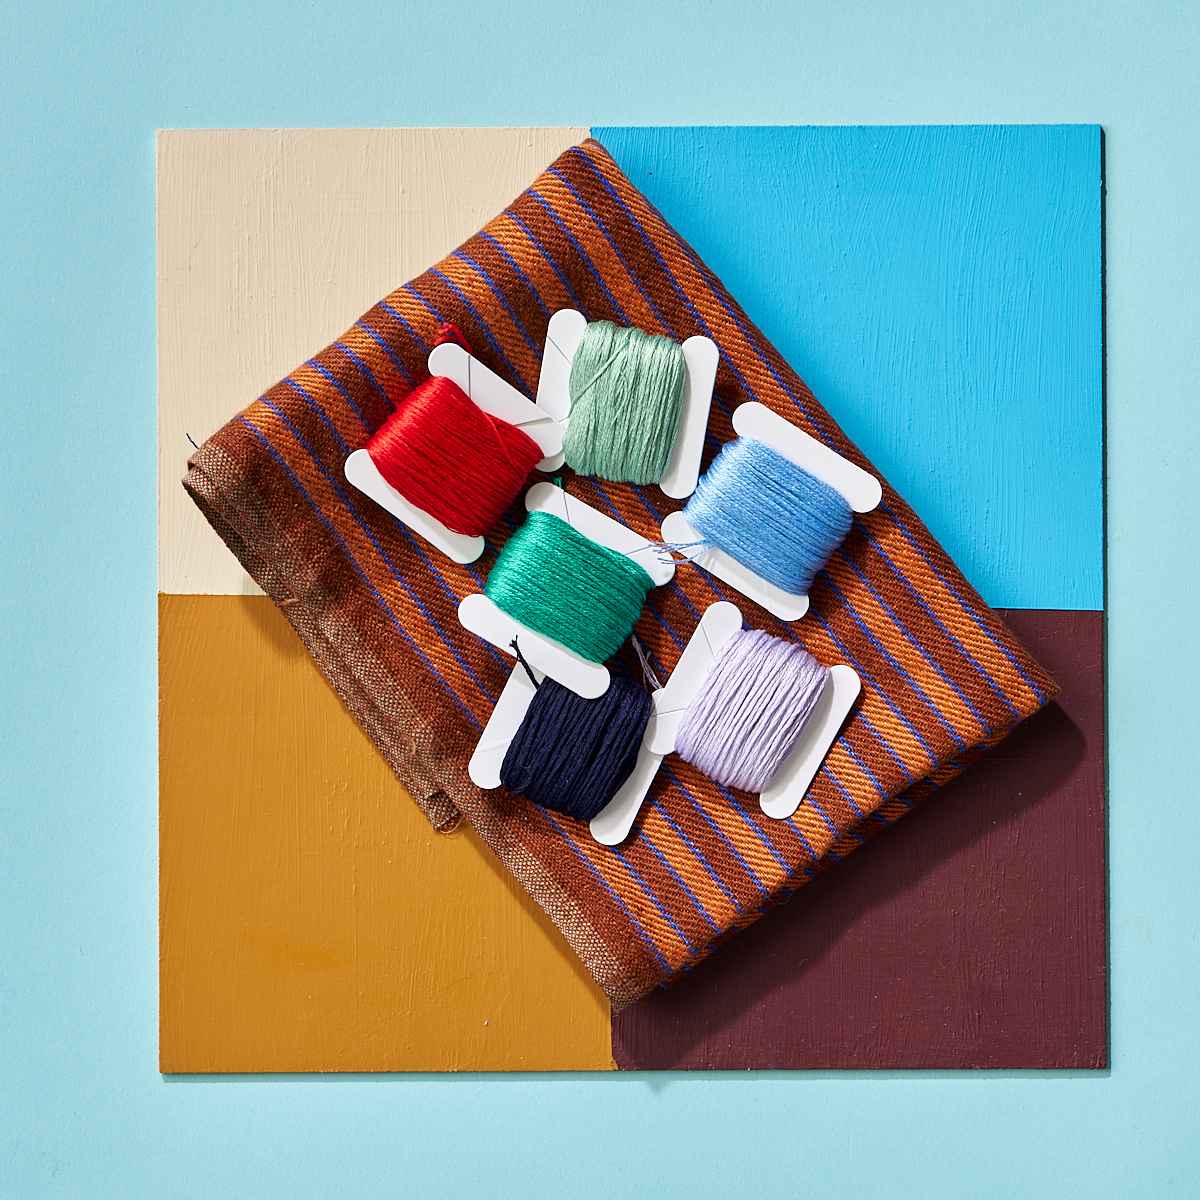
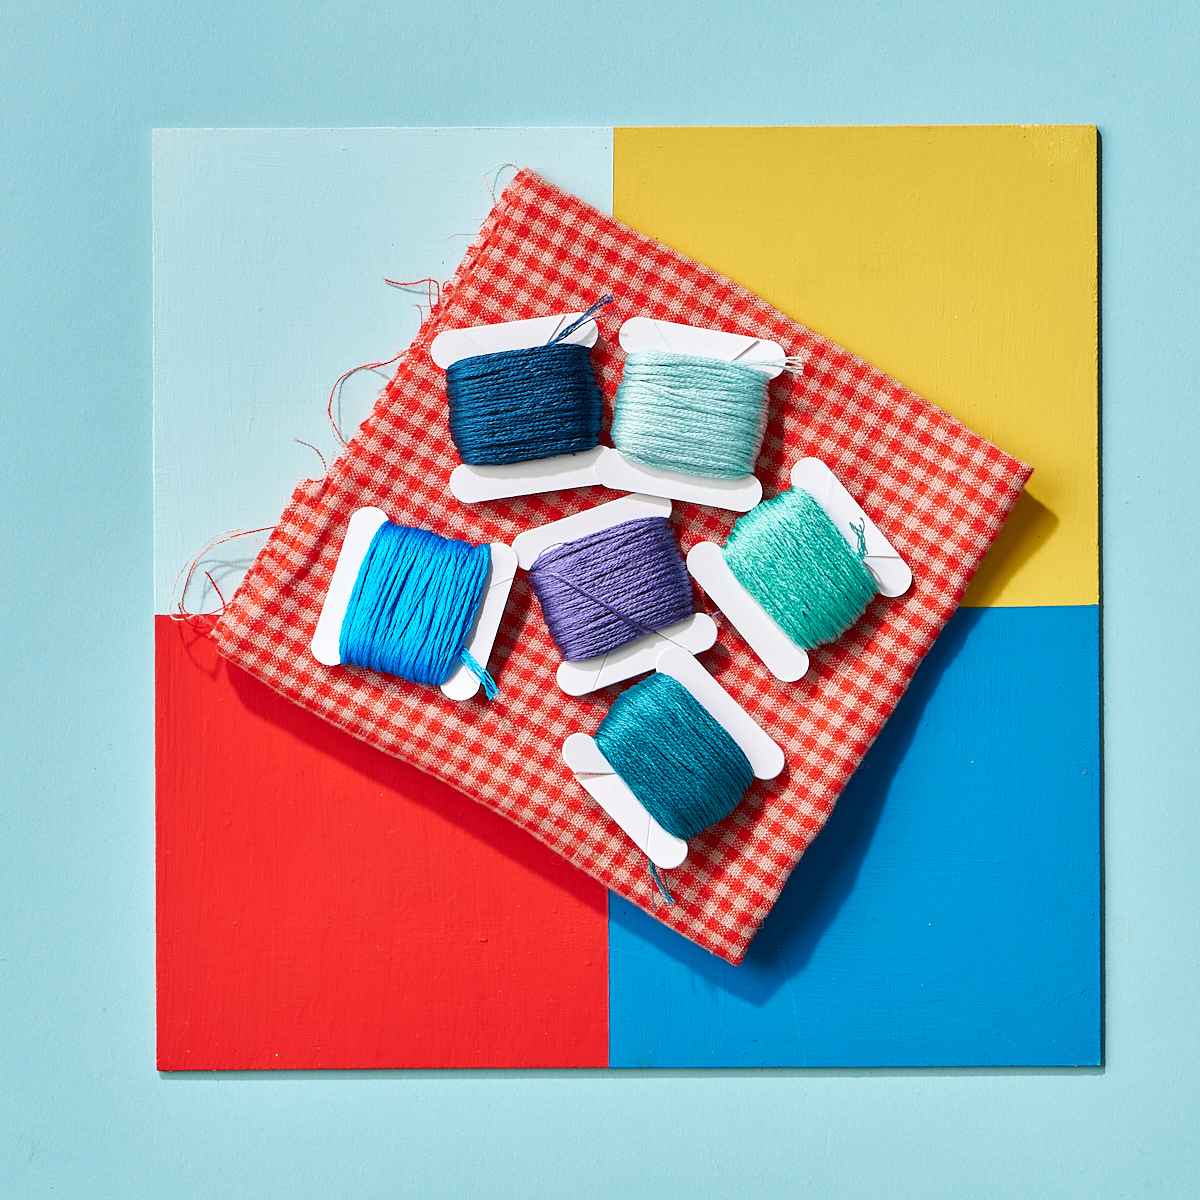
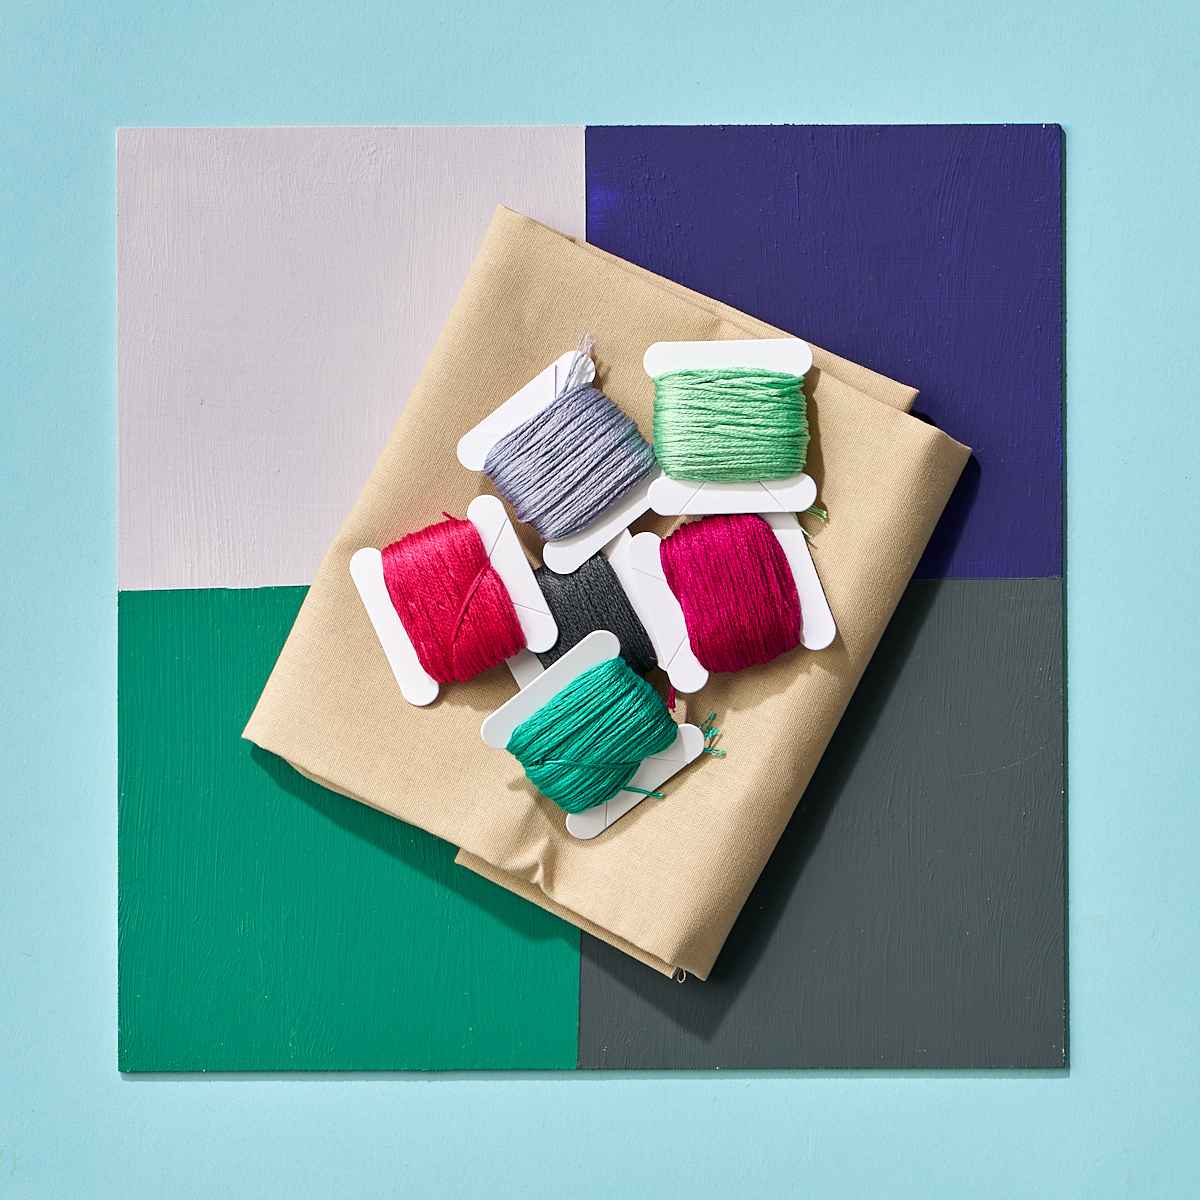
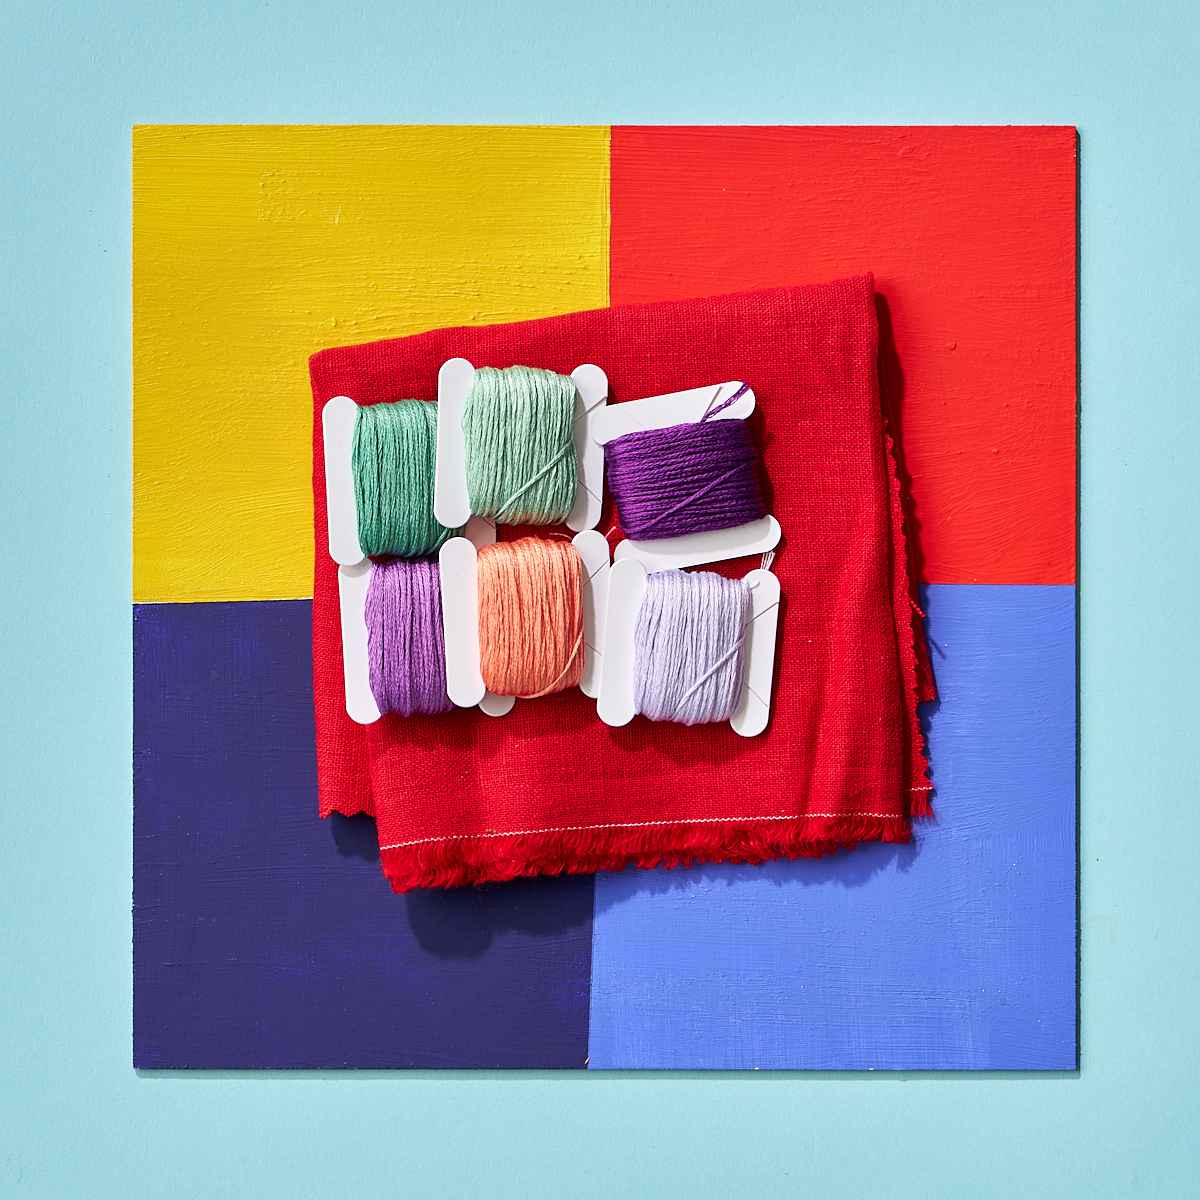
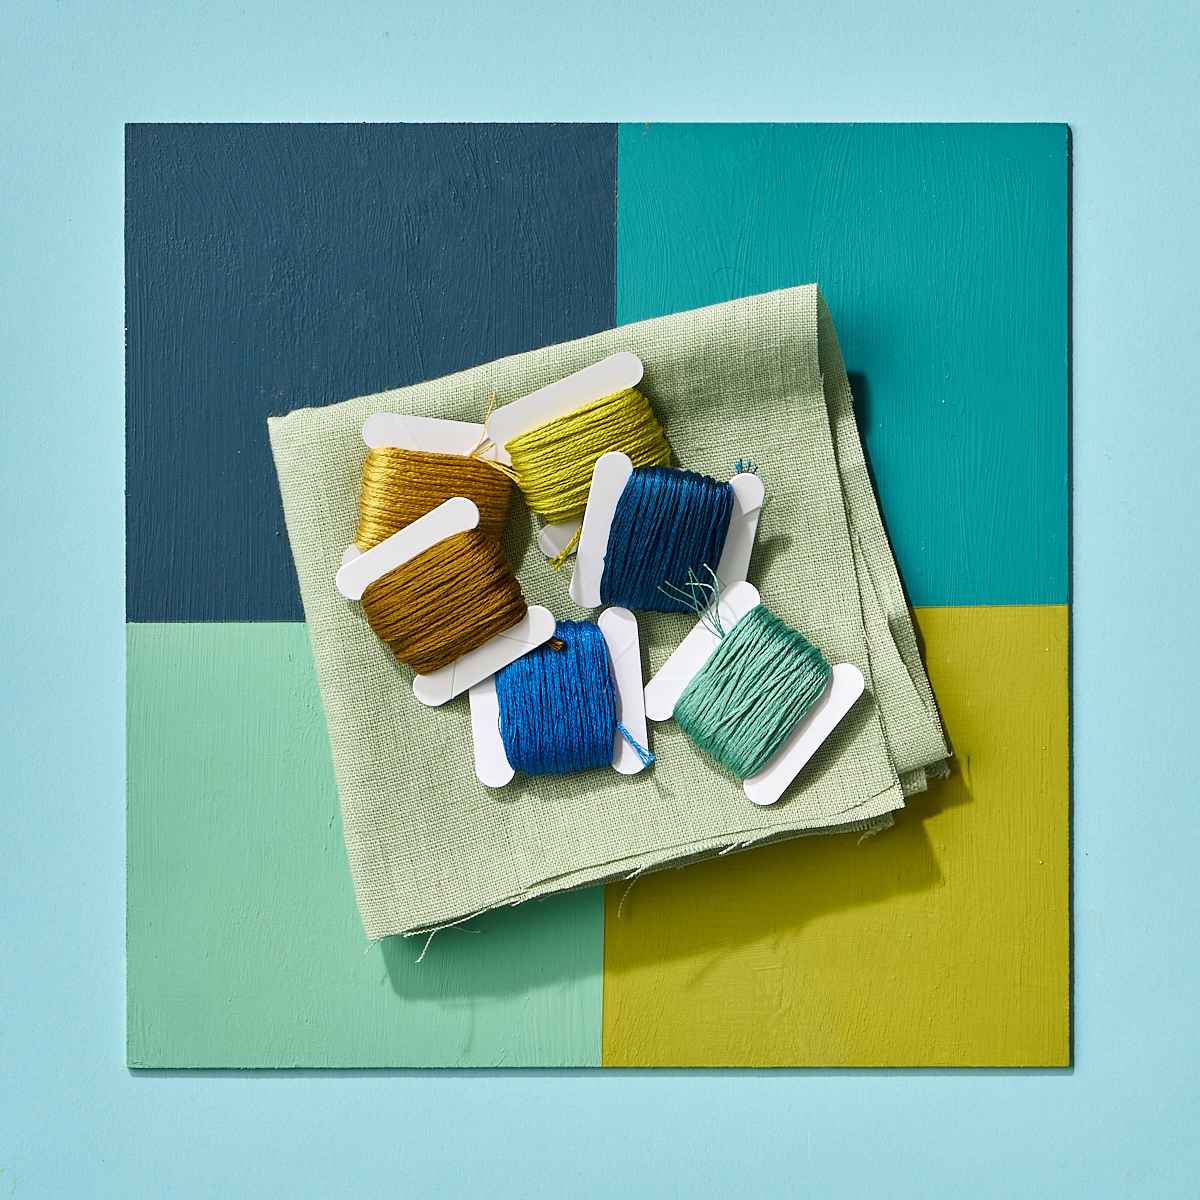
We know that often it can be overwhelming to know where to begin with starting your own pieces... what fabric to use and choosing a colour palette. Therefore we have curated a series of limited edition bundles to make that journey easier. Each bundle comes with a piece of either cotton or linen (both perfect stitching fabrics) measuring ~30cm x 50cm and 6 different colours of stranded cotton thread, each with 16 meters wound onto bobbin.
 Sold out
Bundle 1
 Sold out
Bundle 2
 Sold out
Bundle 3
 Sold out
Bundle 4

Bundle 5
 Sold out
Bundle 6

Bundle 7
 Sold out
Bundle 8
 Sold out
Bundle 9
 Sold out
Bundle 10
 Sold out
Bundle 11

Bundle 12

Bundle 13
 Sold out
Bundle 14
 Sold out
Bundle 15
 Sold out
Bundle 16

Bundle 17
 Sold out
Bundle 18

Bundle 19
 Sold out
Bundle 20

Bundle 21
 Sold out
Bundle 22

Bundle 23
 Sold out
Bundle 24
 Sold out
Bundle 25
 Sold out
Bundle 26

Bundle 27
 Sold out
Bundle 28
 Sold out
Bundle 29
 Sold out
Bundle 30

Bundle 31

Bundle 32
 Sold out
Bundle 33

Bundle 34
 Sold out
Bundle 35
 Sold out
Bundle 36
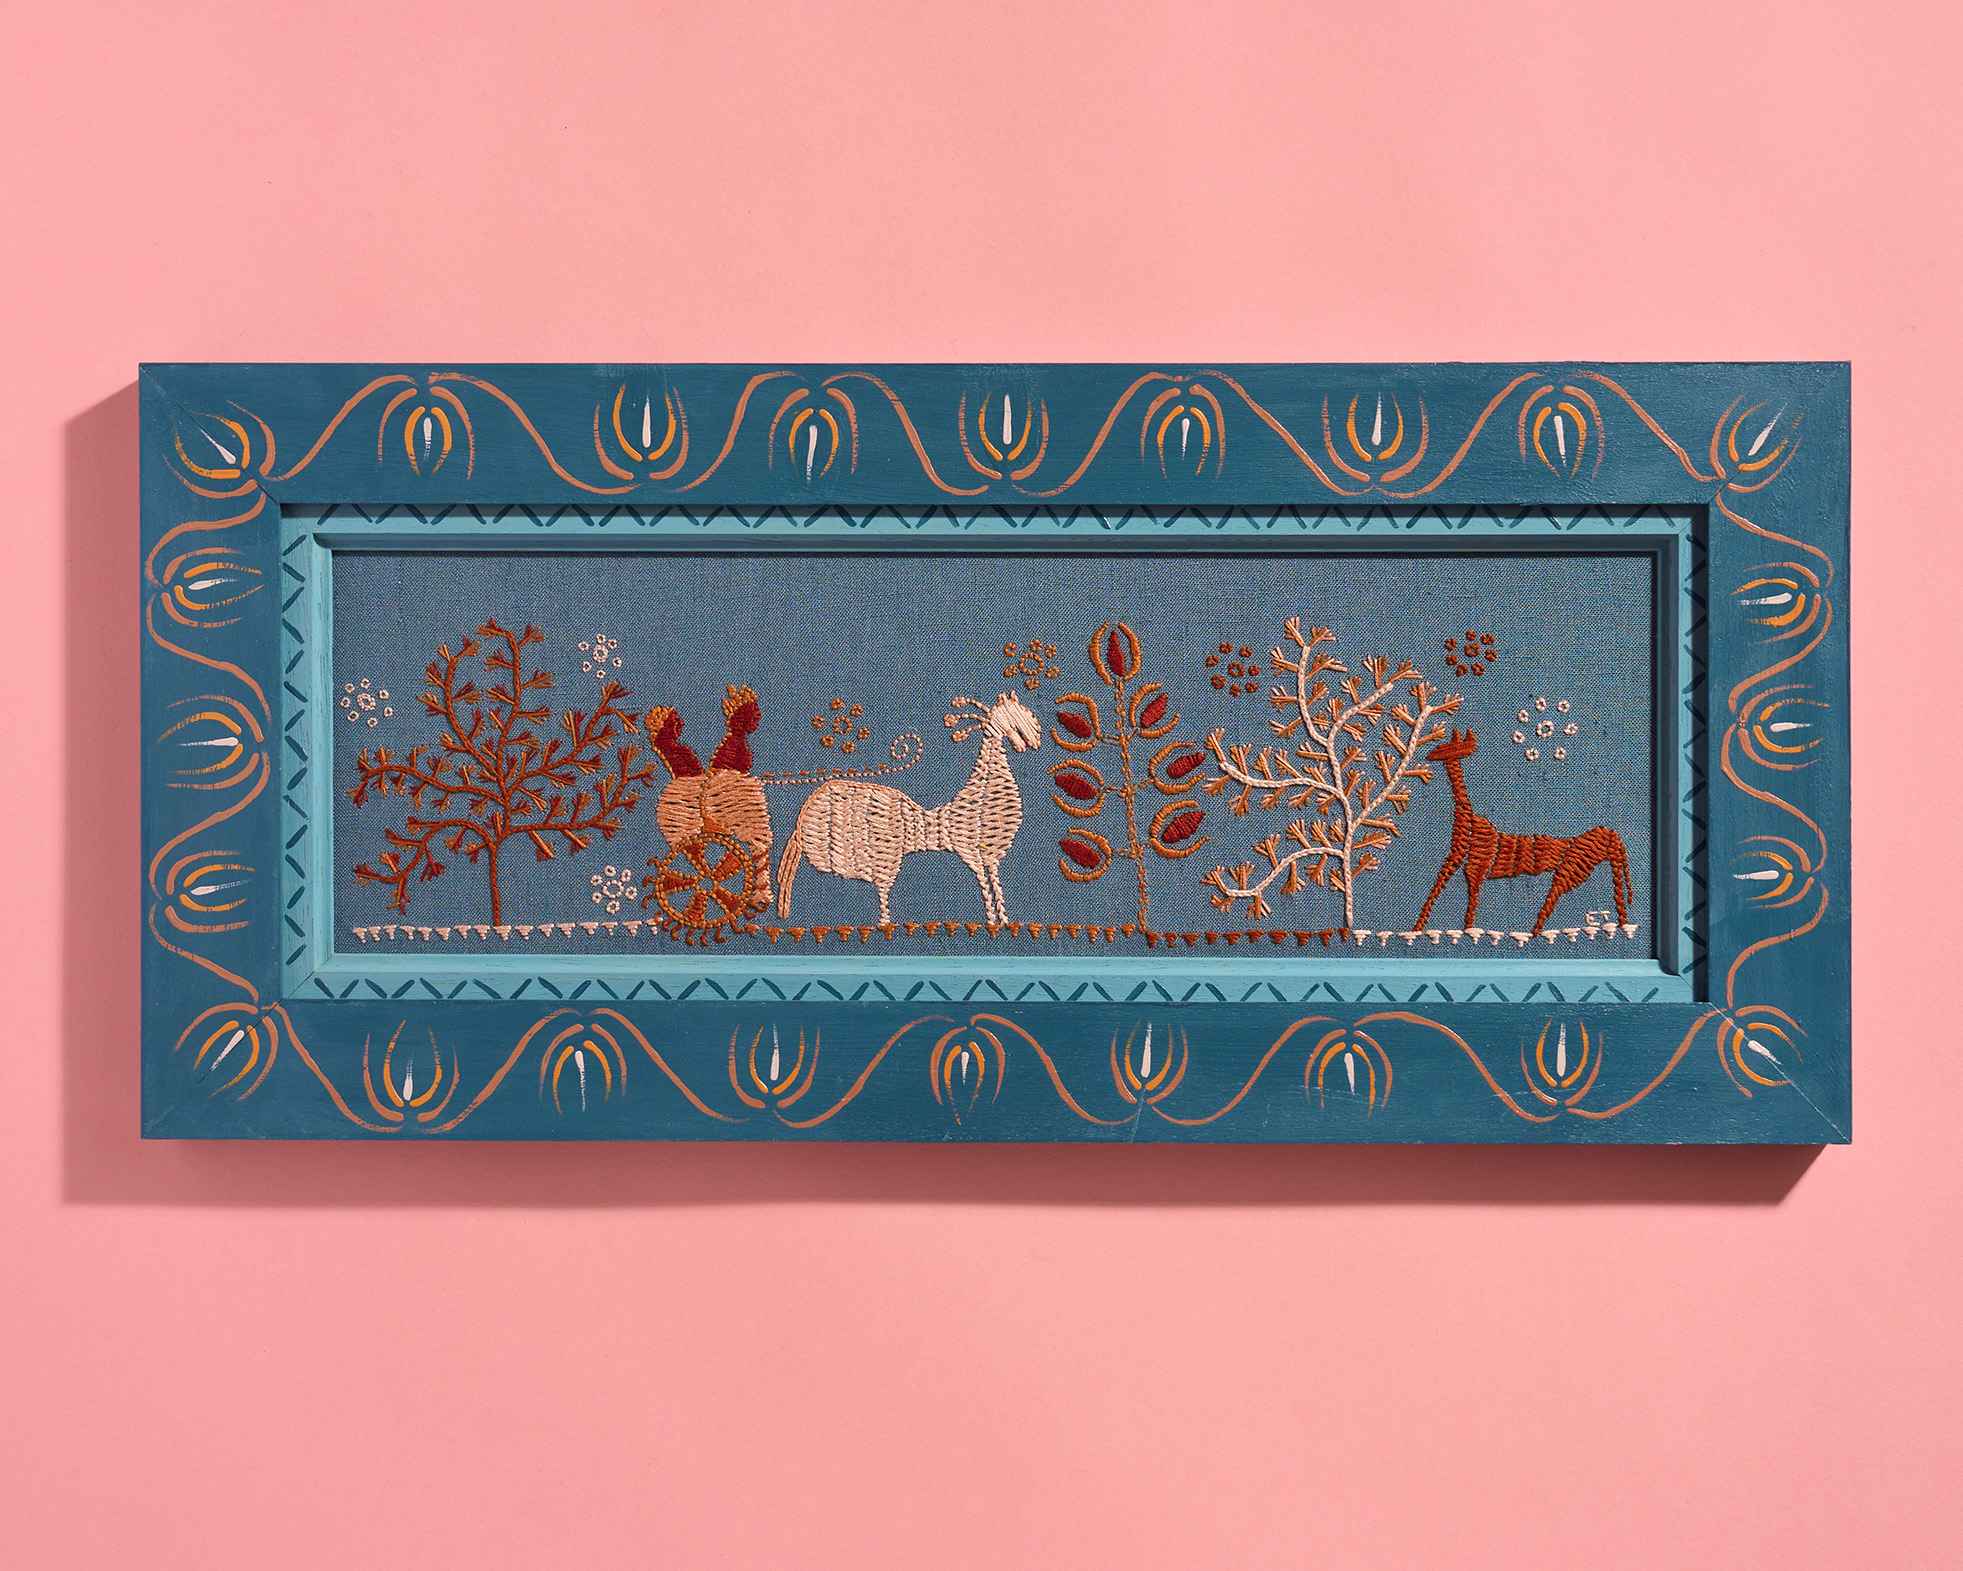
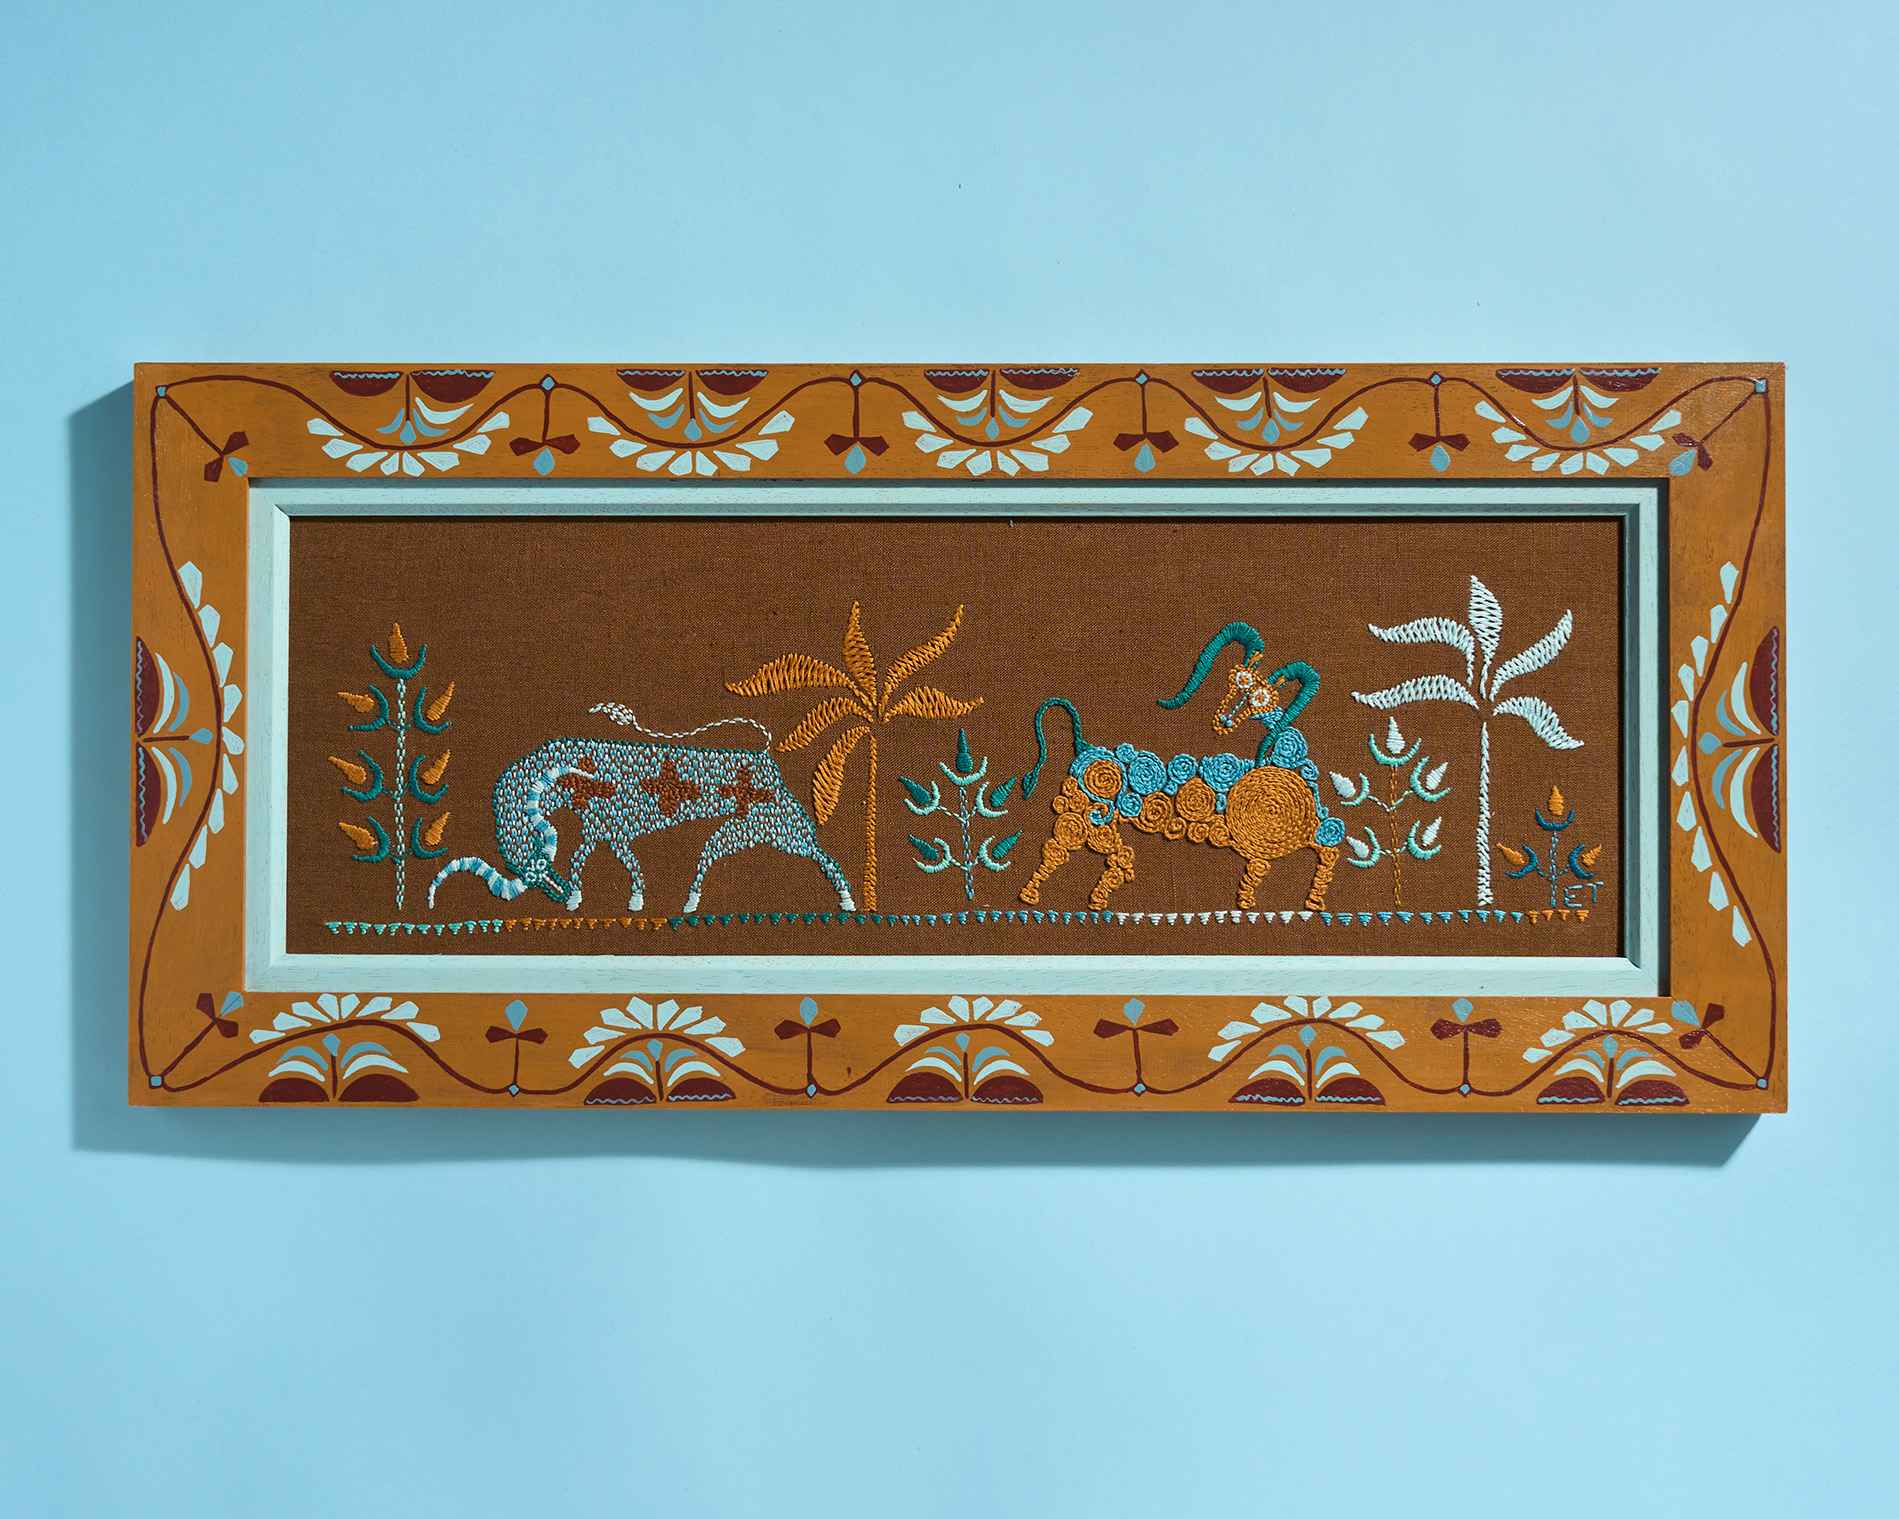
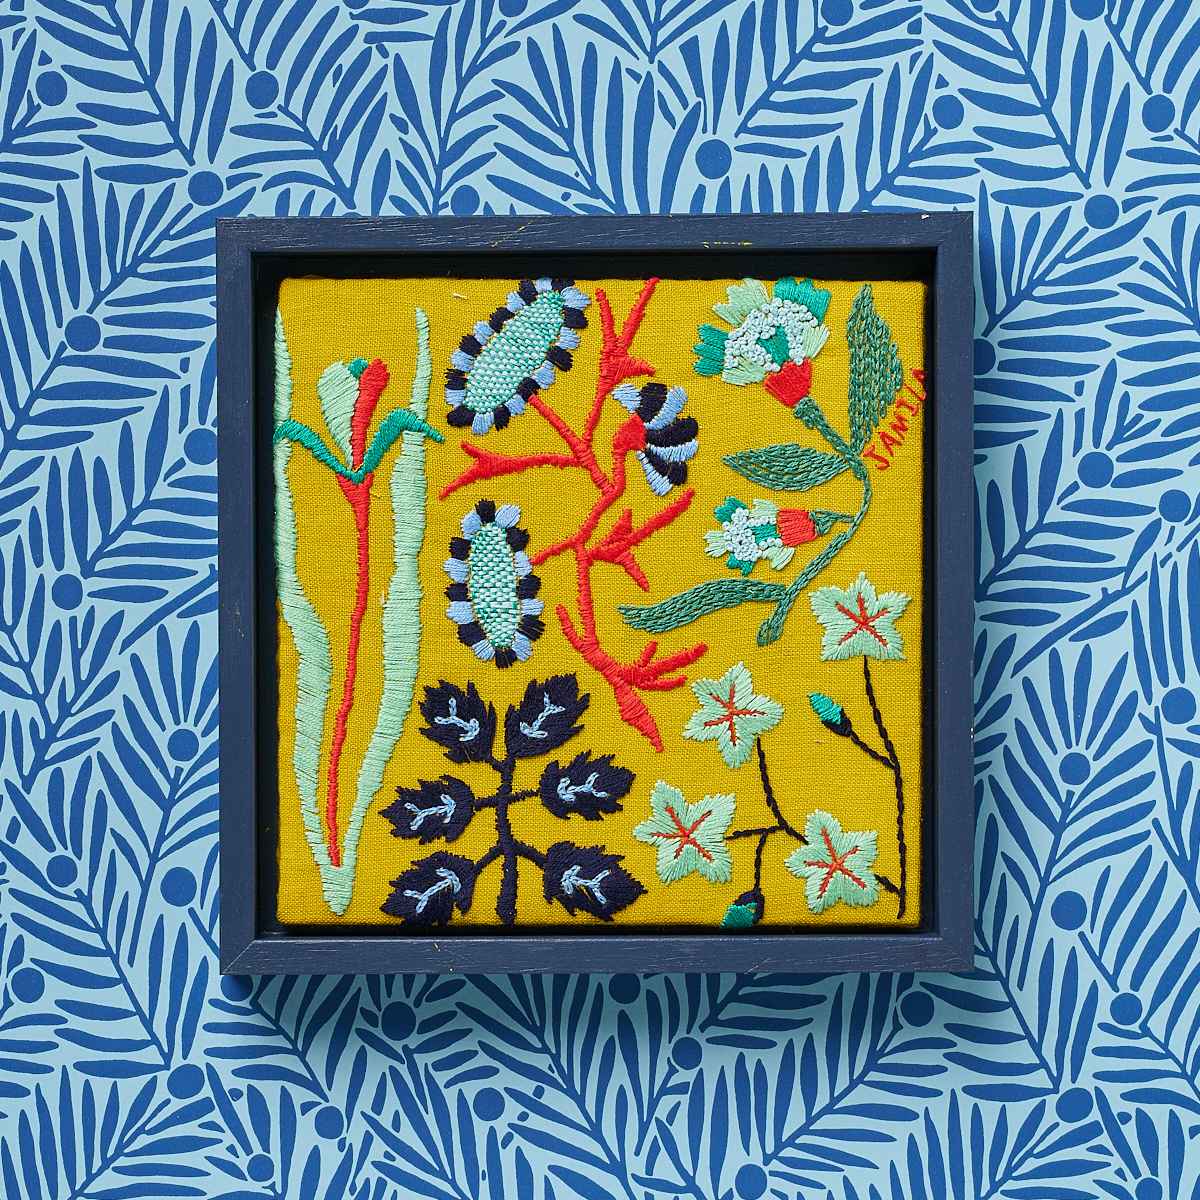
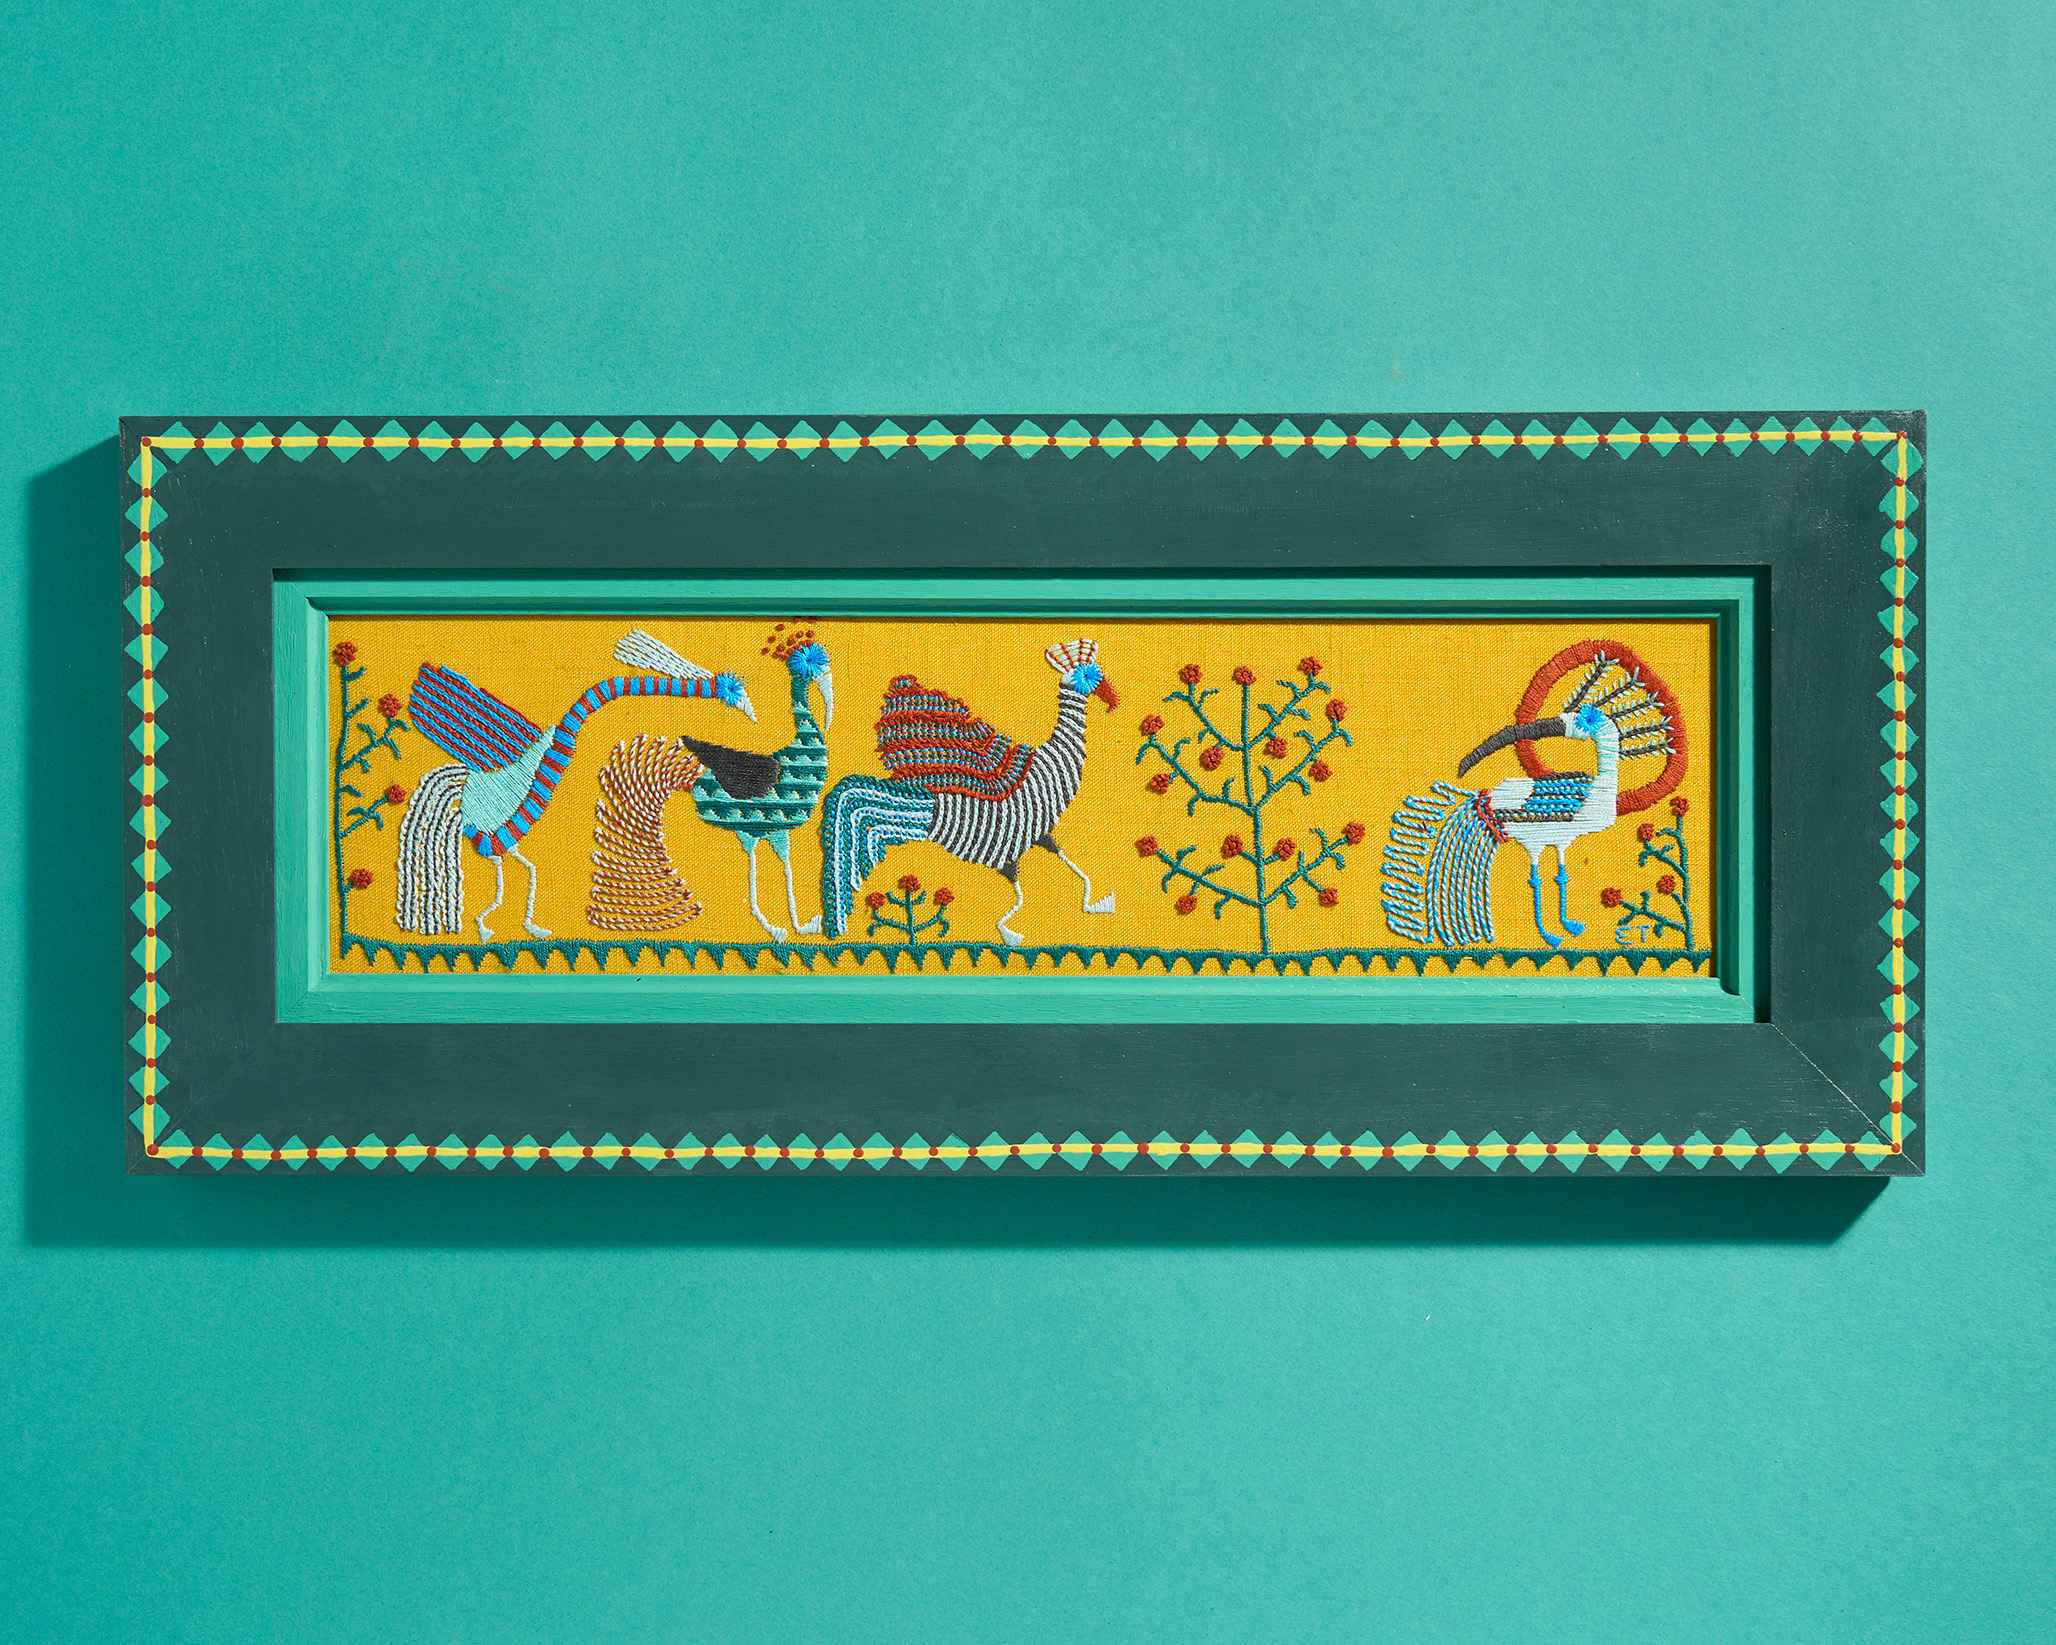
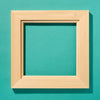
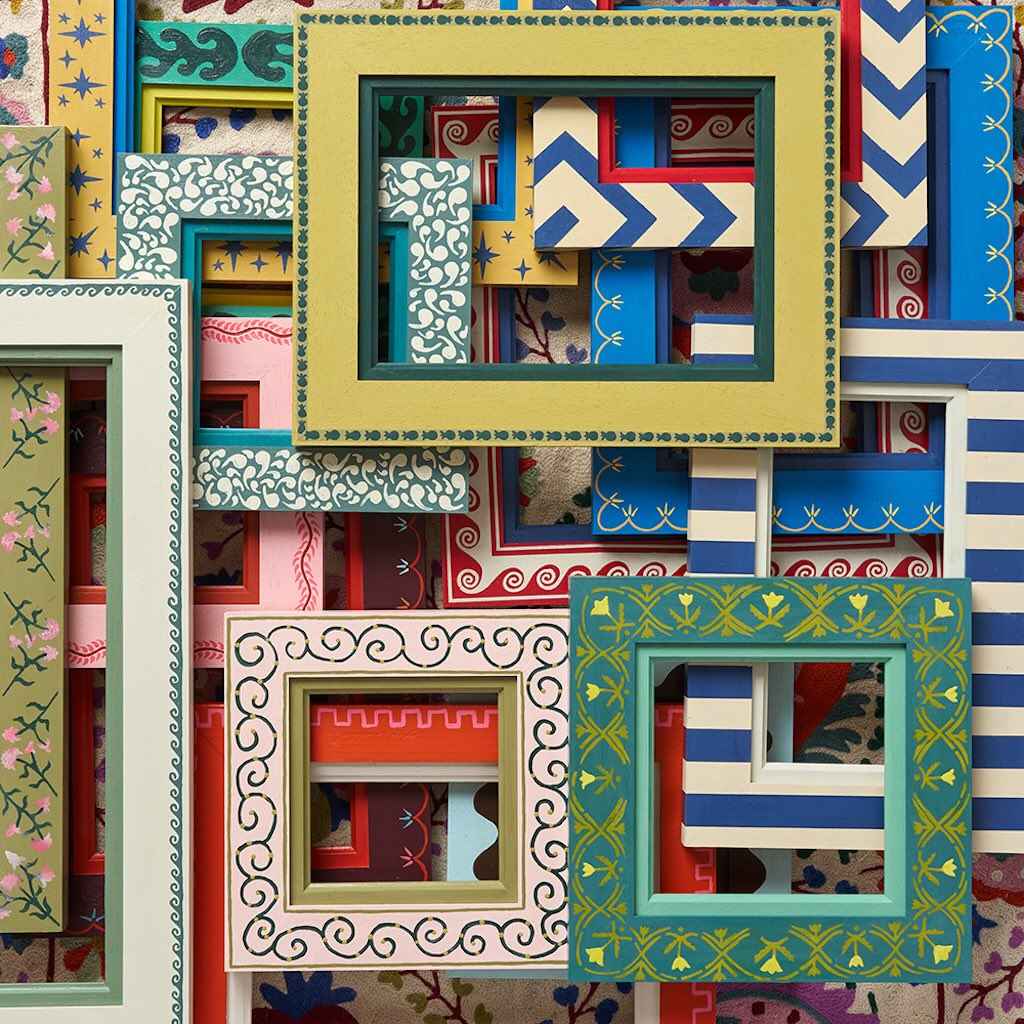
Step two | Add a frame
We stock a range of unpainted frames suitable for painting. Our signature styles (A - E) are a double frame which are great fun to decorate. All the frames include an embroidery mounting kit.
 Sold out
Frame A: Small Rectangle

Frame B: Large Rectangle

Frame C: Wide Rectangle
Frame D: Large Square

Frame E: Small Square

Frame F: Box Frame

Frame G: Musicians Frame
 Sold out
Frame H: Round
Step three | Do you need a mount?
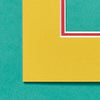
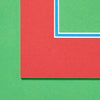
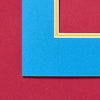
If you chose the Musicians Frame, then you will need to add a mount. We stock a range of colourful double mounts. The opening for your embroidery design after adding one of these mounts is 110mm x 180mm.
Green // Green Mount

Purple // Purple Mount

Blue // Blue Mount

Grey // Orange Mount


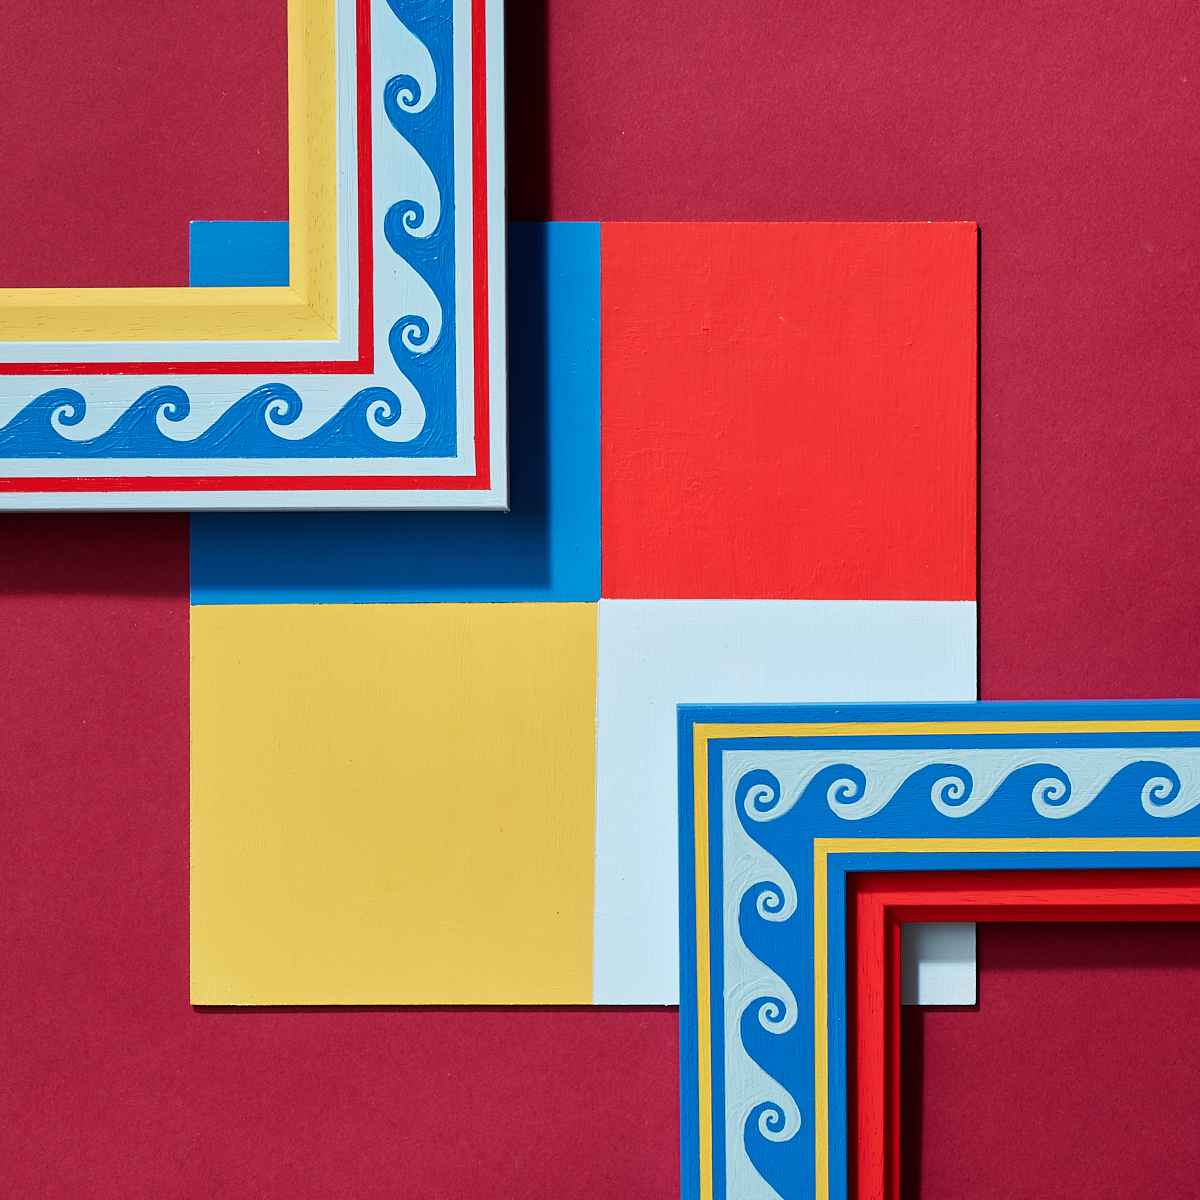
Step four | Choose some paints
We’ve put together ten paint bundles to help you bring your decorations to life. Each one contains four 50ml jars of our own paint, carefully chosen to be just right for decorative painting. Pick a palette to compliment your embroidery bundle.

Painting Bundle: 1

Painting Bundle: 2

Painting Bundle: 3

Painting Bundle: 4

Painting Bundle: 5

Painting Bundle: 6

Painting Bundle: 7

Painting Bundle: 8
 Sold out
Painting Bundle: 9

Painting Bundle: 10


Step five | Any other extras
If you are starting from scratch with your stitching project then you may need some other items like scissors, hoops, needles, painting brushes and more. We stock a curated selection of our favourite brands for each of these items.

Elbesee Hoop - 5"

Elbesee Hoop - 6"

Elbesee Hoop - 7"


Pair of Embroidery Needles (Size 5)

Needle Threader (Pack of 3)

Pair of Chenille Needles (Size 22)


Flat paint brush

Detail paint brush

Stencil brush
Semi-gloss varnish

Stencil: The Stars

Stencil: The Floral

Stencil: The Geometric

Stencil: The Waves

Stencil: The Tulips

Stencil: The Sun Rising
Our top tips for decorative painting
Its time to pick up a brush
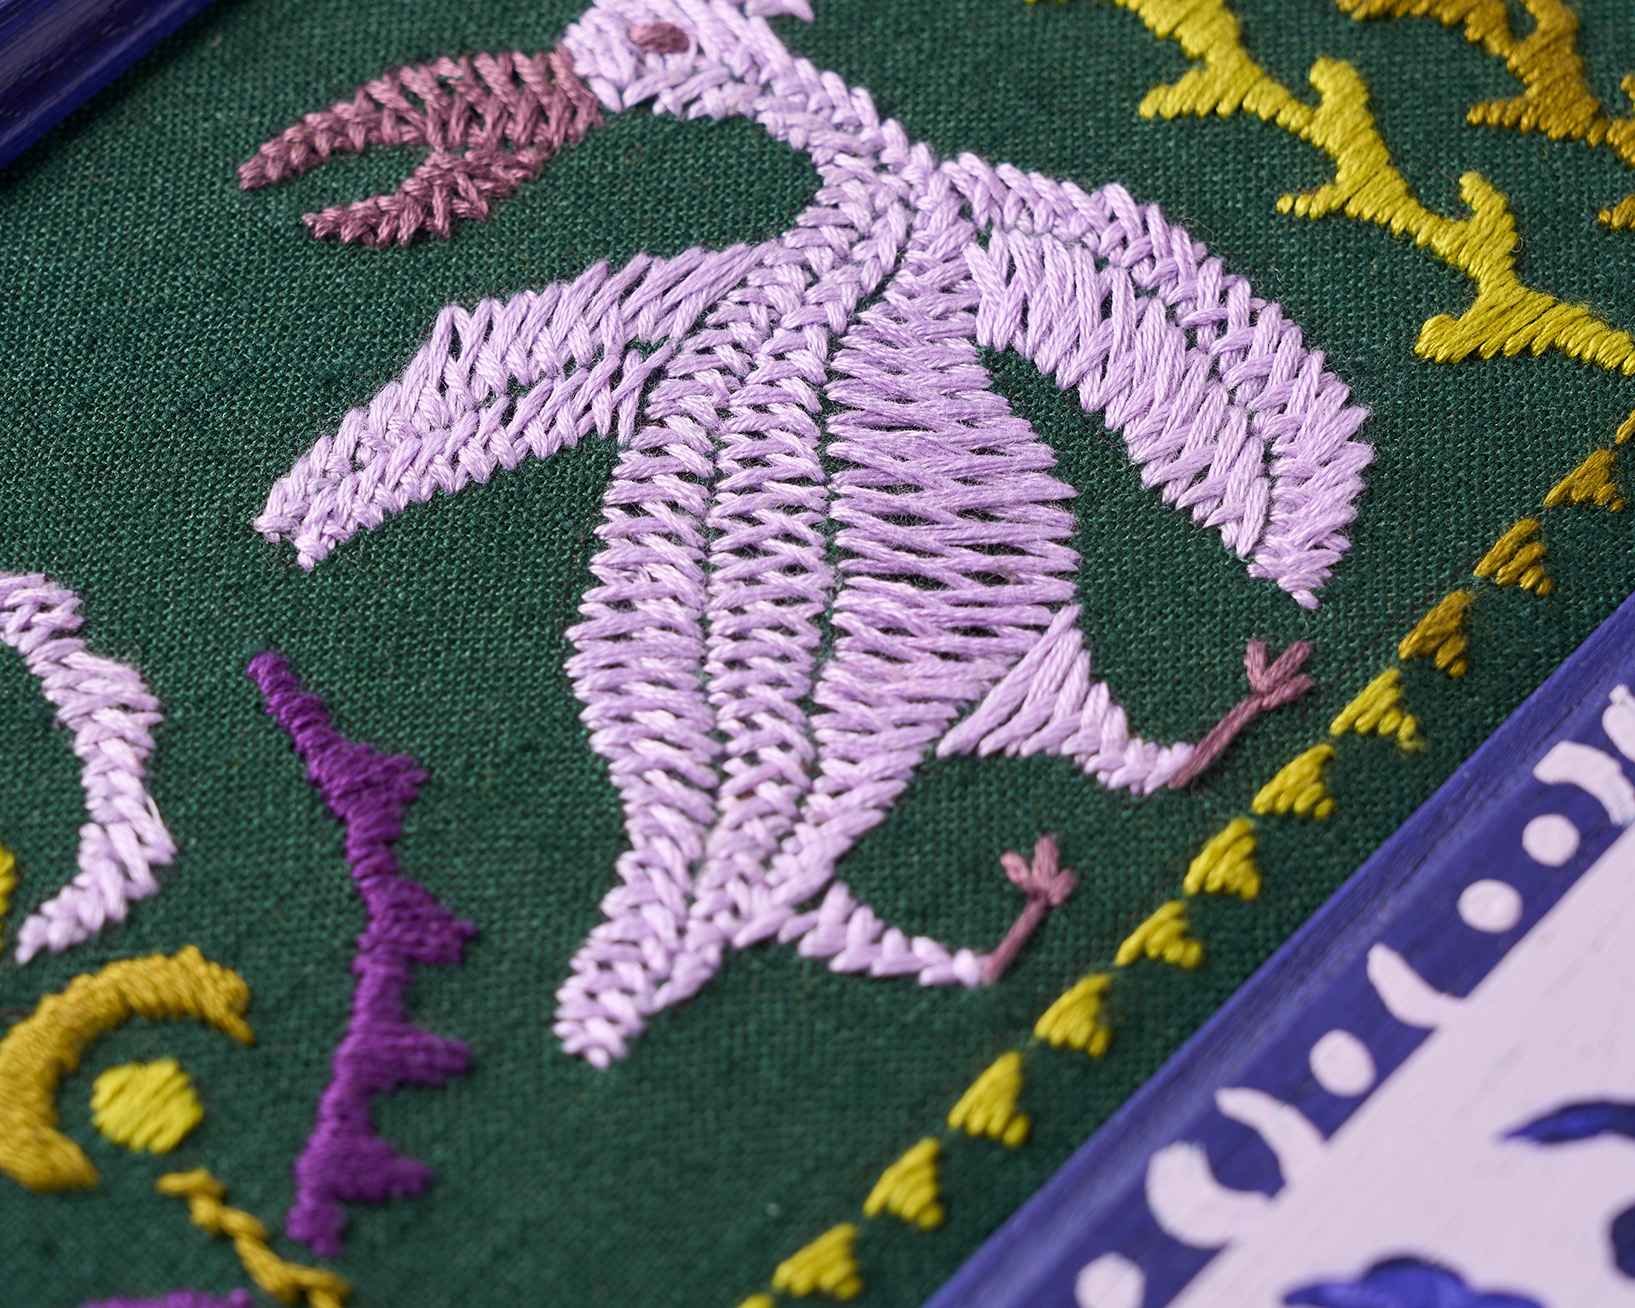
As an embroidery kit company, our aim has always been to encourage people to discover their creative side. We believe that once you've spent hours carefully stitching, your finished piece deserves to be celebrated, and the best way to do that is by hanging it proudly on your wall. Framing adds the finishing touch to an embroidery, elevating it into a piece of art and allowing it to last for generations. But frames can be more than just plain squares of wood or plastic - they can become part of the art itself.
Our freestyle embroidery course
About the course
Whilst you might feel confident diving straight into your own designs, if you would like a bit more guidance, we have the course for you...
Freestyle embroidery is all about having the confidence to express yourself in thread. Over the course of 90 minutes, I will take away the fear so many people experience when faced with a blank piece of paper, and empower you to start designing. I will show you my unique approach for finding inspiration, choosing colours, constructing designs and more, giving you a structured approach to finding your creative voice.