Decorative Furniture Painting
In the past I've embarked on a decorative painting project for two primary reasons: firstly, I have an idea for a decorative piece of furniture I want to create, or secondly, I have a piece of furniture or element of my home which I think would benefit from a bit of sprucing up.
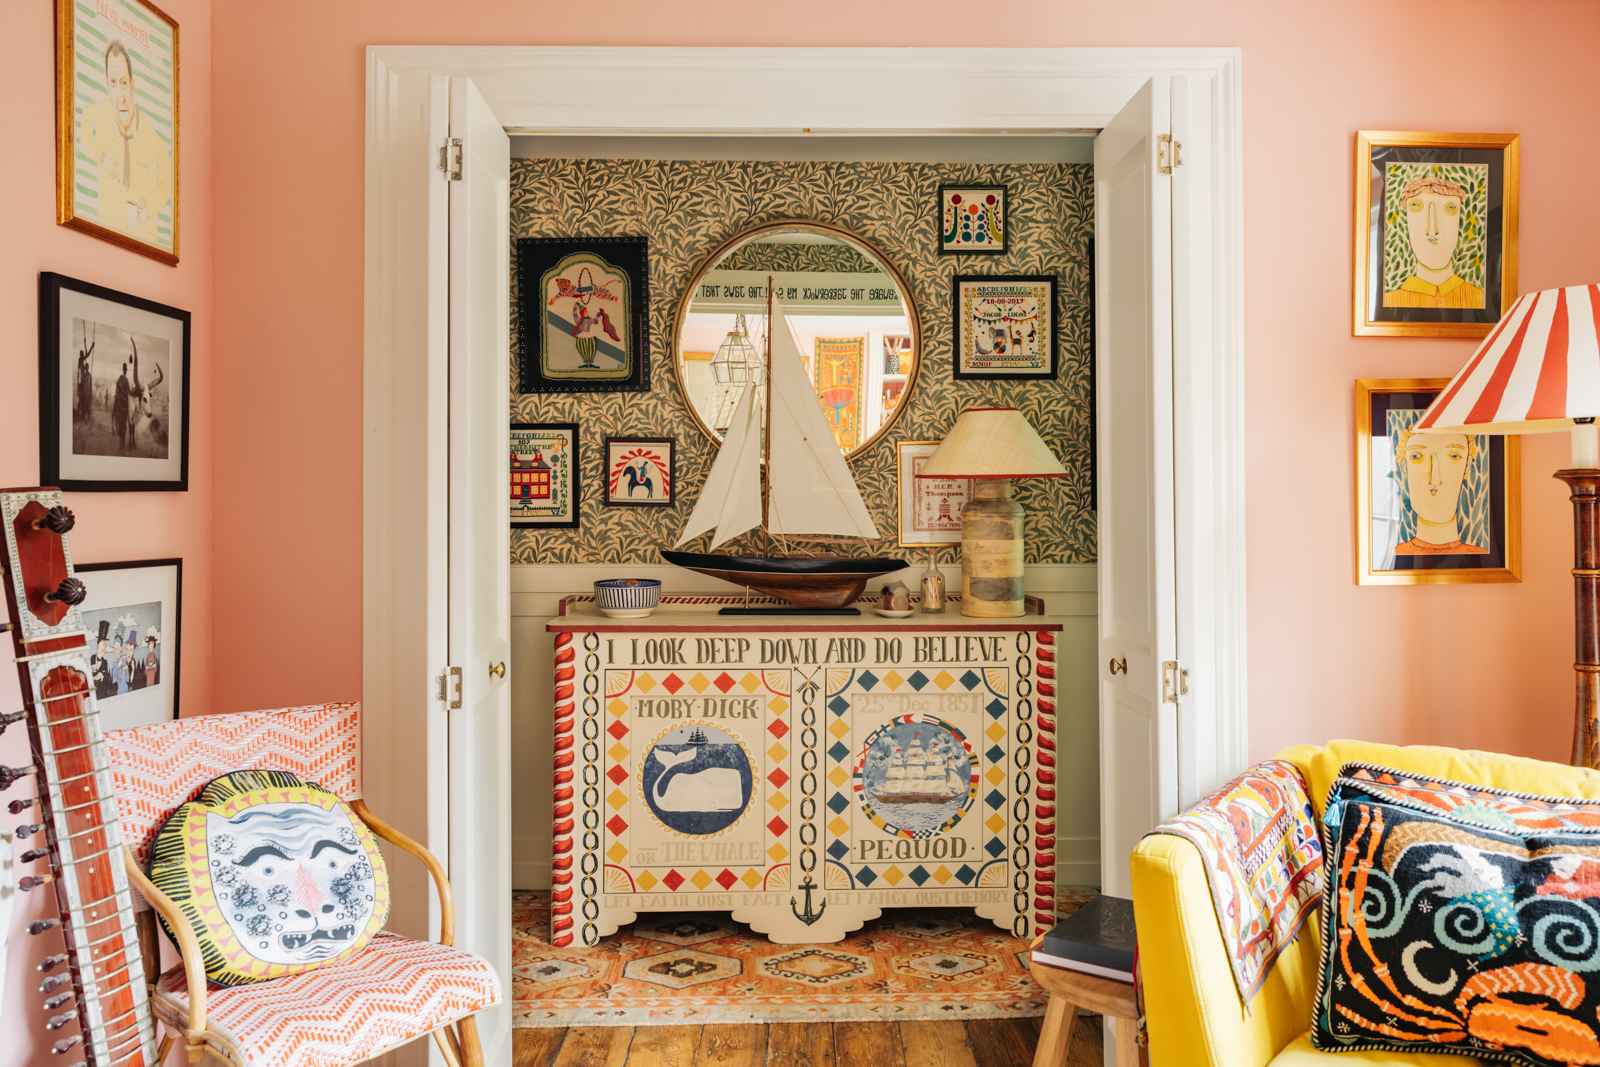
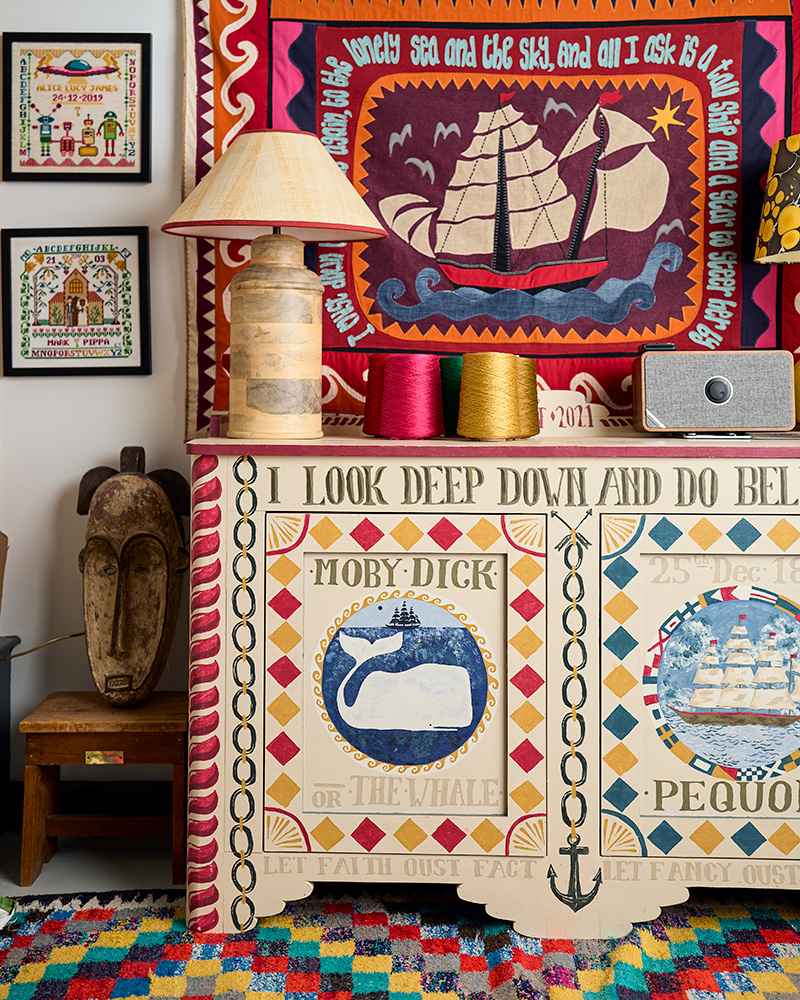
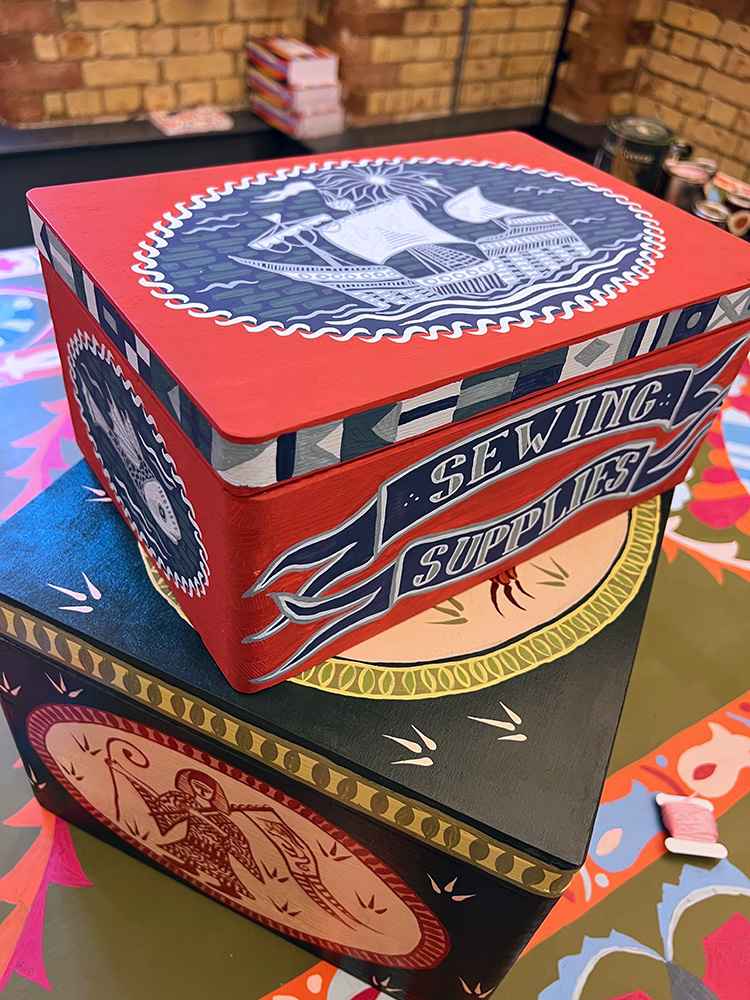
In the former scenario, it can be a breeze coming up with a design idea. For example, after many hours spent on Pintrest looking at old Nantucket Whaling posters, I got it in my head I was going to create a cabinet entirely themed around Moby Dick. The story gave me all the inspiration and characters I needed to take pen to paper and start designing.


If you are starting from the second scenario, the blank page can look quite intimidating. Spend some time looking at images until you find something which gets you excited, and then dig into that image. You don’t have to just look at painted furniture for your inspiration, try textiles, wall papers, ceramics and nature. By looking at these images, rather than just focusing on other examples of decorative painters, you will end up with something more unique to you.
If you are after inspiration, I really recommend all the books by John Gillow which are brimming with incredible images.

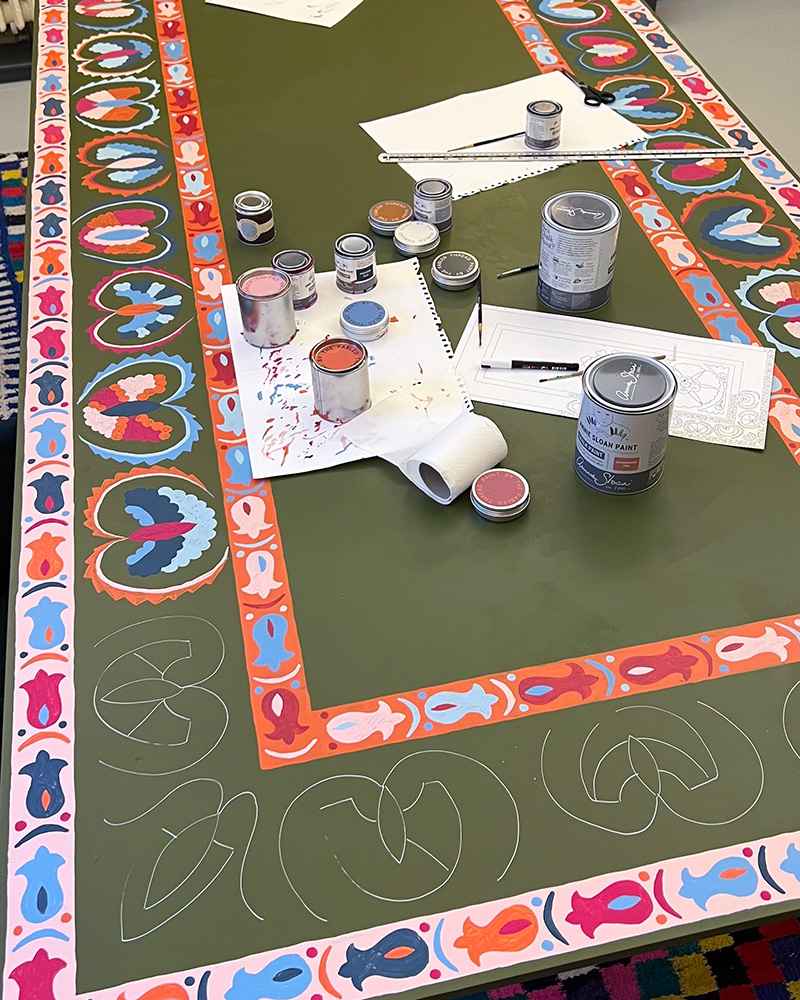
For example, when moving into my new studio, in the creative area I wanted a large table but didn't have a large budget. I am lucky to have a very handy father who was able to make a table for me out of scrap wood and a large sheet of MDF. However this, of course, didn't look particularly stylish. The scale of the piece was perfect for decorative painting but I had no clear vision of what to create, so referred to the John Gillow books. The final creation was inspired by the suzanis of central asia.
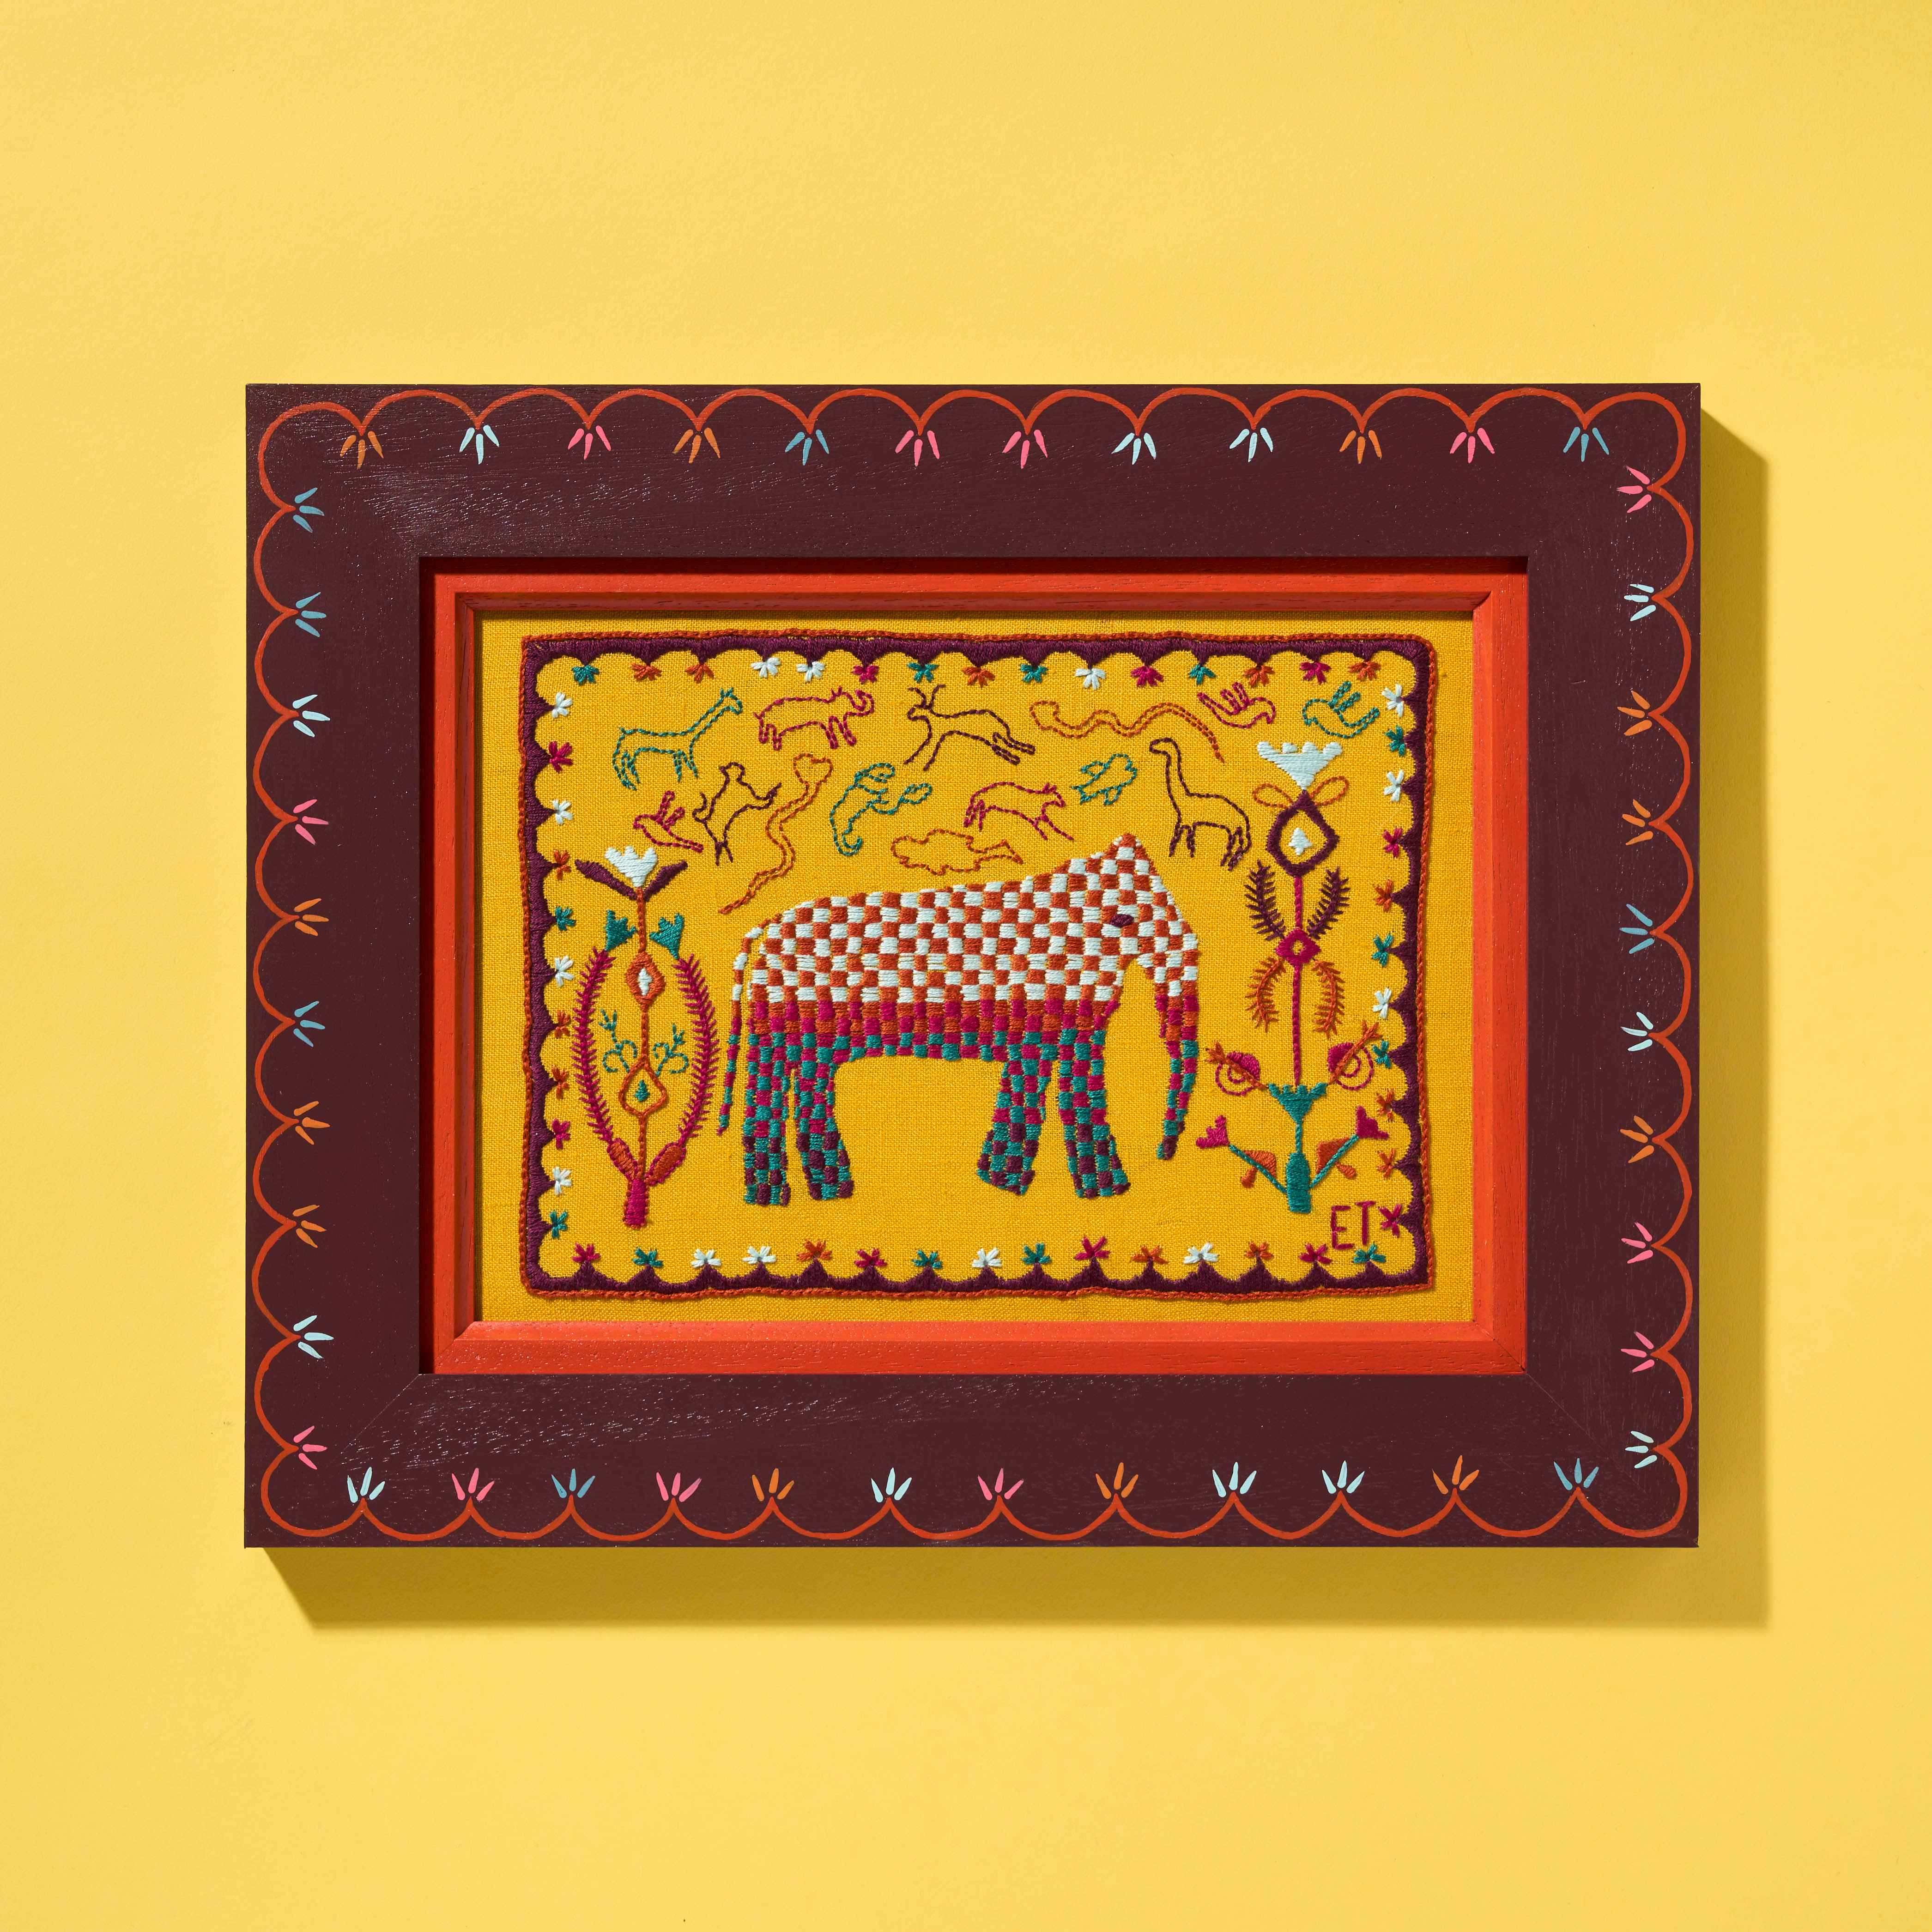
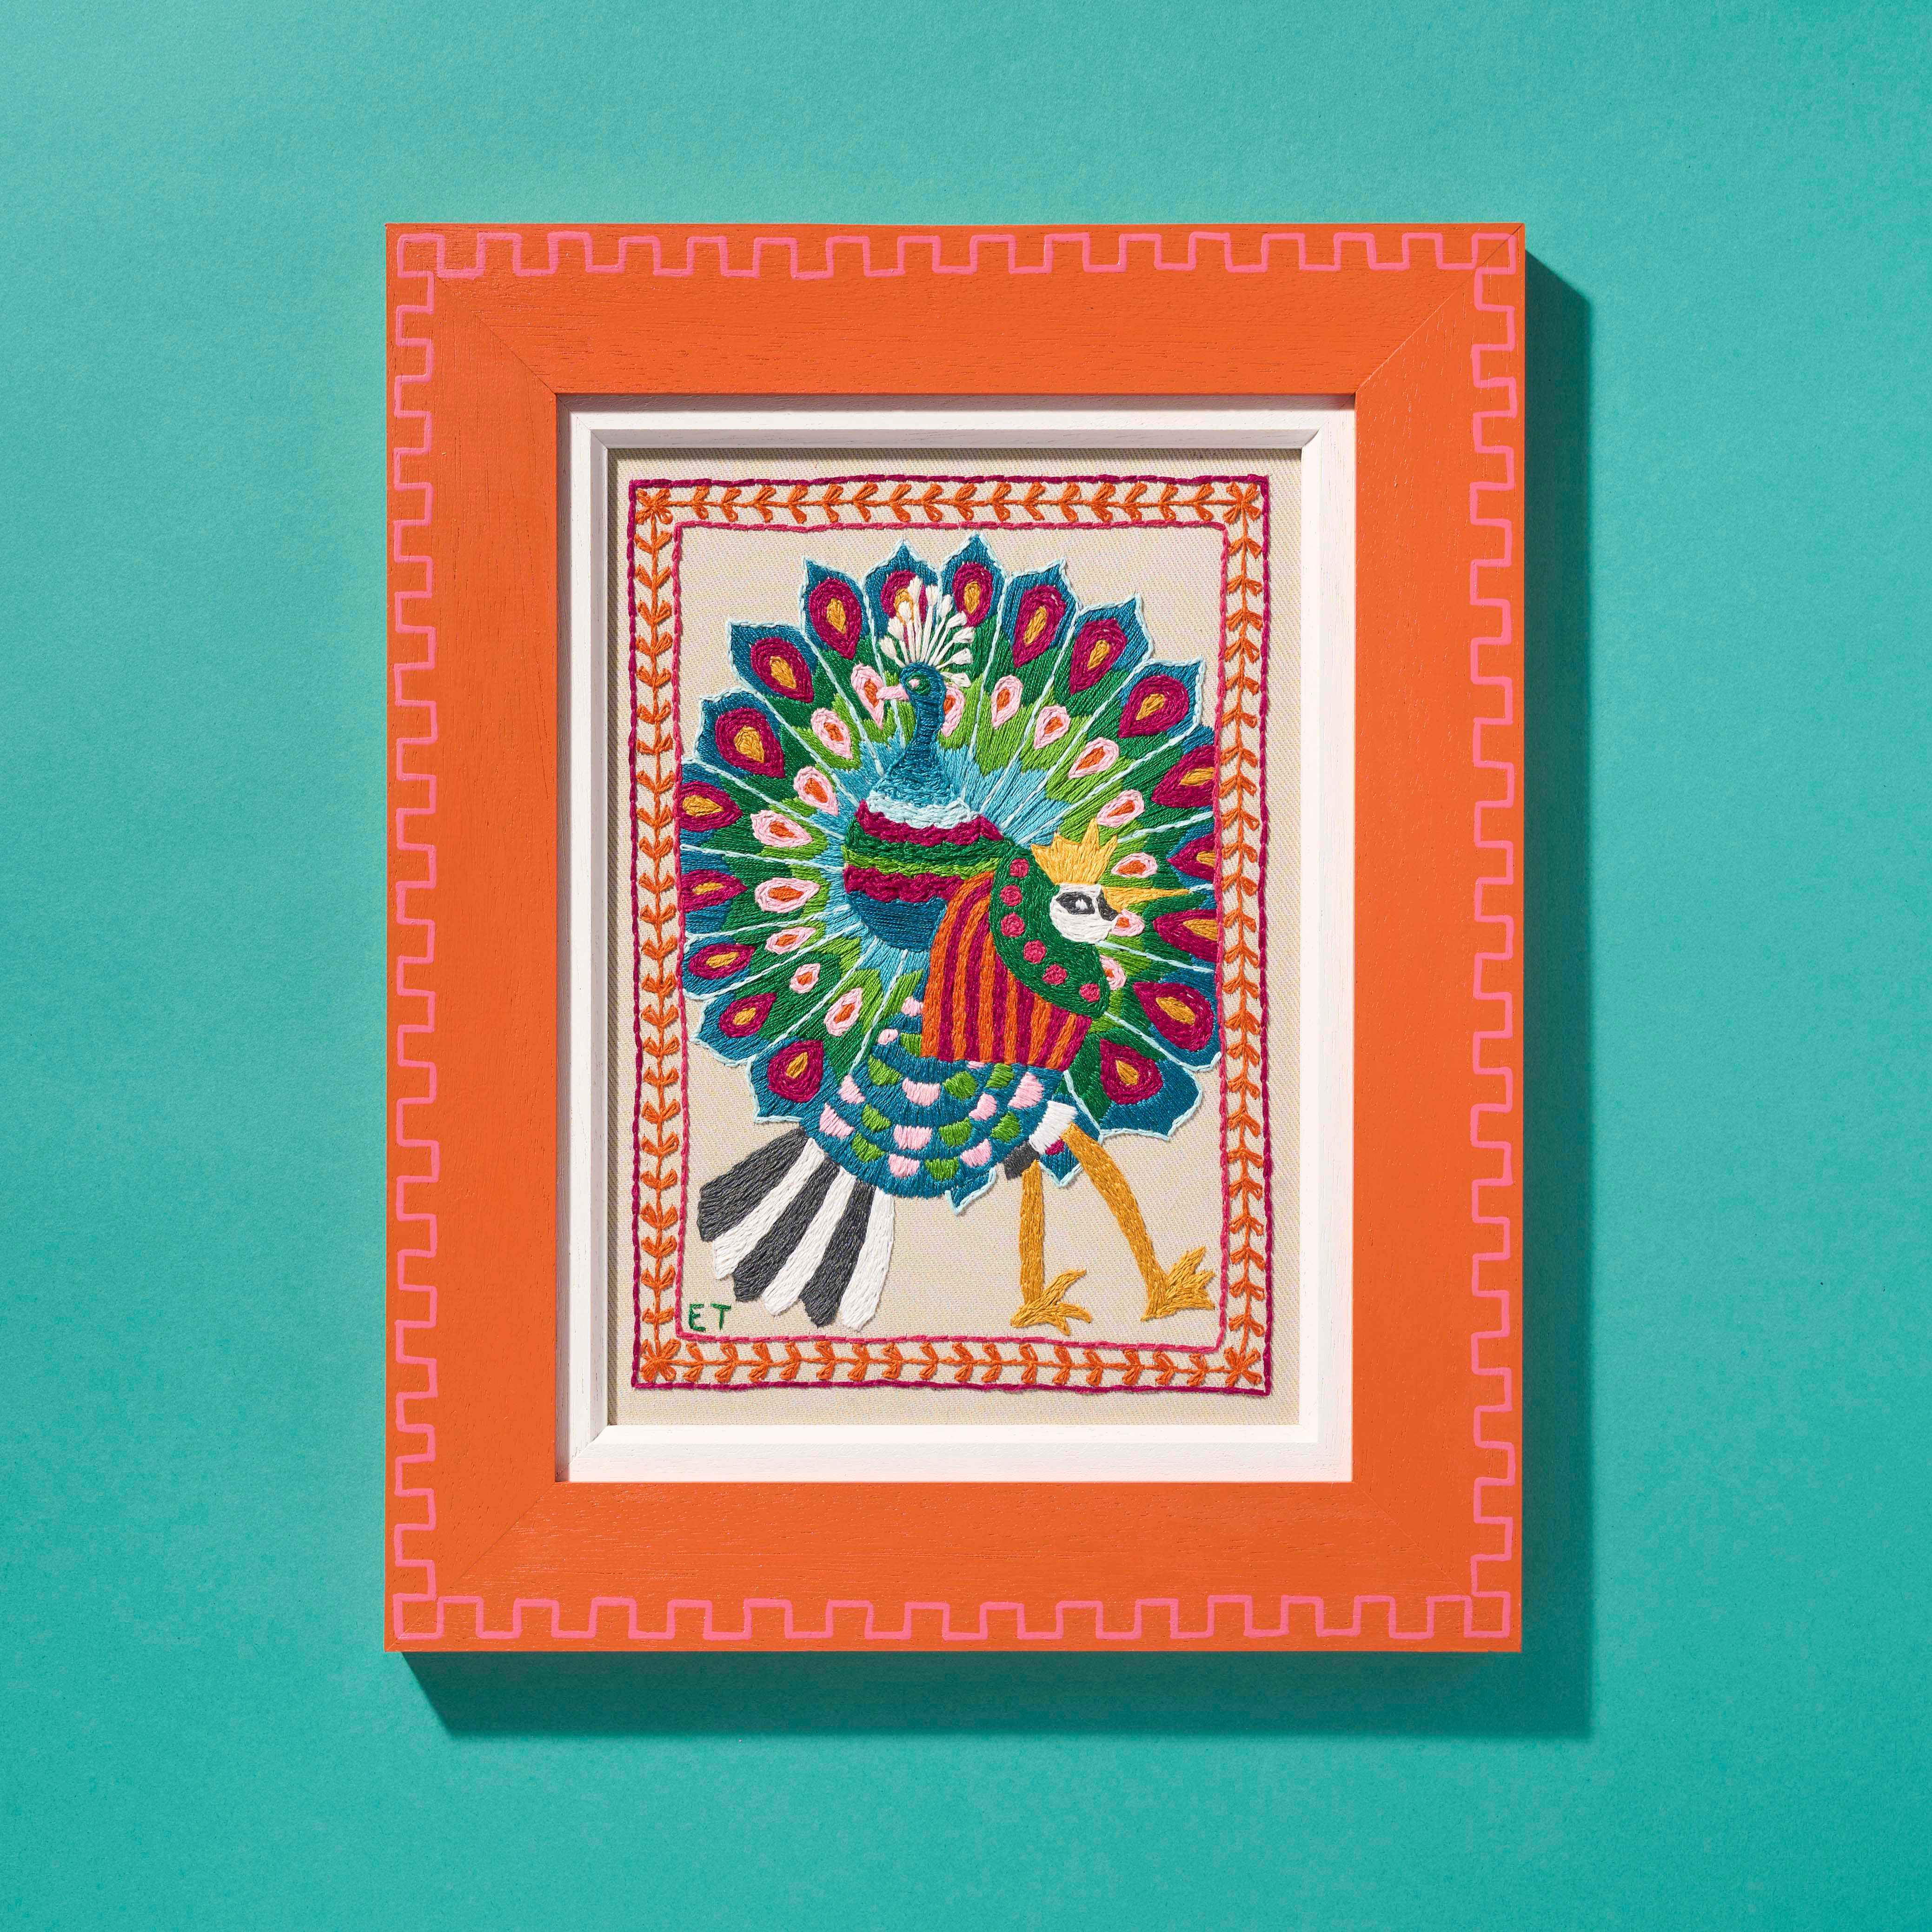
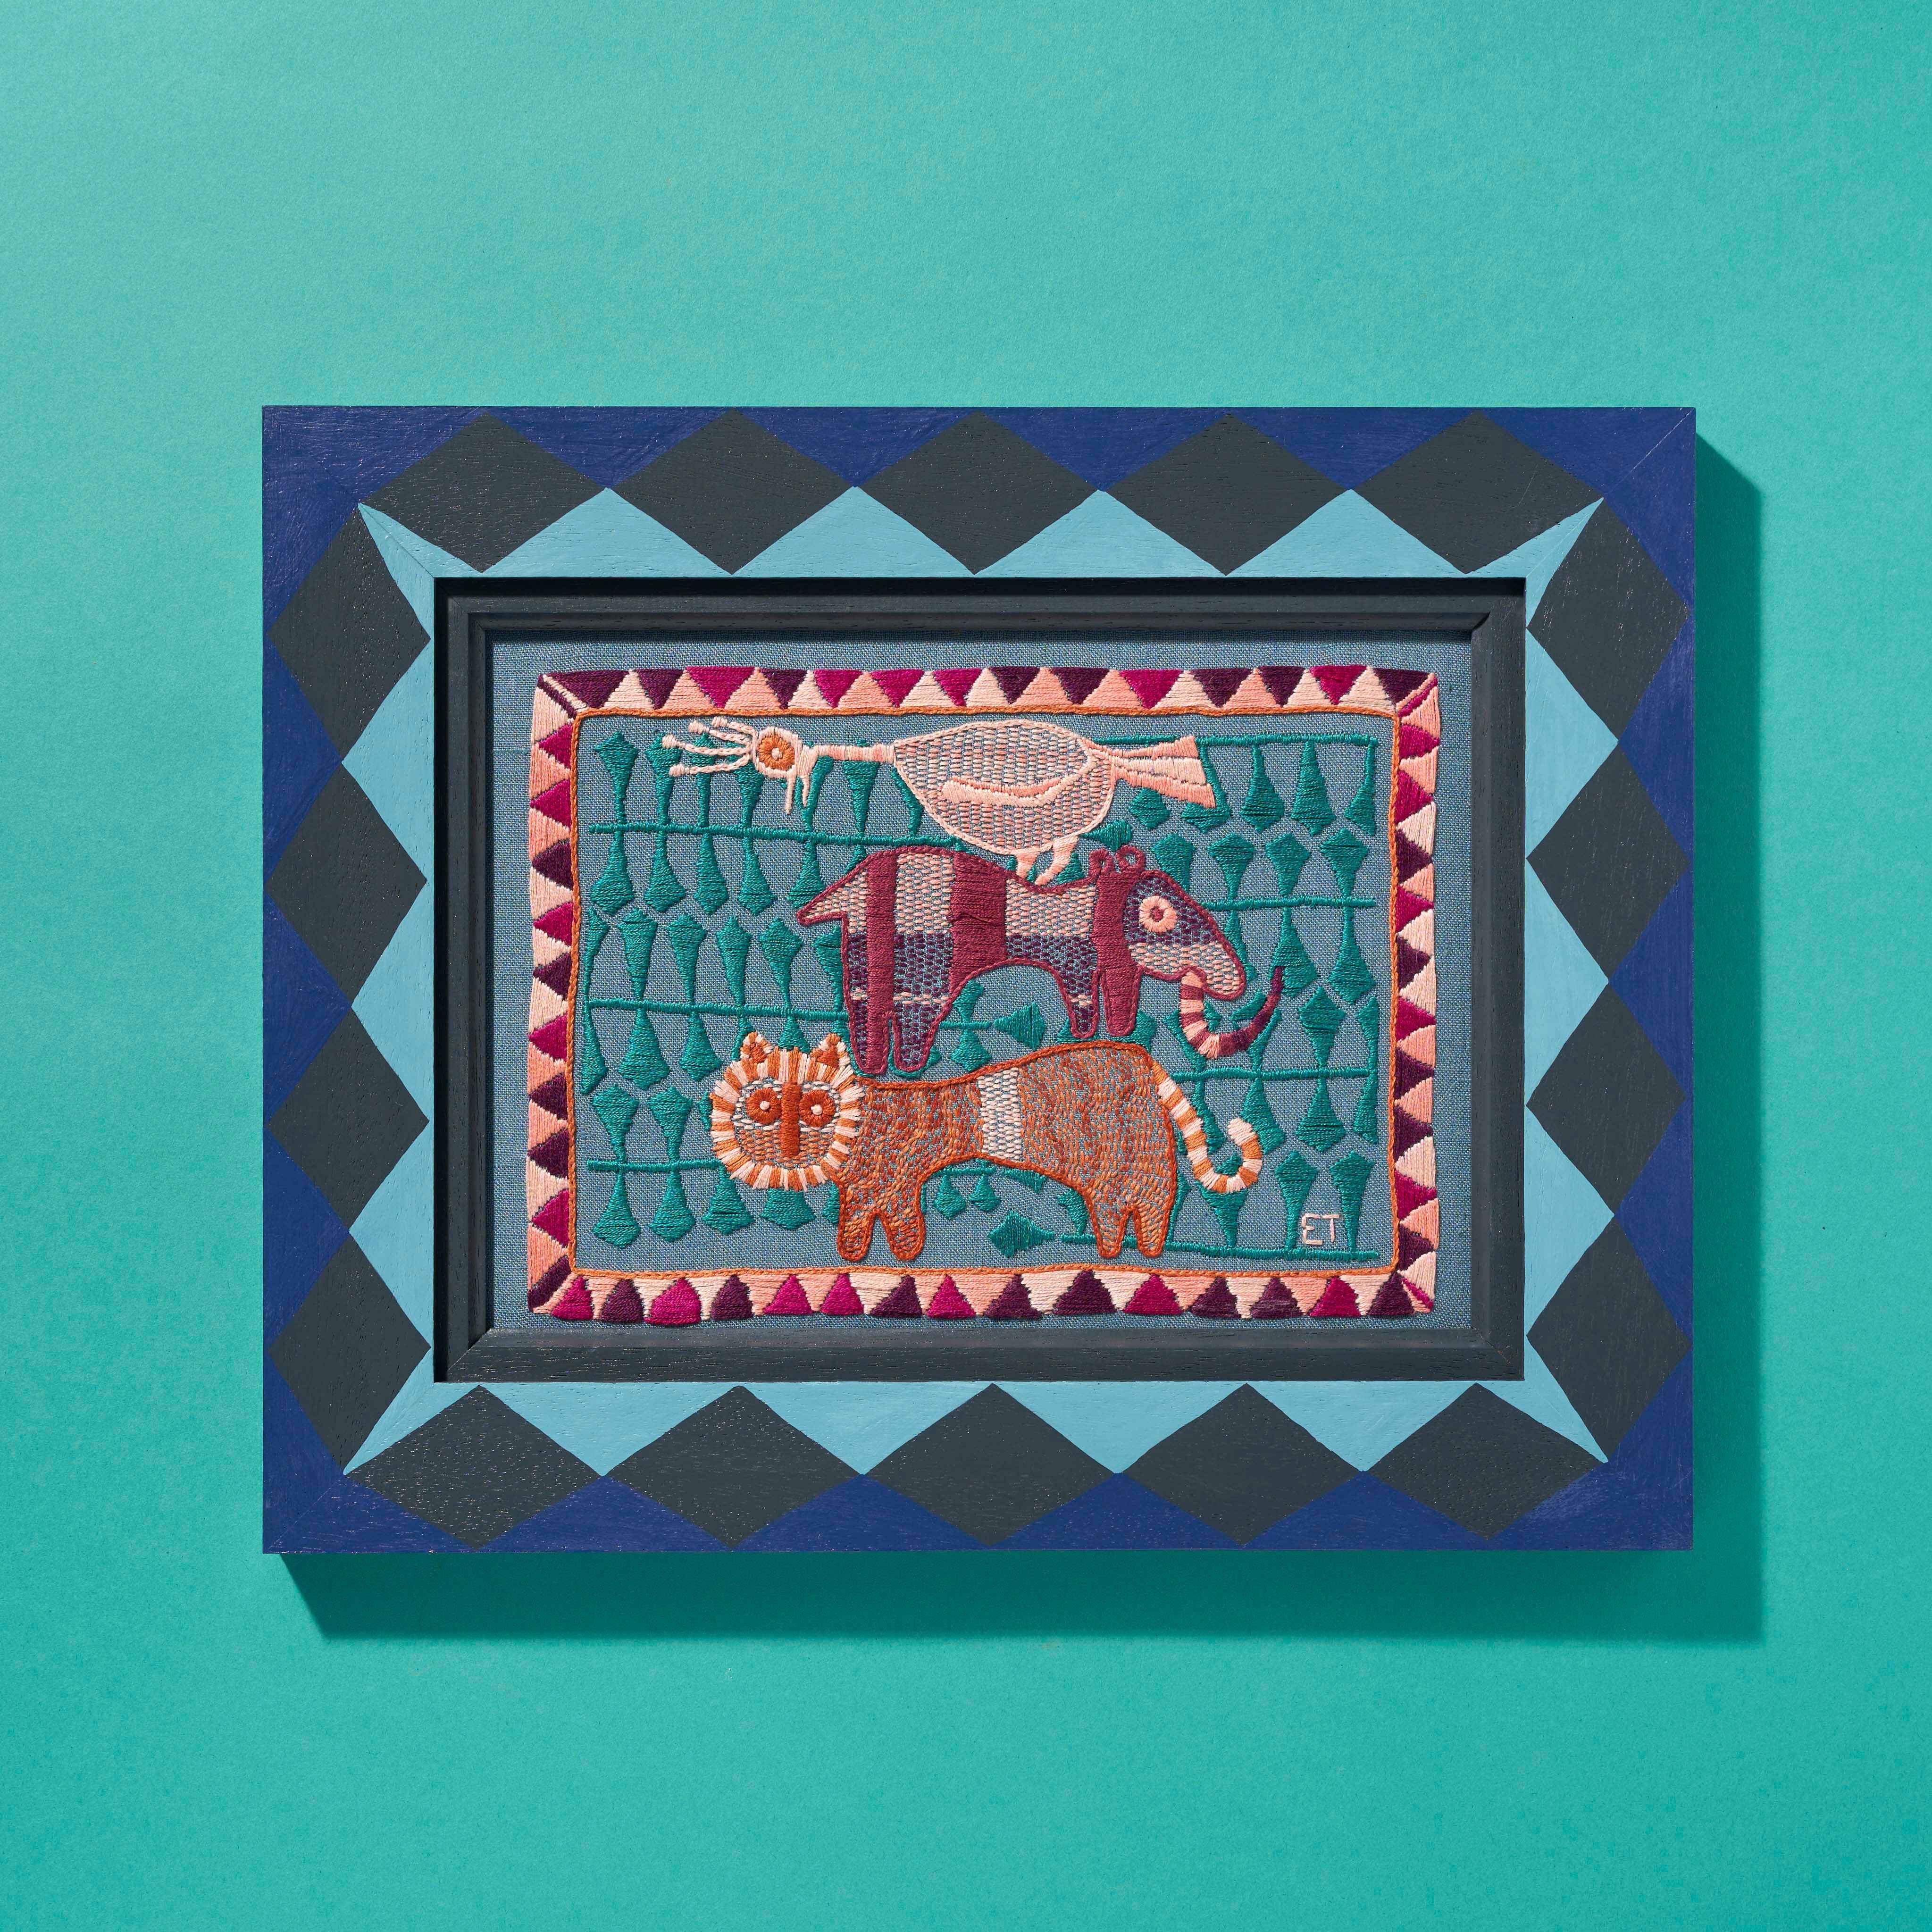
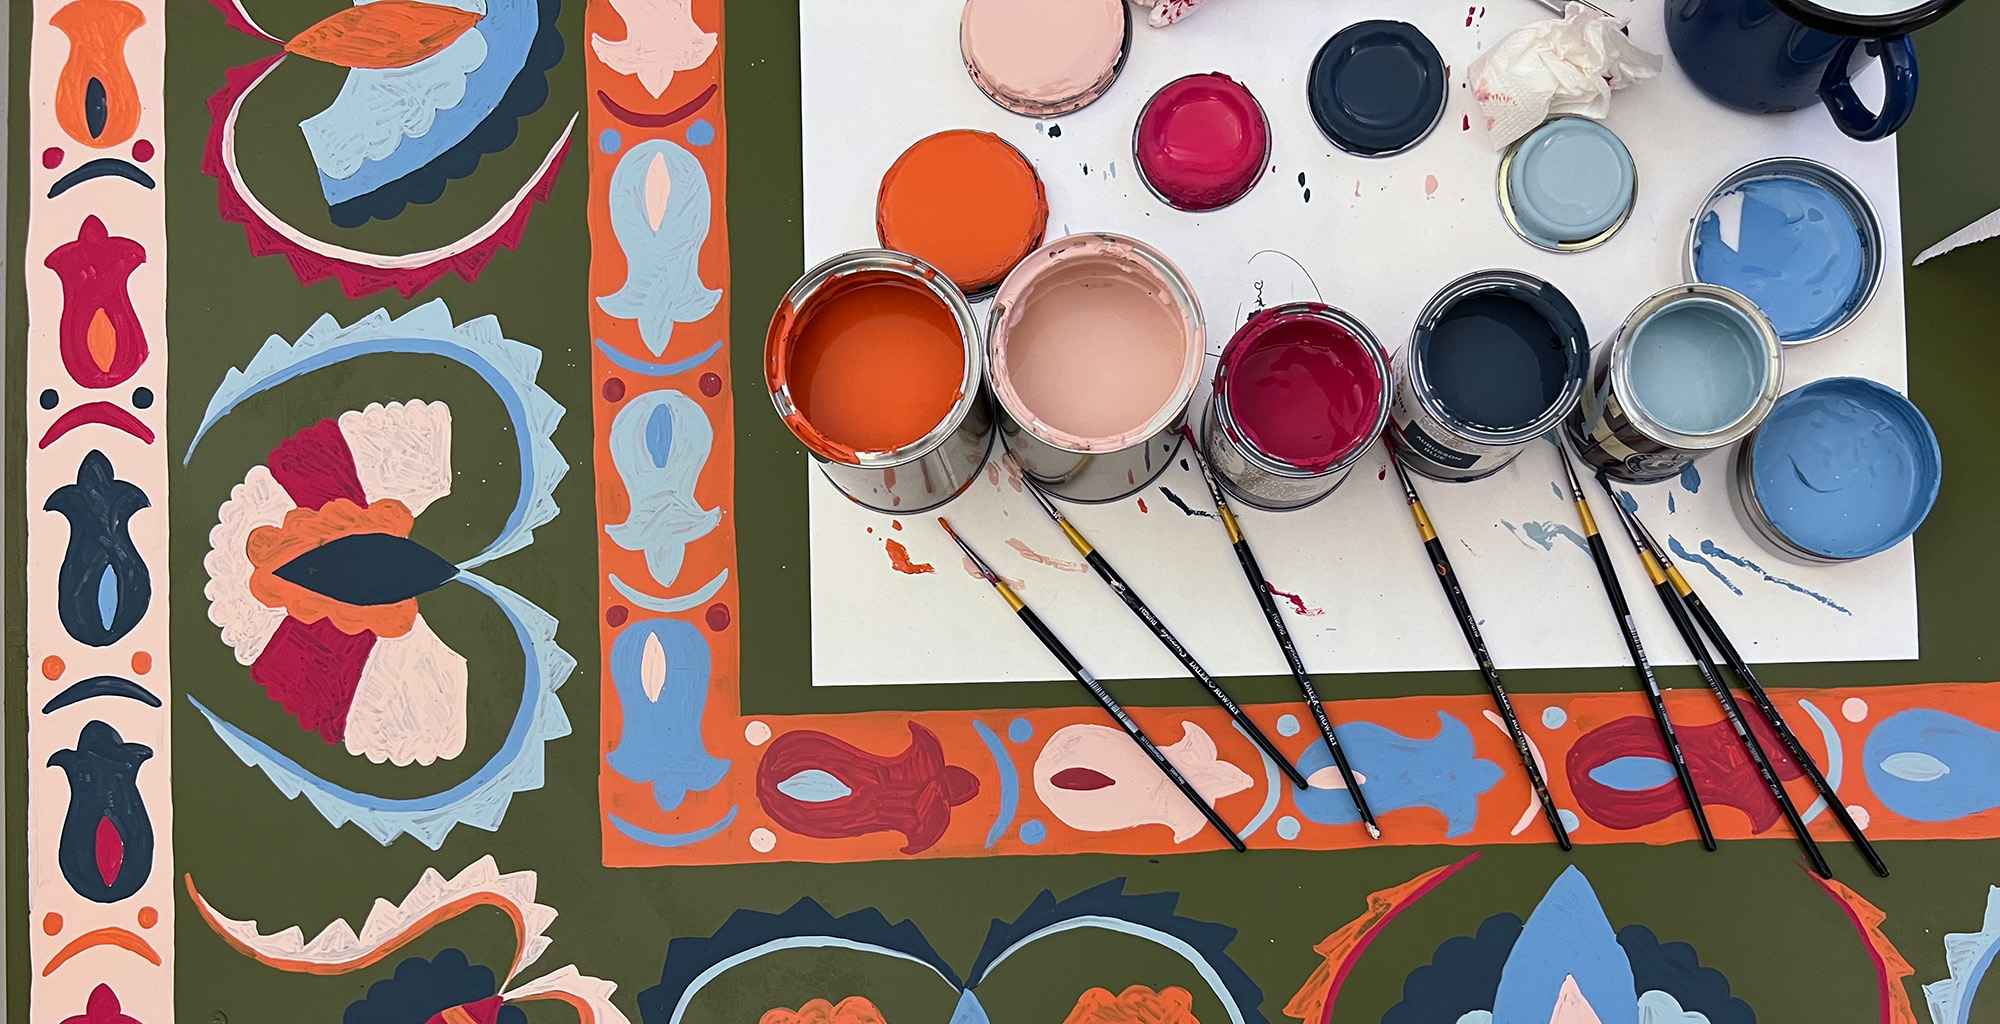
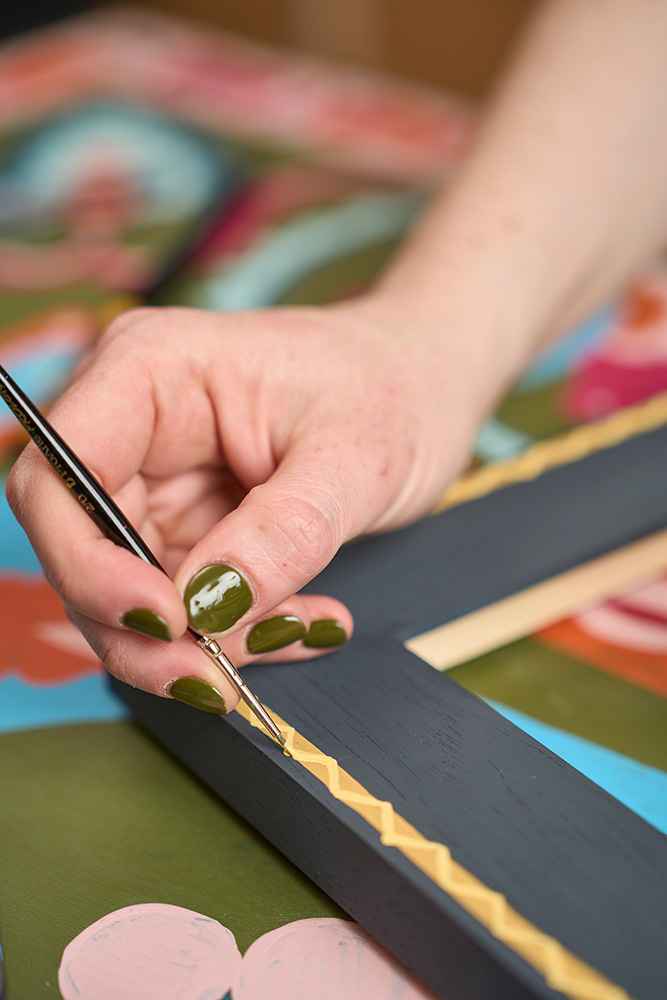
When choosing the colours for your piece, you need to ask yourself, what’s the point of the decoration? If you are painting a picture frame, the purpose is to enhance what’s inside the frame. The temptation can be to go full-on but then the eye is drawn to the frame rather than the contents. Try keeping the decoration simple and picking out colours from within the artwork so that everything feels harmonious.
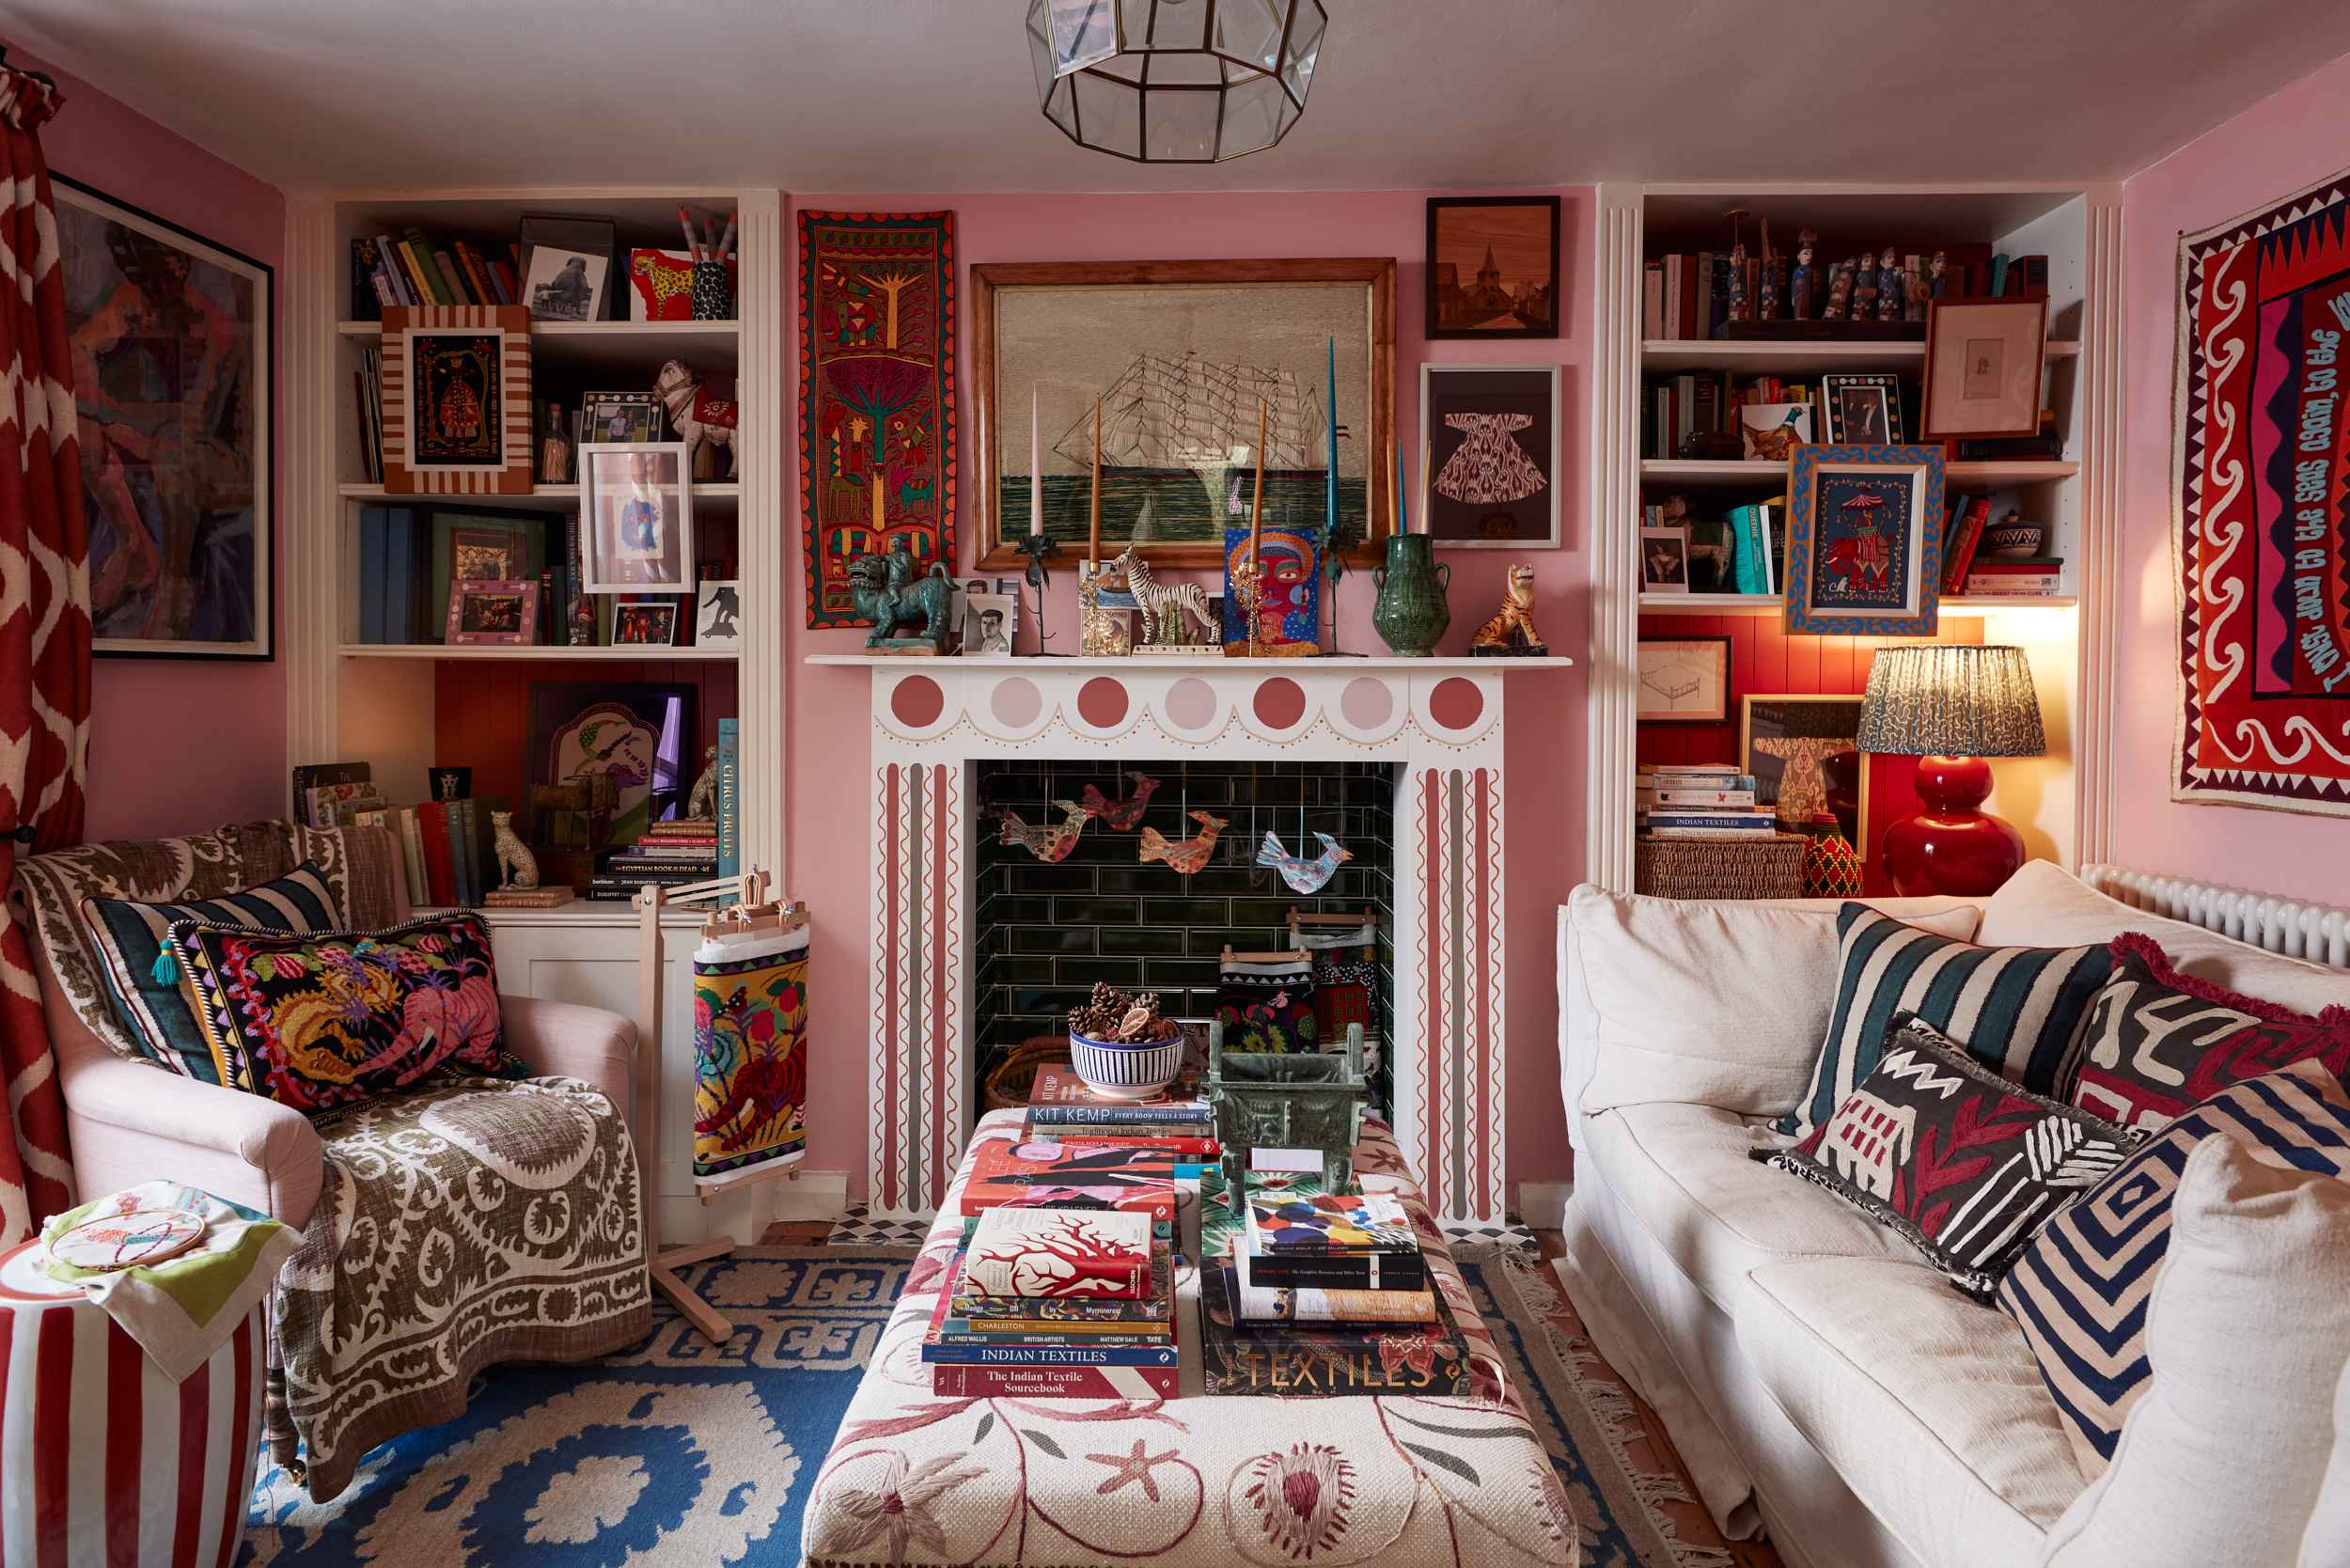
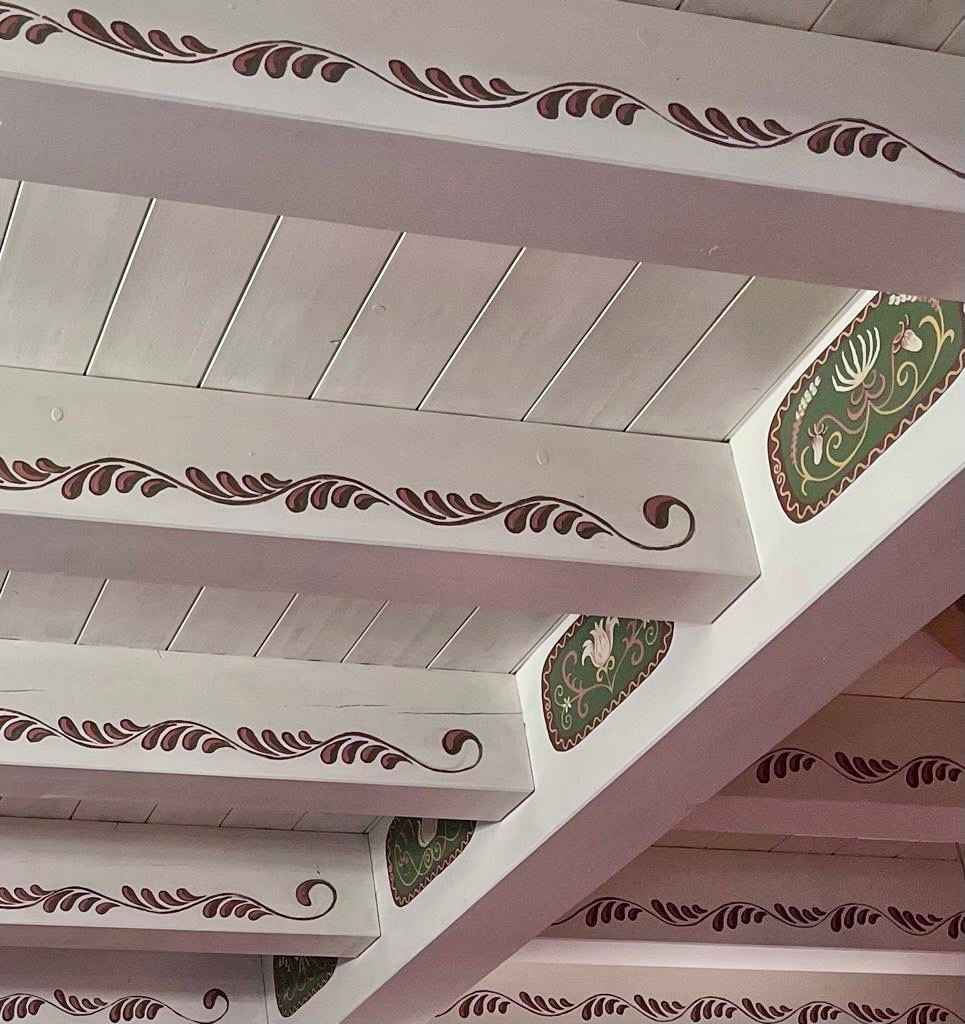
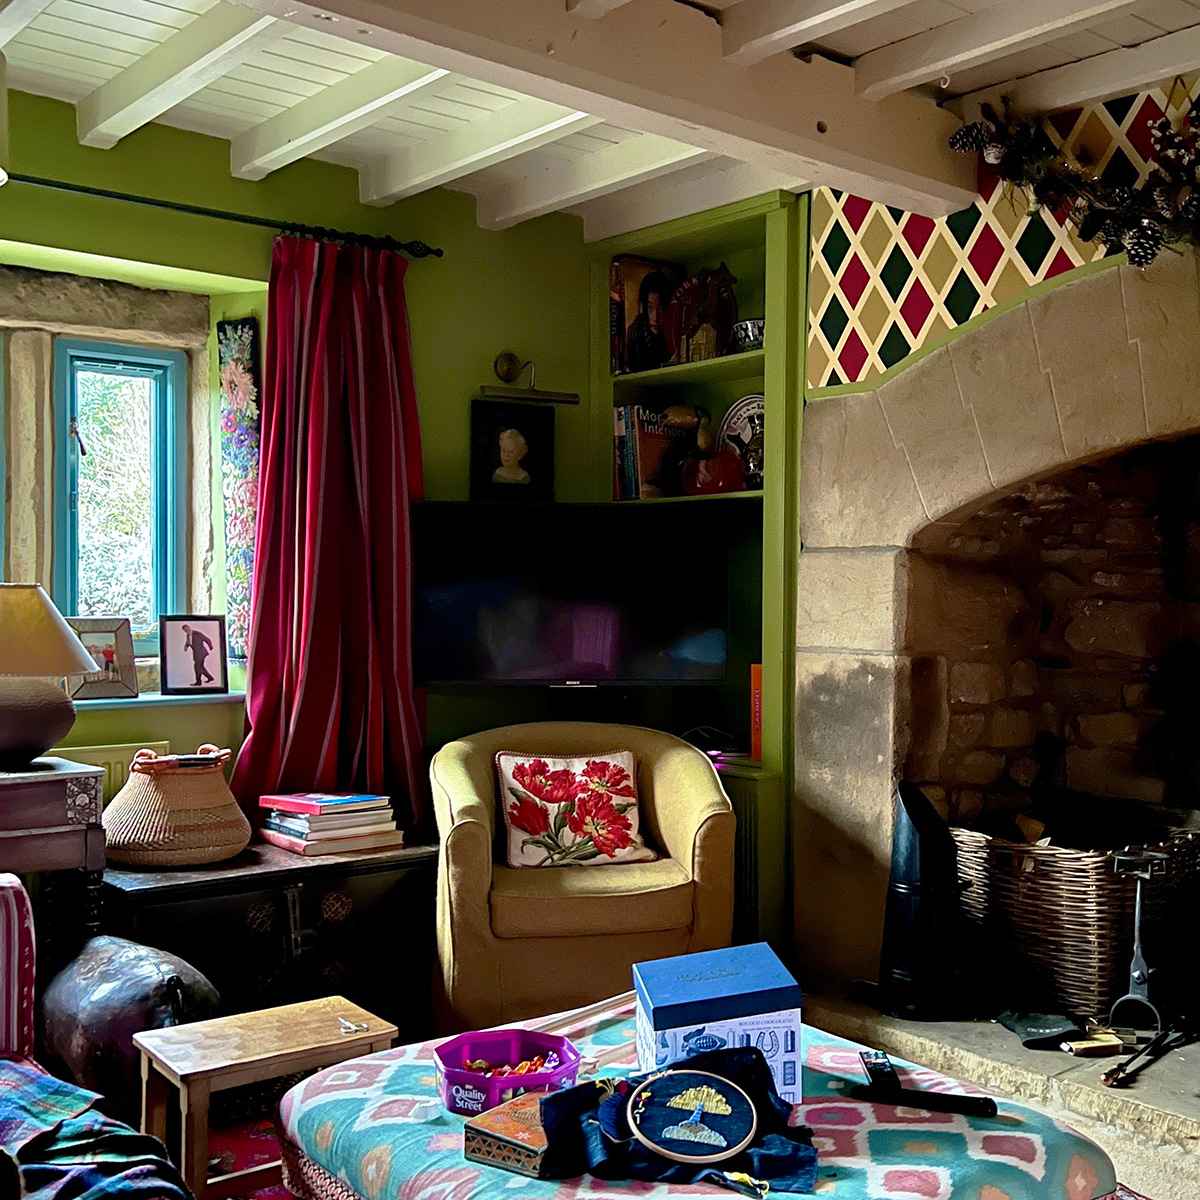
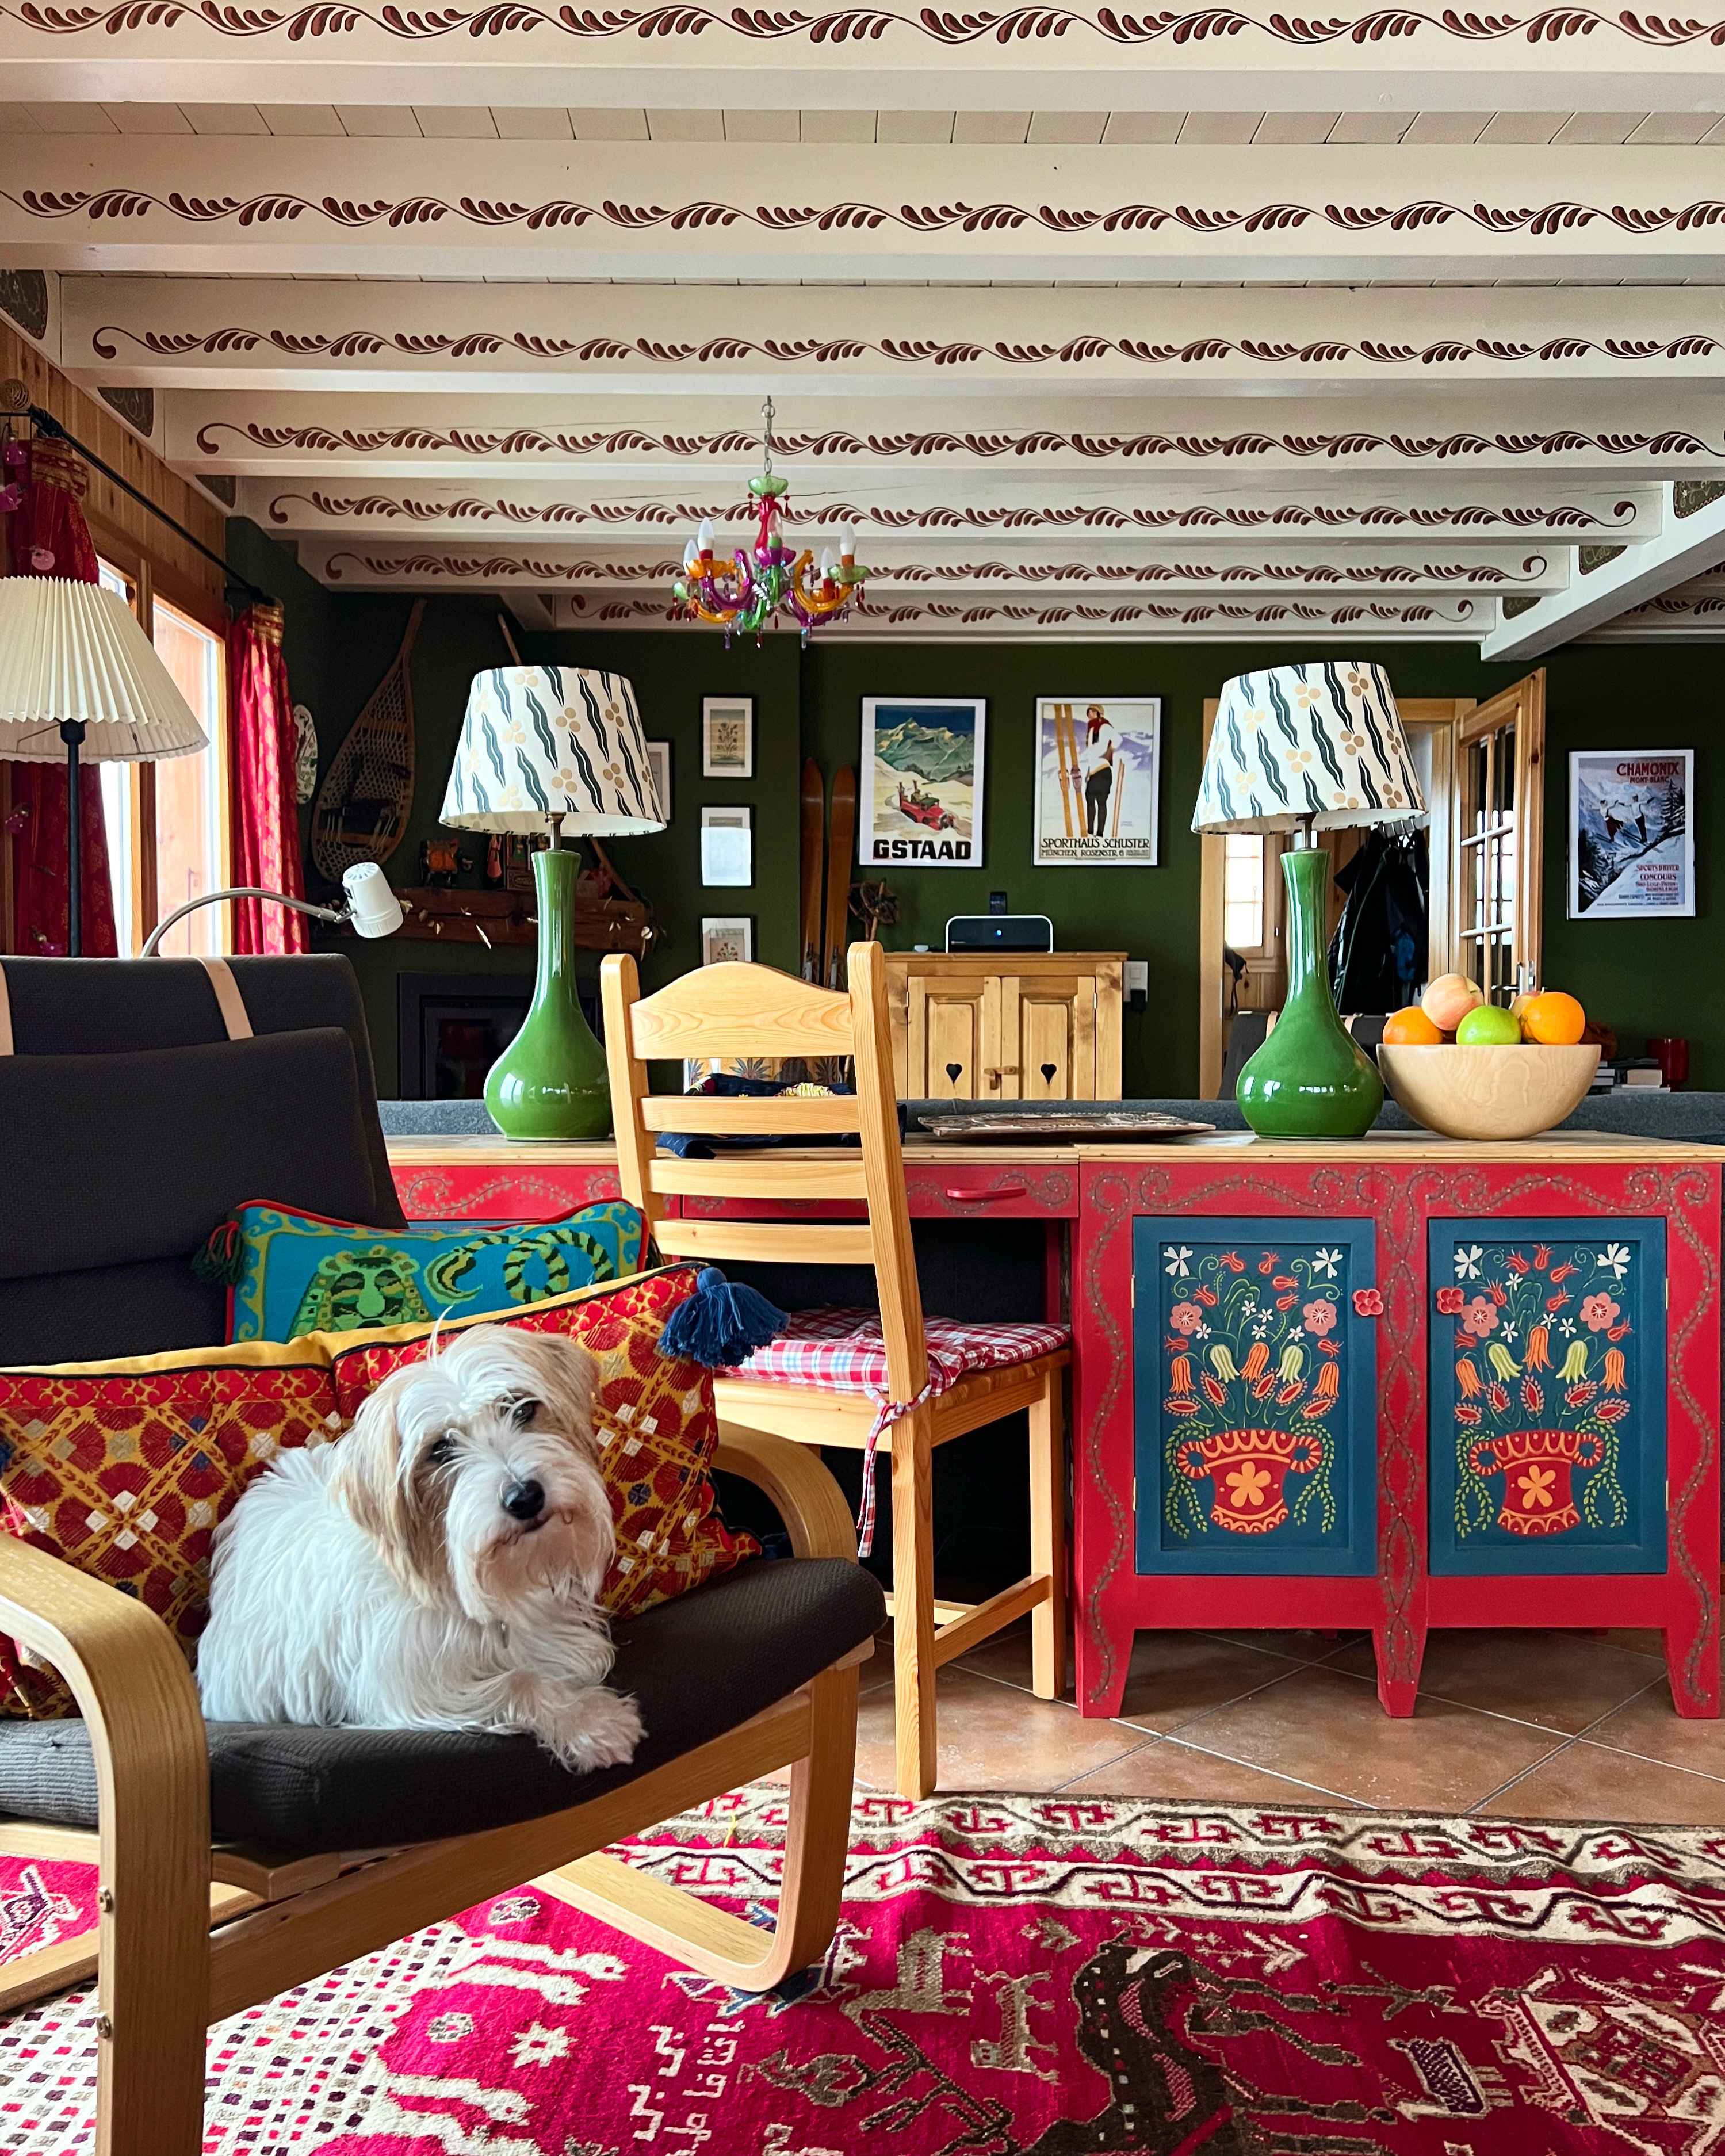
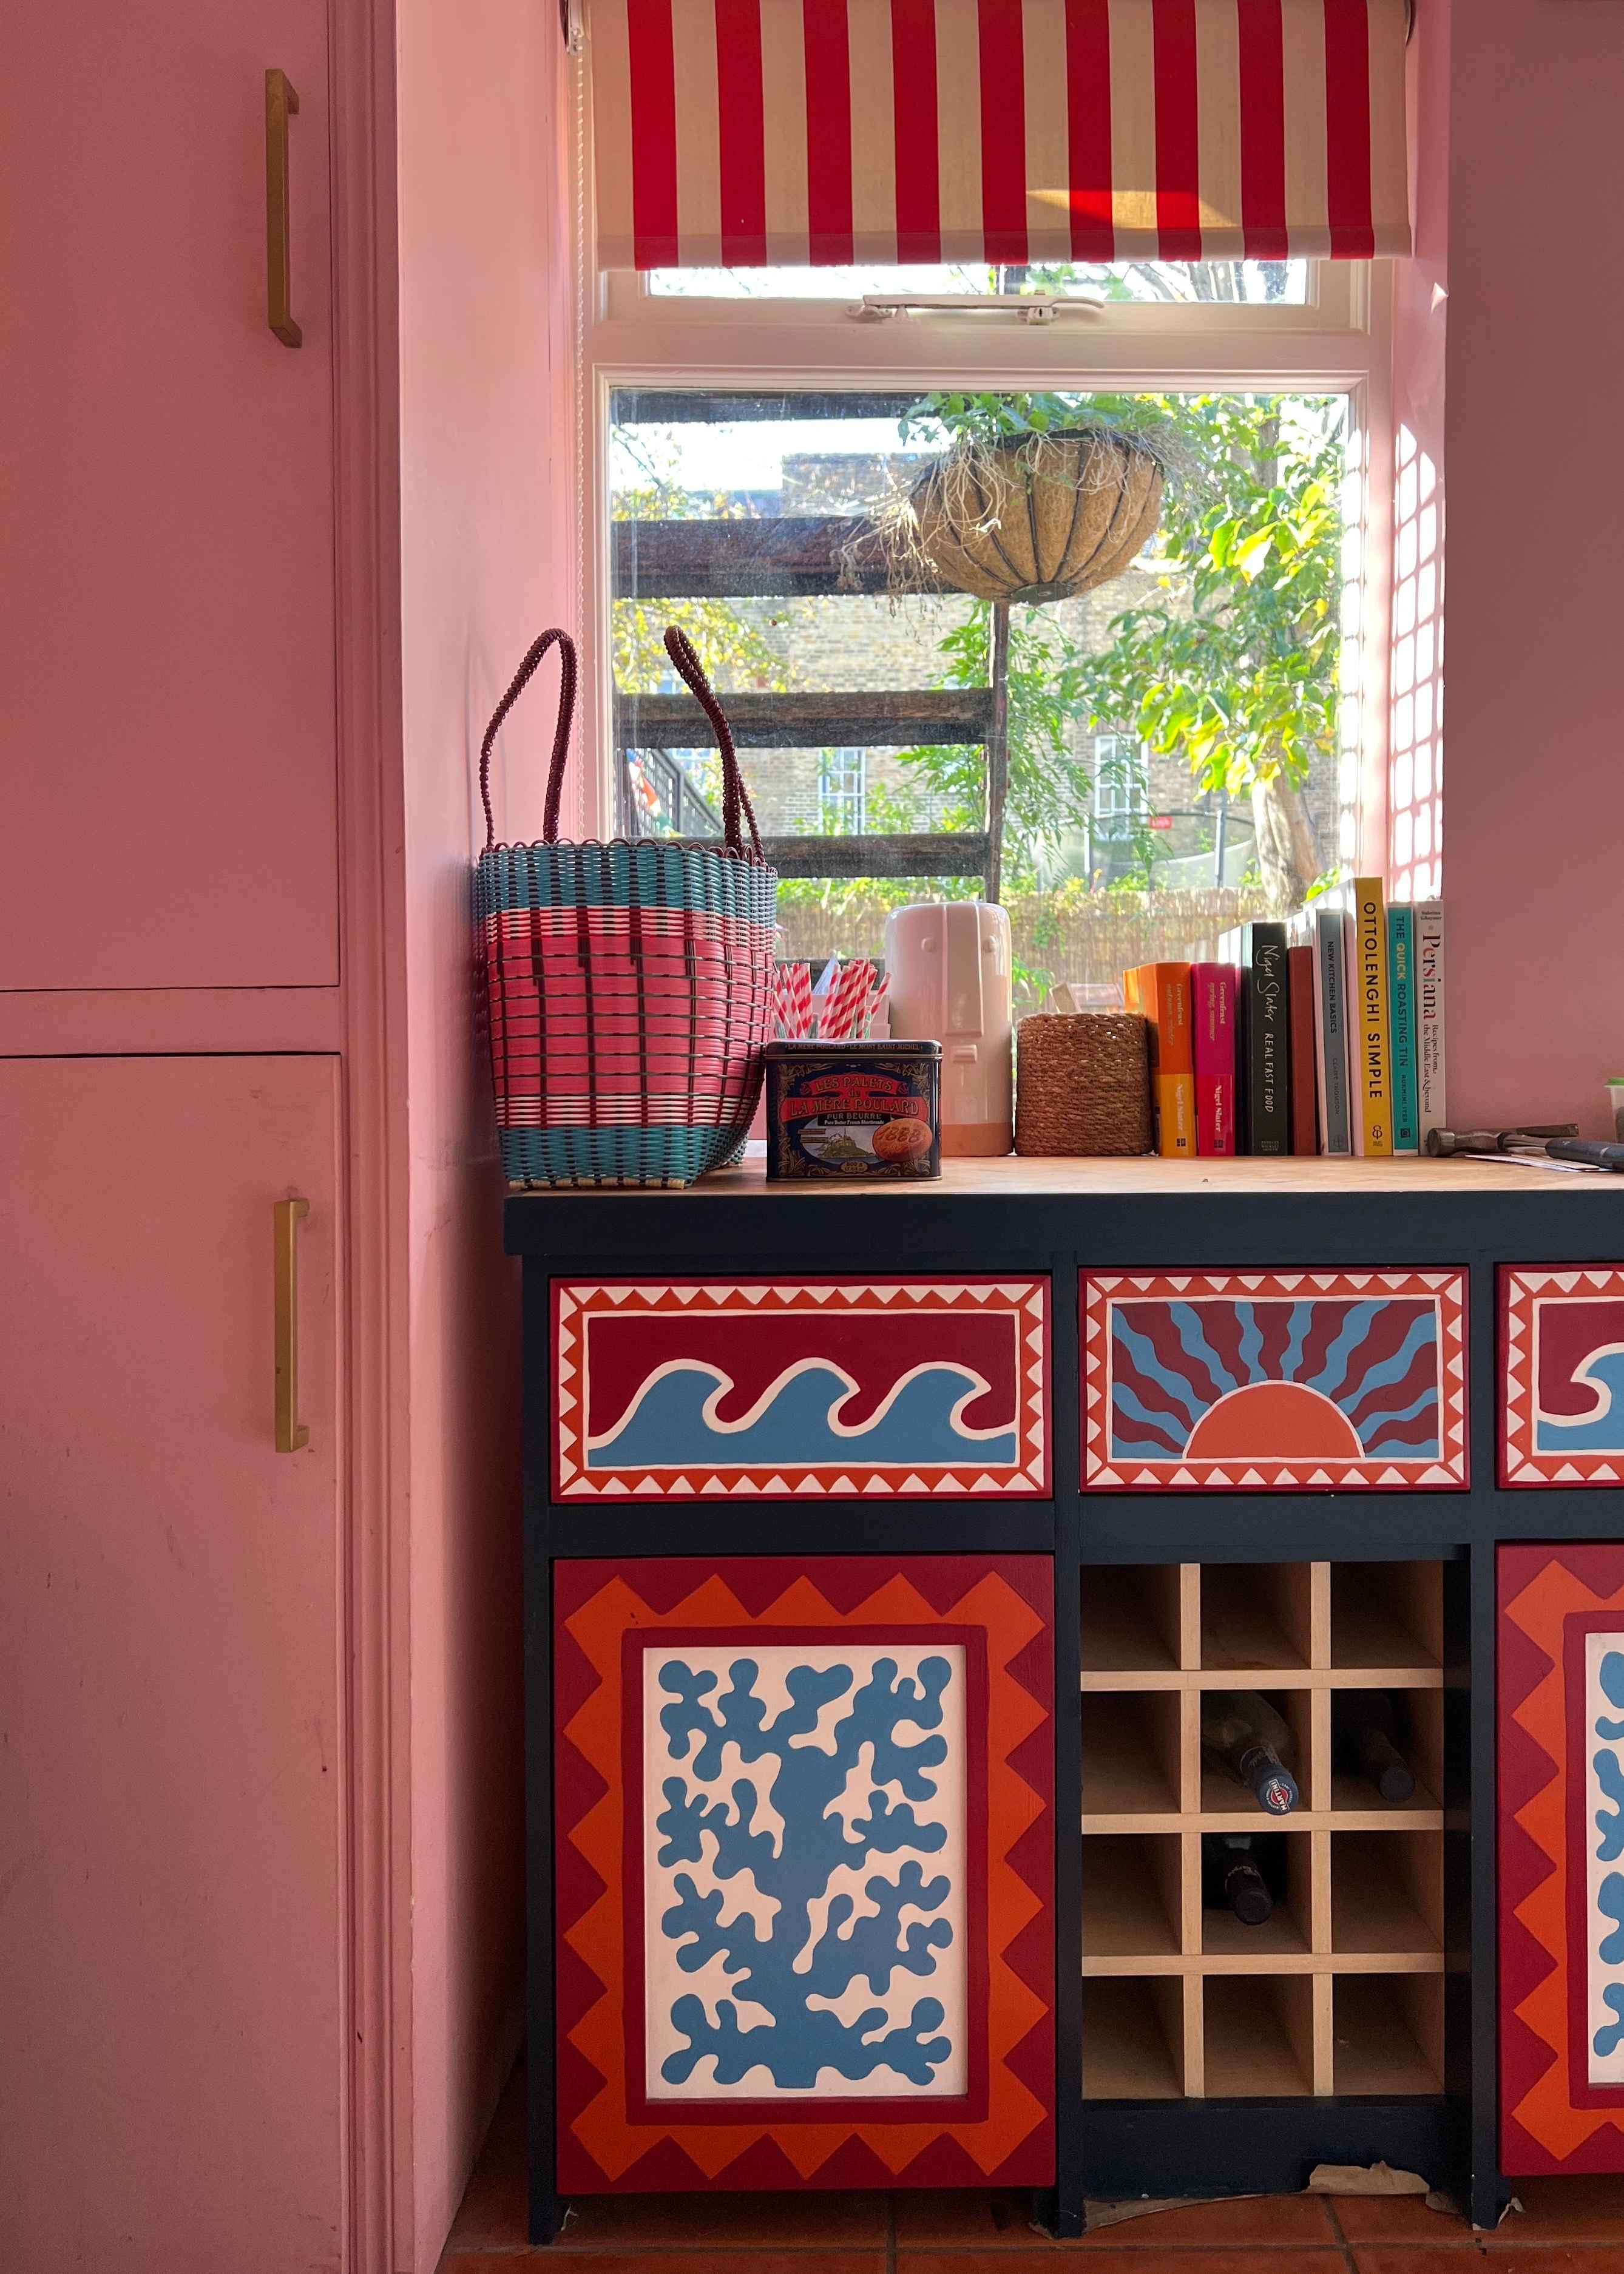
If you are painting a piece of furniture or element in your room, you need to decide if you want it to stand out or settle into your overall scheme. When I decorated my fireplace at home, I didn’t want it to dominate the small space therefore I picked out tones which were just subtle variations on the colour of the room using pinks, oranges and browns.
It is always safest to paint something in the colour palette similar to the situation of the piece, rather than introducing completely new colours. So if you are just starting out or aren't confident when it comes to choosing colours, this is the best place to start.

However, if you are creating something which you want to be standalone (i.e. a piece of furniture rather than a mural), then you have more freedom when it comes to picking a colour palette. Whilst the temptation can be to choose lots of colours. I really recommend being strict with yourself to choose no more than 6 colours to use throughout a piece. This means that the overall design will feel more harmonious.
Before starting your decorative work, you will need to base coat the whole area you intend to paint. If you are painting over a gloss or melamine surface, then you may need to use a primer prior to the base coat to enable your paint to grip. I recommend using the Zinsser B.I.N primer which applies to any surface and will enable your decorative painting to last.
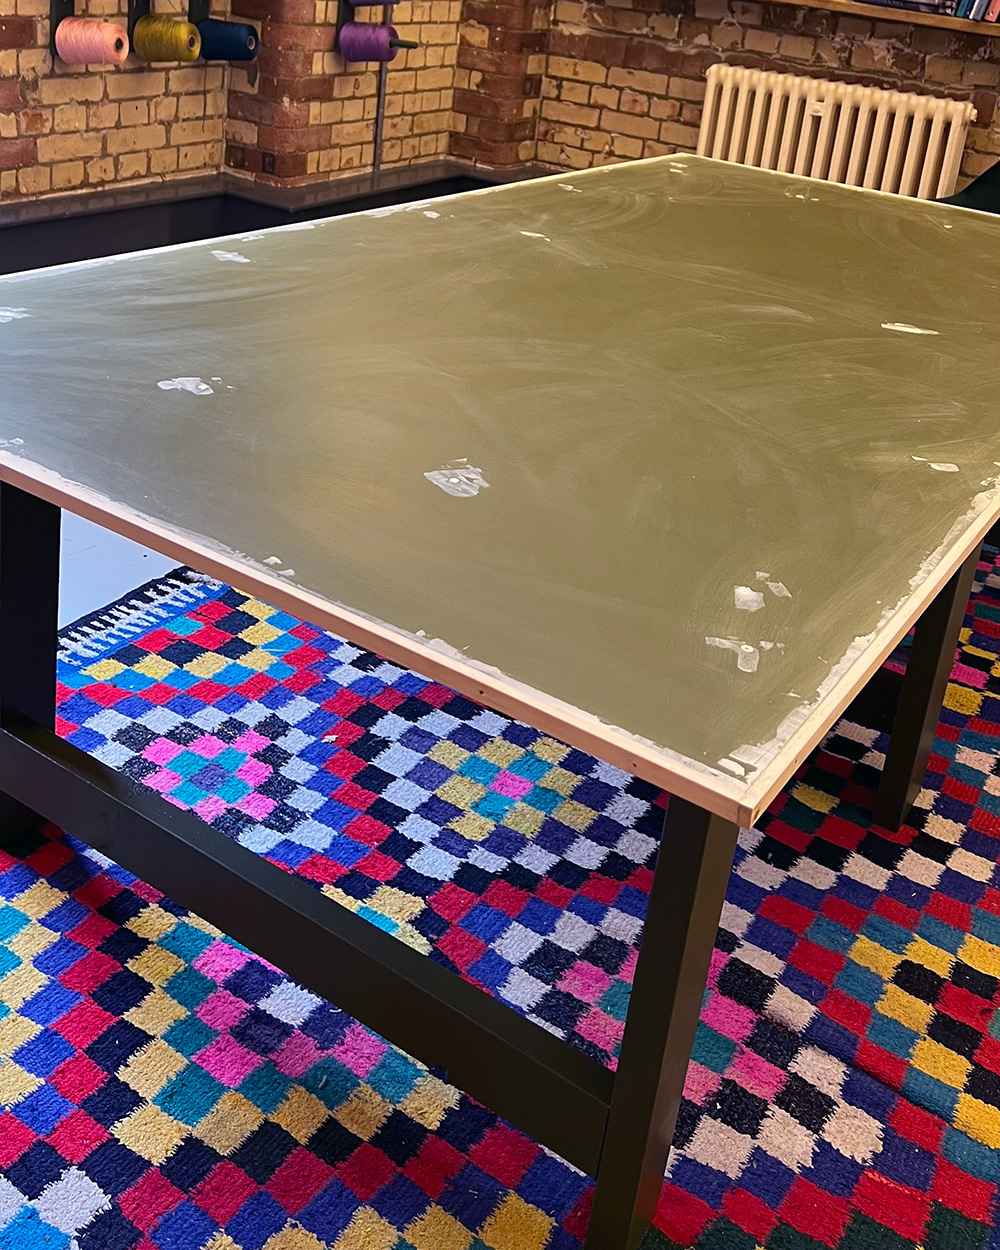
Once primed, you can apply the base coat. I recommend working with a relatively dry brush to apply the paint layers as thin as possible, working it into all the cracks, marks and grains of the piece. If you apply the paint too thickly, drips will inevitably form which can be hard to get rid of. So have patience in this stage.
If possible, I would highly recommend varnishing the basecoat before you start decoratively painting on top of it. This means if you make any mistakes whilst you paint, provided you have some wet wipes to hand, you'll easily be able to wipe off the mistake without affecting the base coat. When painting my studio table, I varnished the entire base coat before beginning the decorative work, making it much easier if I went wrong in any areas of the overall design.
When planning out your design, consider how far away from the object people will stand and how they will look at the object. Adding too much detail can make a design start to feel fussy. That is perfectly fine if you are expecting it to be relatively stand alone in the room and you want to draw the viewer in. But if you have a lot of other things going on in your space, then a bolder, simpler design may be preferable. Have confidence to keep it simple!

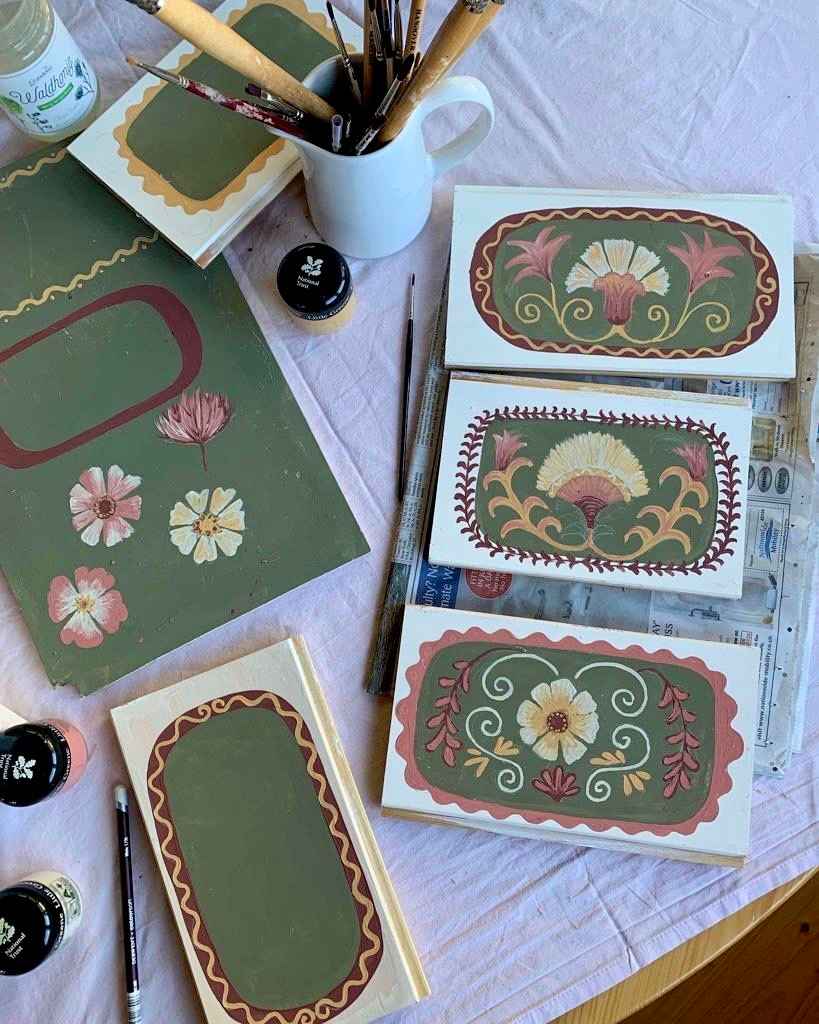
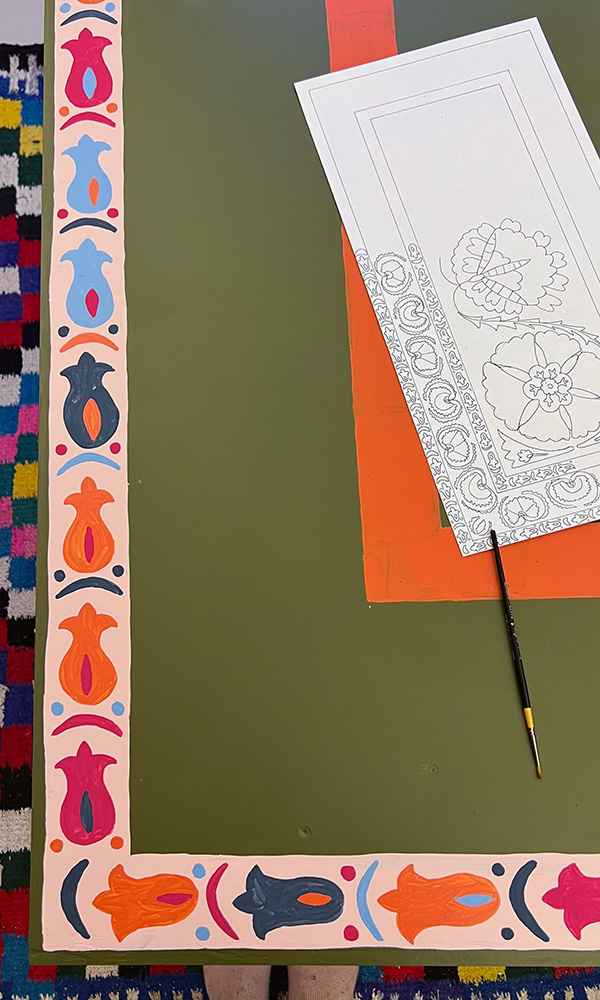
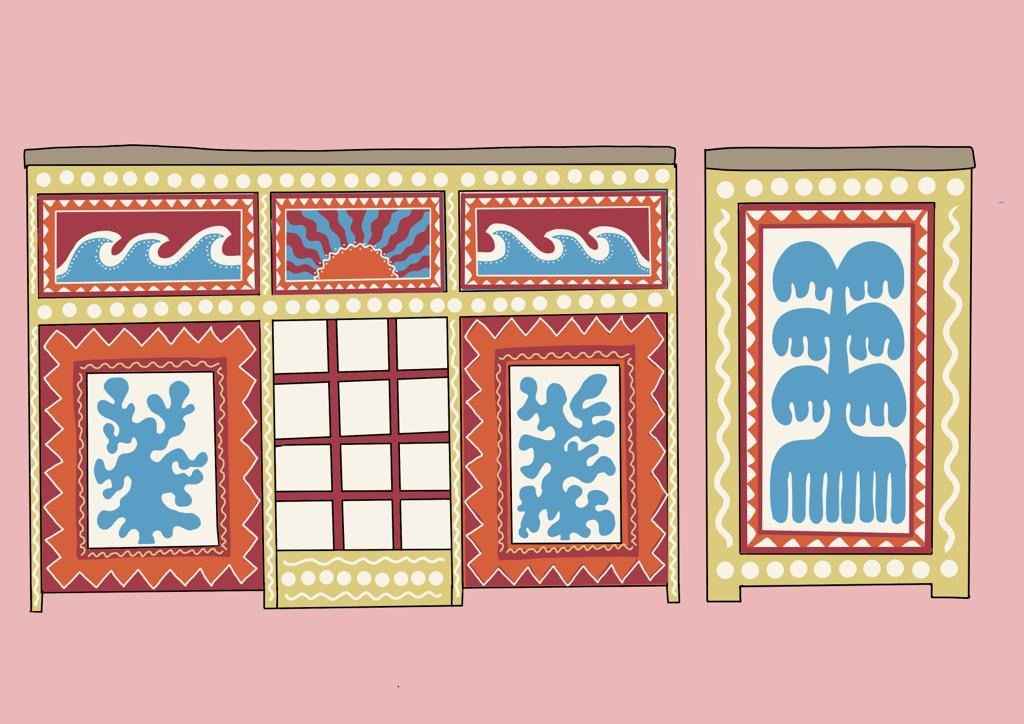
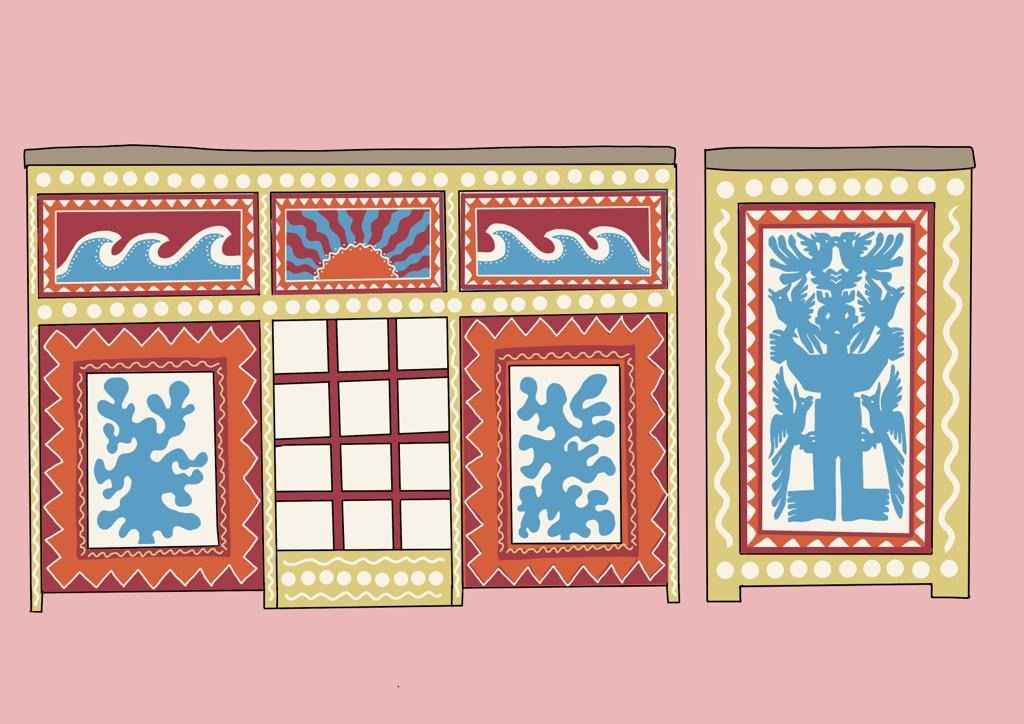
One way to experiment with a design before you begin is by printing out several images of the item you are painting in situ, and then drawing or painting your ideas over the top. It is a wonderful way of testing out ideas without the full commitment and also enabled you to get a second opinion on the design. Or if you are tech savvy you can take the same approach as my sister, and fully mock up the piece of furniture to test out all the motifs.
Every time I have attempted to free hand a design, it hasn’t gone well. Whilst years of painting experience may enable you to remove this step, most decorative painters I know still do take the time to measure out core elements of a design. It is worth the extra time it takes as it will make the finished piece neater but also take a lot of stress out of the painting process.
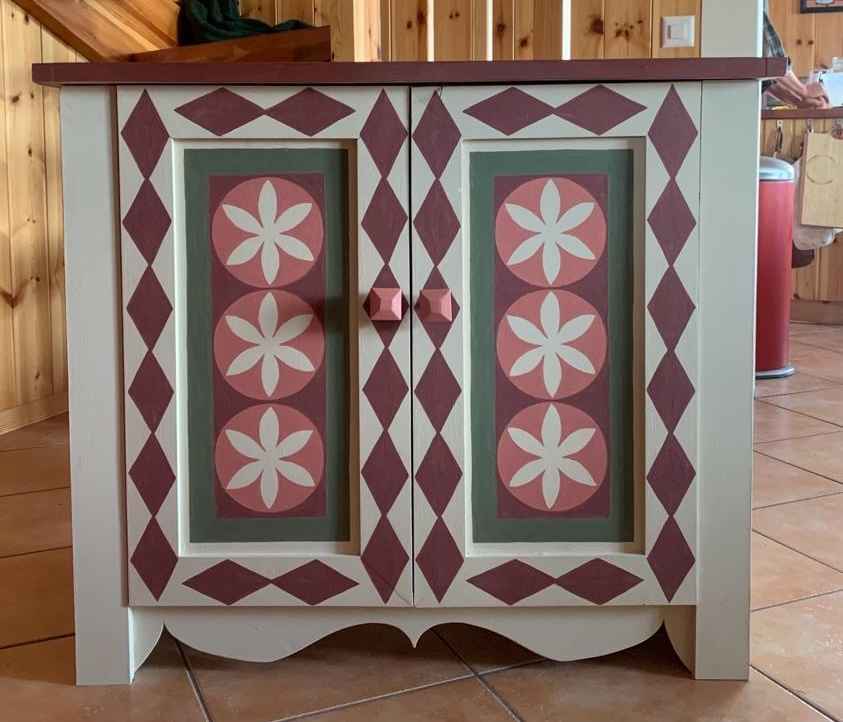
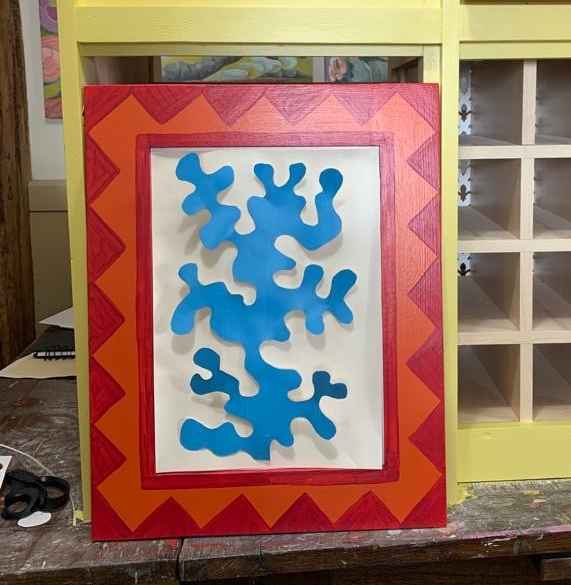
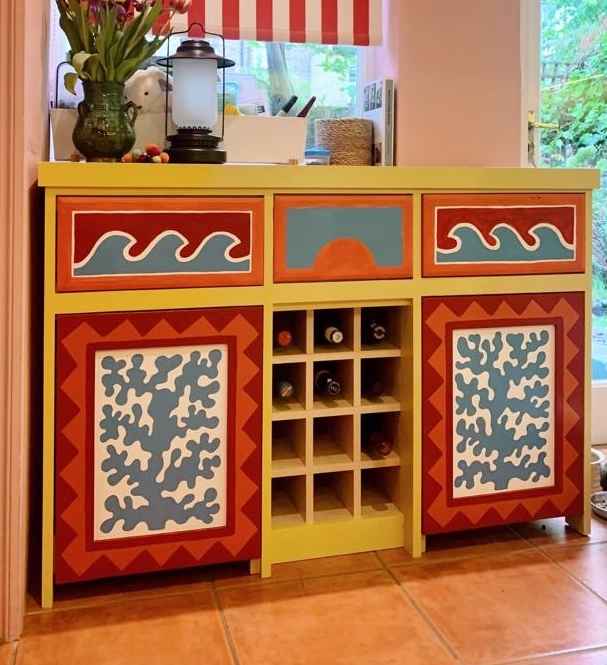
You can both draw up parts of the design, or as you can see in the example here, my sister cut out elements of a design when painting a cabinet to experiment with what size would be most effective, before painting.
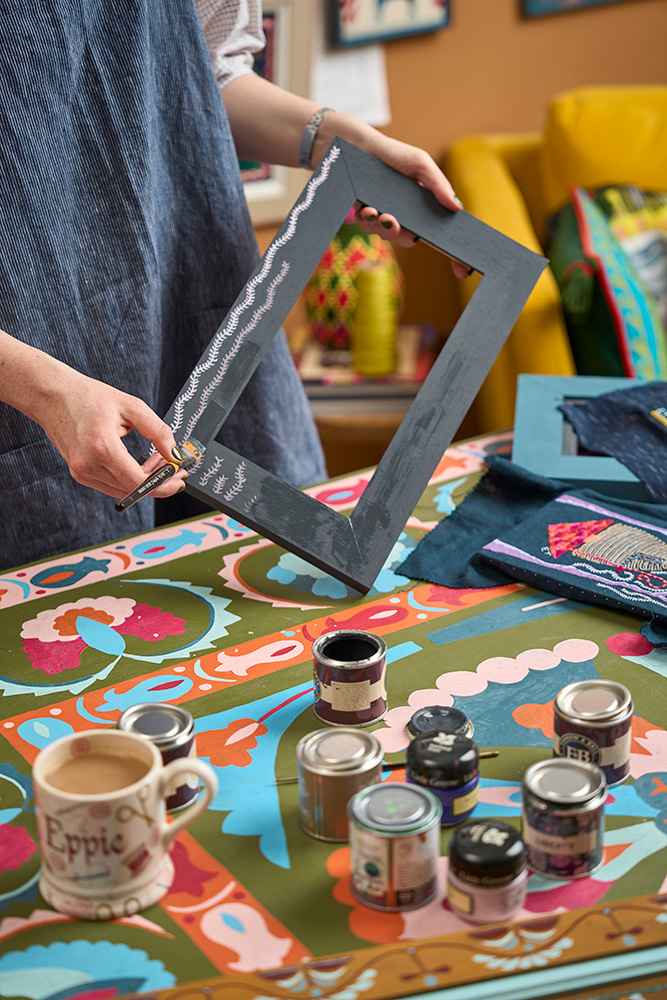
It may sound like common sense, but make sure you draw the design very lightly. It is remarkable the number of times I have been too heavy-handed with the pencil I have used, only to start seeing the pencil marks coming through the finished piece. If you are painting on a mid-to-dark tone, I recommend using a chalk pencil or a white posca pen. The white posca pen leaves a really clear line, but it is not removable and can be hard to paint over, so be really careful how you use it!
See below the full process for painting the doors of my Moby Dick chest so you can see how lightly I have marked up the surface.
If you are planning something geometric, then making sure the lines are neat and the spacing is correct is really important for achieving a sophisticated result. So you'll find all your time goes into planning the painted area and marking up the space, however this is time well spent. Take for example the fireplace at my family home, which my mother painted with a harlequin effect throughout.
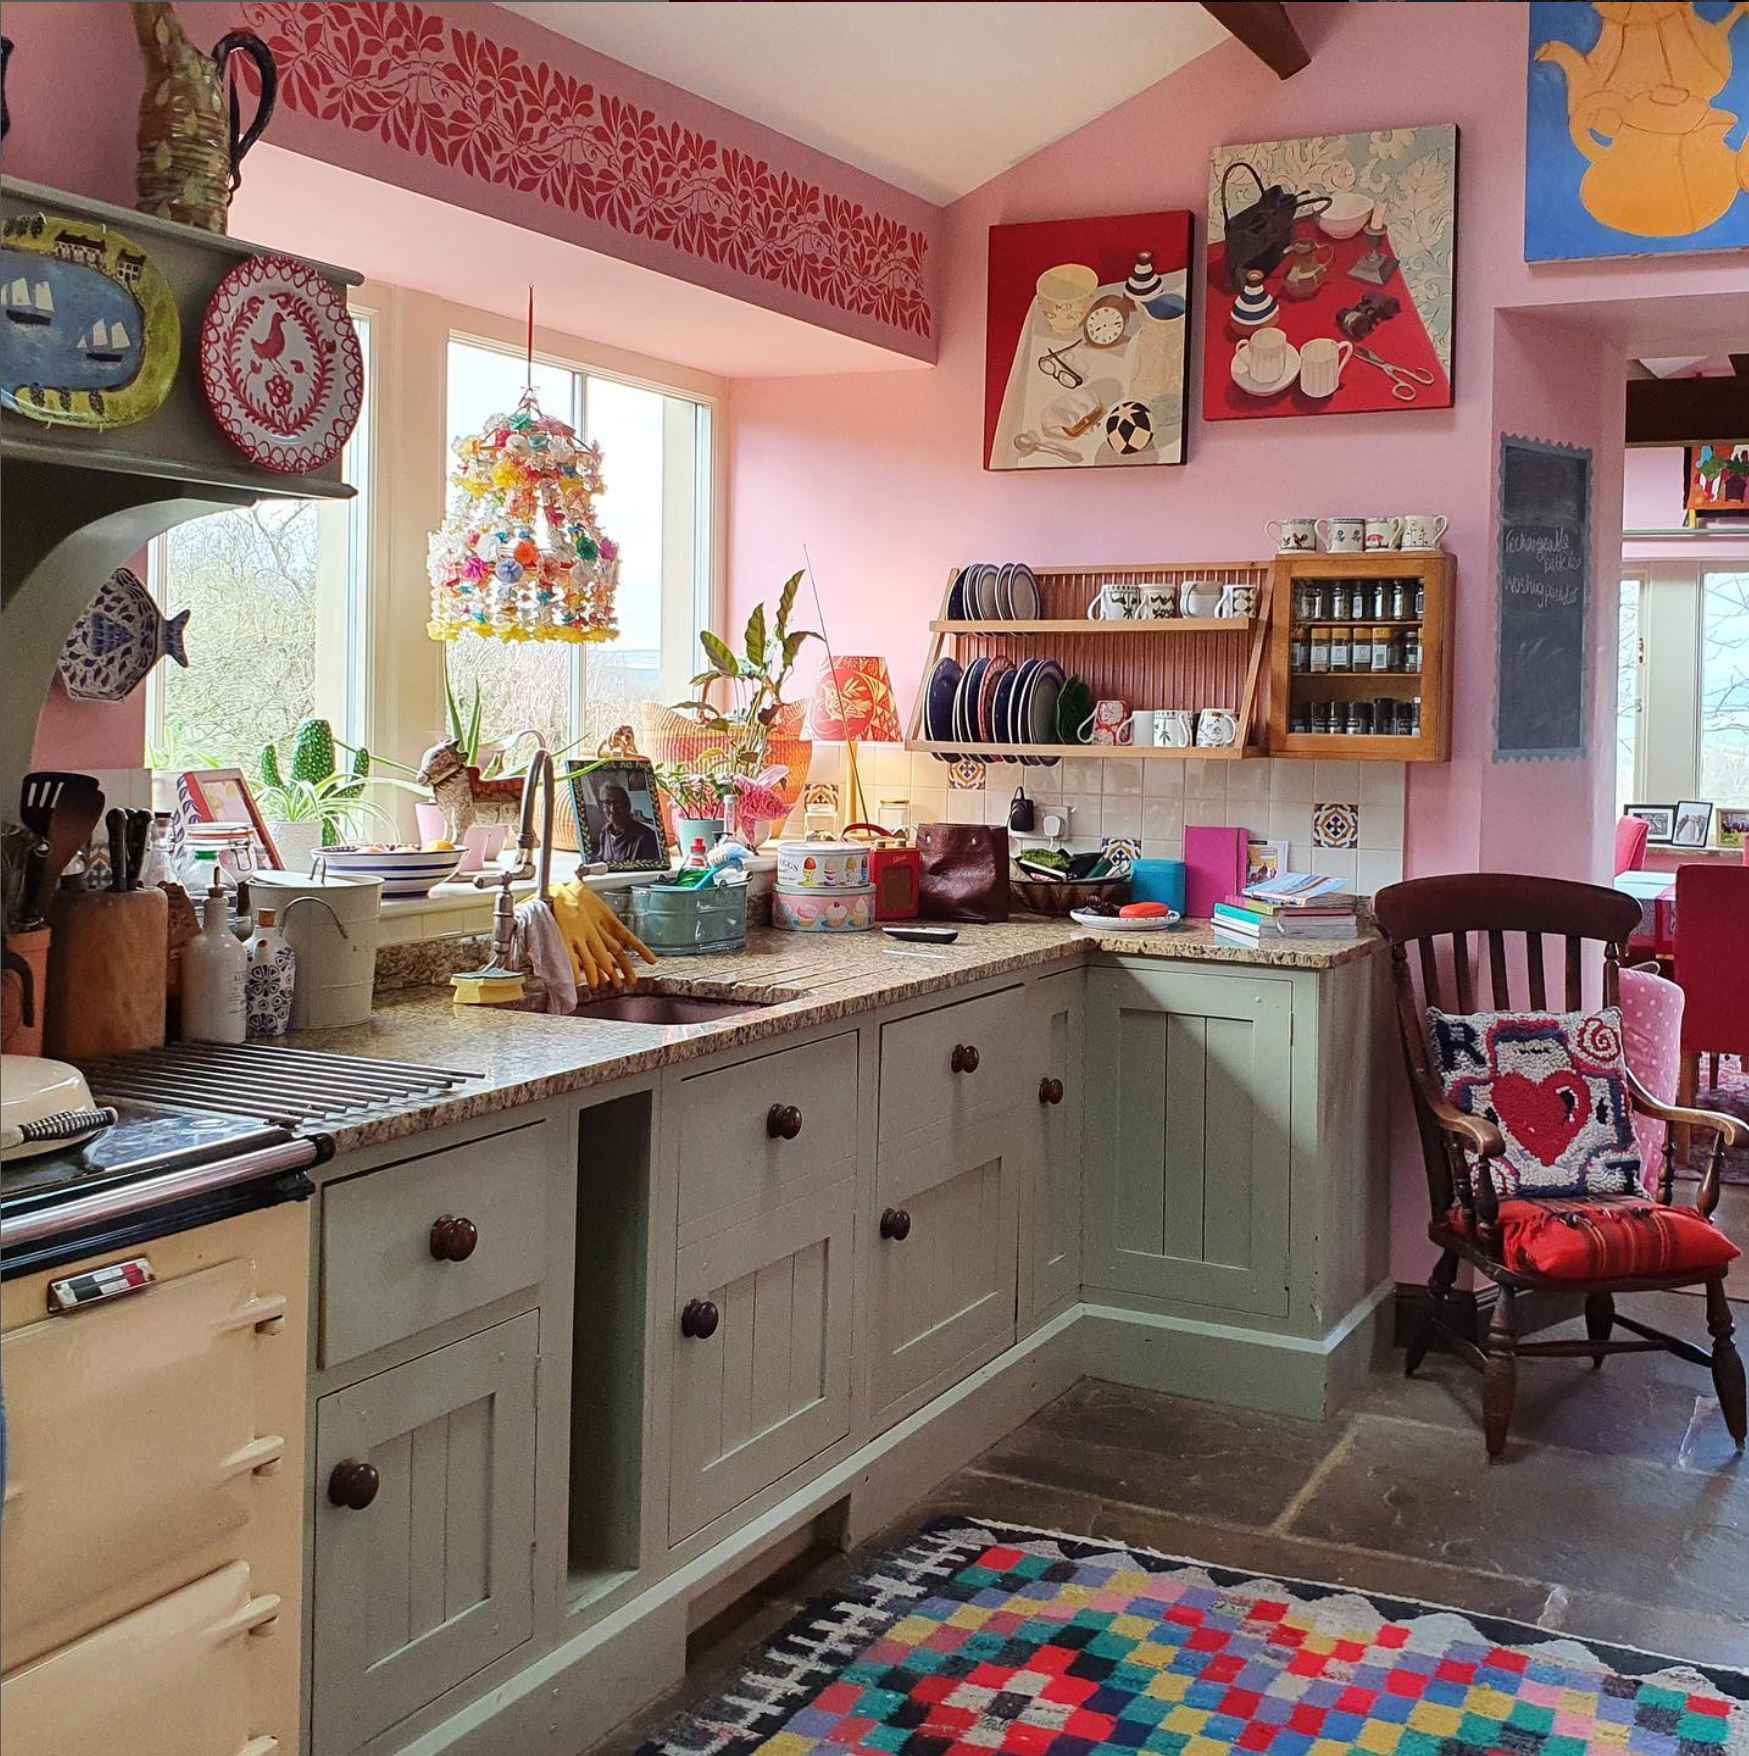
Finally, if all of those designs sound quite intimidating then do take a look at stencils. The stencils library is an amazing place to get all sorts of different designs and below you can see a glimpse of how we have used some of those at my family home in Yorkshire.
You can use a whole range of different paints when decoratively painting, from sample pots, to acrylics, to oils, to eggshell. You can even use lots of different types in combination. The key thing is to apply a varnish over the entire finished piece to give all the different types of paint one consistent finish - gloss, matt, eggshell... whatever your preference.

However if you are buying paint especially for a project, then my preference is to work in Colourman Paints, which are an eco-friendly, chalk, water-based paint. Chalk paints are incredibly easy to work as can be water down to create washes or used in their original form to create deep and rich shades. If you are embarking on a painting project, then we stock a range of paints and varnish you can use.
Our paint bundles


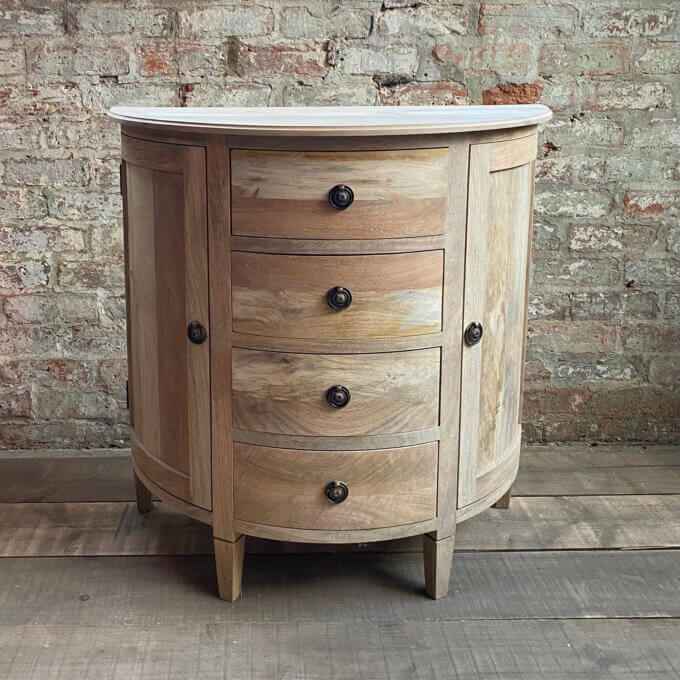
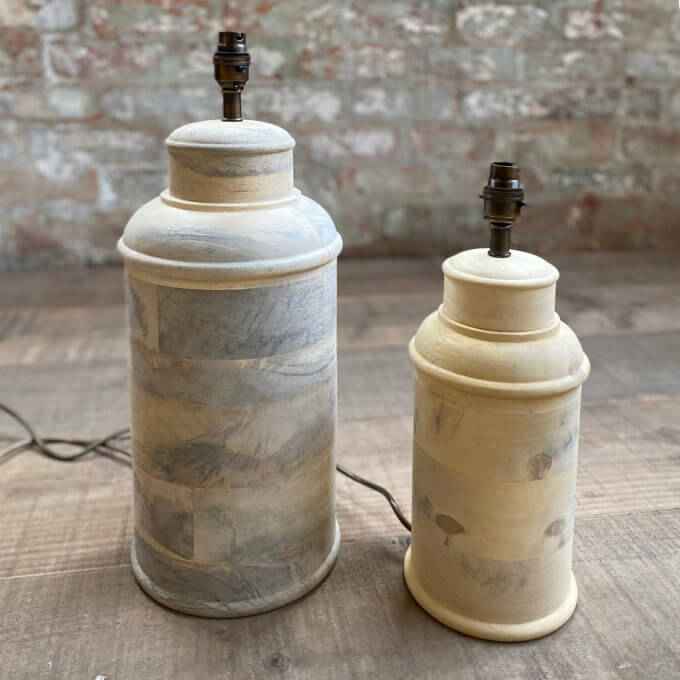
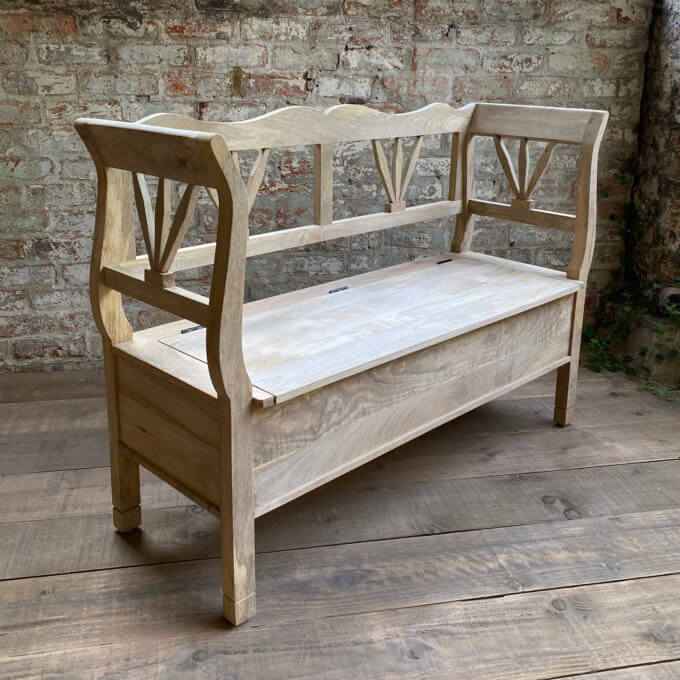
This article so far has assumed you have a piece of furniture to paint, however that is not always the case! If you are lucky enough to have someone who can make a piece of furniture for you (as I have with my father), then this part isn't an issue. However for the vast majority of us we don't have someone who can do that. Whilst you can upcycle and paint any piece of furniture, I do think its best to find work with a good quality item. You want your decorative painting to last... to become one of those beautifully aged pieces a few generations down the line! Therefore if you are looking for a piece to paint, I really recommend Scrumble Goosie. Whilst some of the pieces are quite expensive, they are incredibly well made, come unpainted and in some beautiful shapes. They have everything from small trinket boxes, to lamps, to giant dining tables. I have included some of my favourite pieces below.
Last but not least, don't worry if what you create first time round doesn't feel quite right. Even the best laid plans can go awry. So do make changes if something about your finished piece doesn't feel right, and allow a space to build up over time.
Our decorative painting virtual course
About the course
Over the course of 80 minutes, this course will teach you how to decoratively paint frames. We will introduce you to all the materials you need, the considerations which go into creating designs, as well as over a dozen freehand painting motifs. You will then go on to learn some more advanced techniques such as stenciling, using tape to create designs and reverse glass painting for mounts.
You may also like
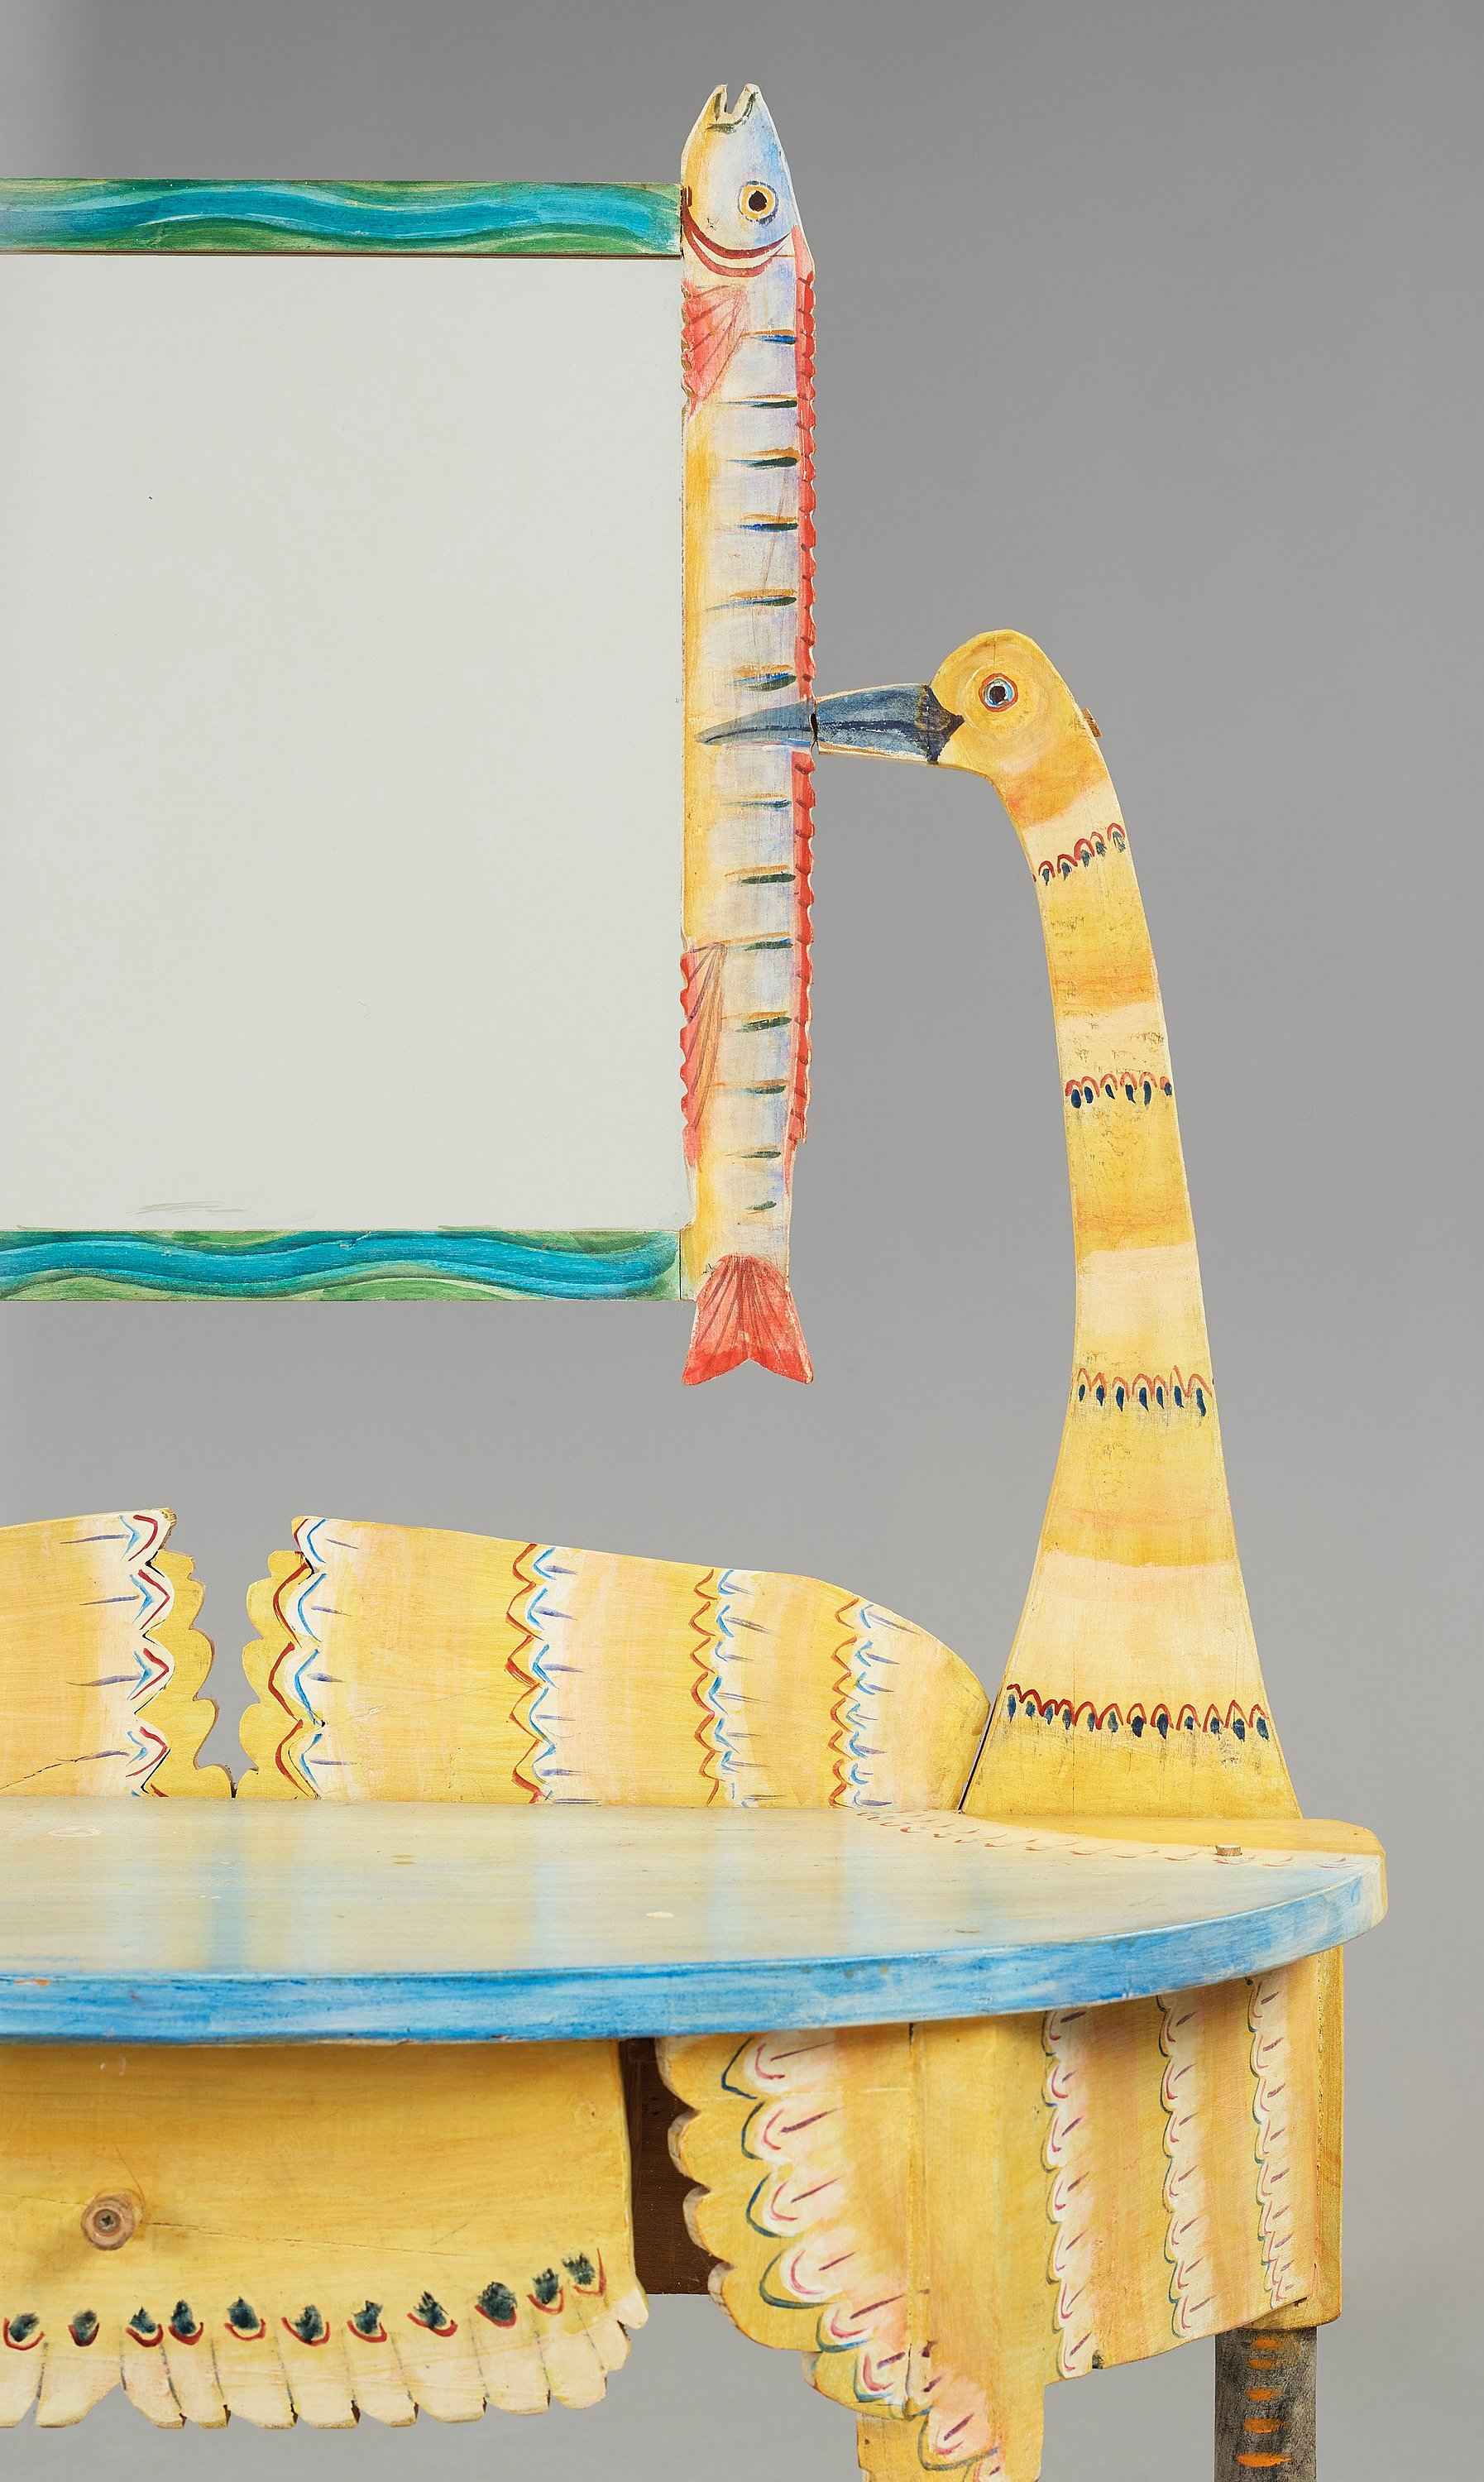
Form meets function: The zoomorphic furniture of Gerard Rigot
Read more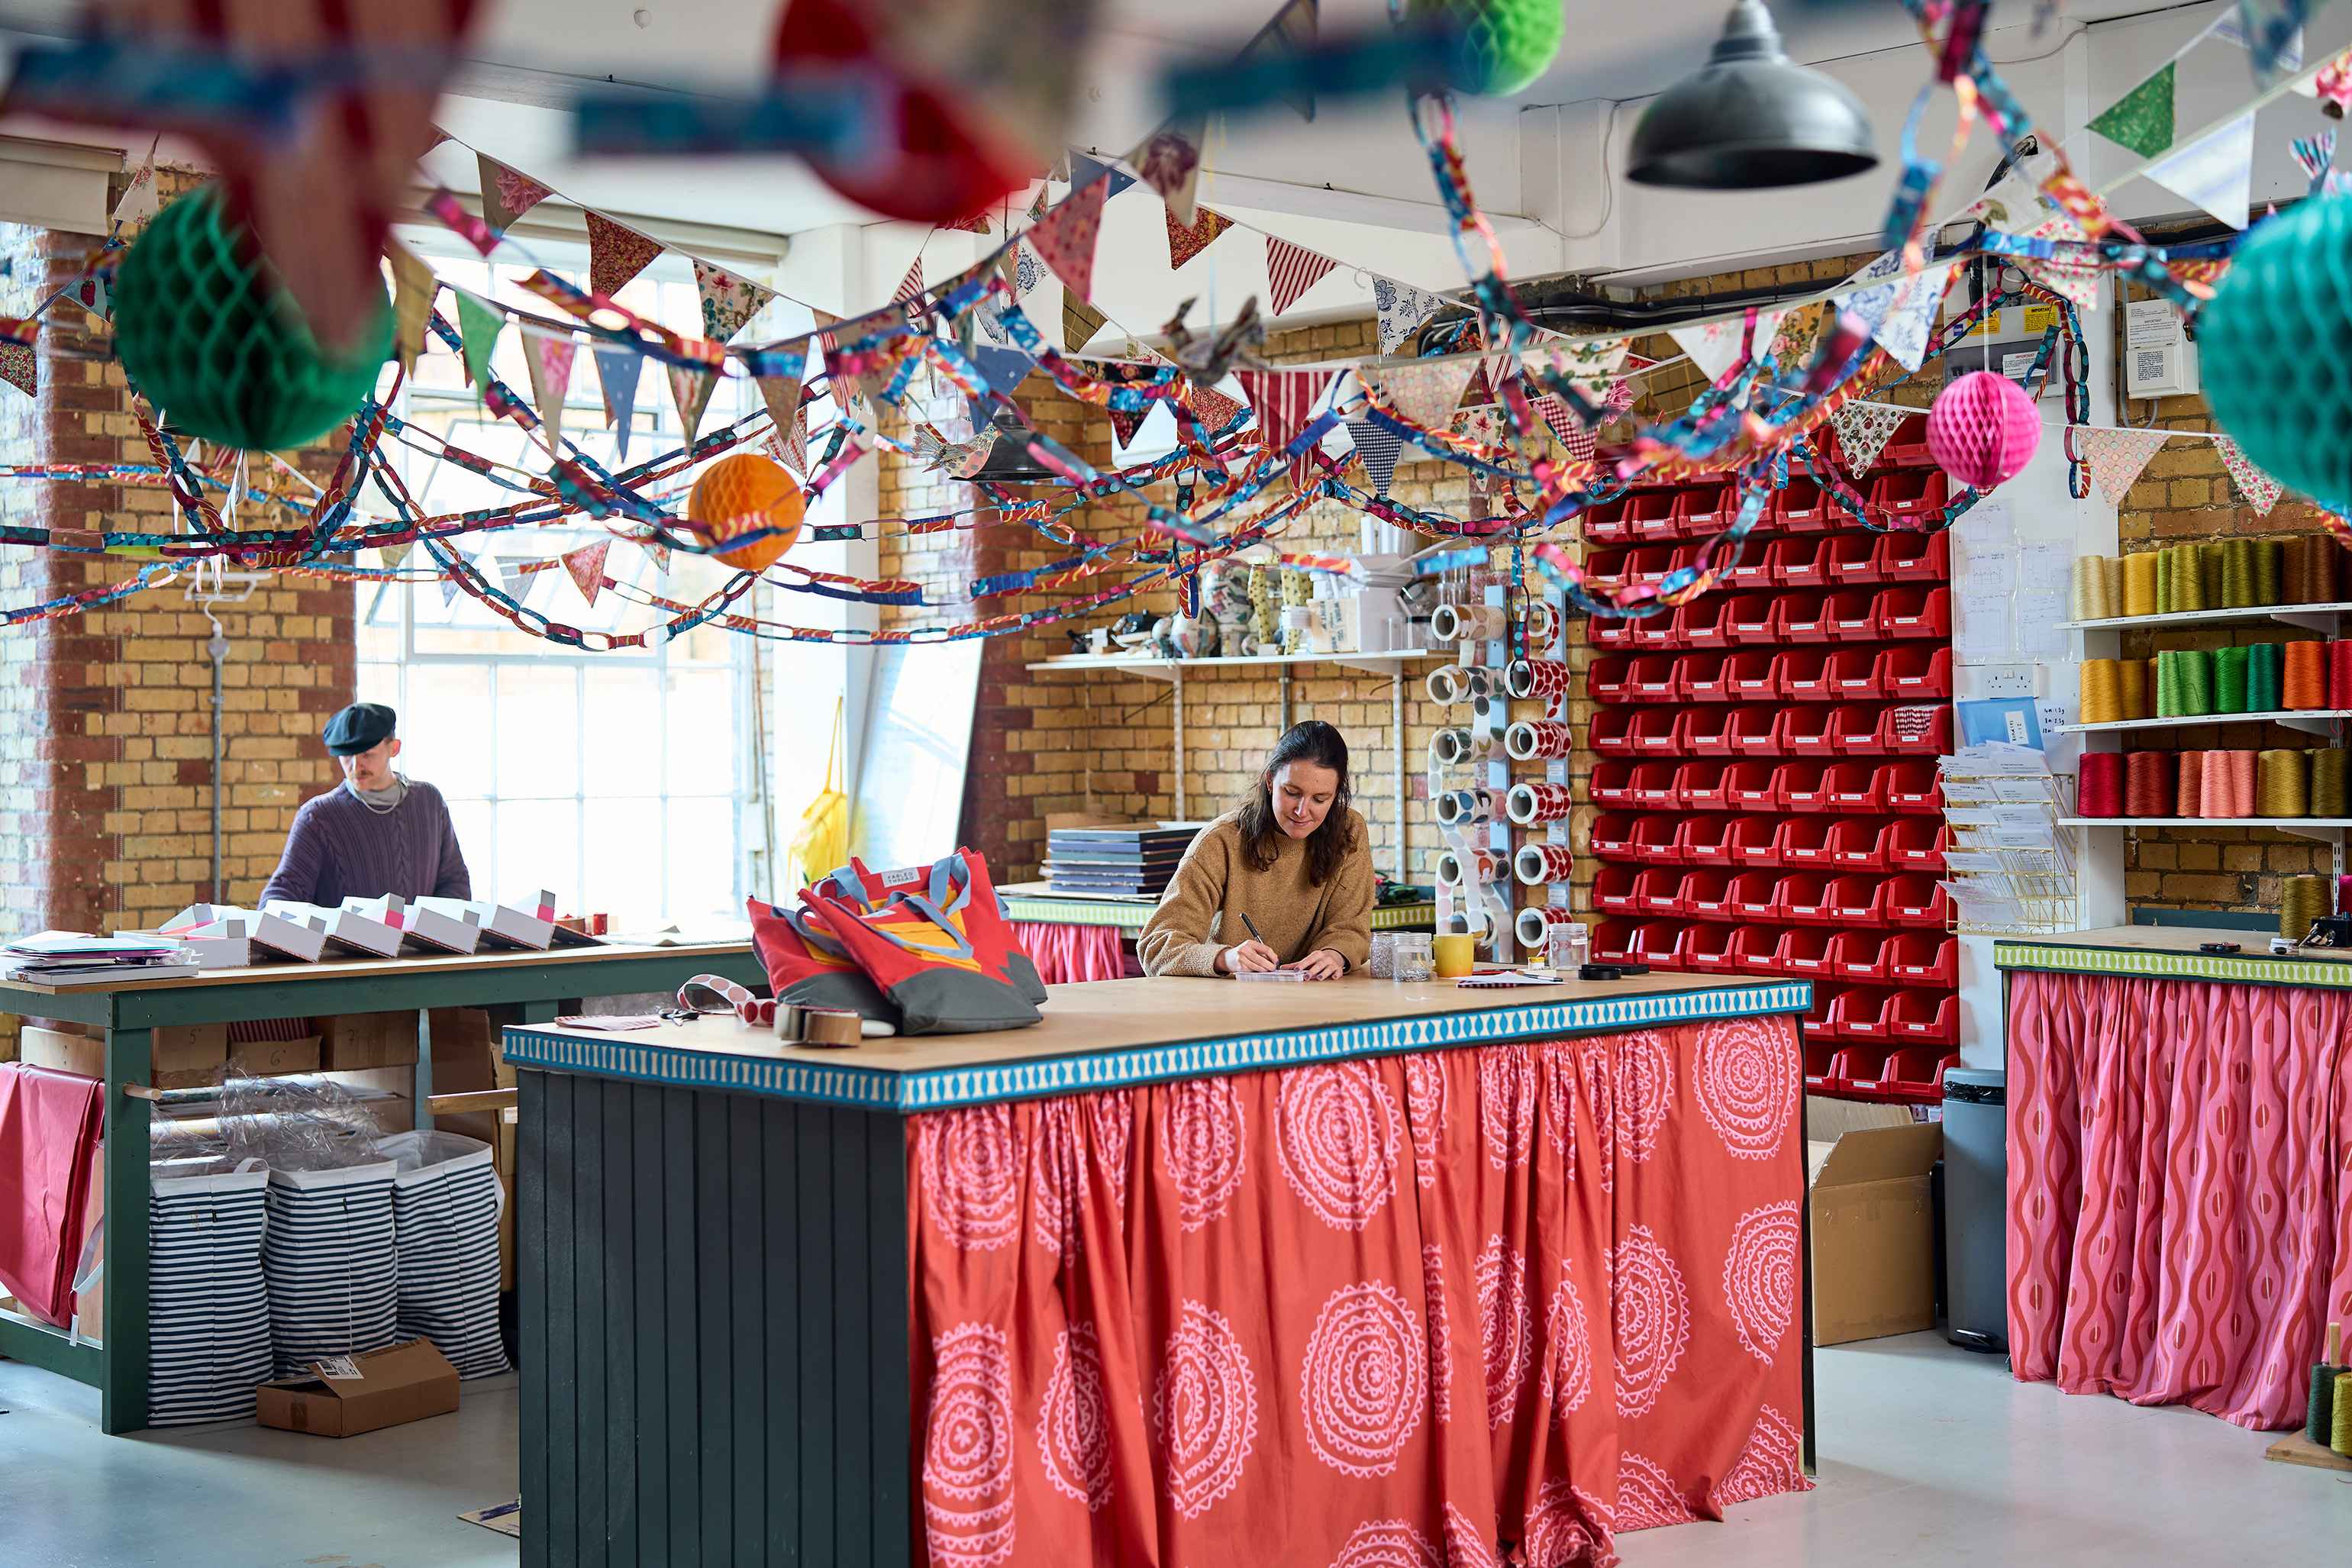
The Studio Tour
Read more
Finding Inspiration in Paper: Three artists working in collage
Read more
My Embroidered Wedding Dress
Read more
How To Guide: Layered Paper
Read more
Stories in Felt: Jessie Oonark and nivinngajuliaat
Read more